- Welcome to my website. Please use the menu below to navigate

- Home
- About Me
- About Us
- Flickr
- Galleries
- Galleries 2013
- Galleries 2014
- Galleries 2015
- Galleries 2016
- Galleries 2017
- Galleries 2018
- Galleries 2019
- Galleries 2020
- Galleries 2021
- Boxster Roof Damage
- Boxster 981S 1:18 model compared to the real thing
- History of the Boxster
- Porsche PSM, PASM & Sports Chrono Plus
- Unicorns for Cancer
- Home Garage Conversion
- Contact Us
- 981…Waiting in anticipation
- Lucy’s Gallery
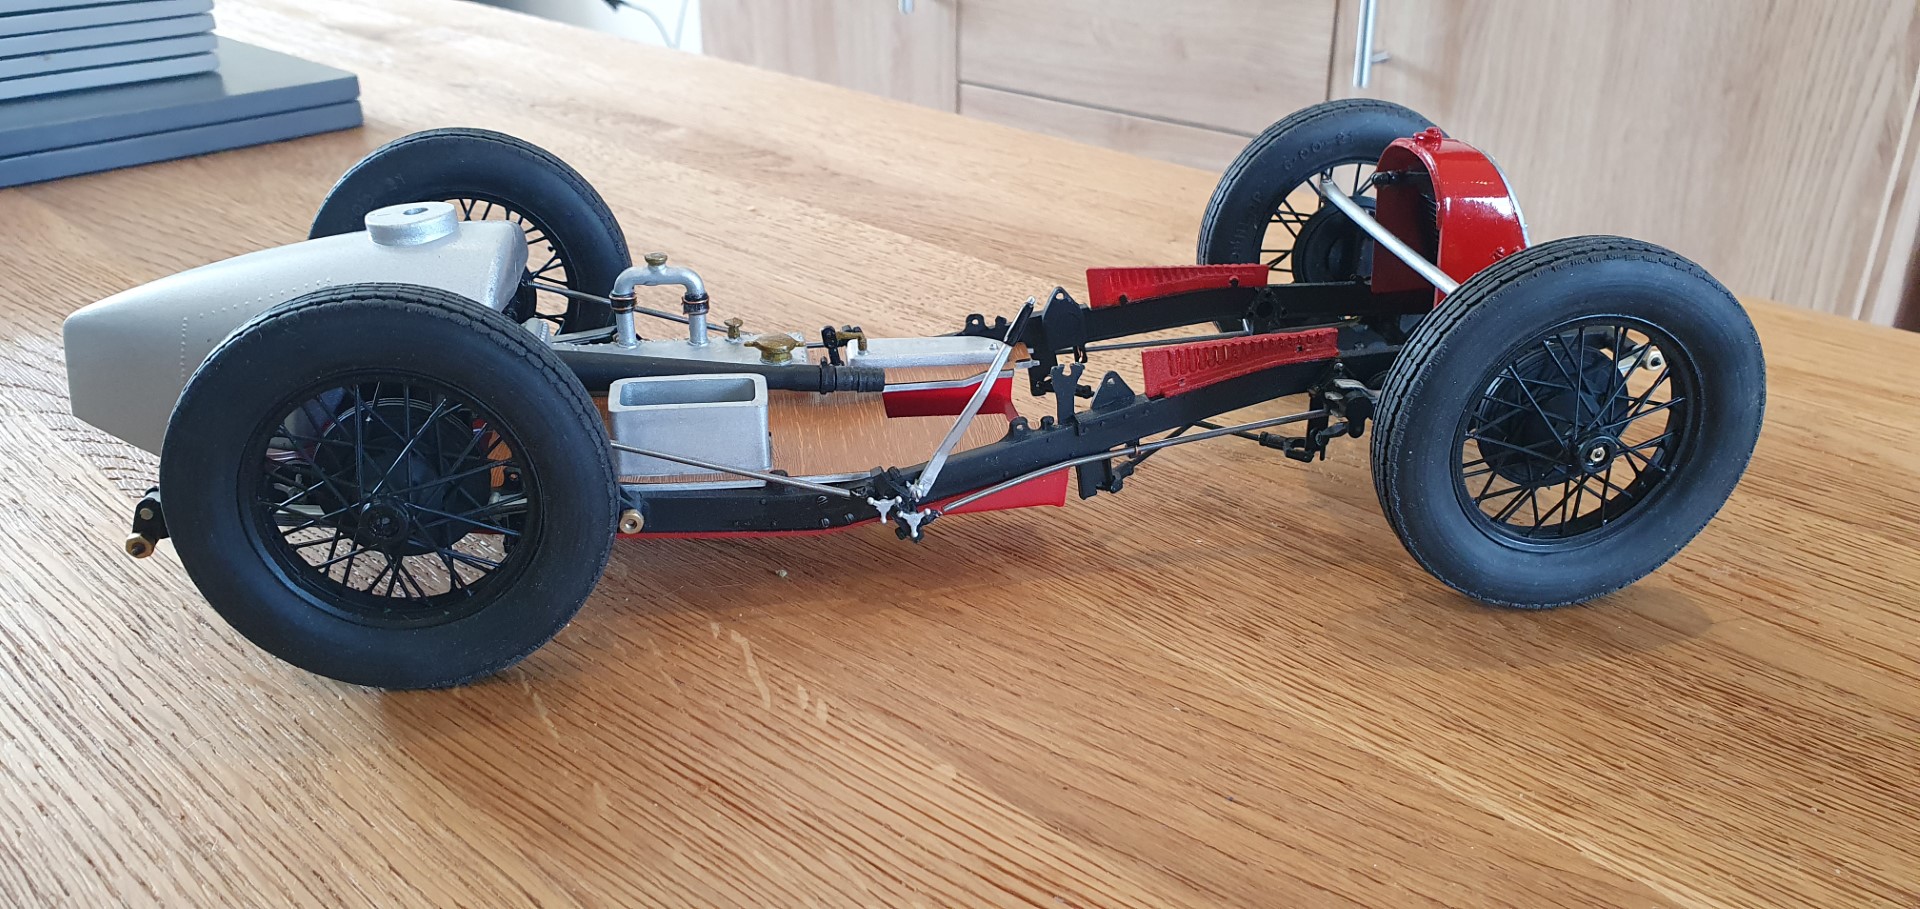
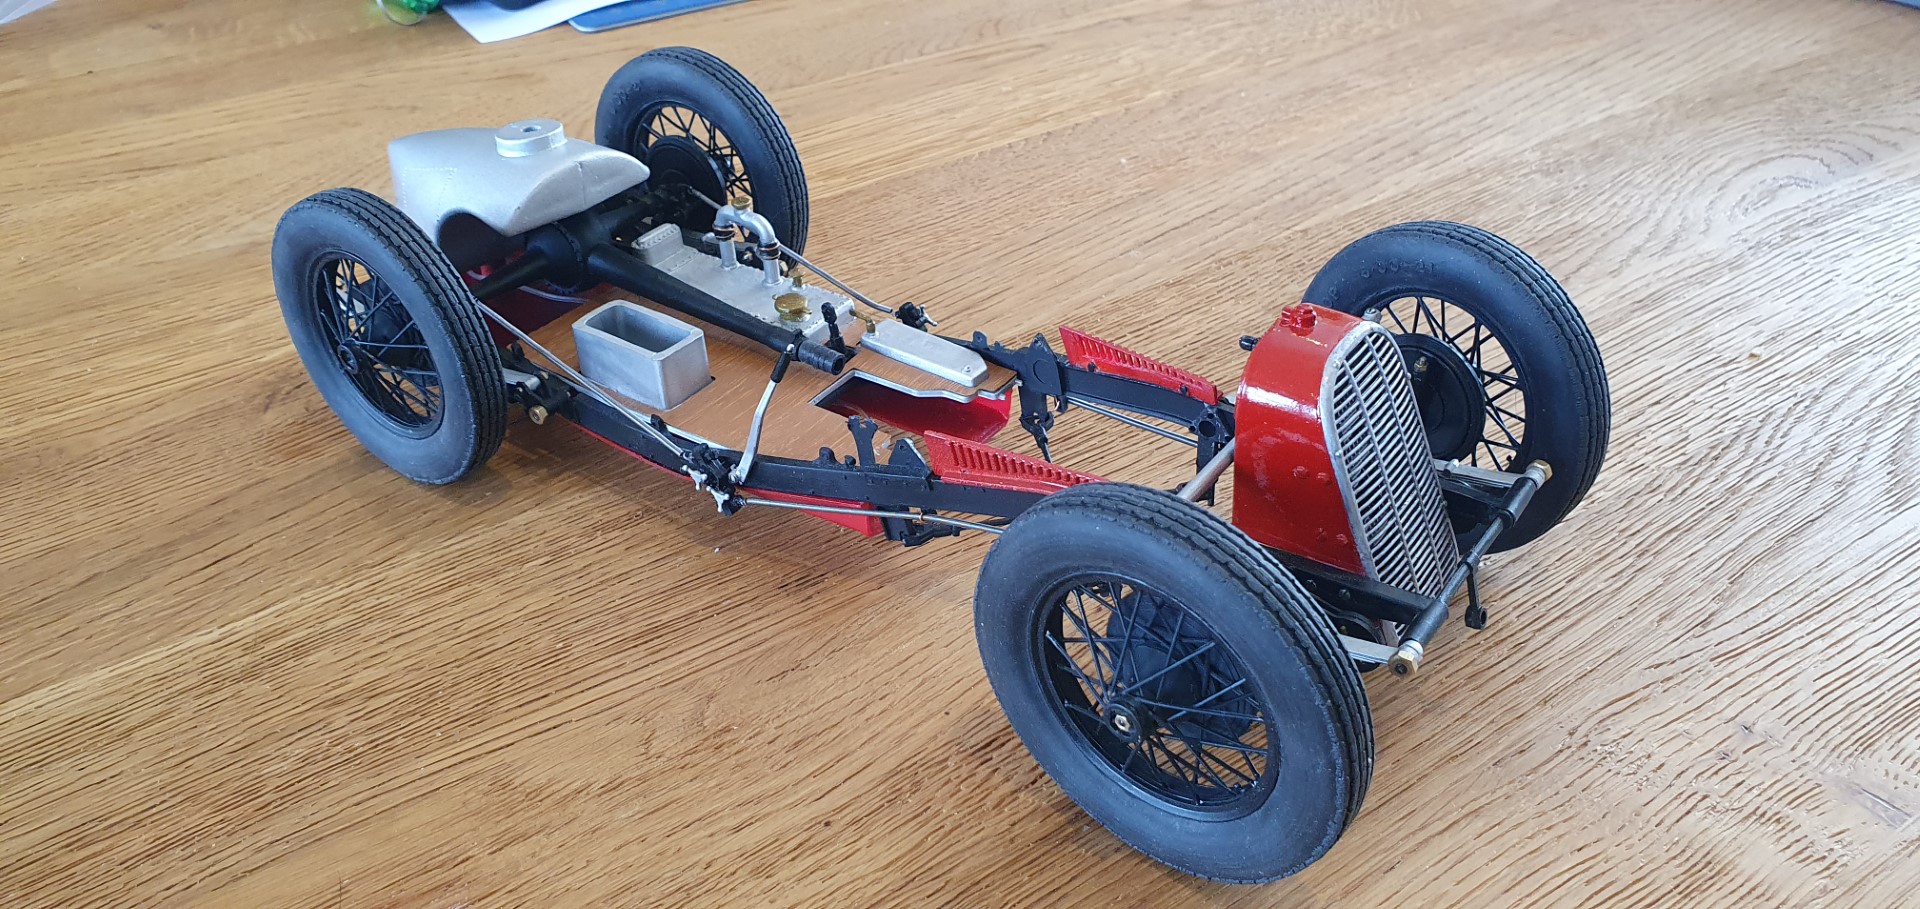
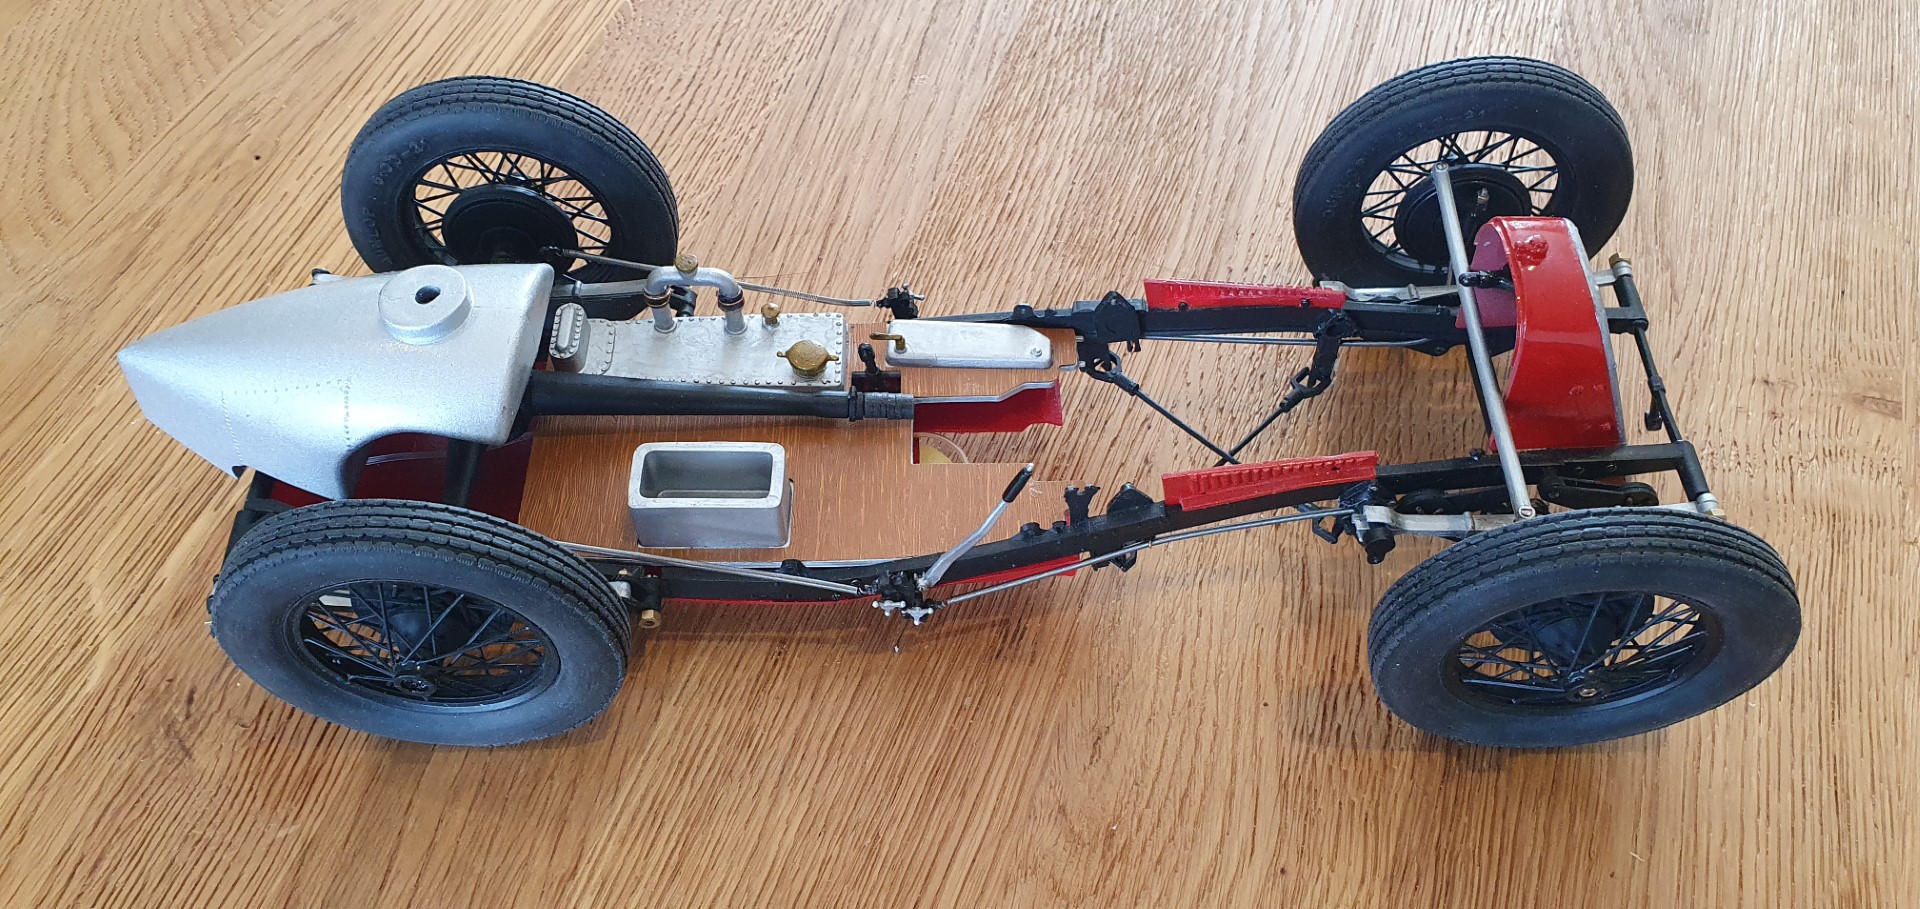
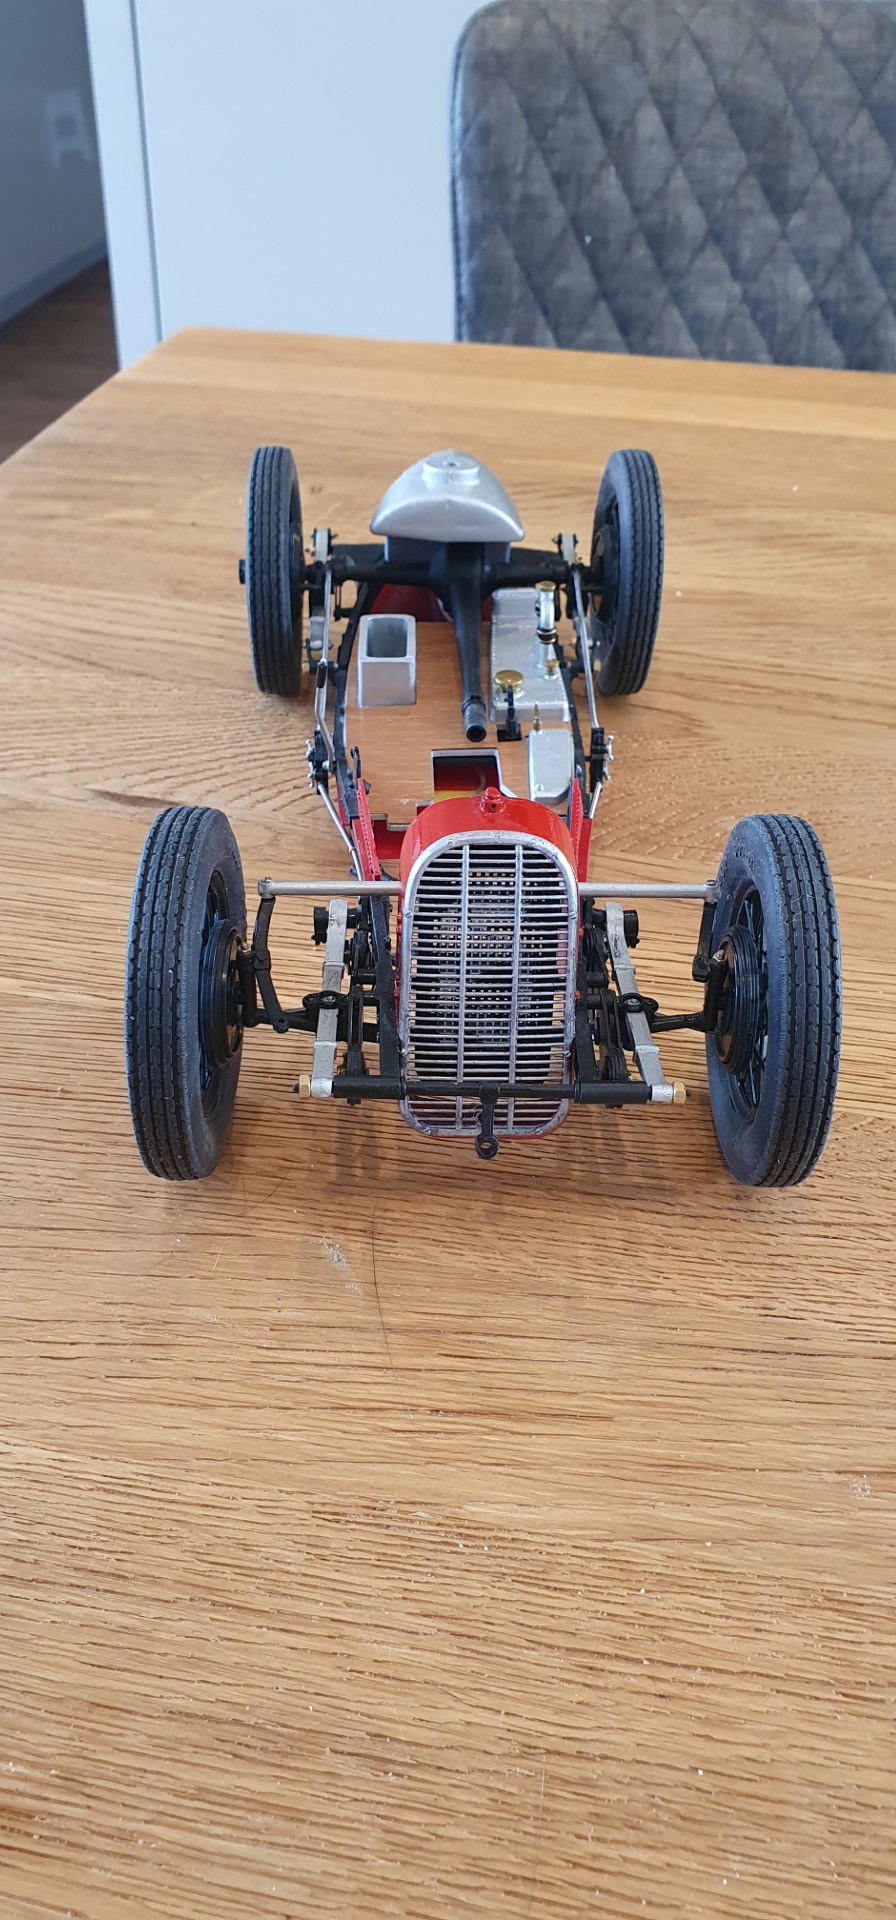
Fiat 806 GP car 1/12 model – page 3
Tuesday 23rd May 2020
Its been a while since I updated, with Lockdown easing and business picking up again I’ve had less time and gotten out of the habit of a regular update (doing this Aug 9th!).
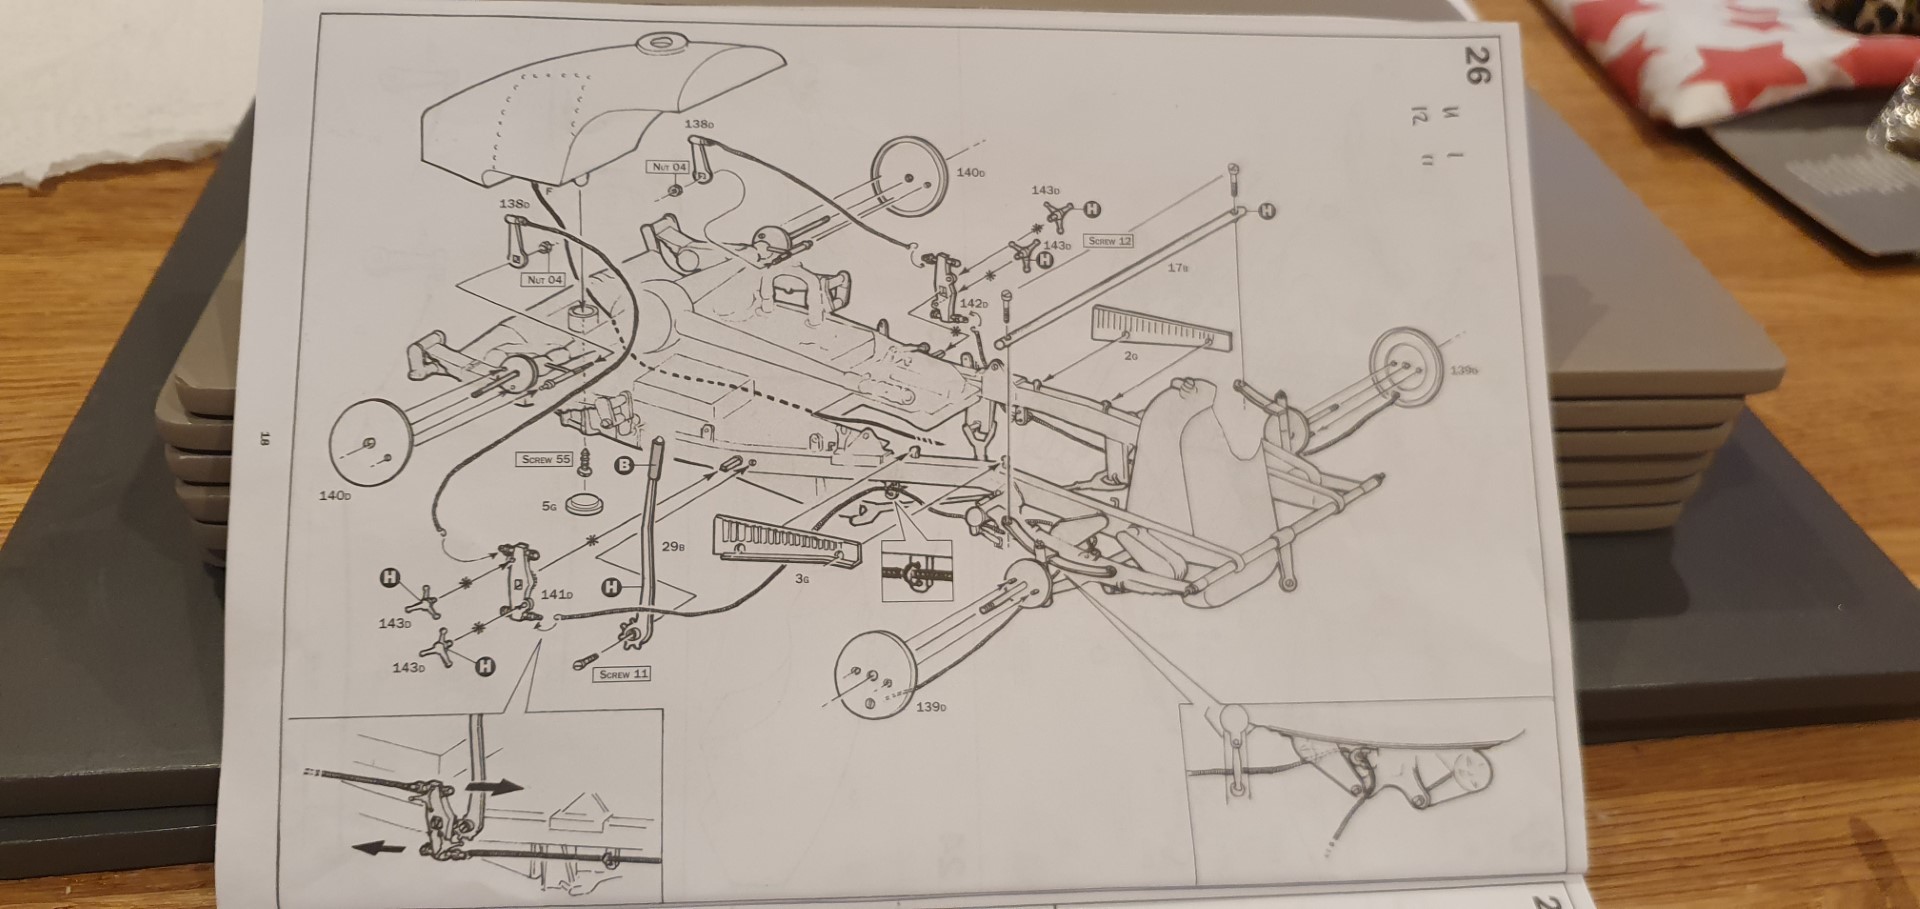
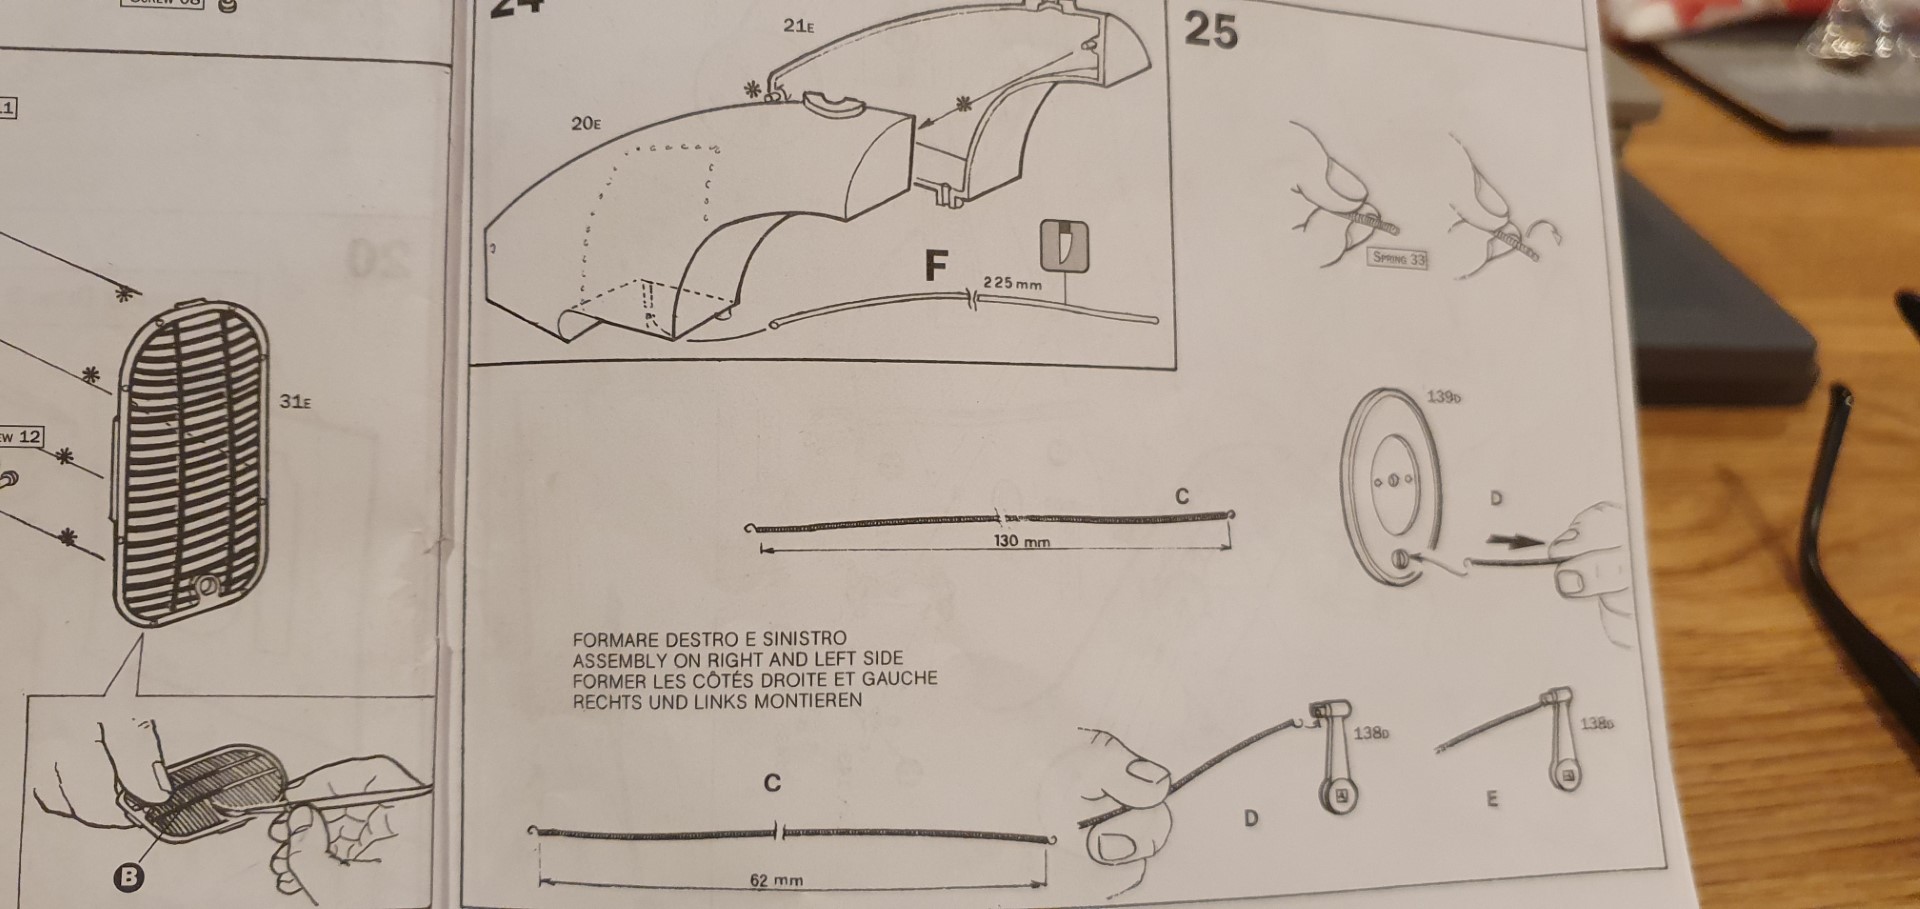
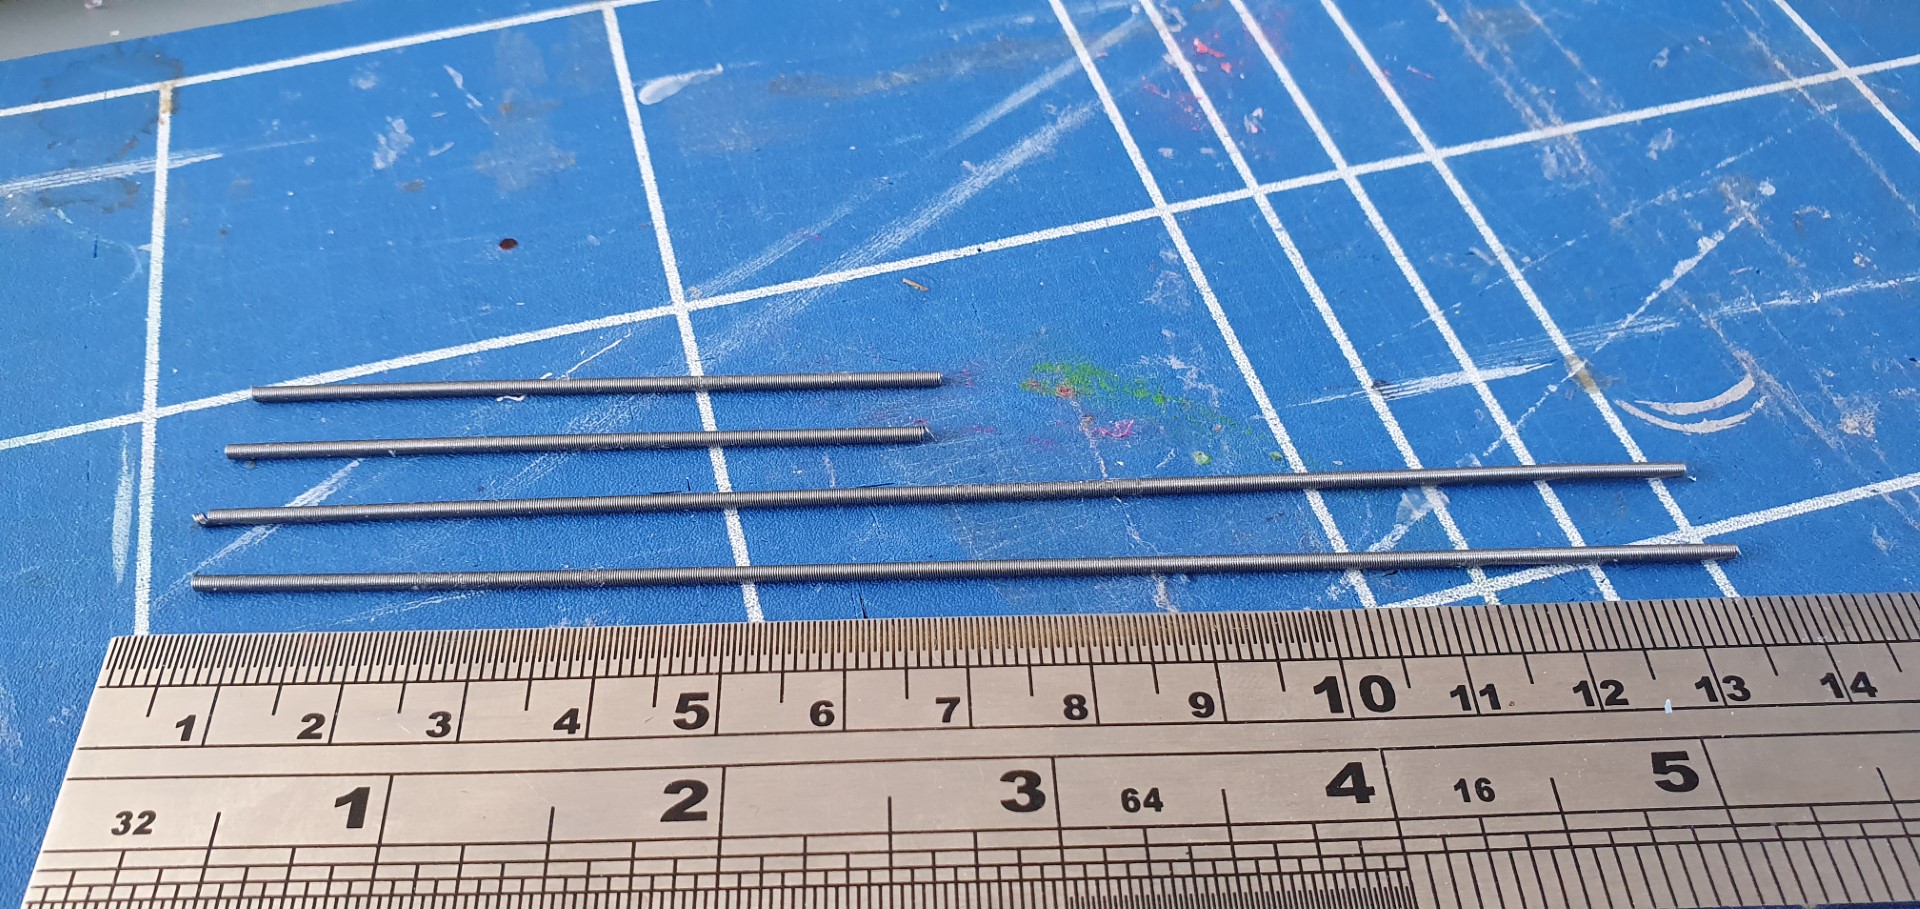
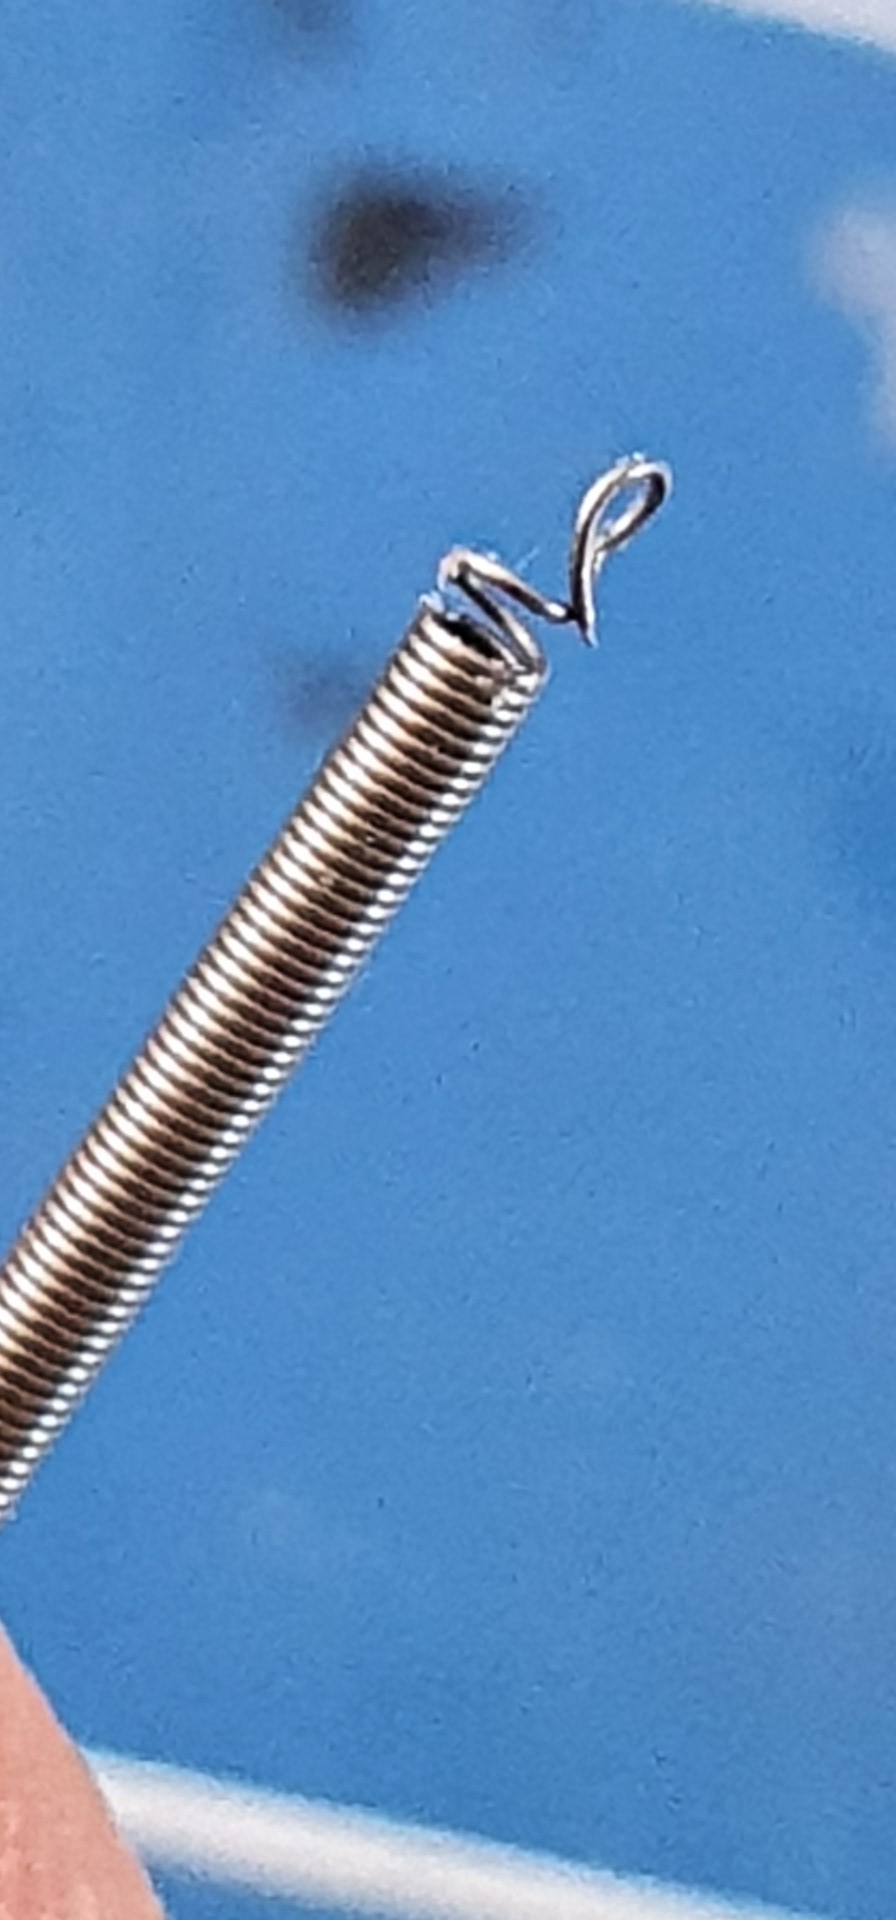
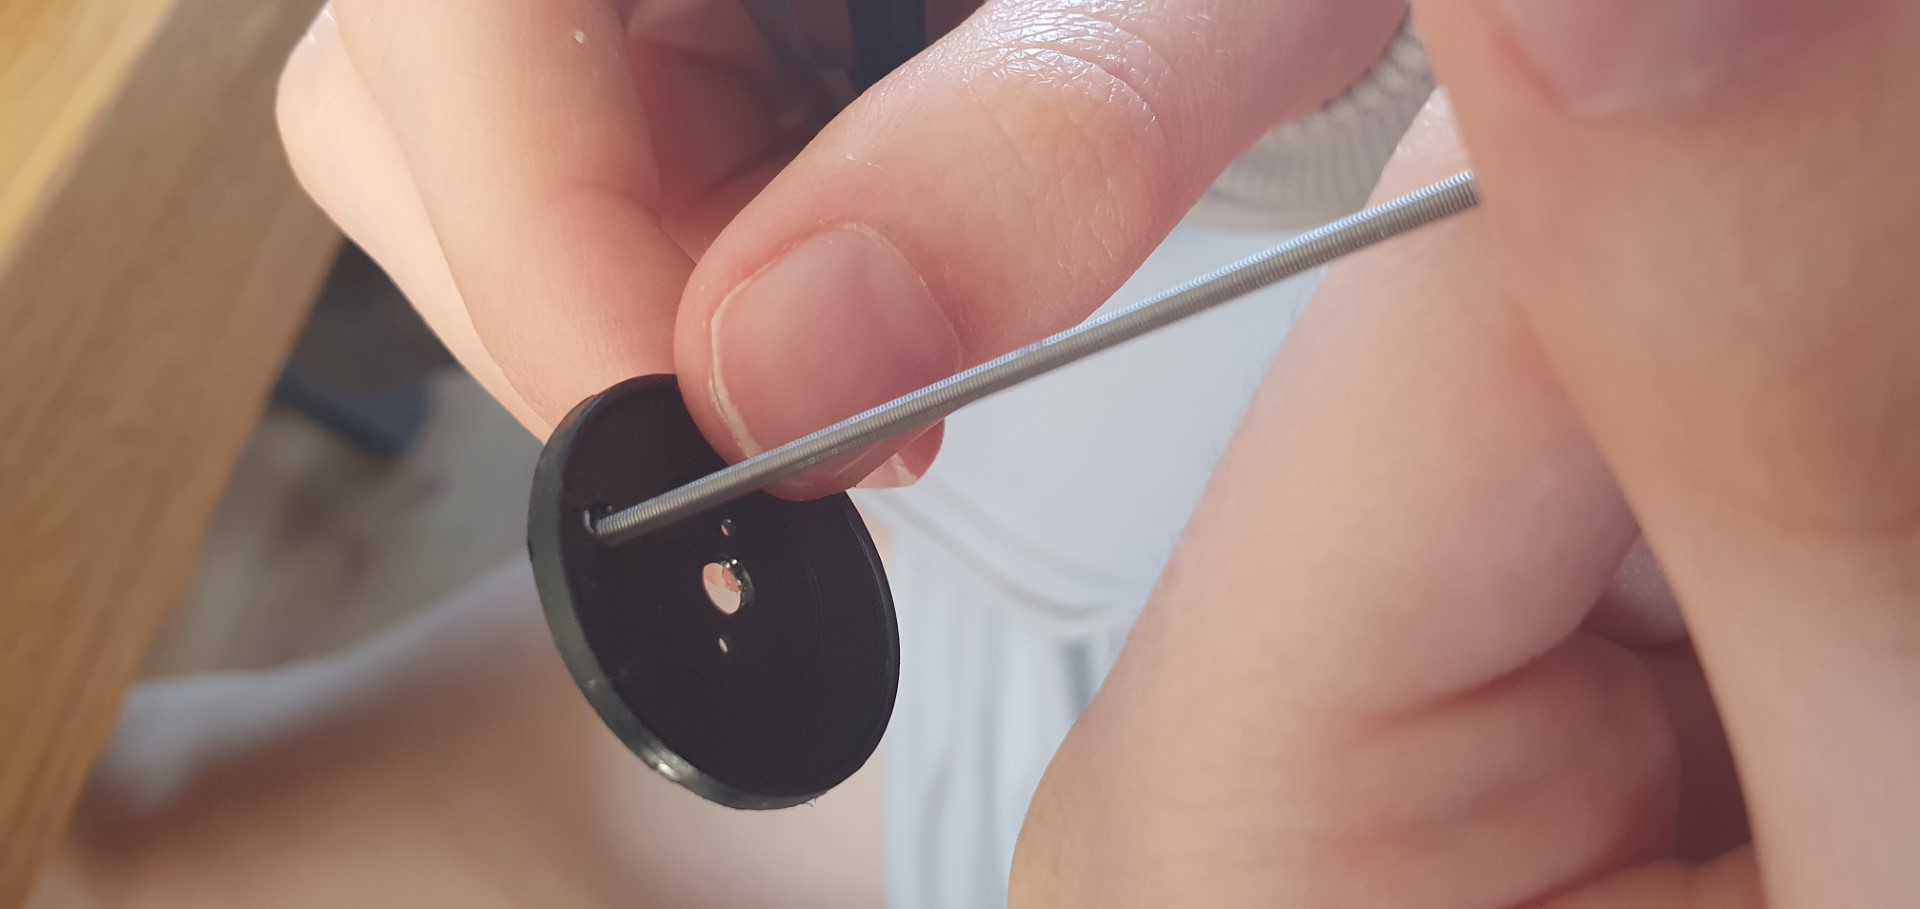
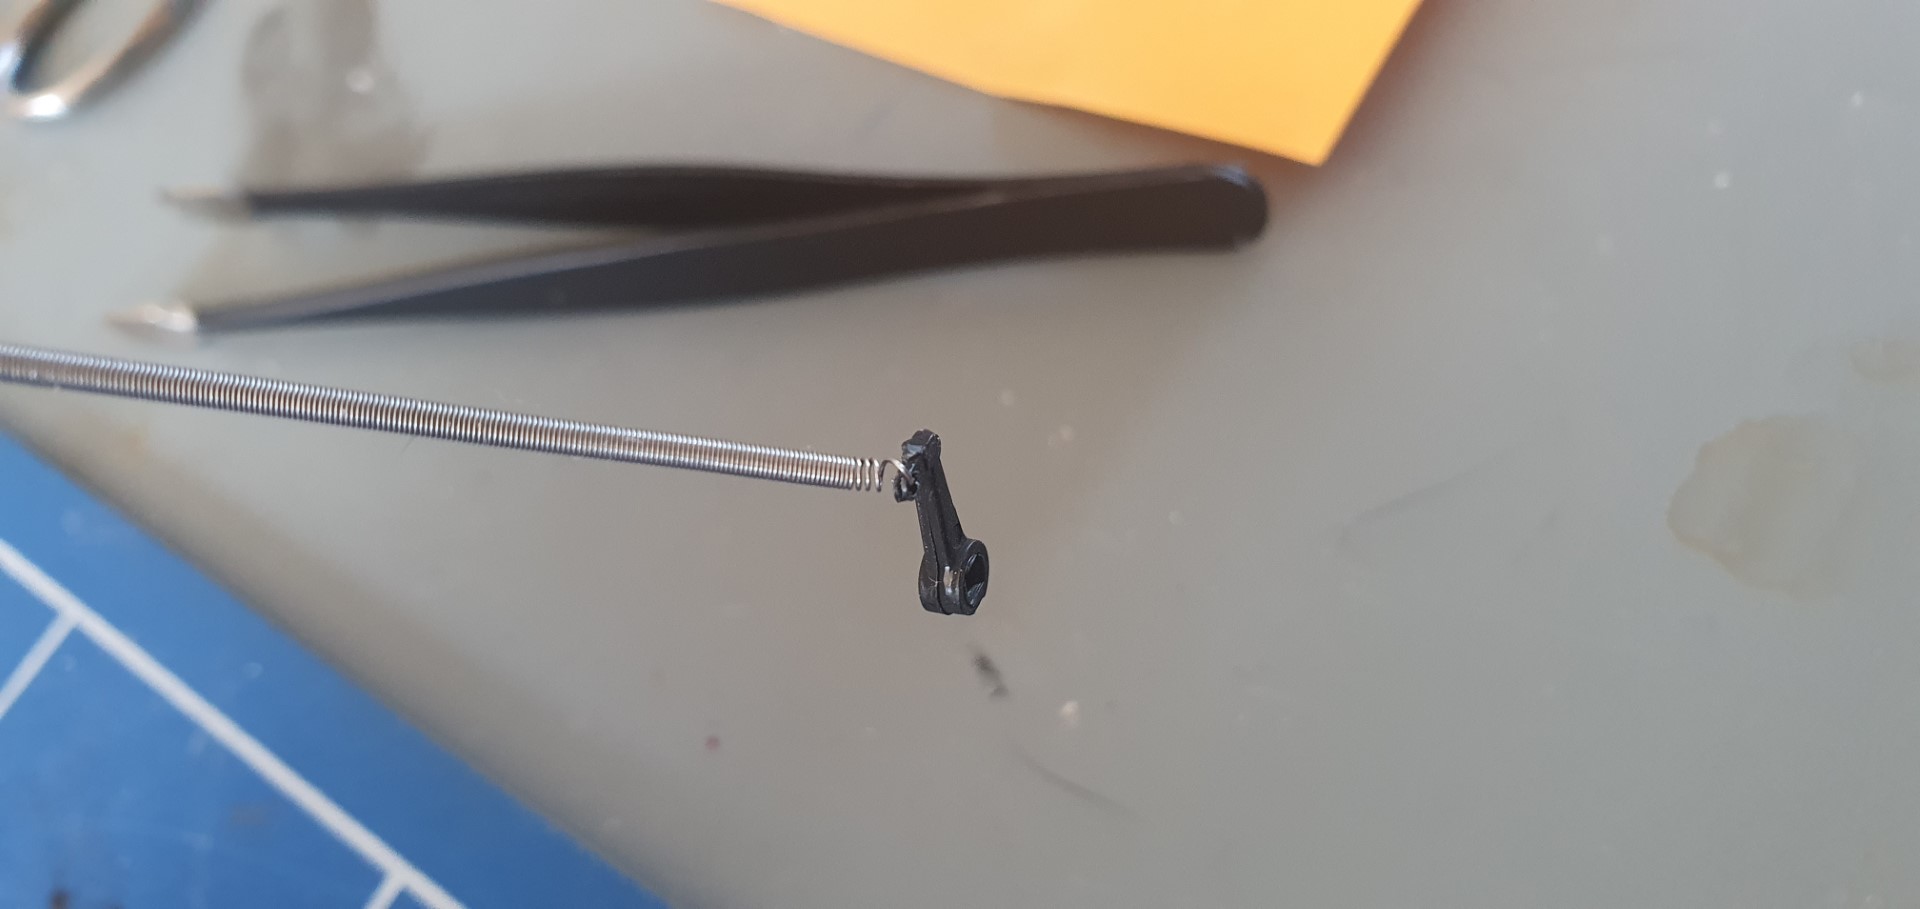
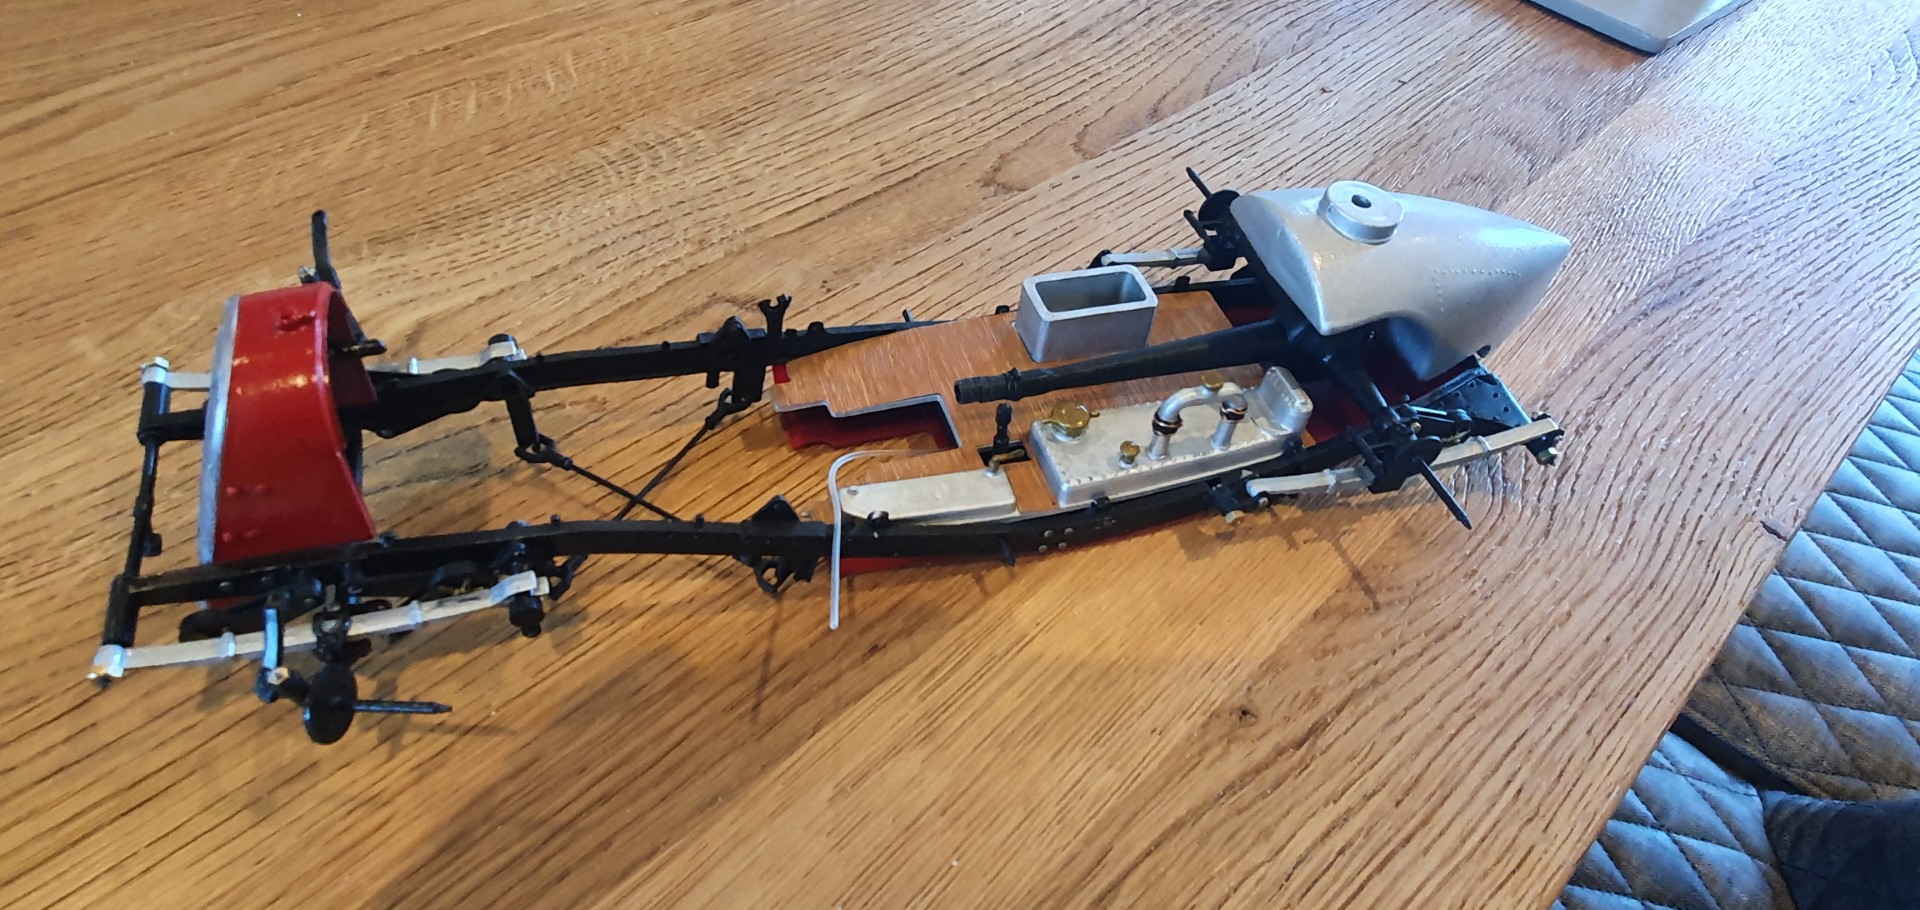
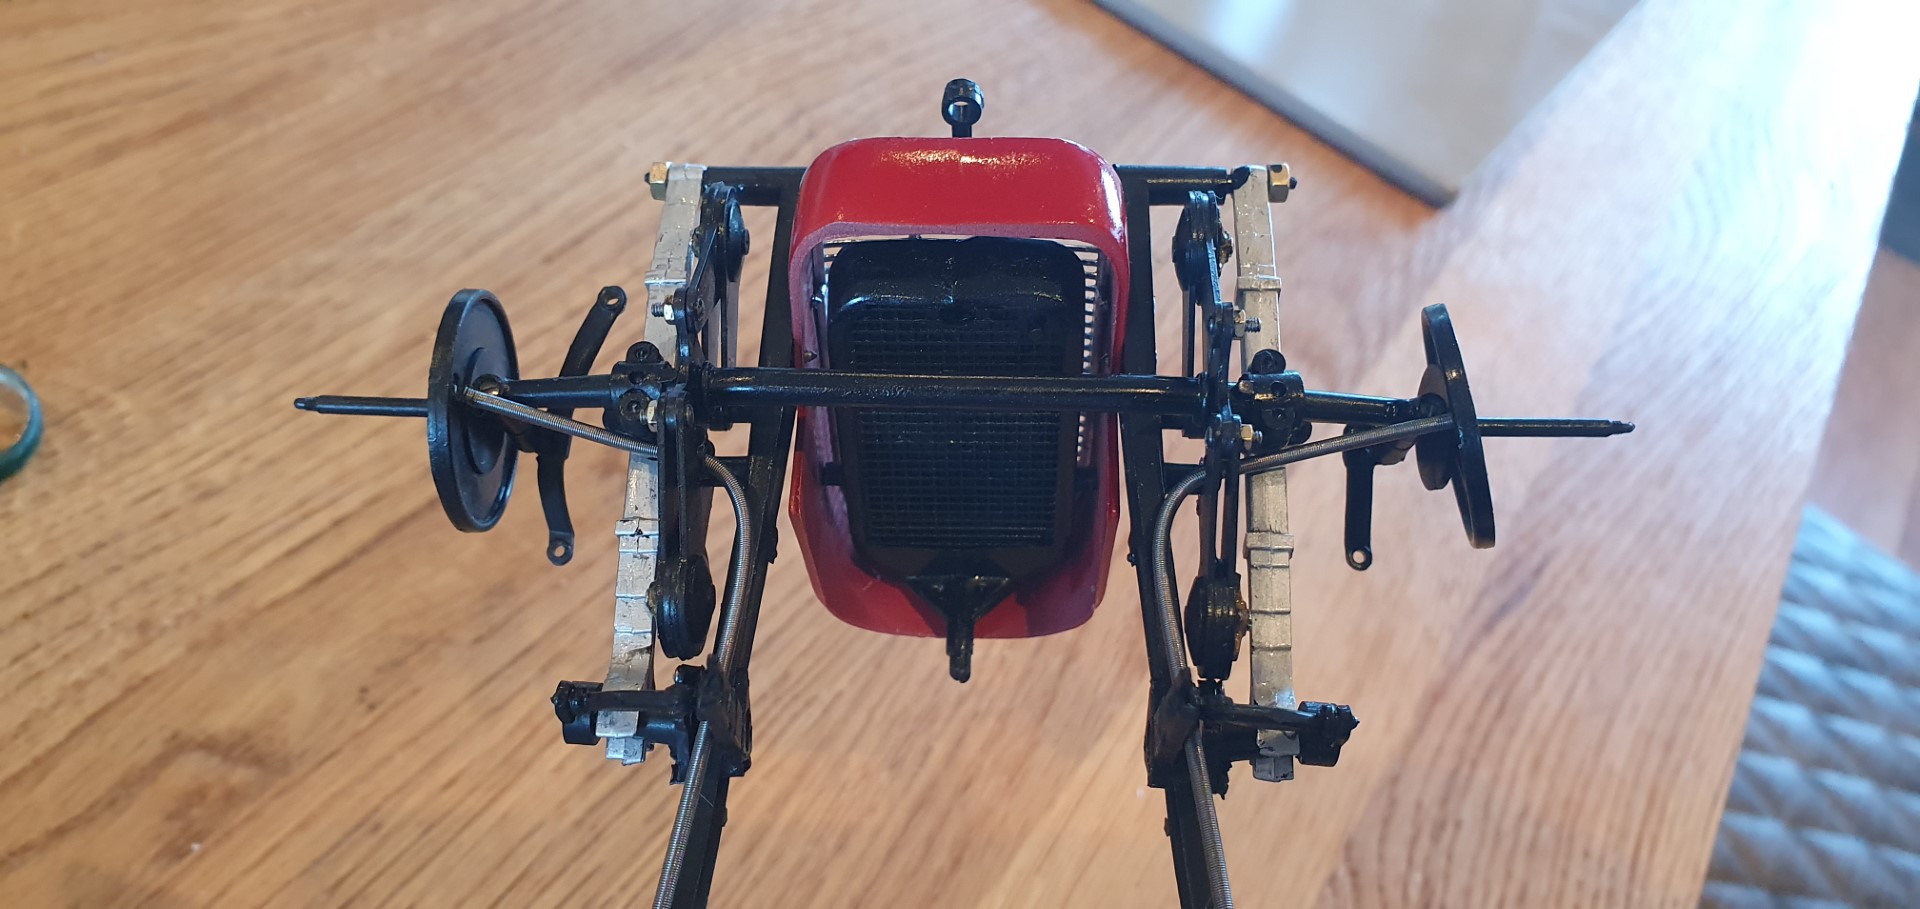
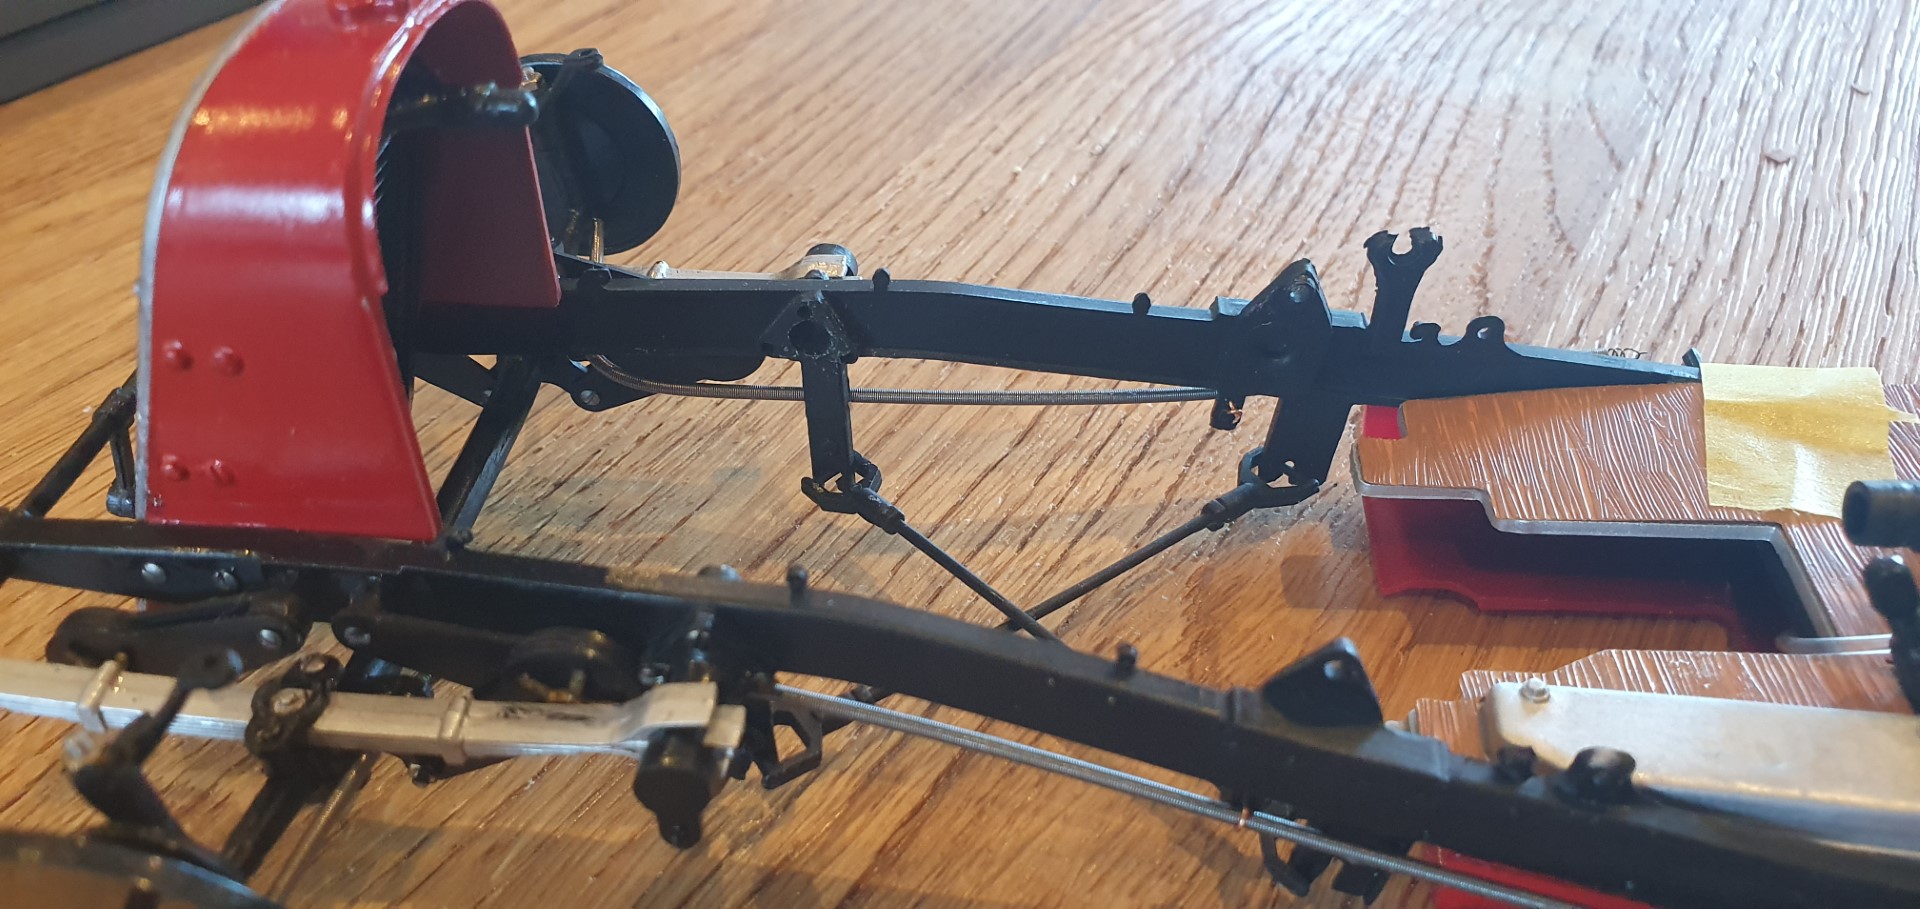
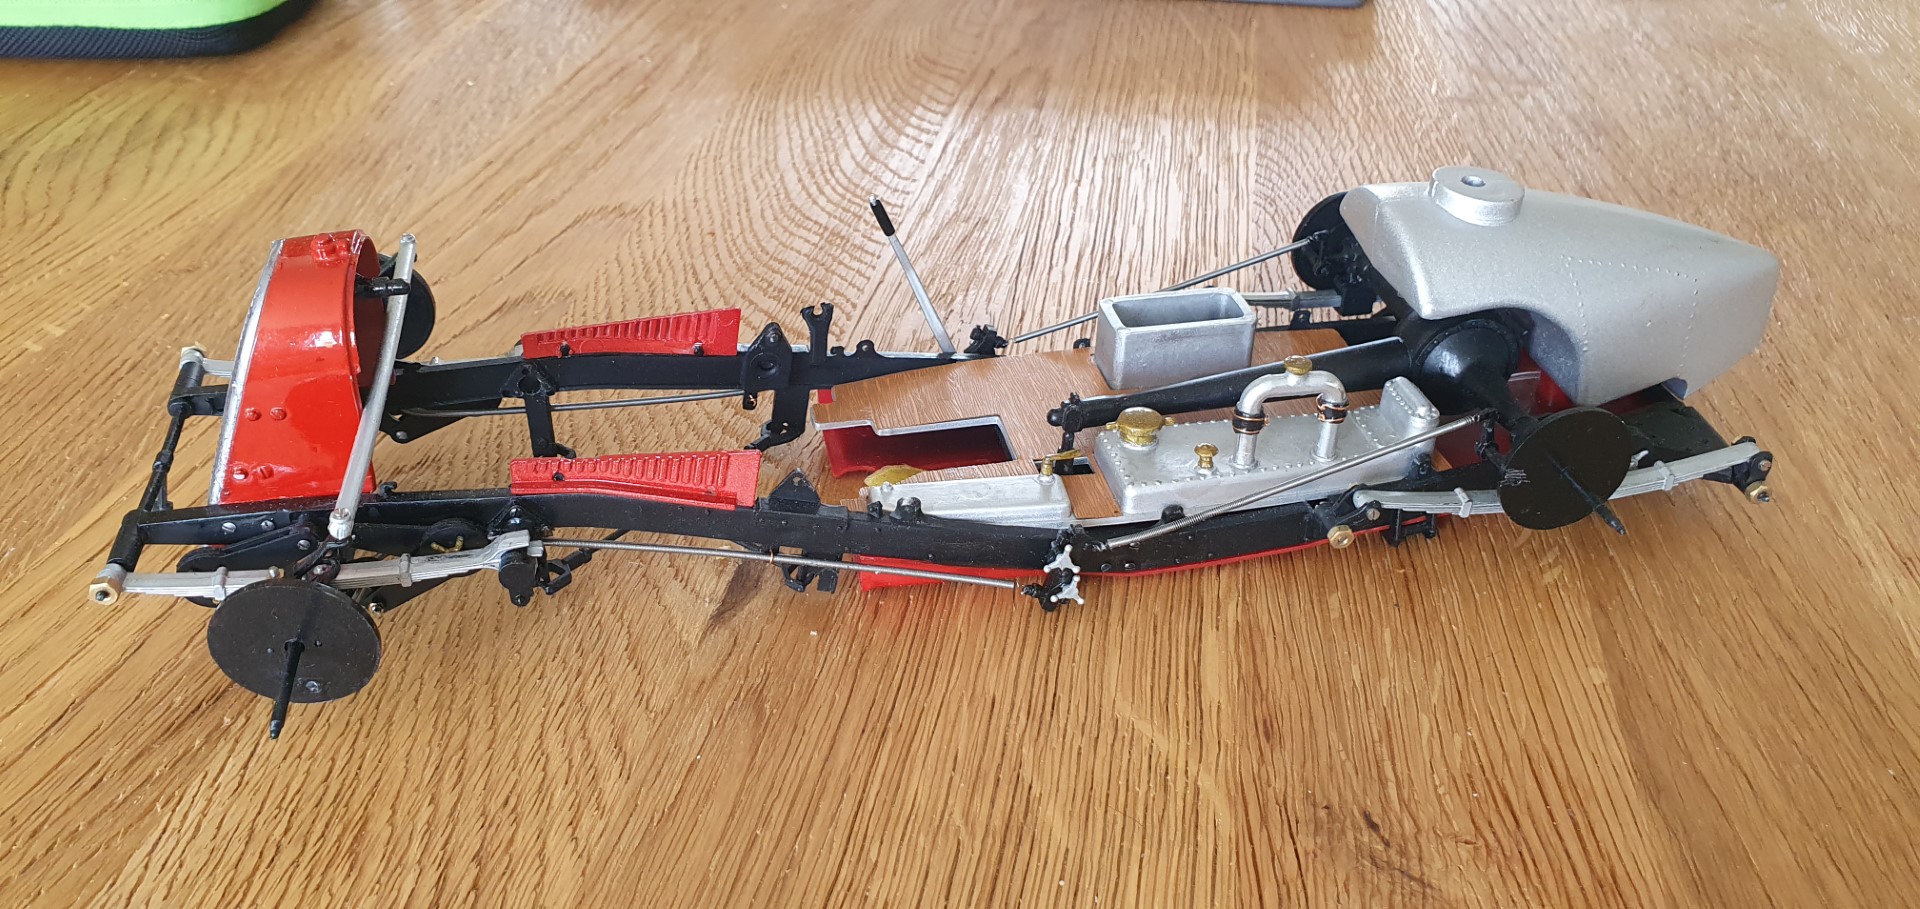
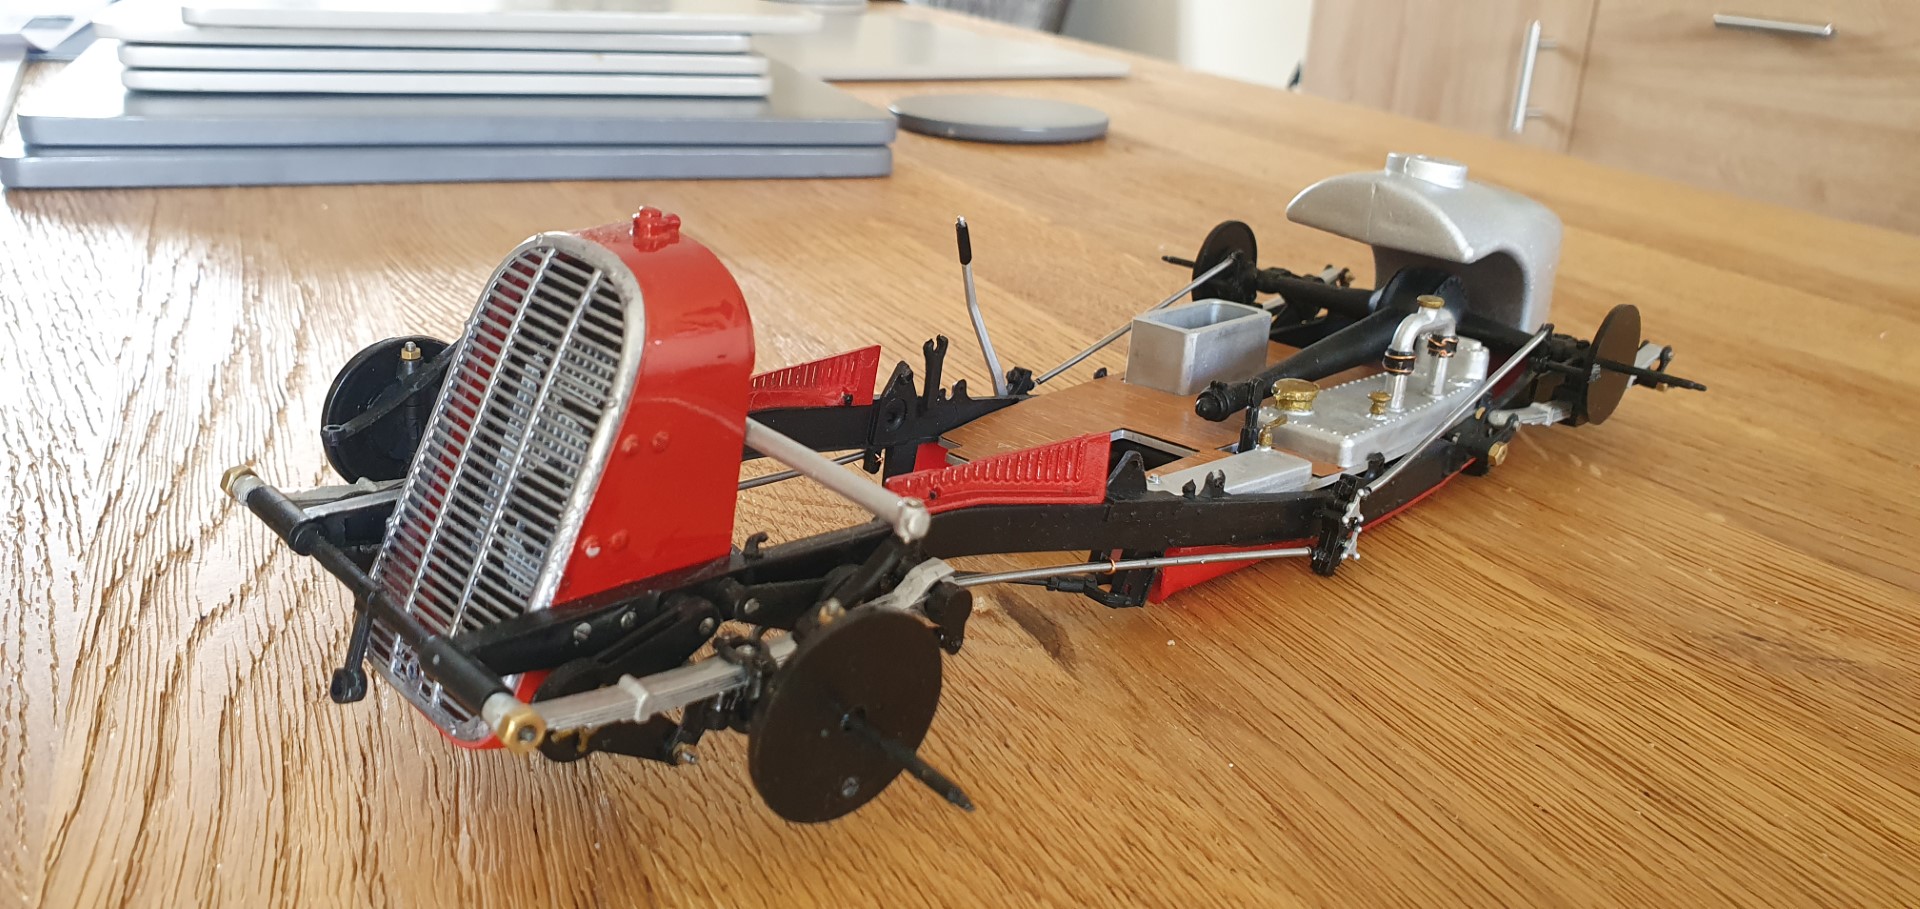
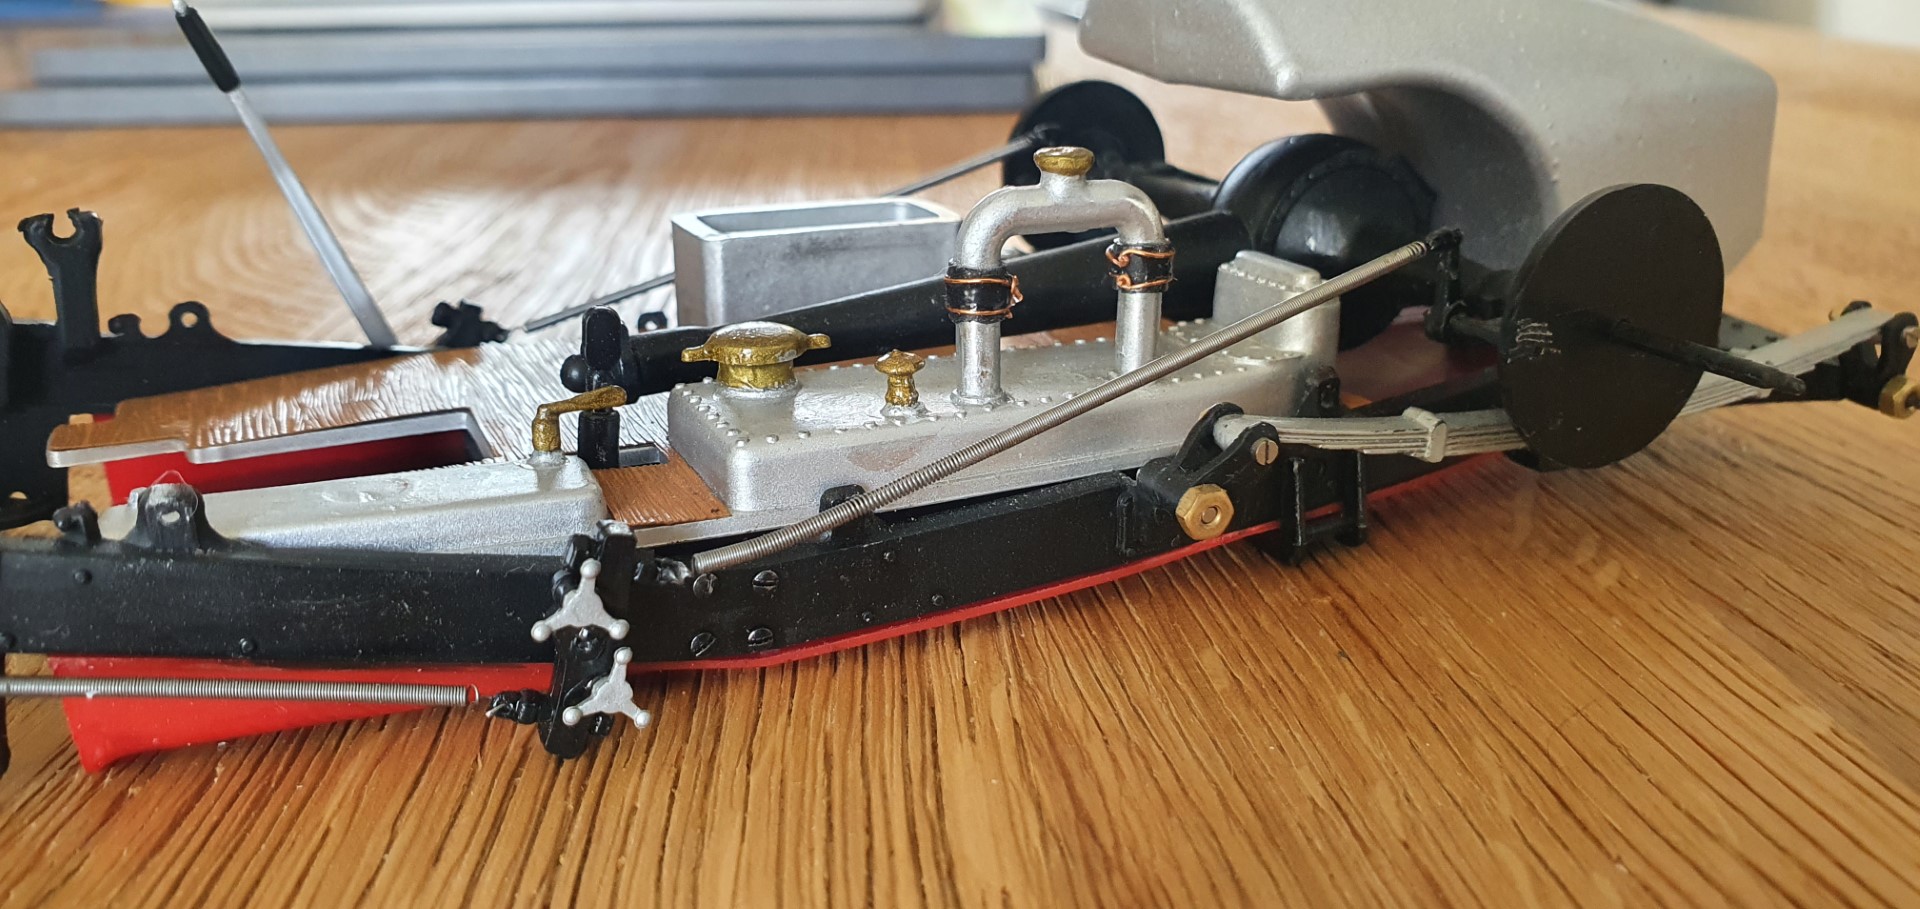
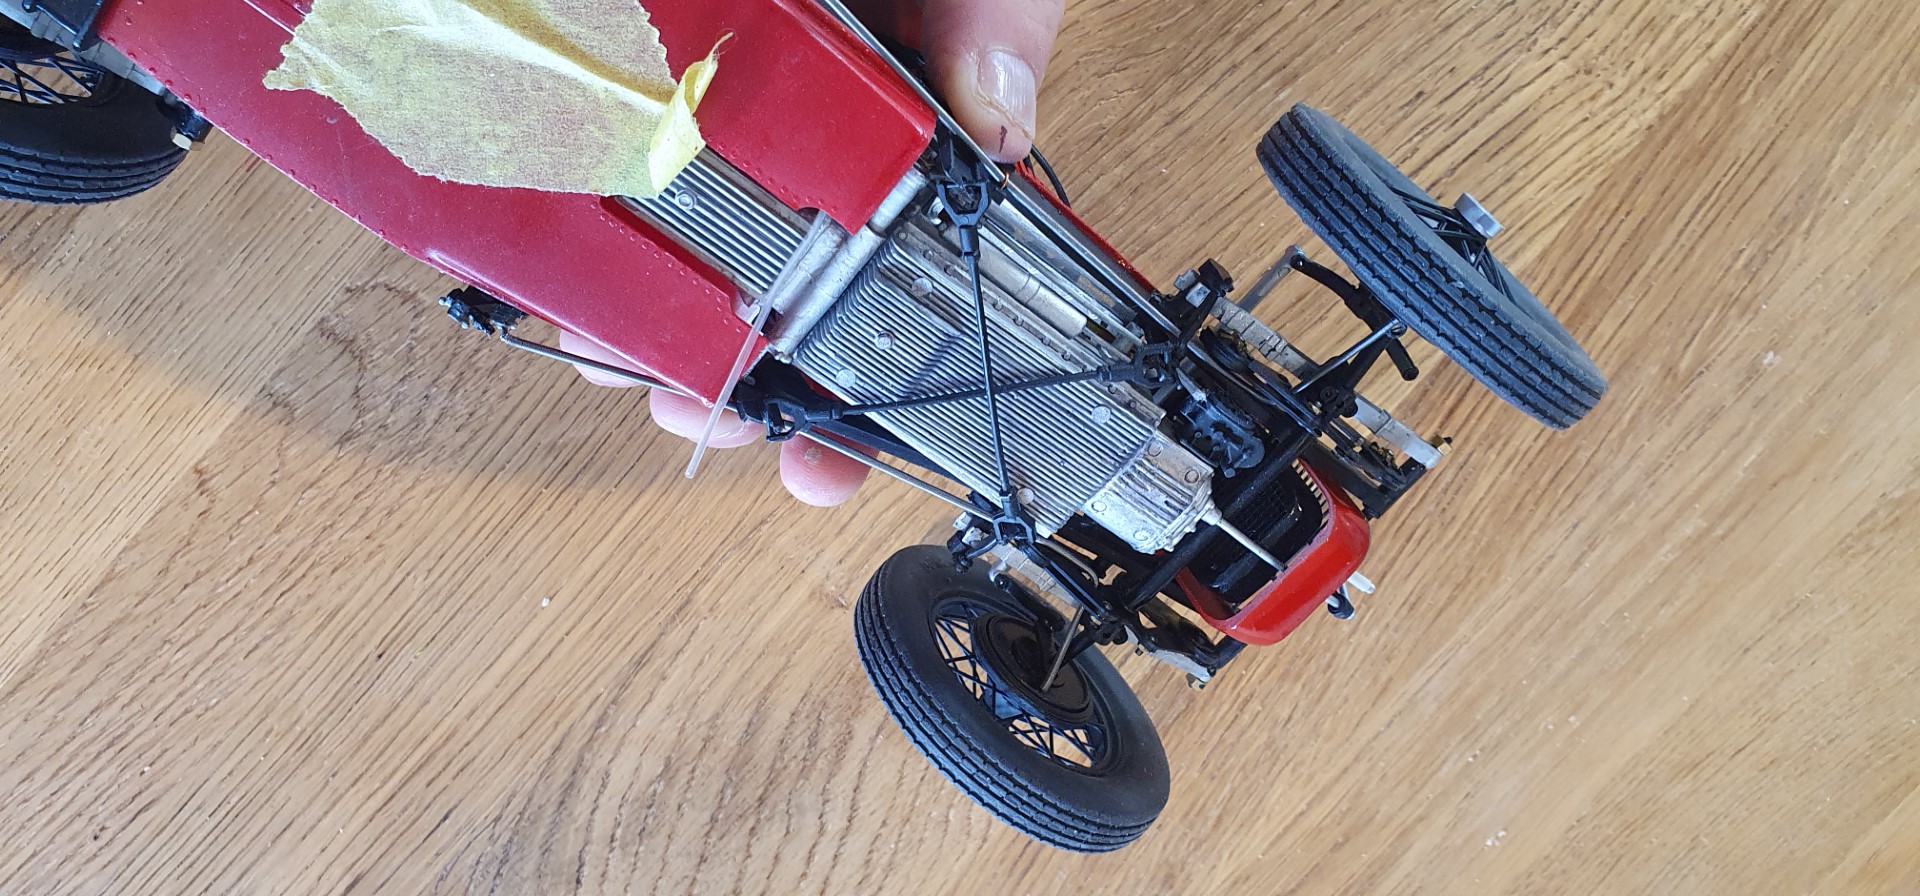
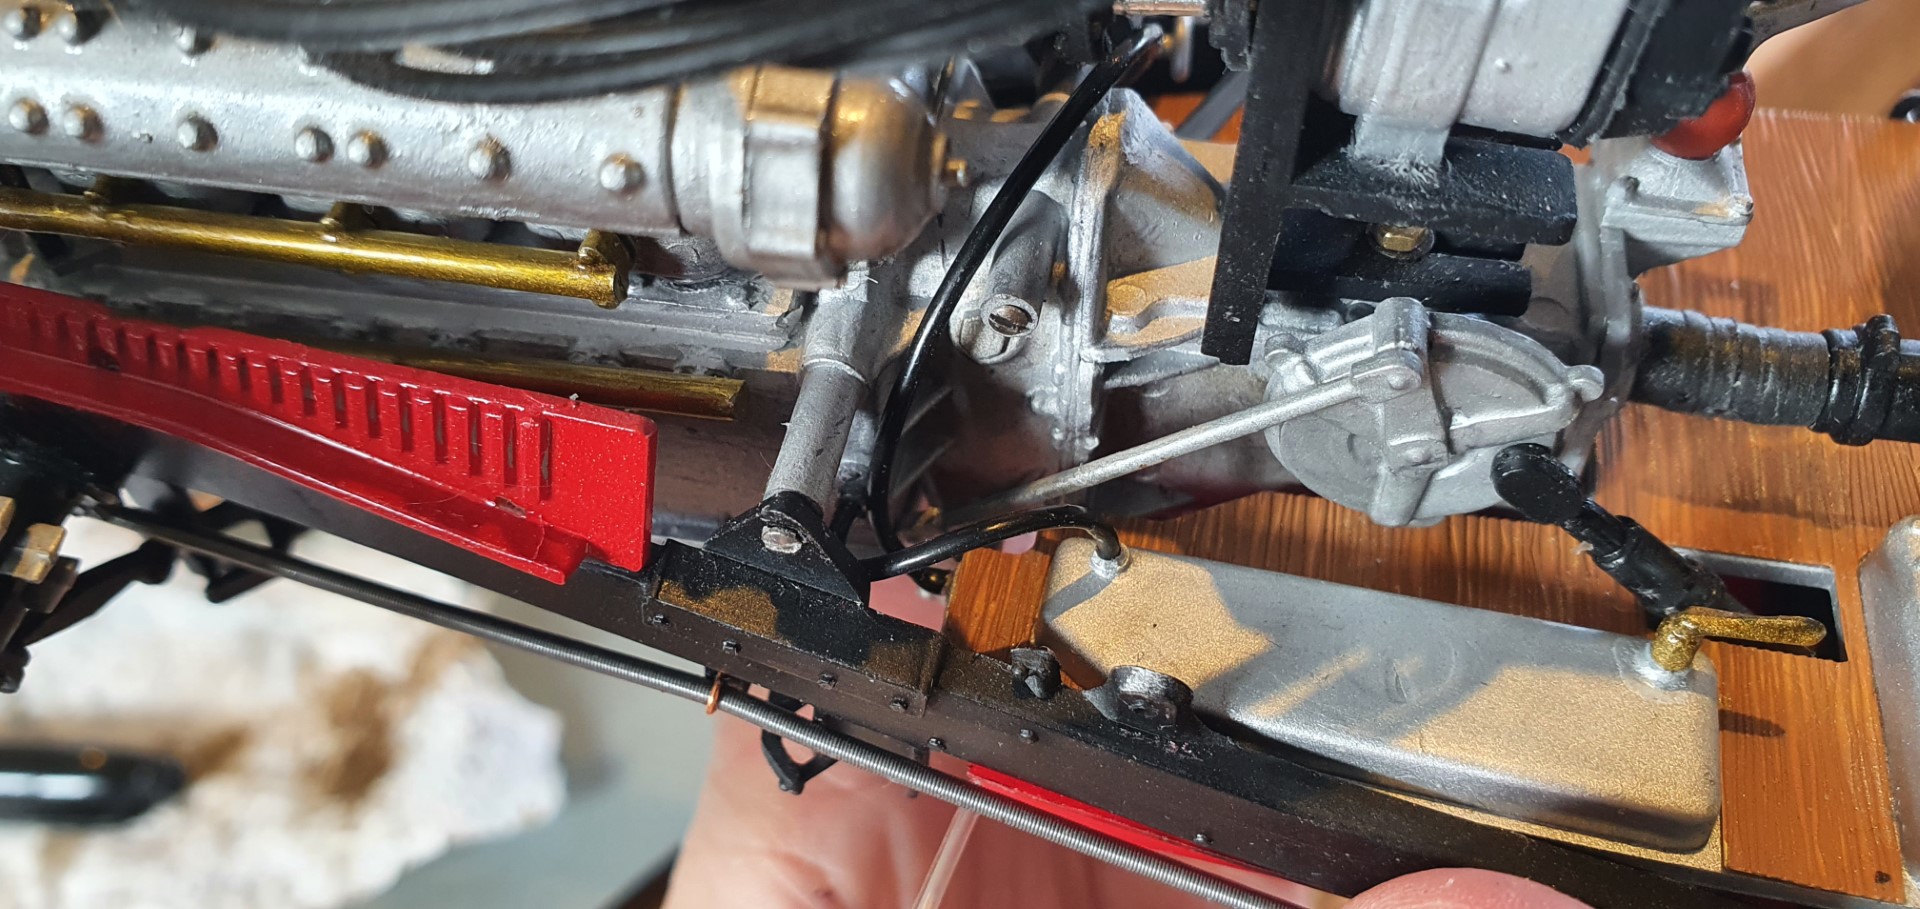
In the following pictures you can see the instructions telling me to create and fix several springs, acting as brake lines.
30th May 2020 (see the gap in photos!)
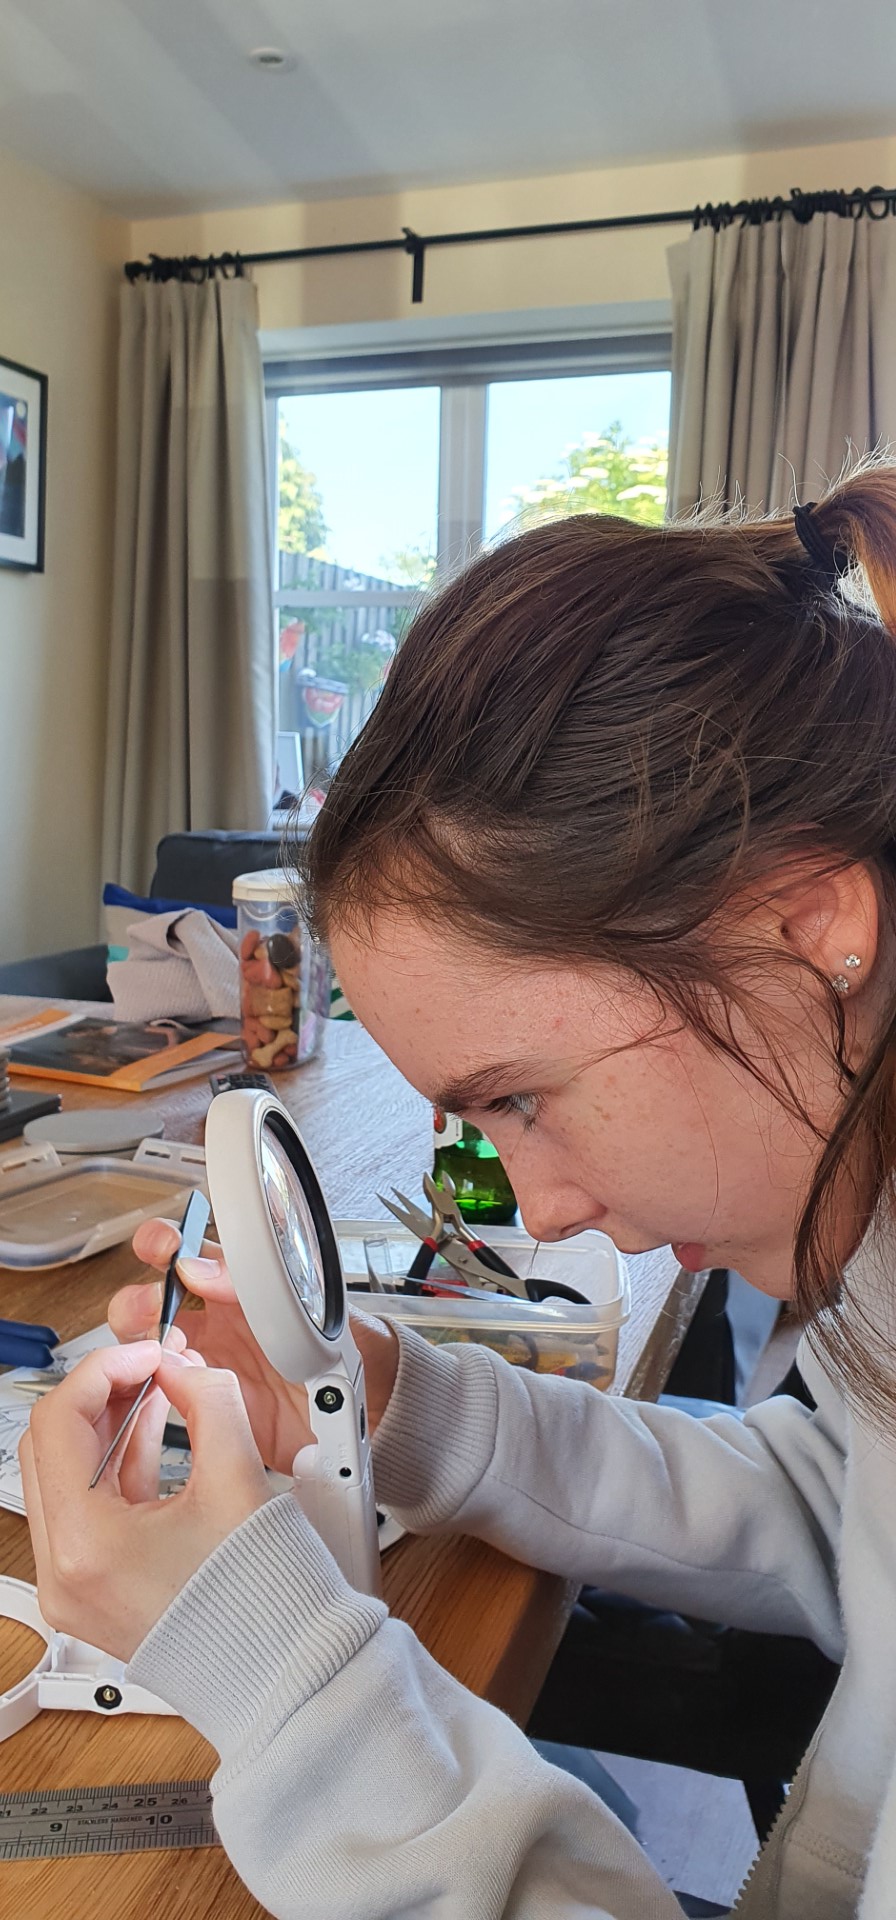
This one shows me enlisting the help of my eldest who has perfect 15 year old eyesight. The problem is not cutting to length but the twisting the ends over to create a hook.
this shows the spring connected to the hub/brake disc
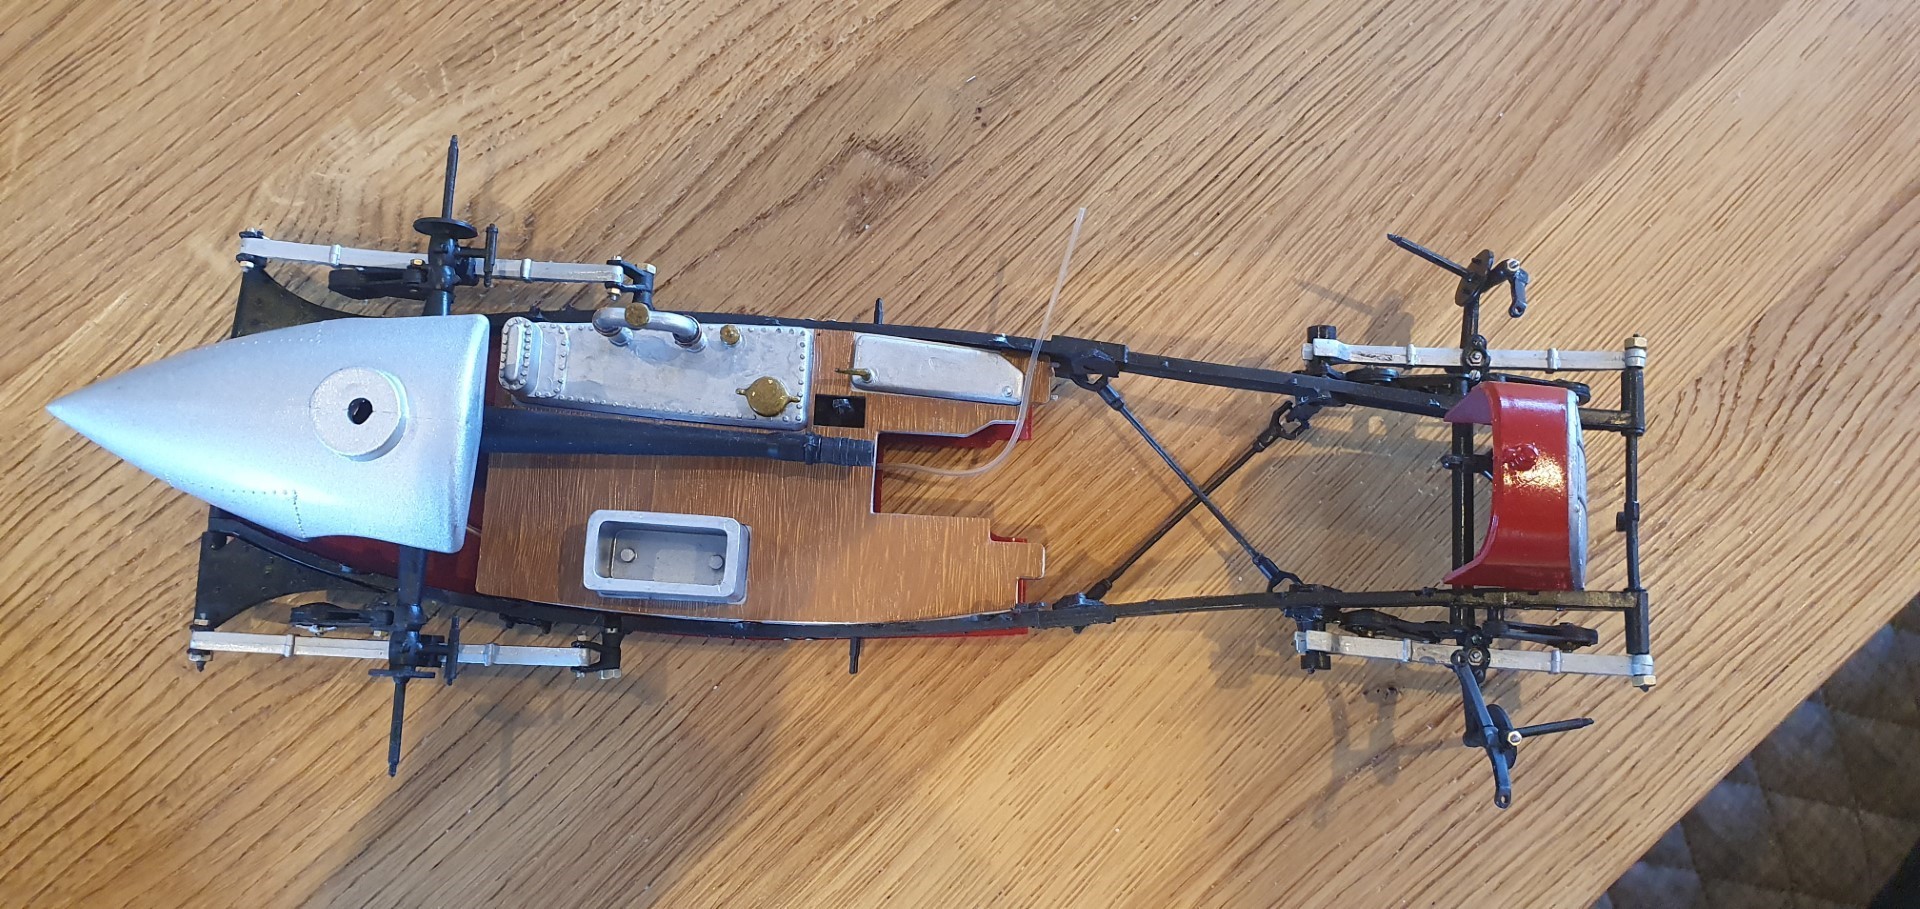
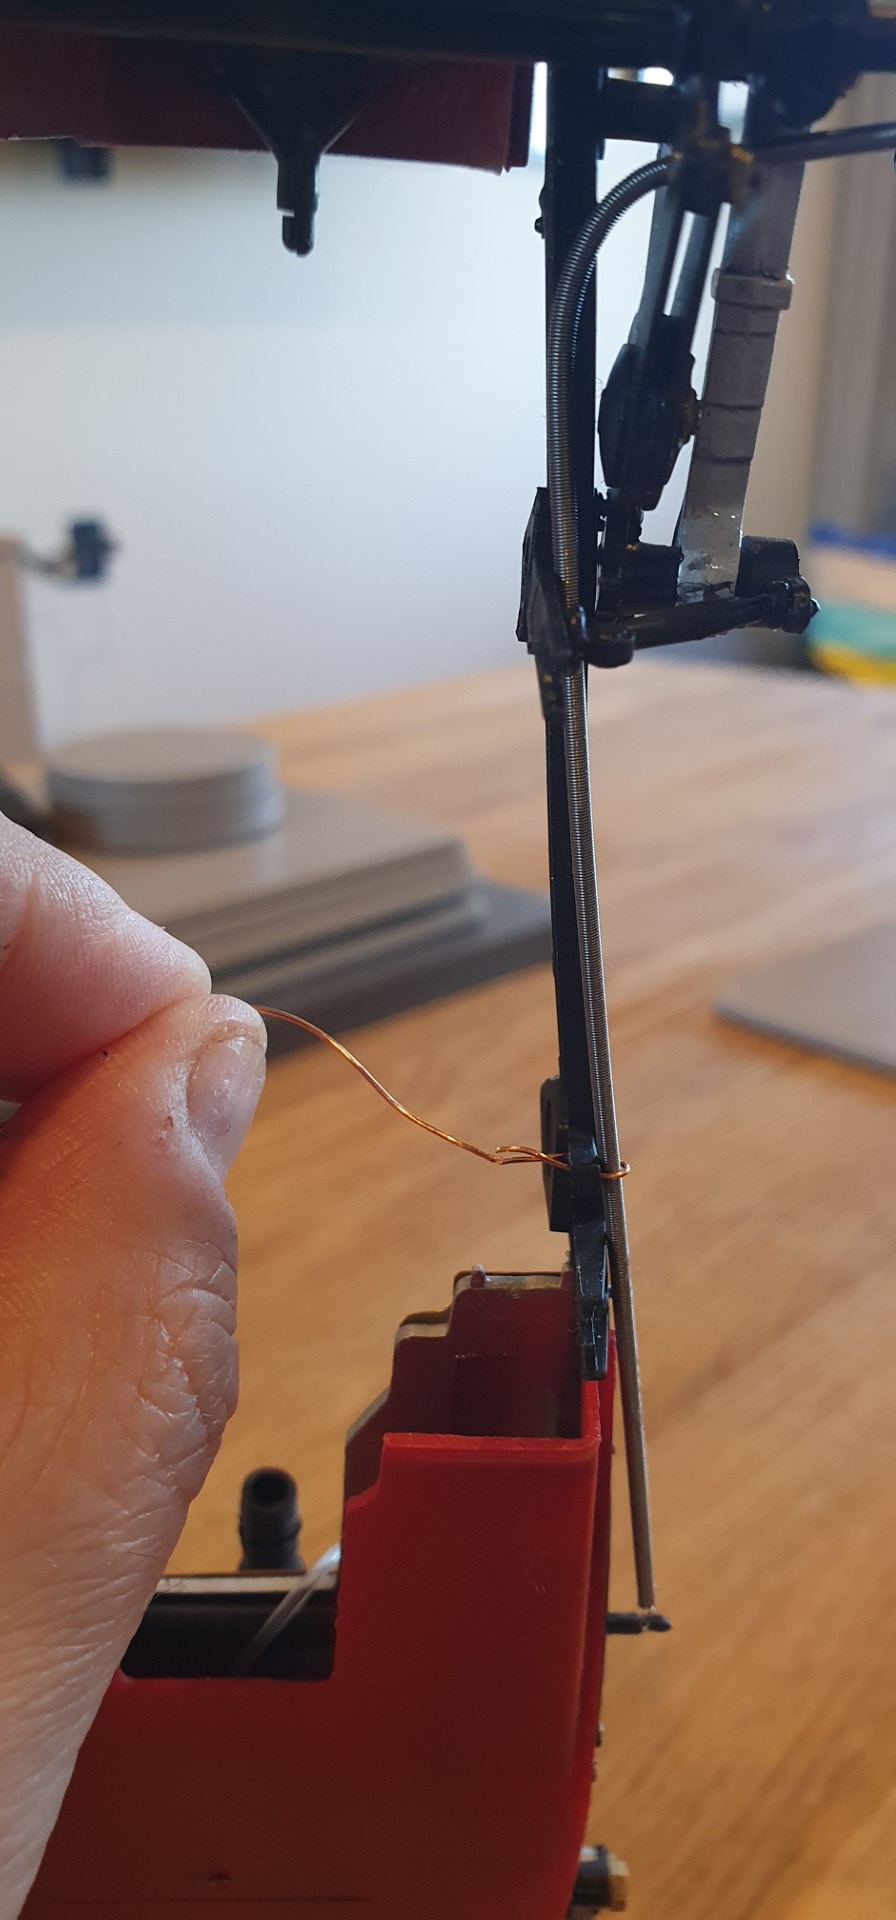
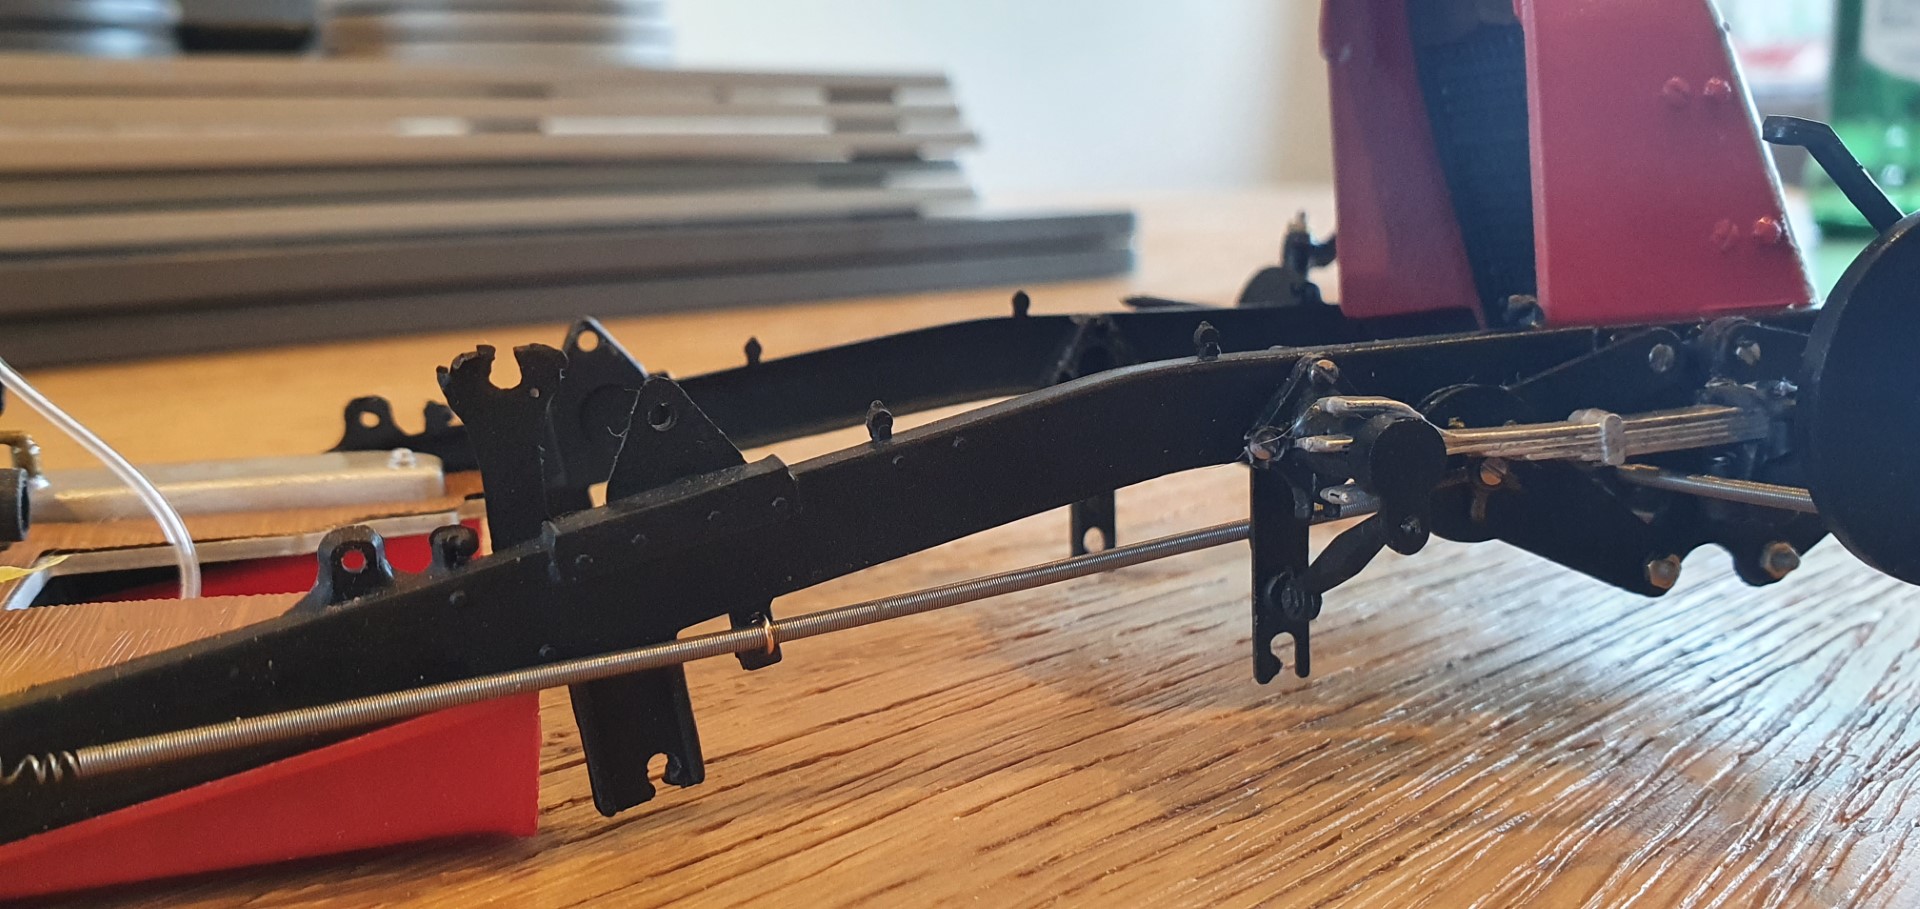
fitting the different ends to the car, you can see I had to make a retaining loop with fine copper wire in one of the latter pictures.
First ones are ‘before’
hubs/discs fitted
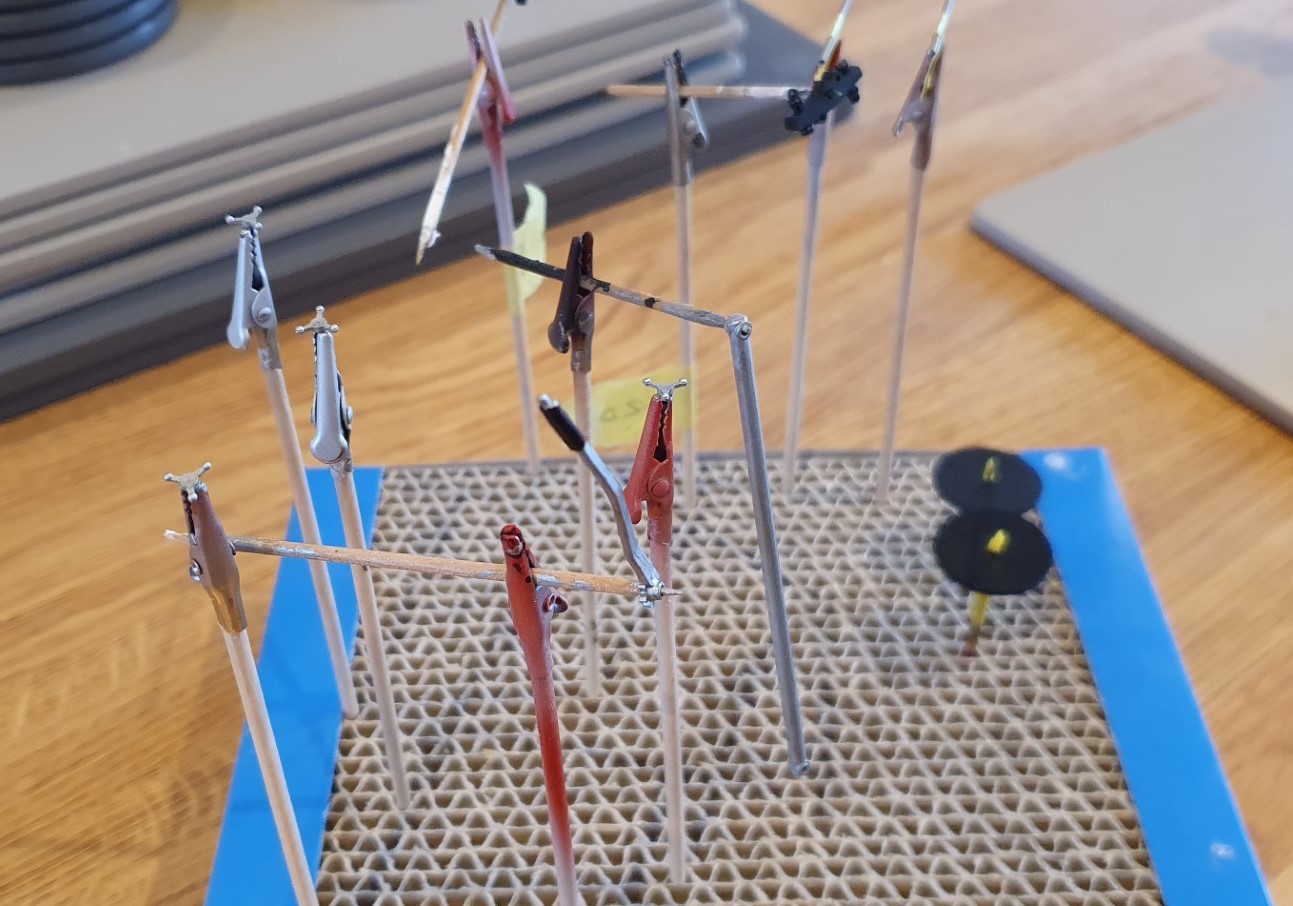
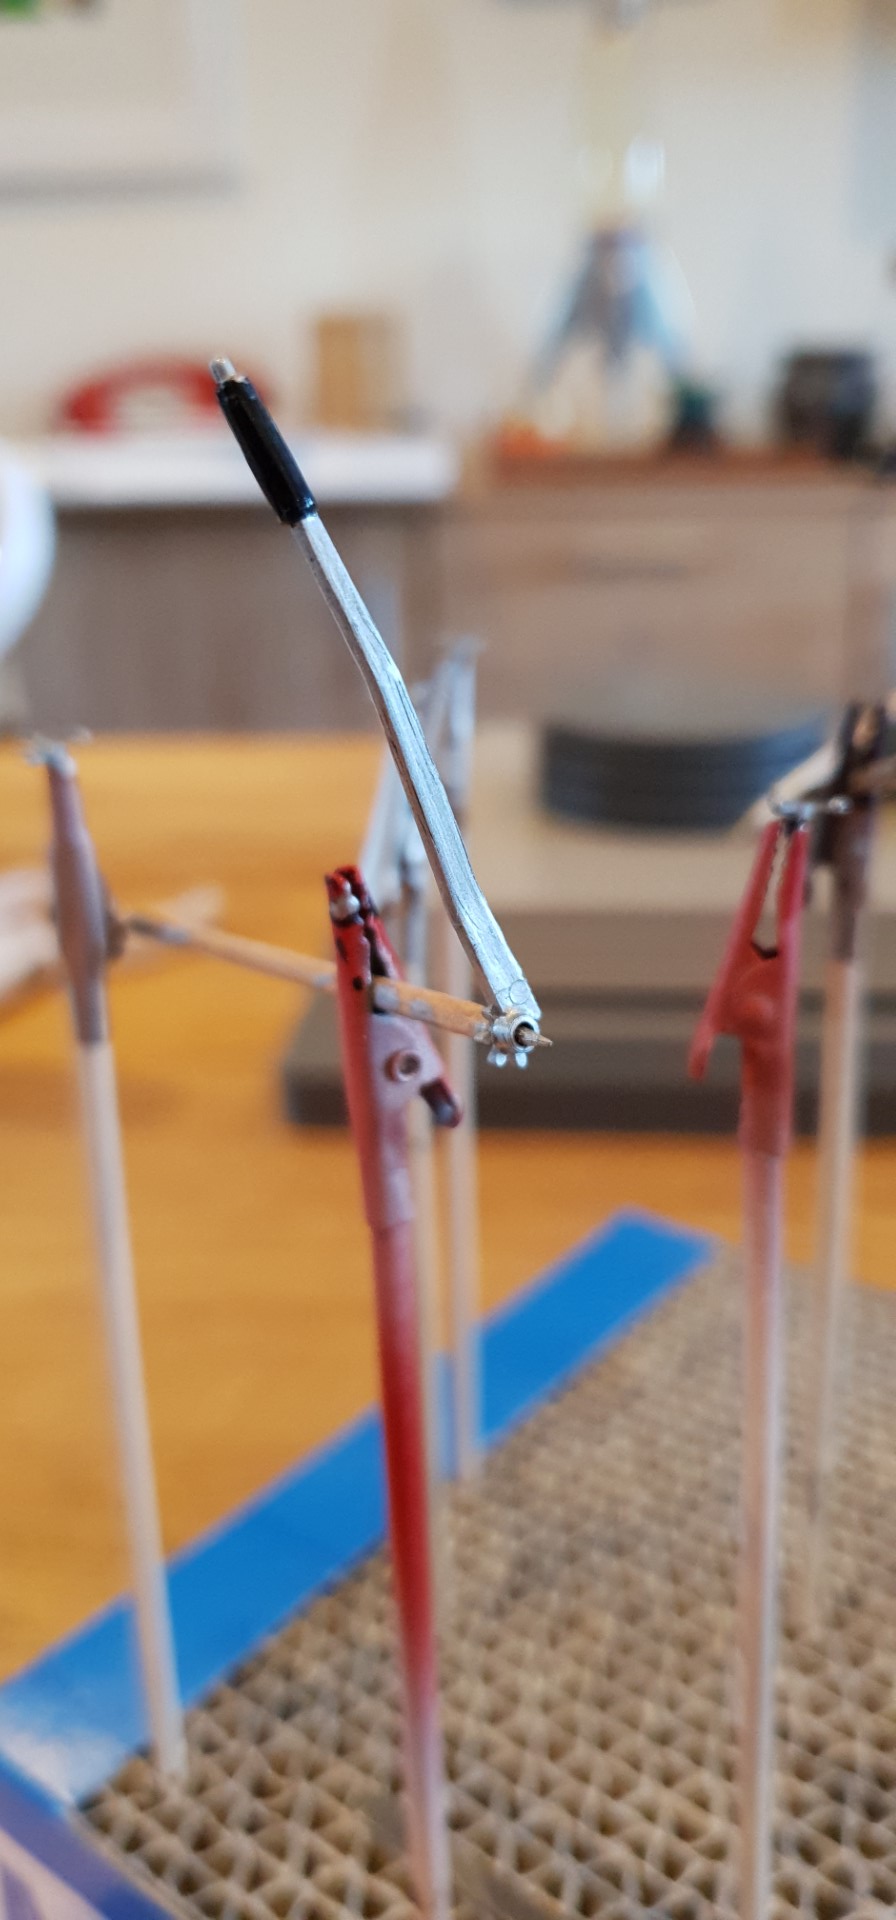
lastly a bit of painting as prep for the next stage
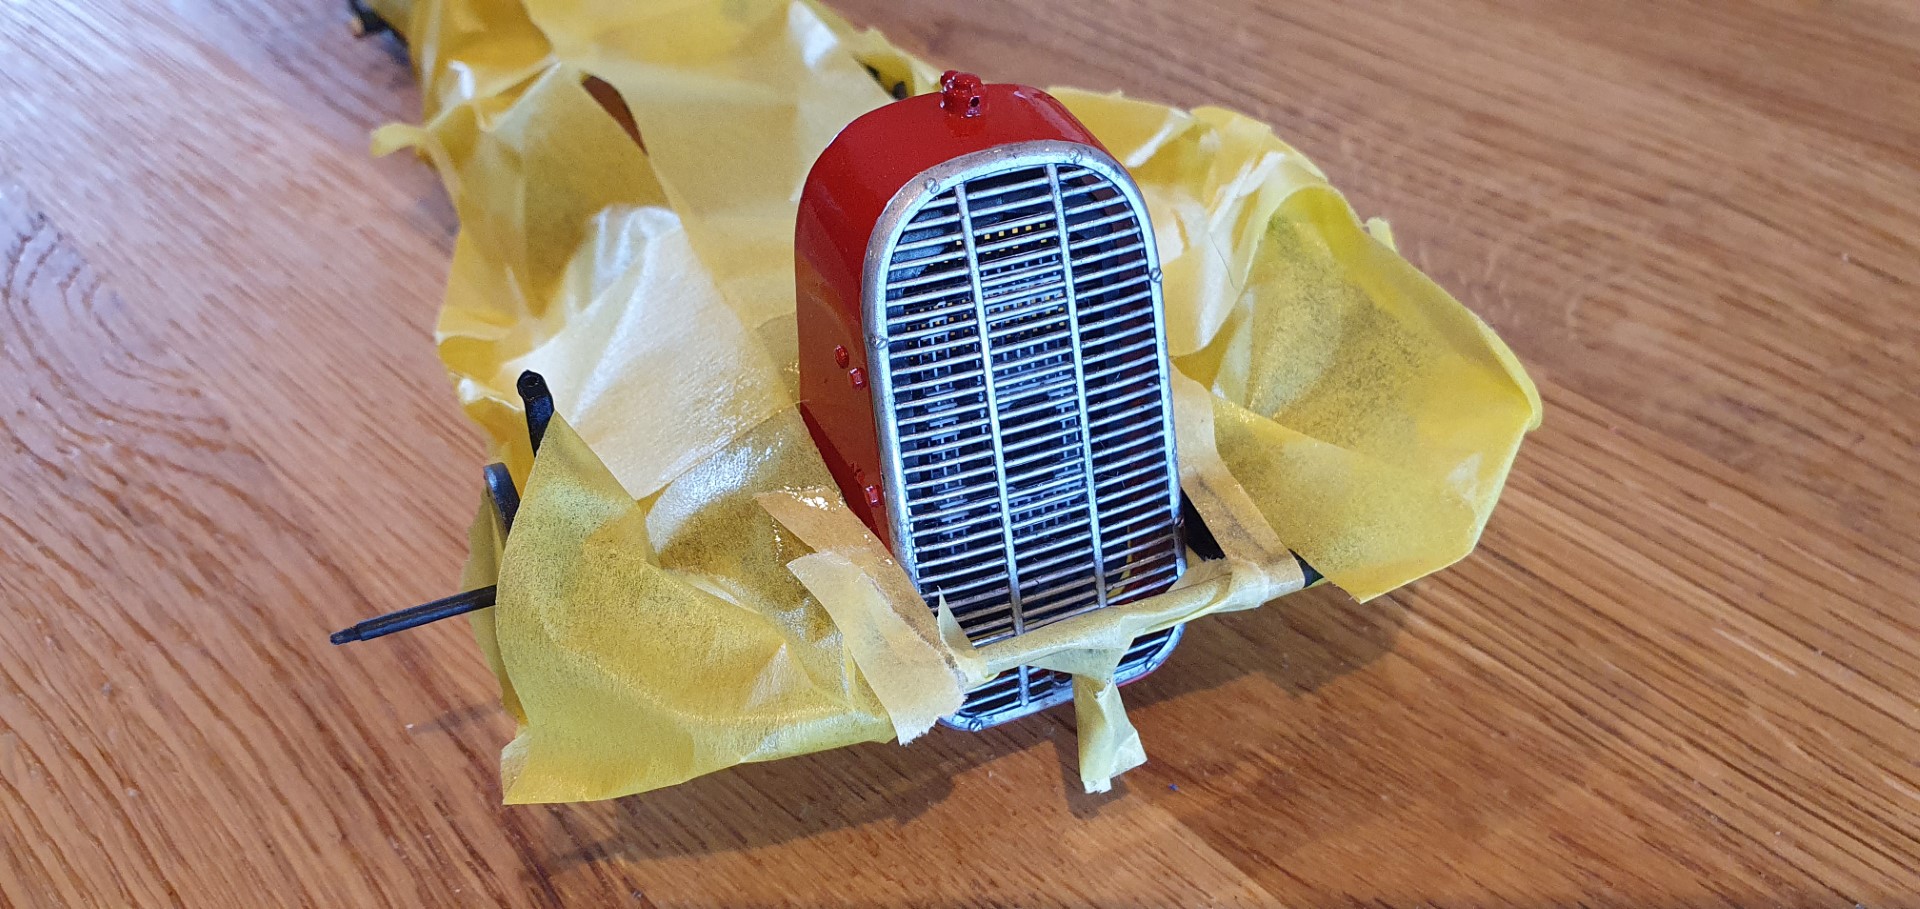
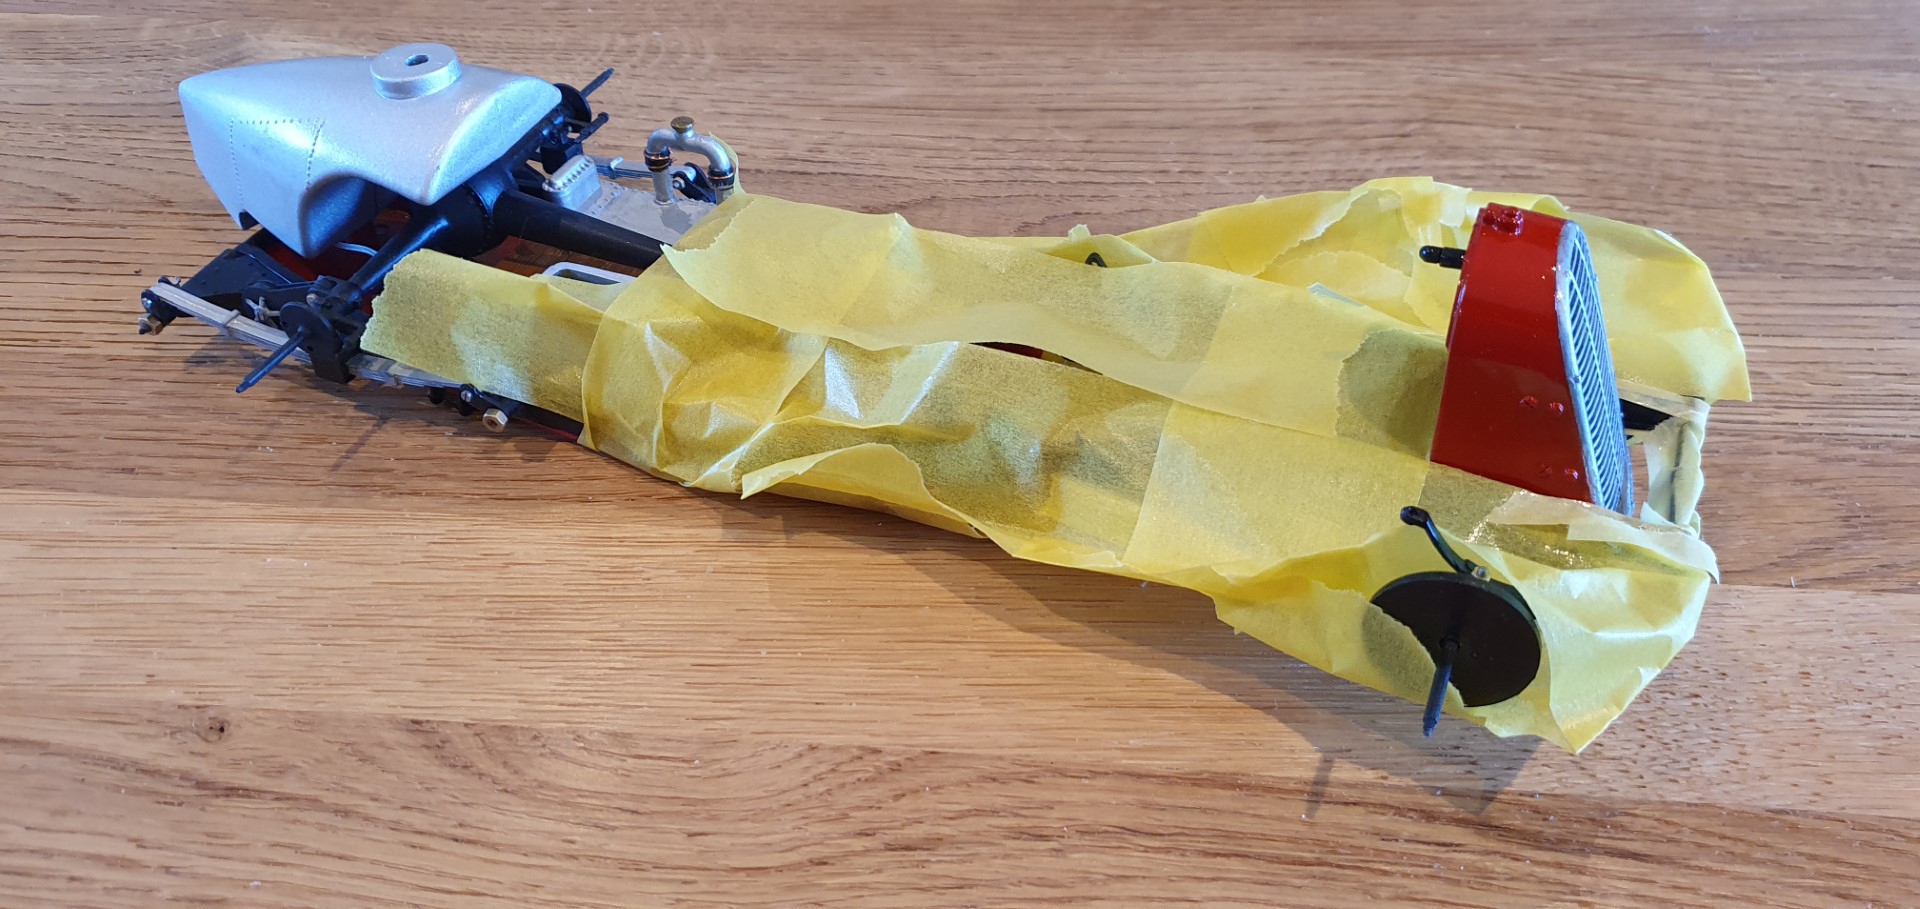
more prep, masking up so I could spray the grill with some gloss lacquer….I didnt take photos but I also masked the gloss parts and lacquered the matt finished parts with a couple of coats of matt lacquer for protection too
13th June 2020
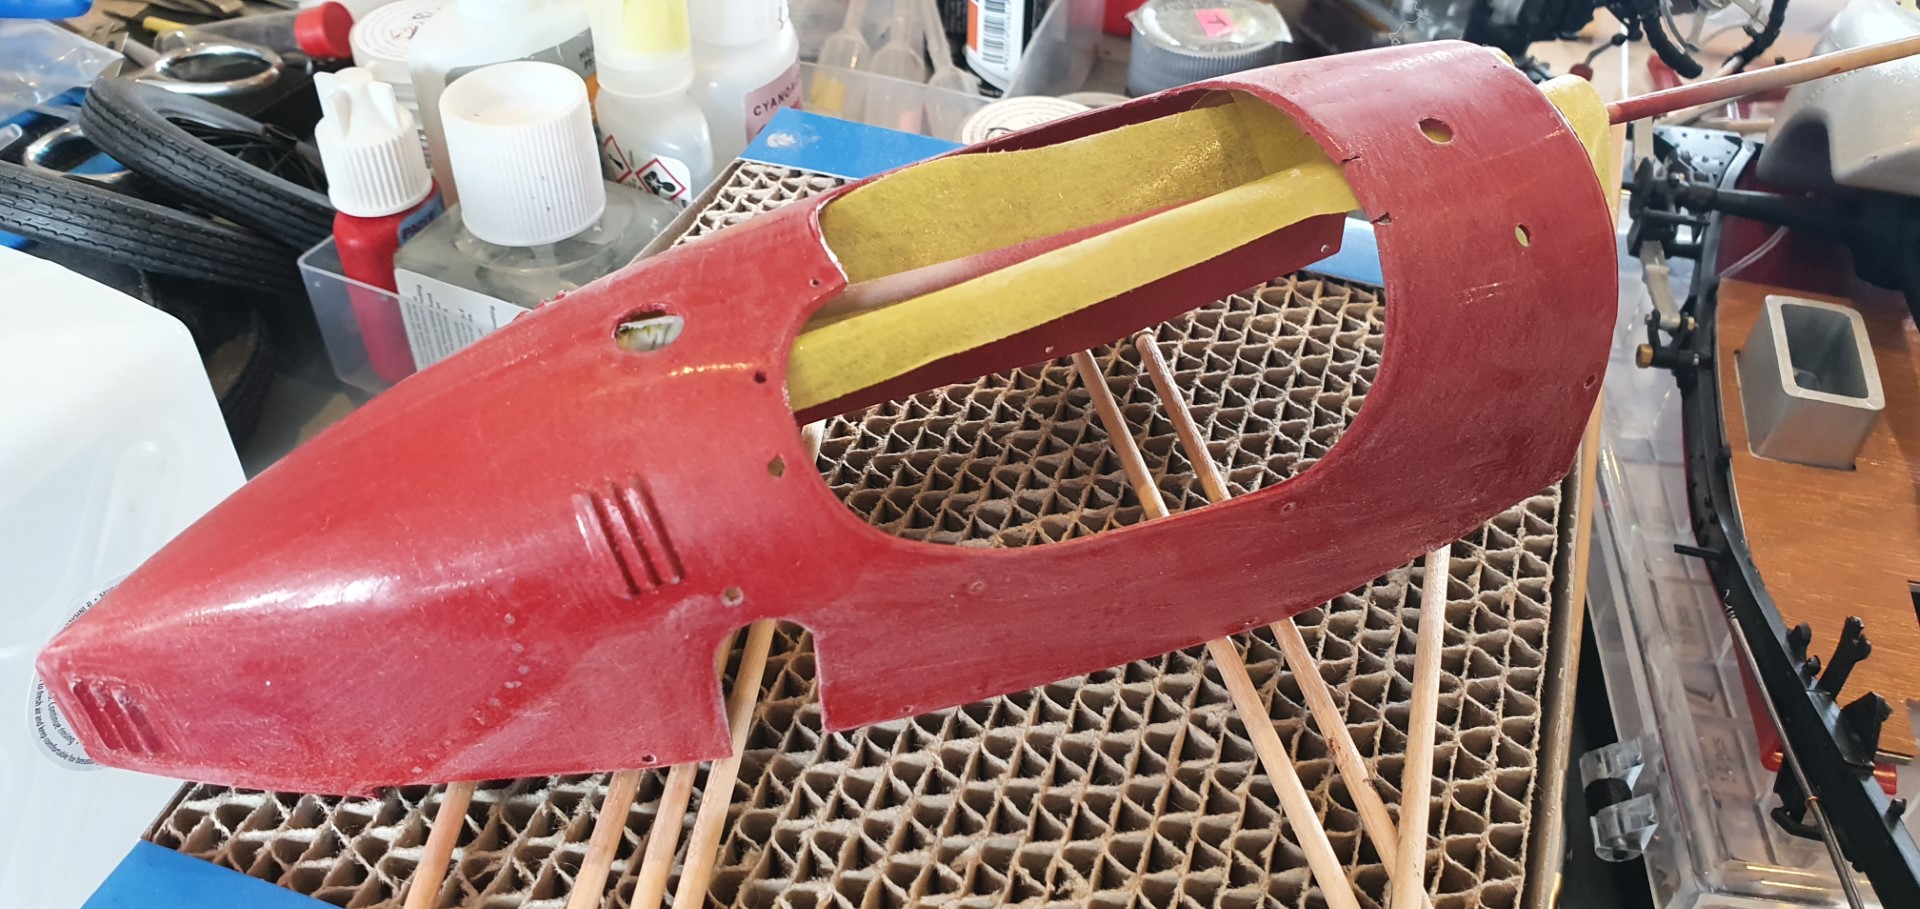
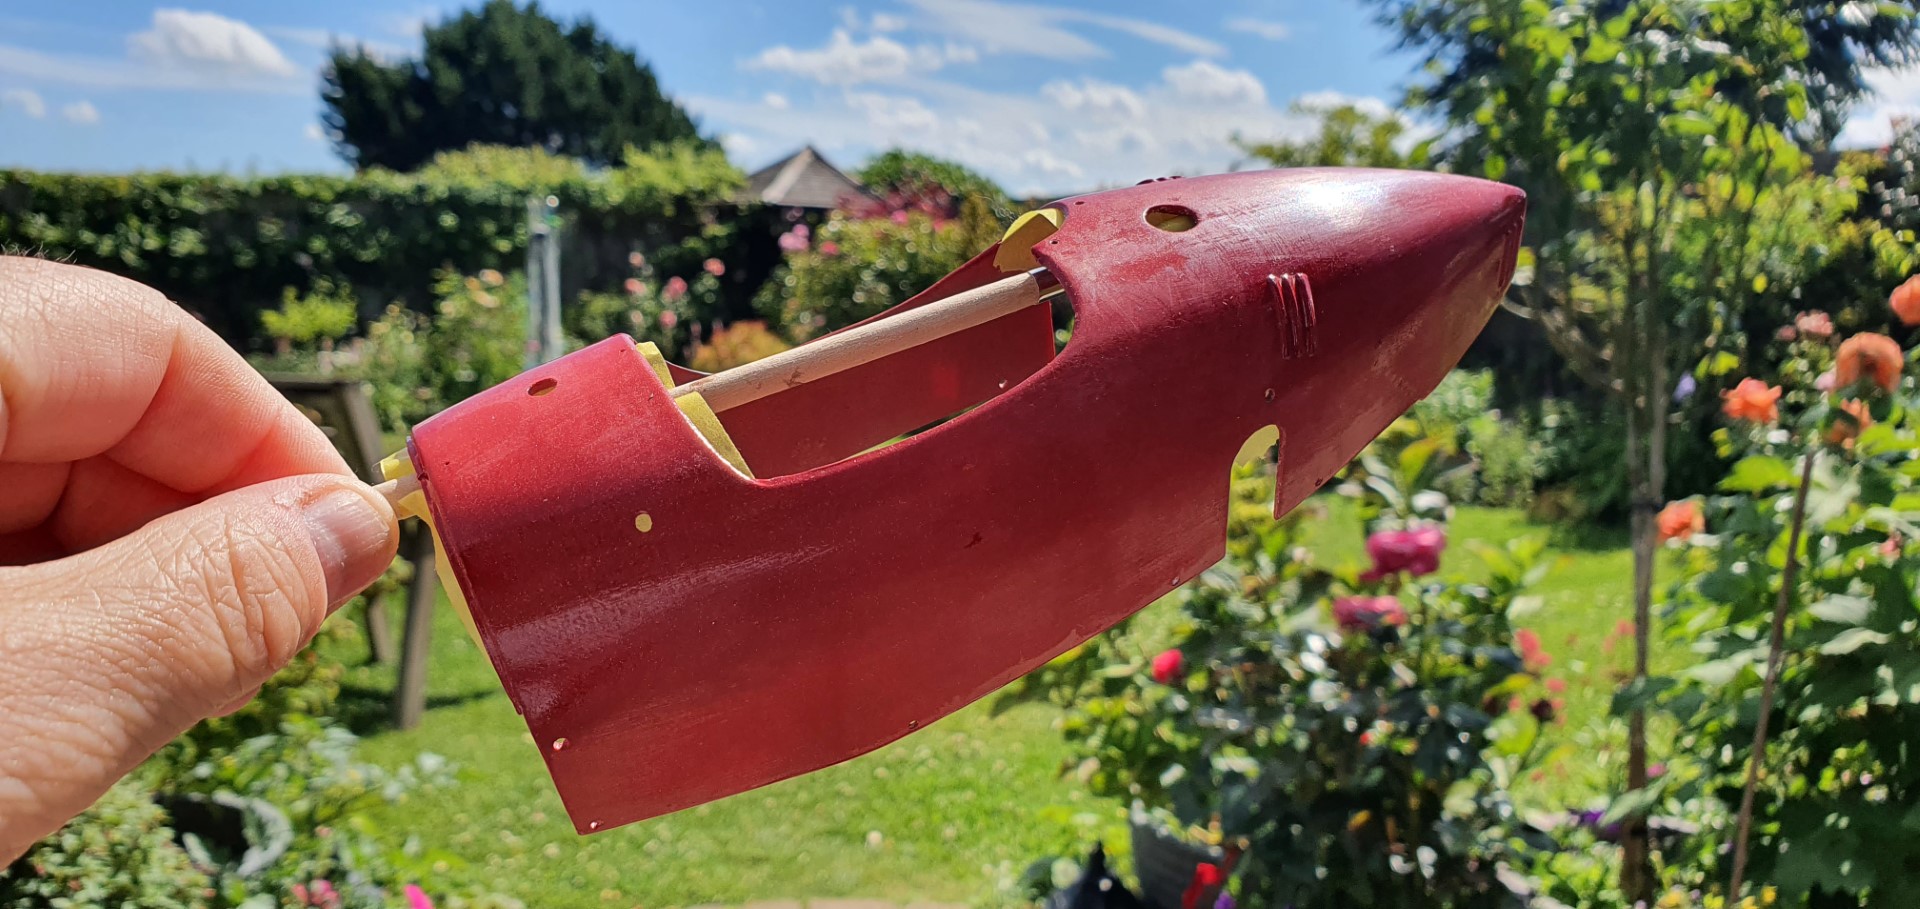
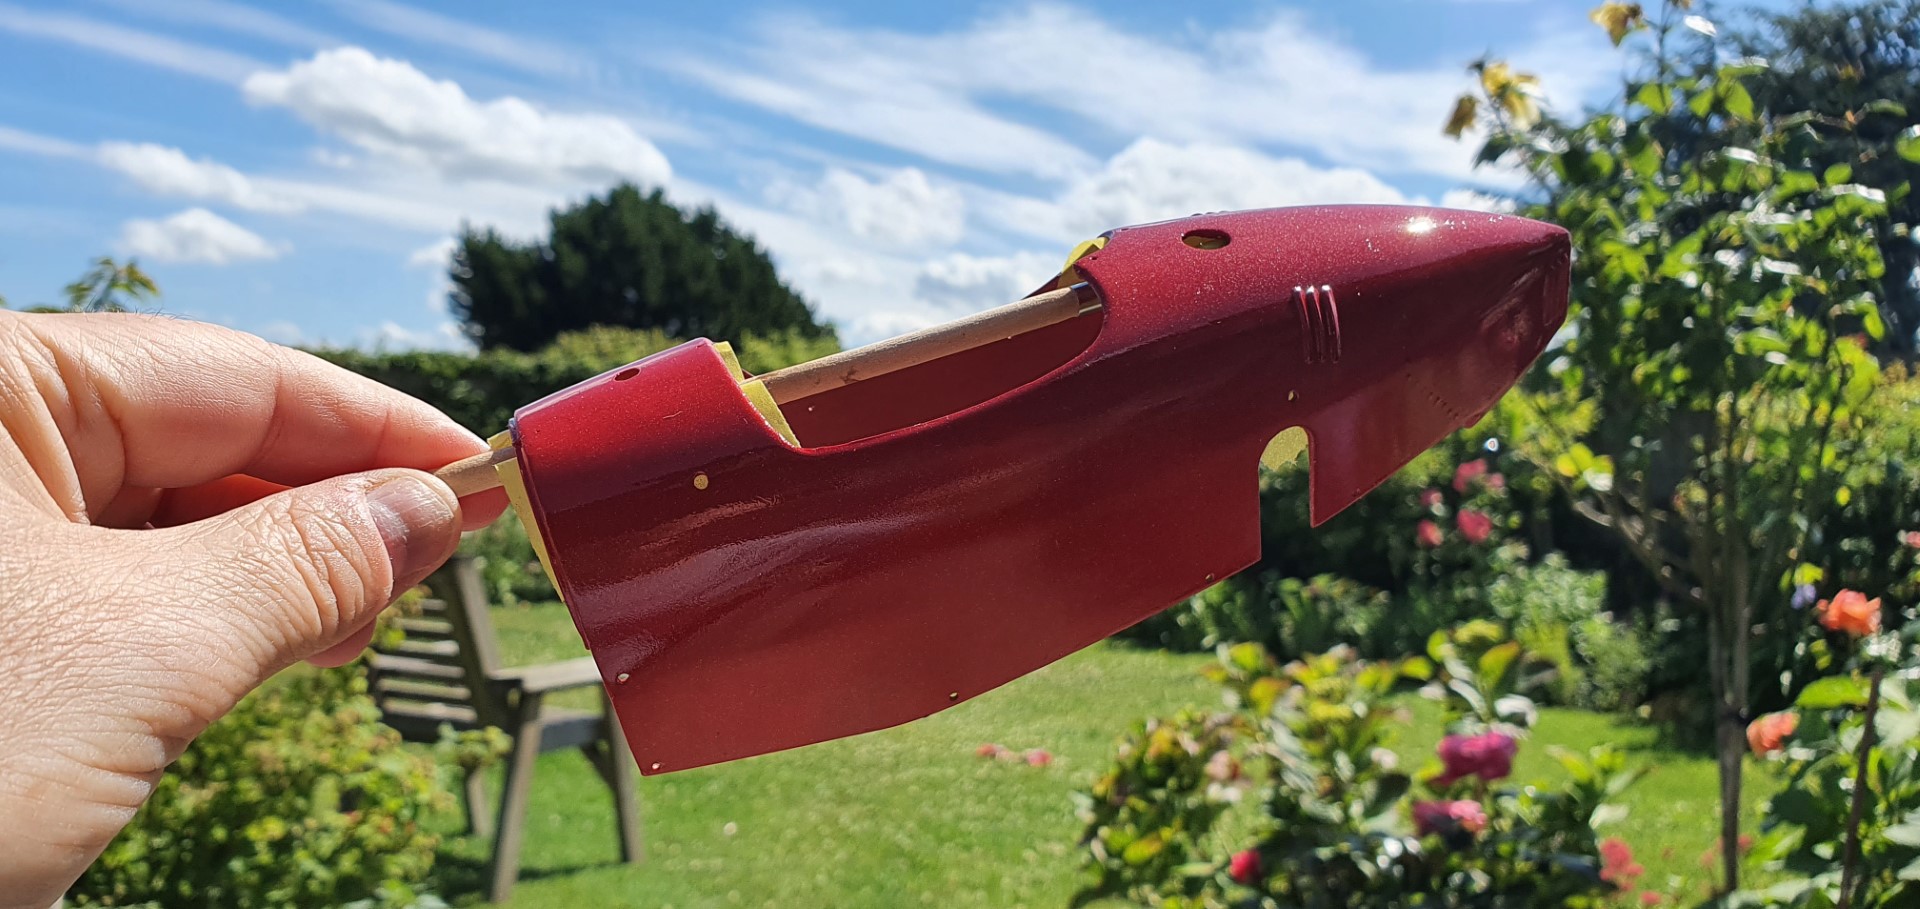
Not happy with the eggshell finish of the body paintwork…
I had thought that gloss lacquer would detract from the aged look so initially used matt, then semi-gloss before realising proper gloss was going to be best
…I rubbed it down with 1200 wet & dry and then resprayed over it with gloss..it pops nicely in the sun
26th July 2020
another large gap in activity….some bits done, but not recorded
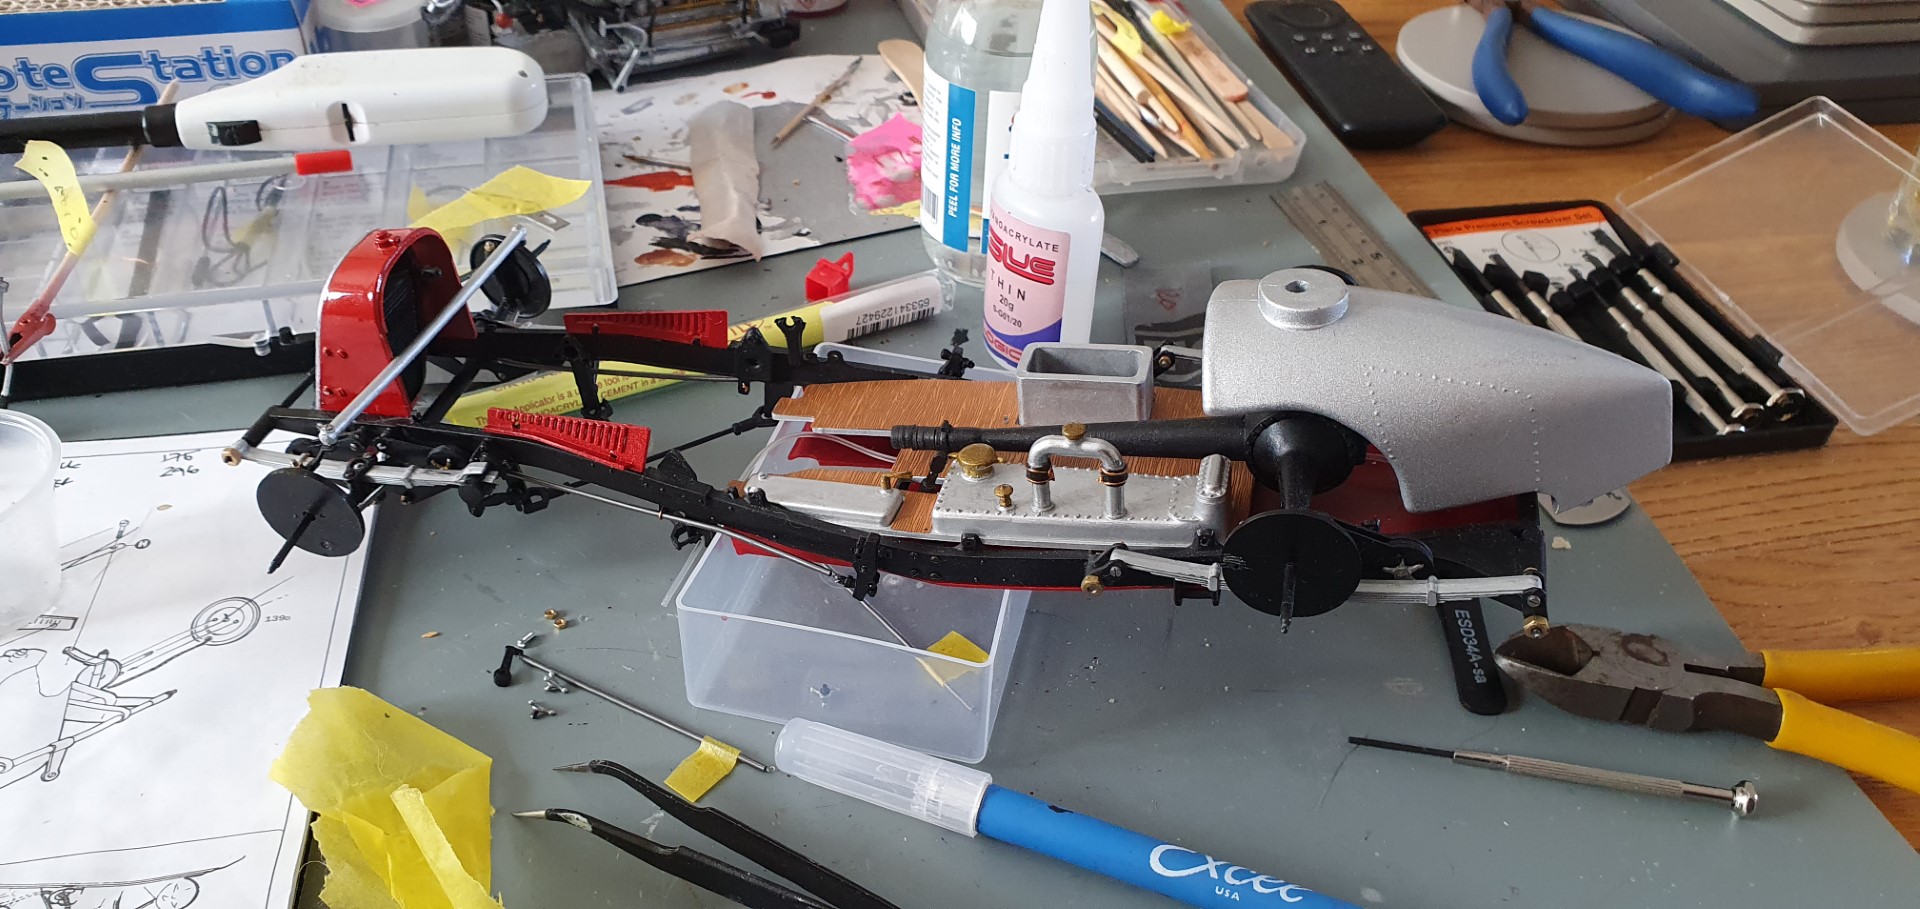
This shows my messy workspace (and some of the small nuts, screws and other parts to the left of the car)).
2nd August 2020
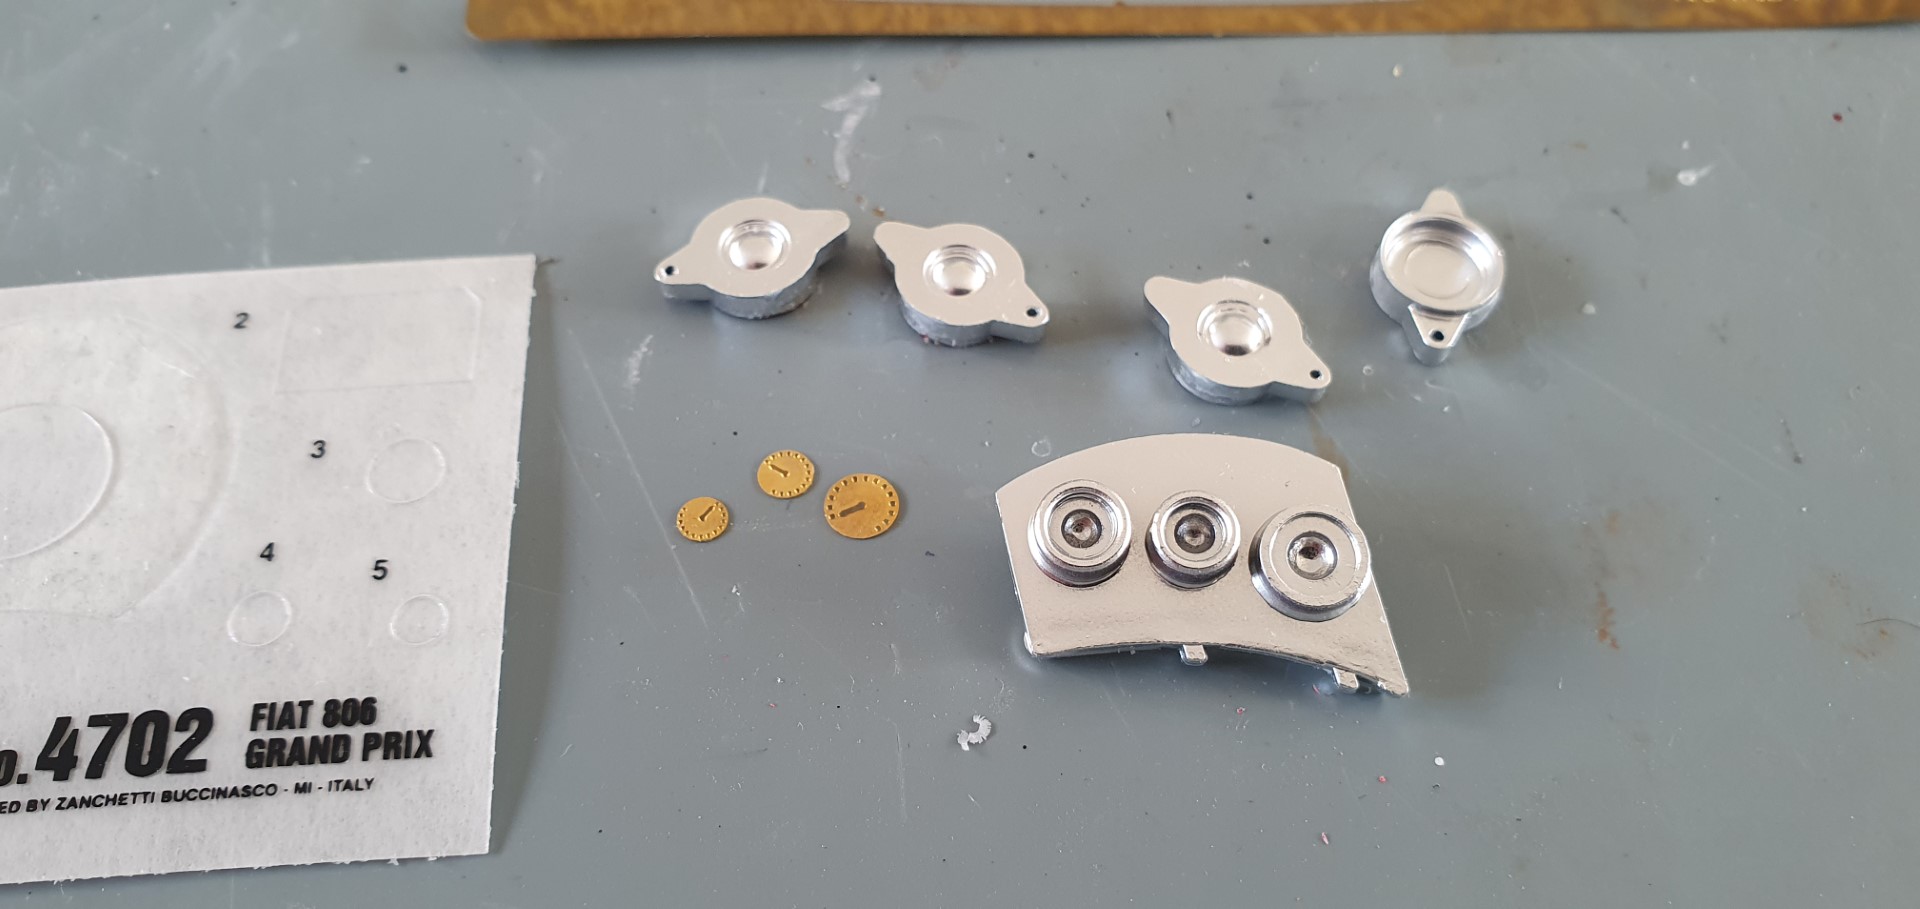
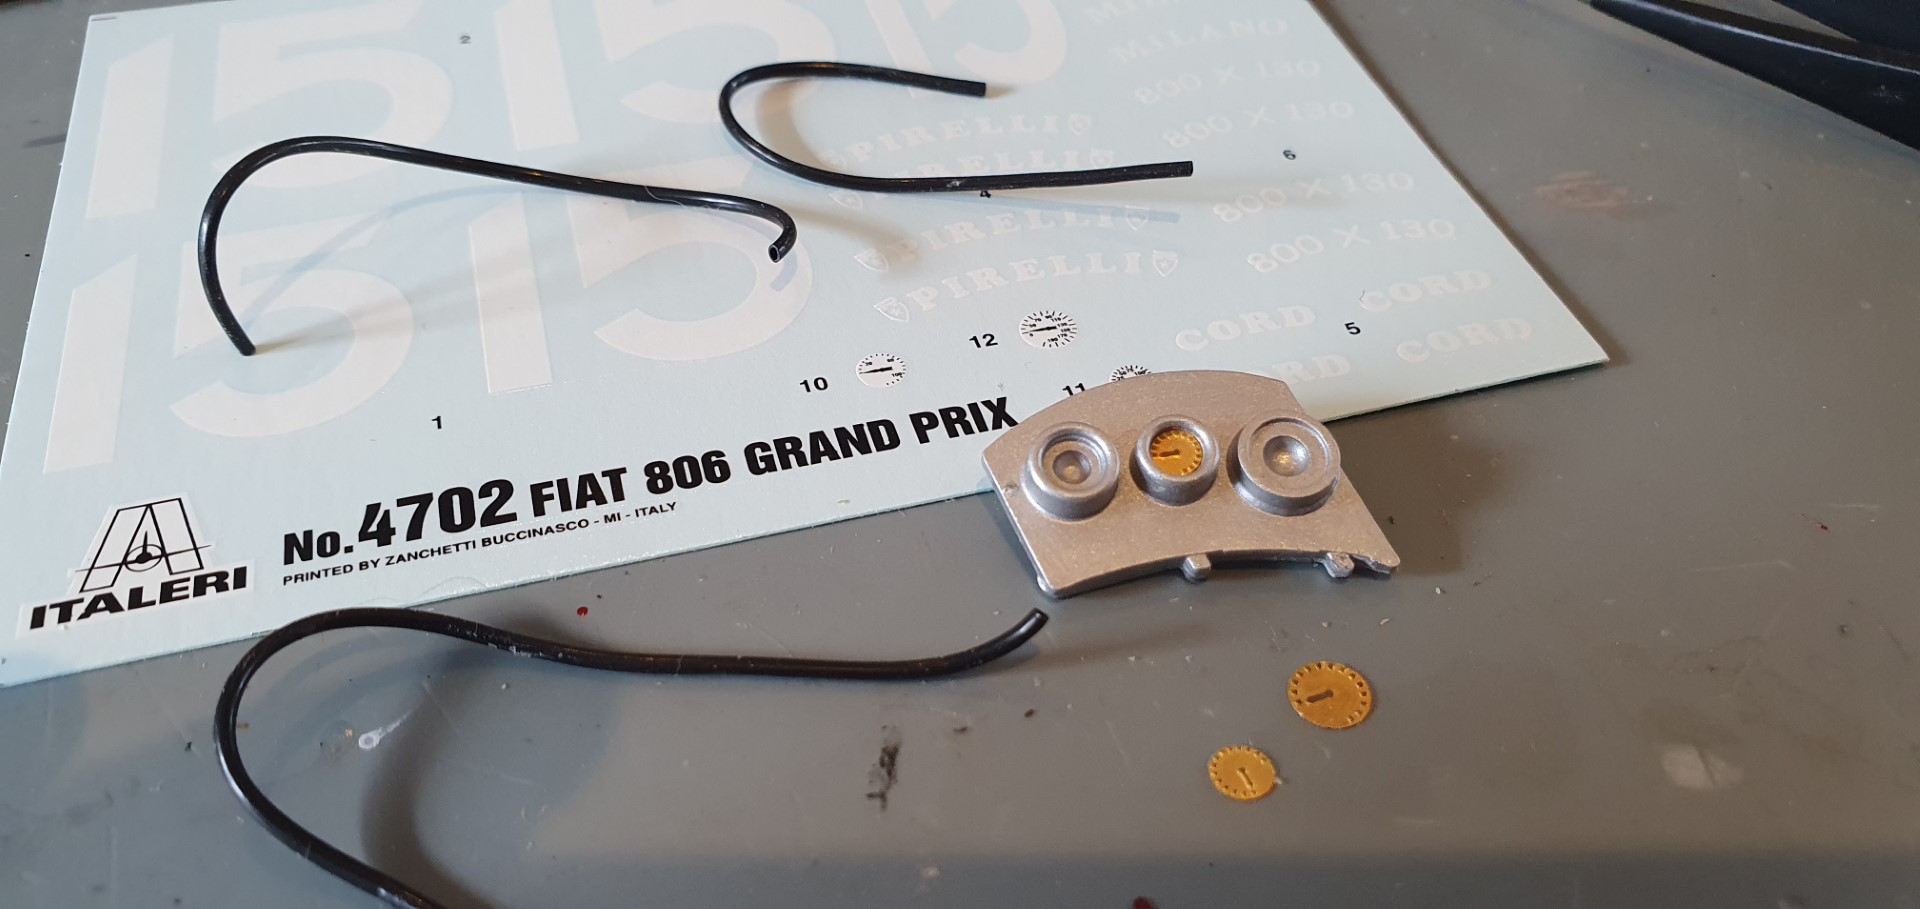
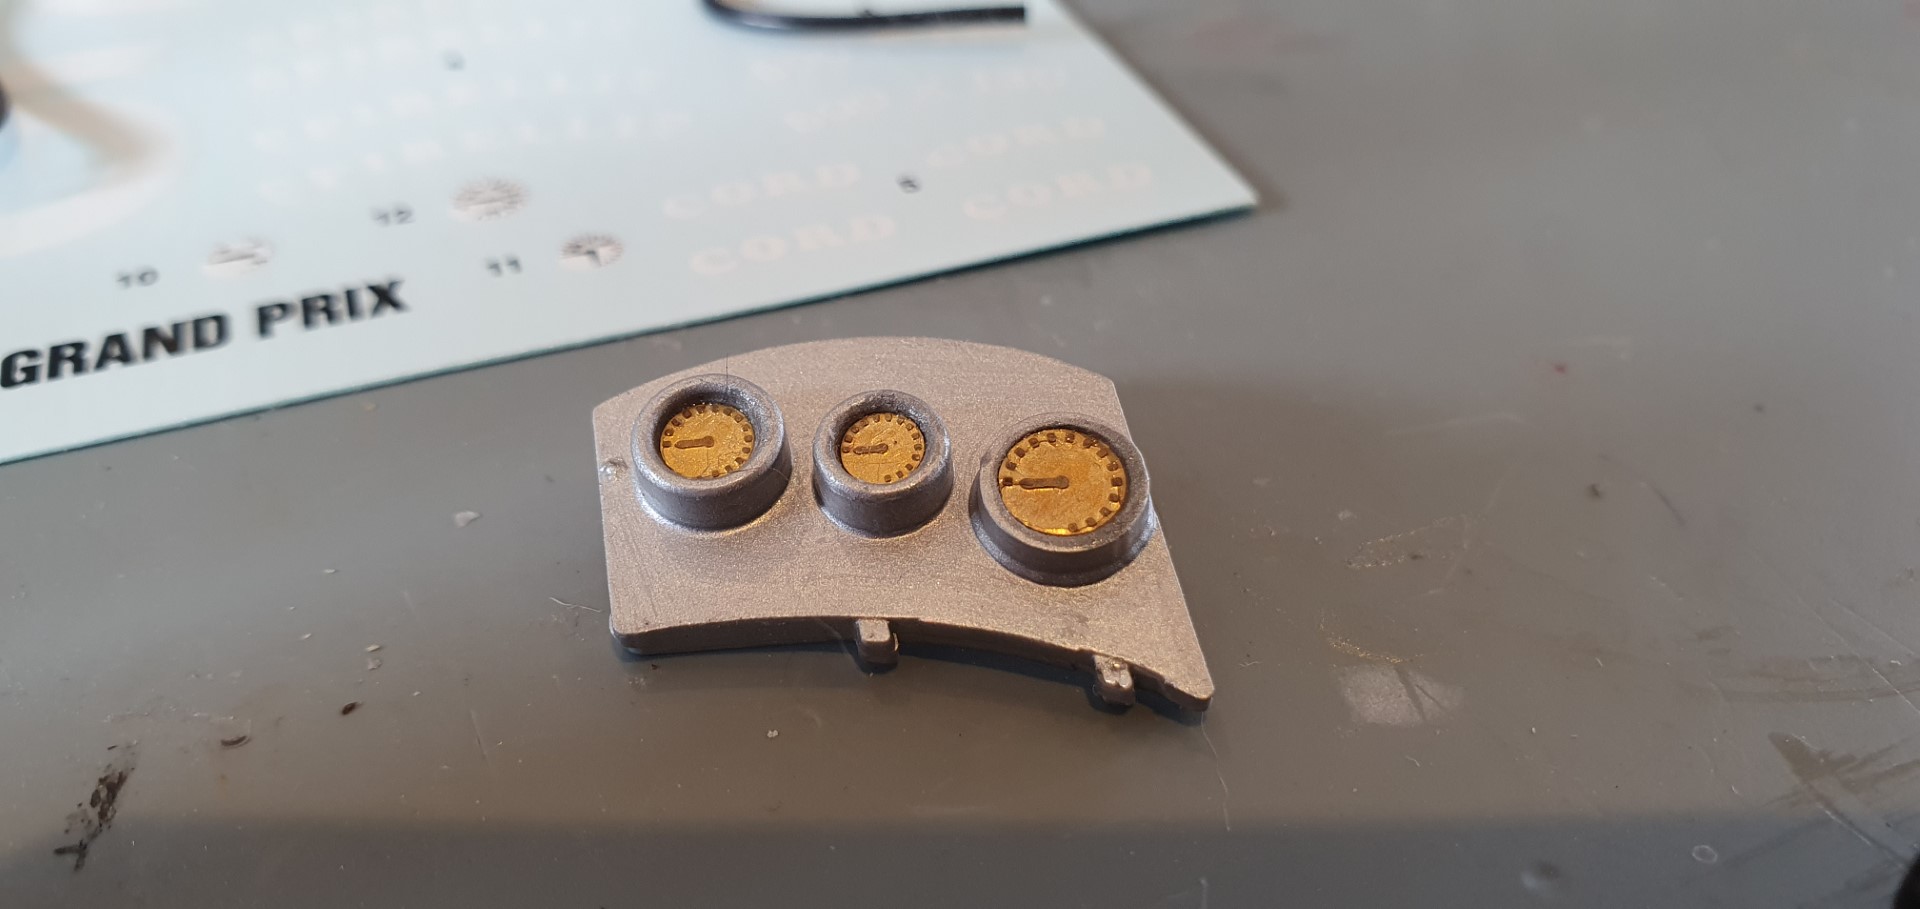
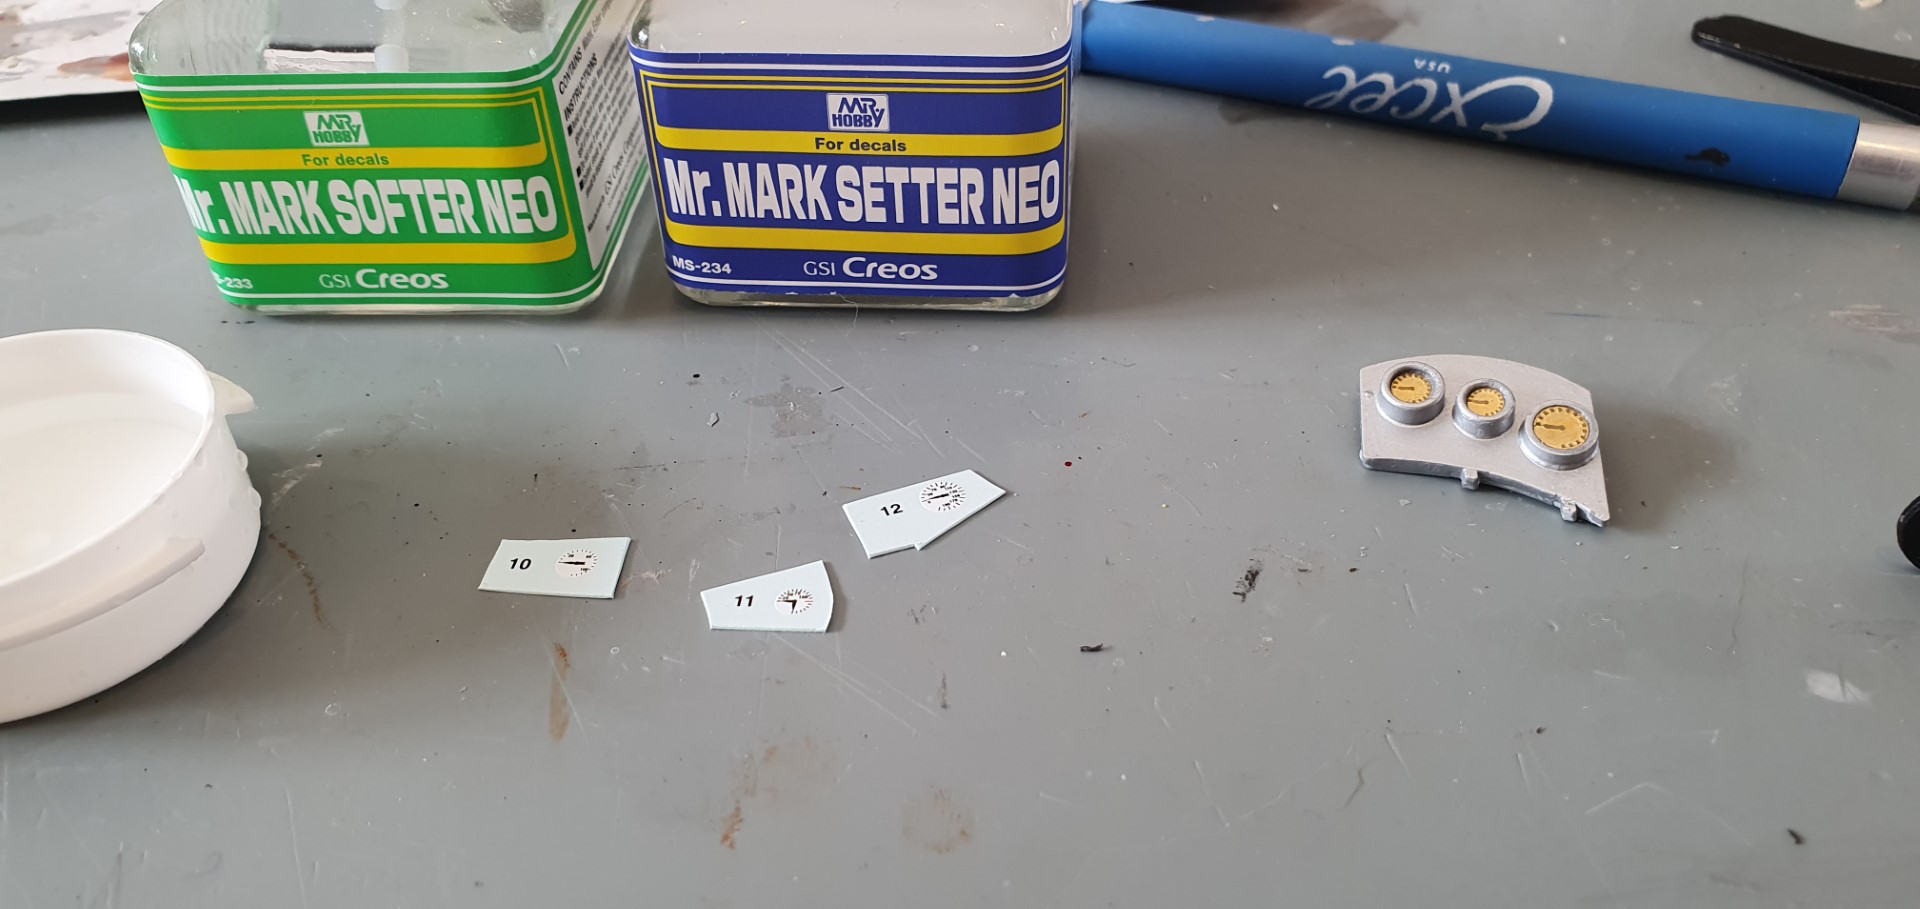
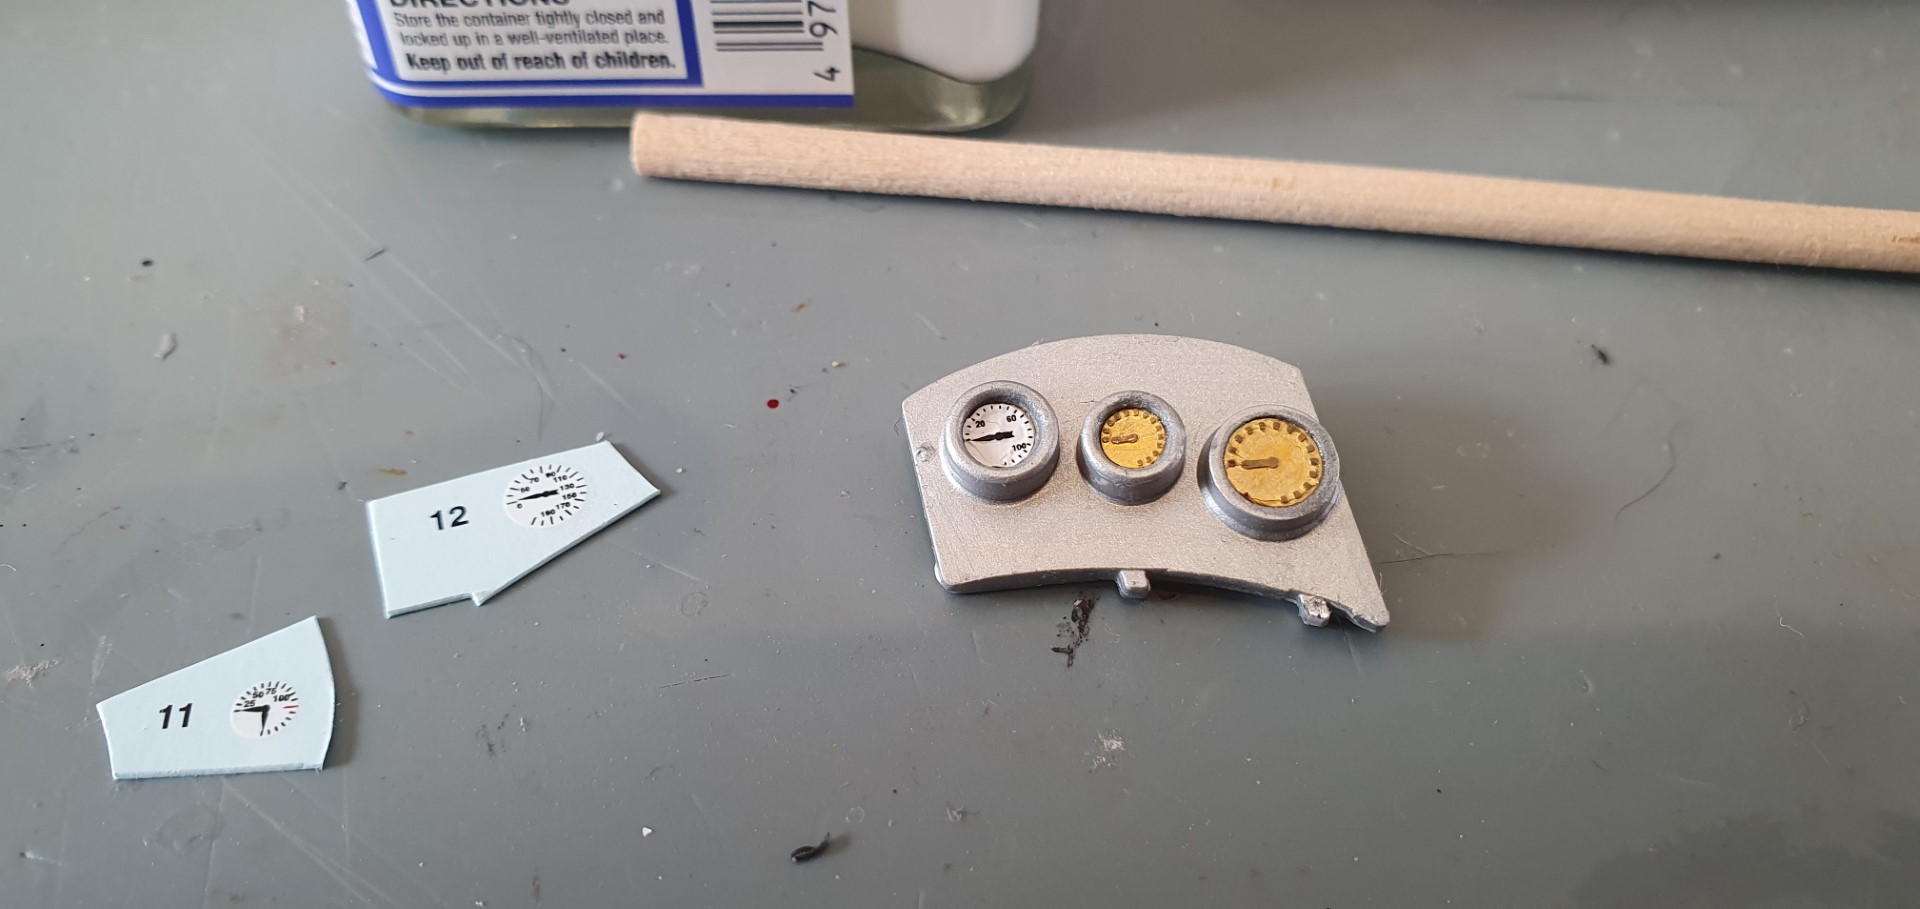
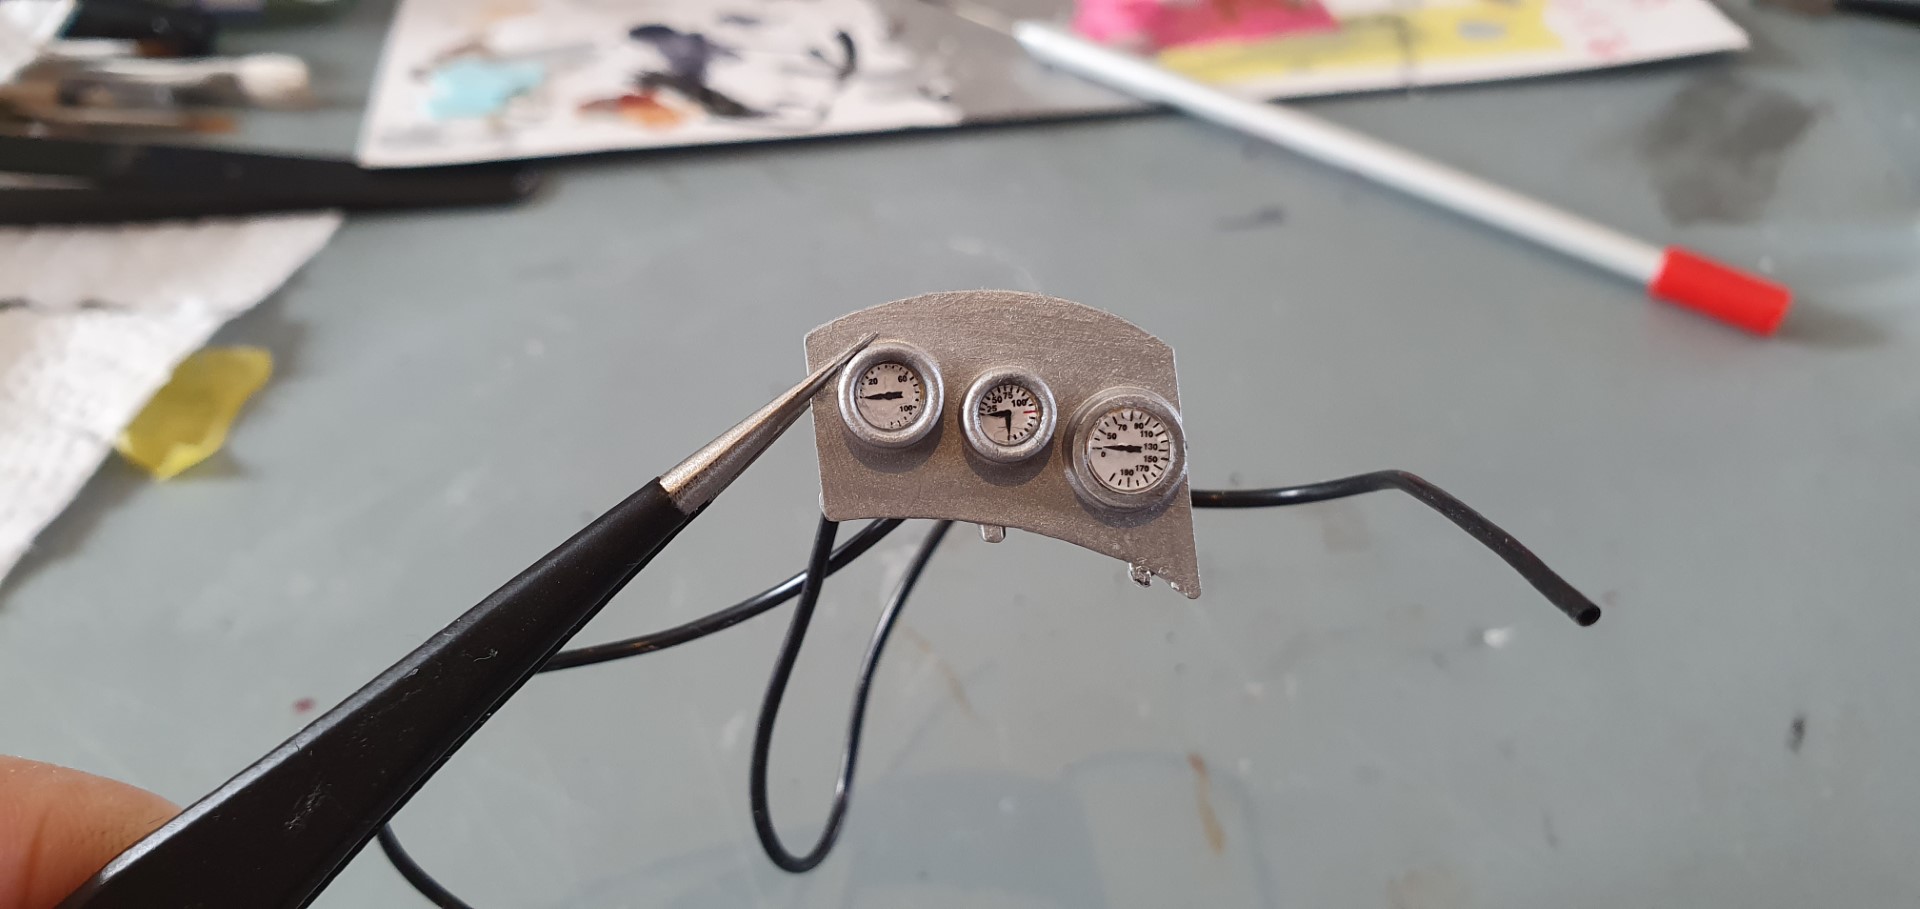
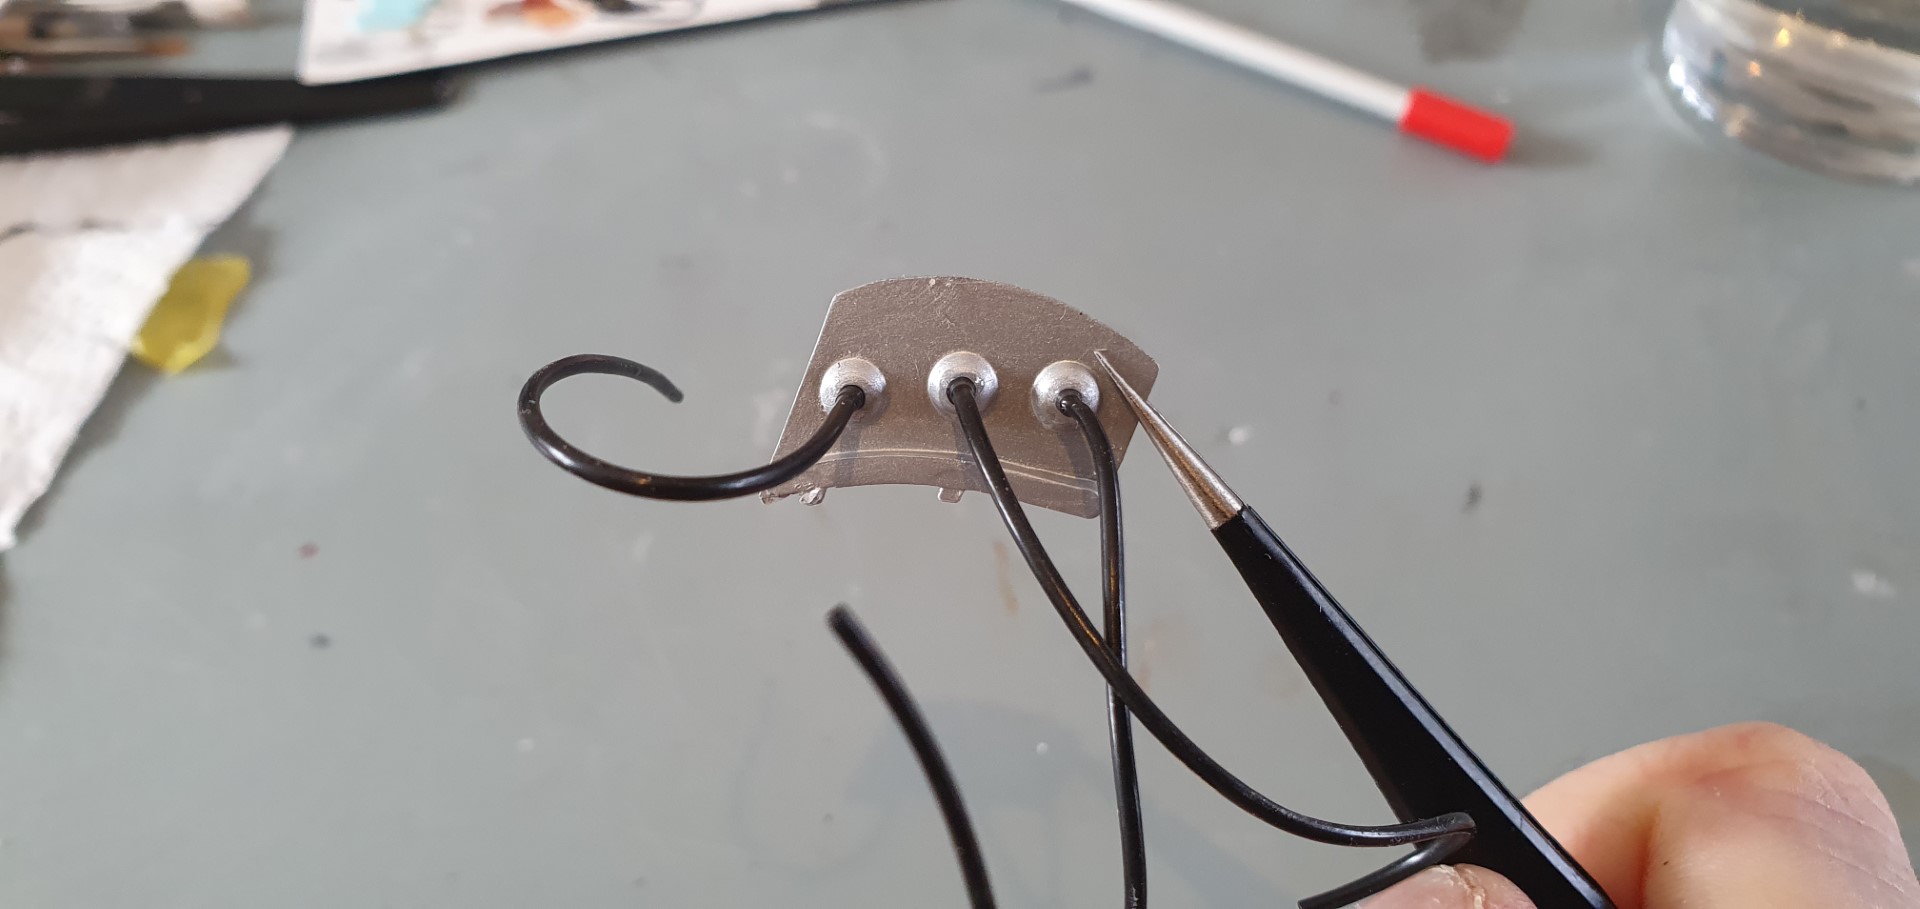
Making up the instrument panel/dials was the first job (using some decal softener & setter in the process).
Firstly the parts including – decals, metal dials and ‘glass covers’
also the wheel hub ends are at the top of the photo
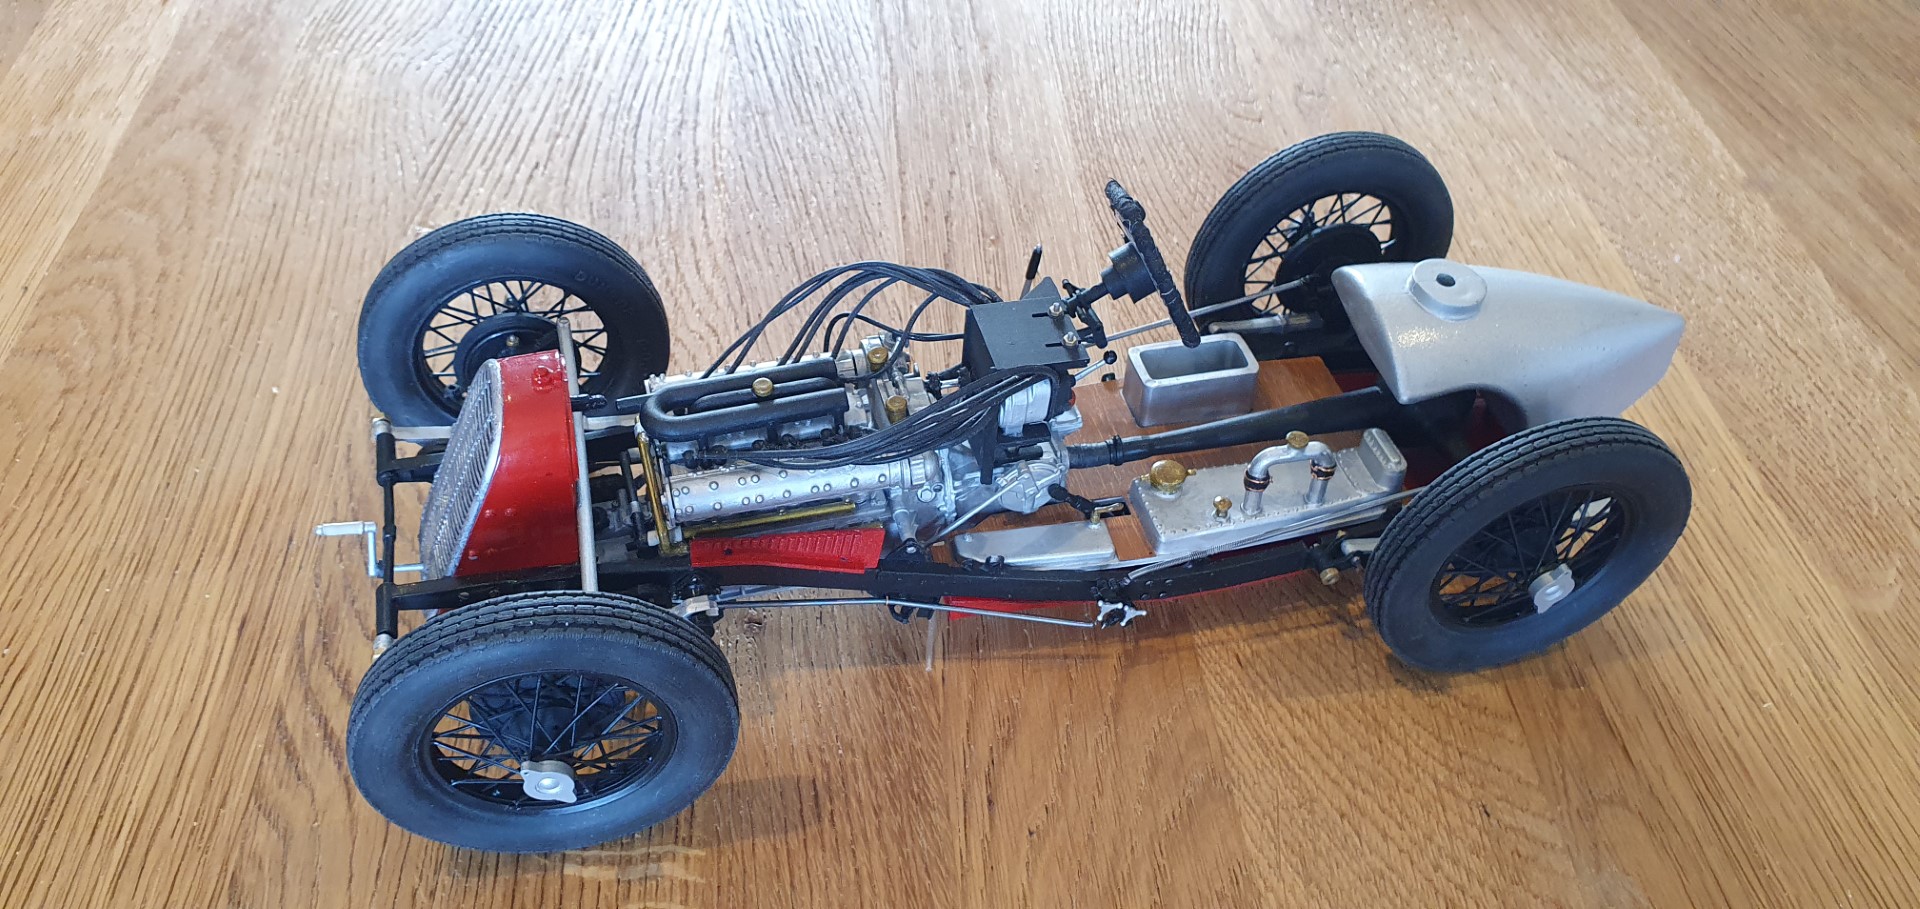
Next up some shots showing the body and brake lines again
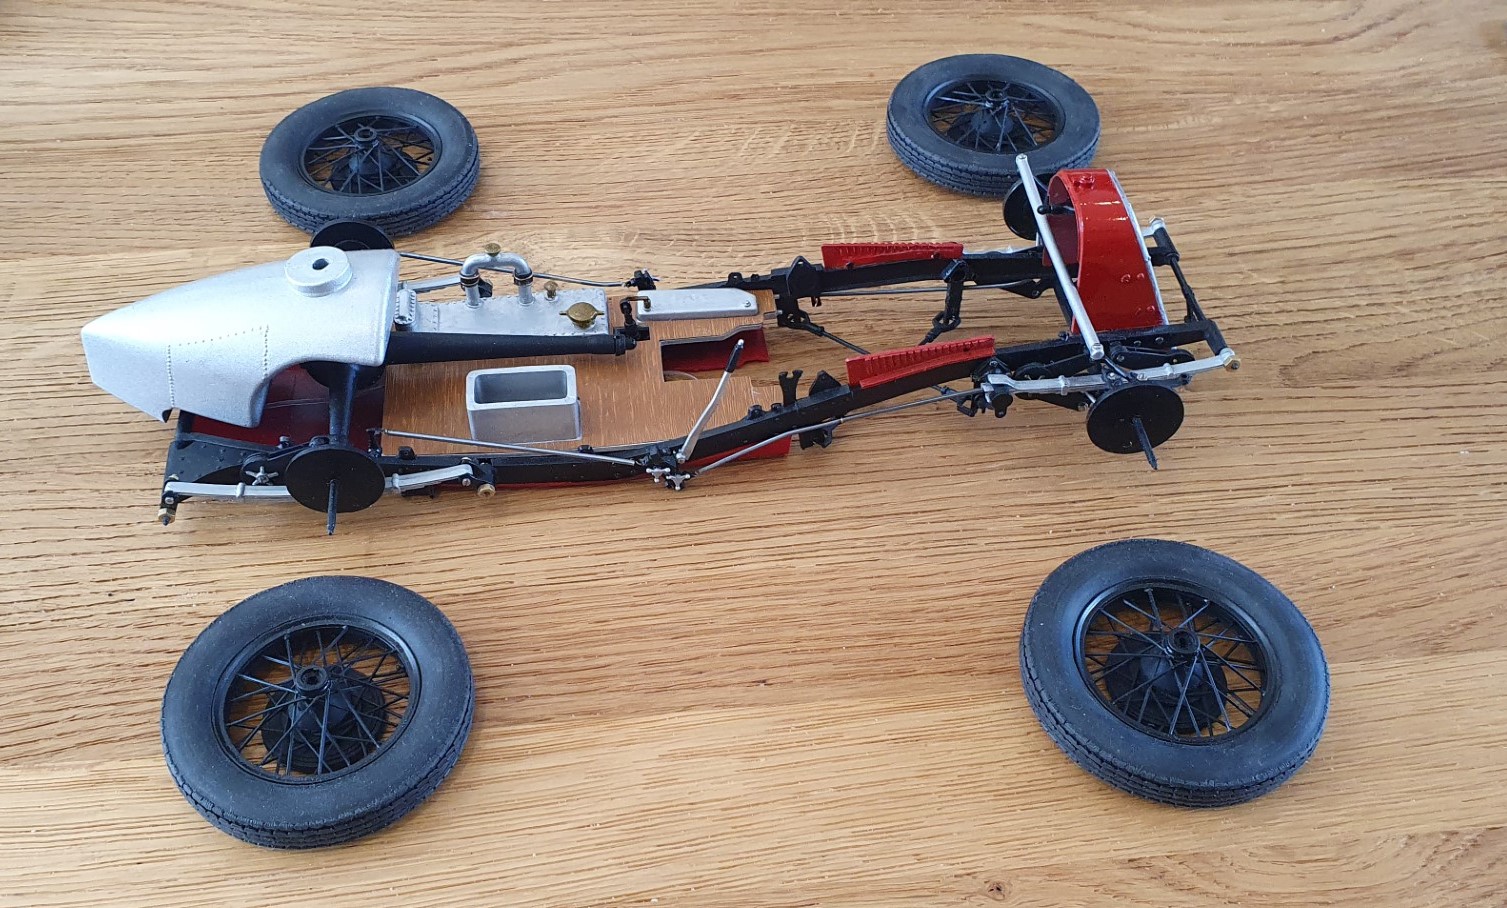
…it’s time for the wheels to be fitted
Part of the problem with the instructions with this kit is the lack of clarity e.g. what is glued, what is not….also where you should not paint (as paint free surface is better for gluing later) and also sometimes it tells you to pre-thread the nuts on a thread, whereas in this stage it did not!
The wheels go over the shaft and are supposed to be held in place by a nut that’s 3×1.1 M1,4….so in the process of trying to fit the wheels I broke off all of the shaft that the nut should screw onto (all 6 mm of it). So taking the view that the wheels and their fitment would never make them safely rotatable, I used some superglue to help glue the nuts in place on one of the shafts.
…you can see in the previous pictures how long and thin the shafts (and thread) is.
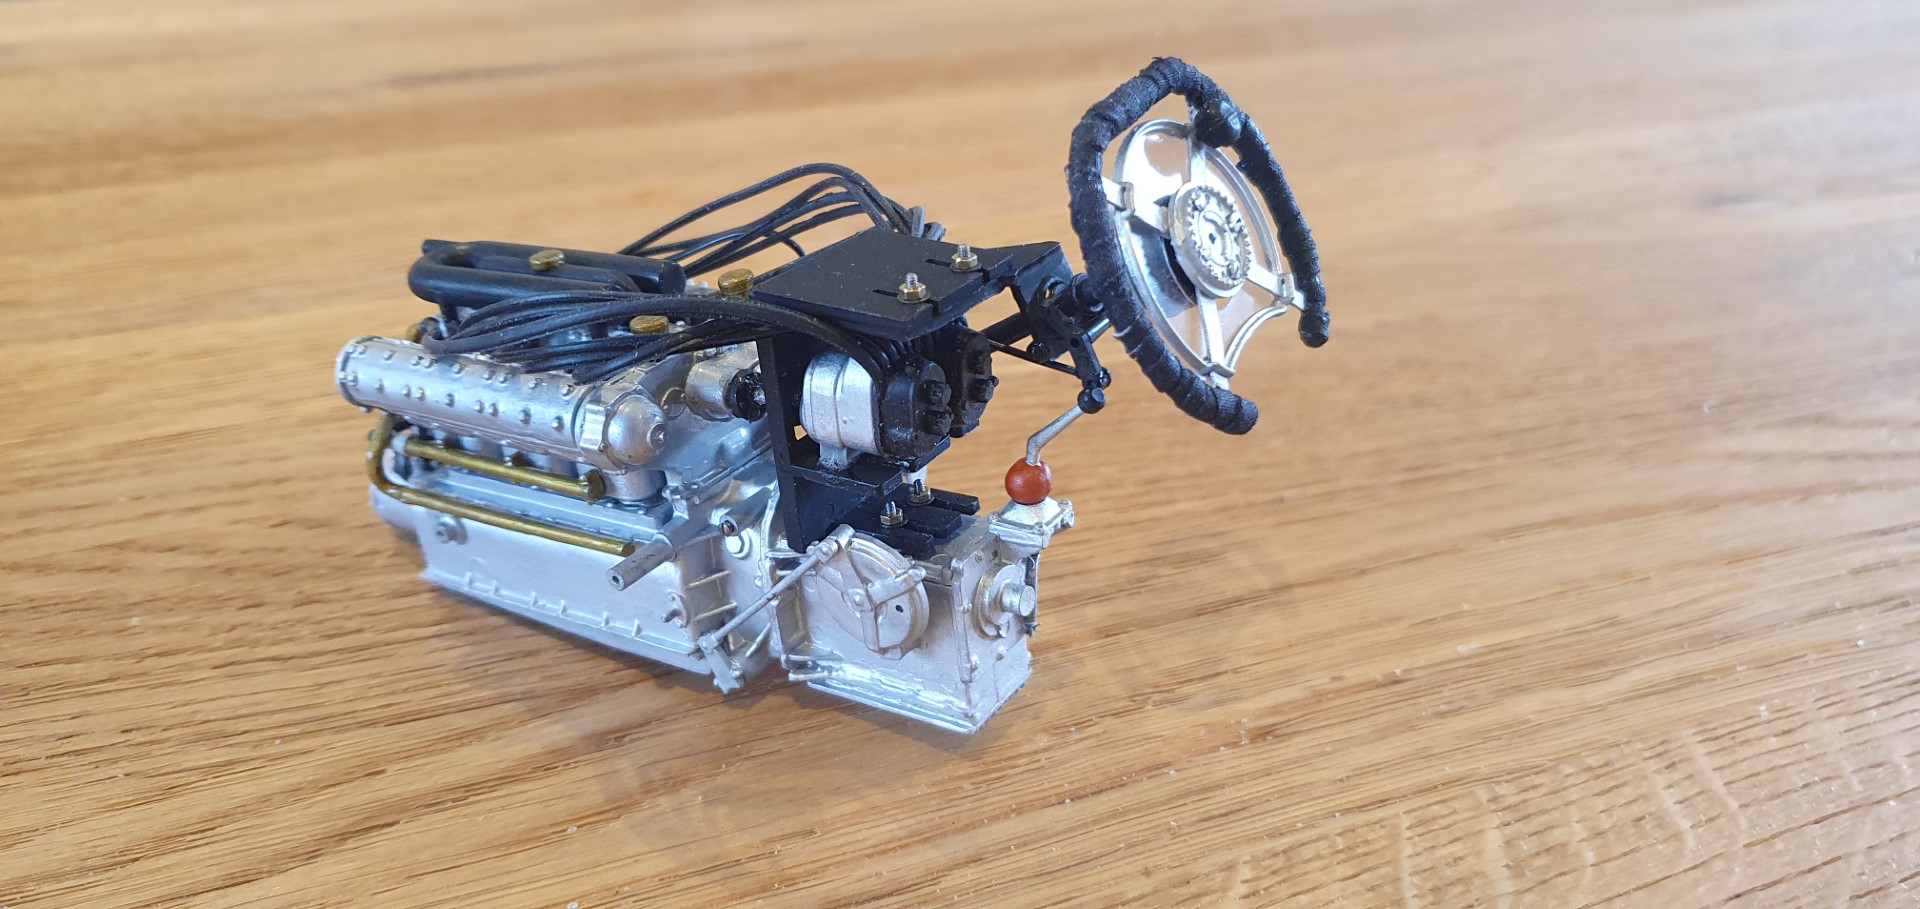
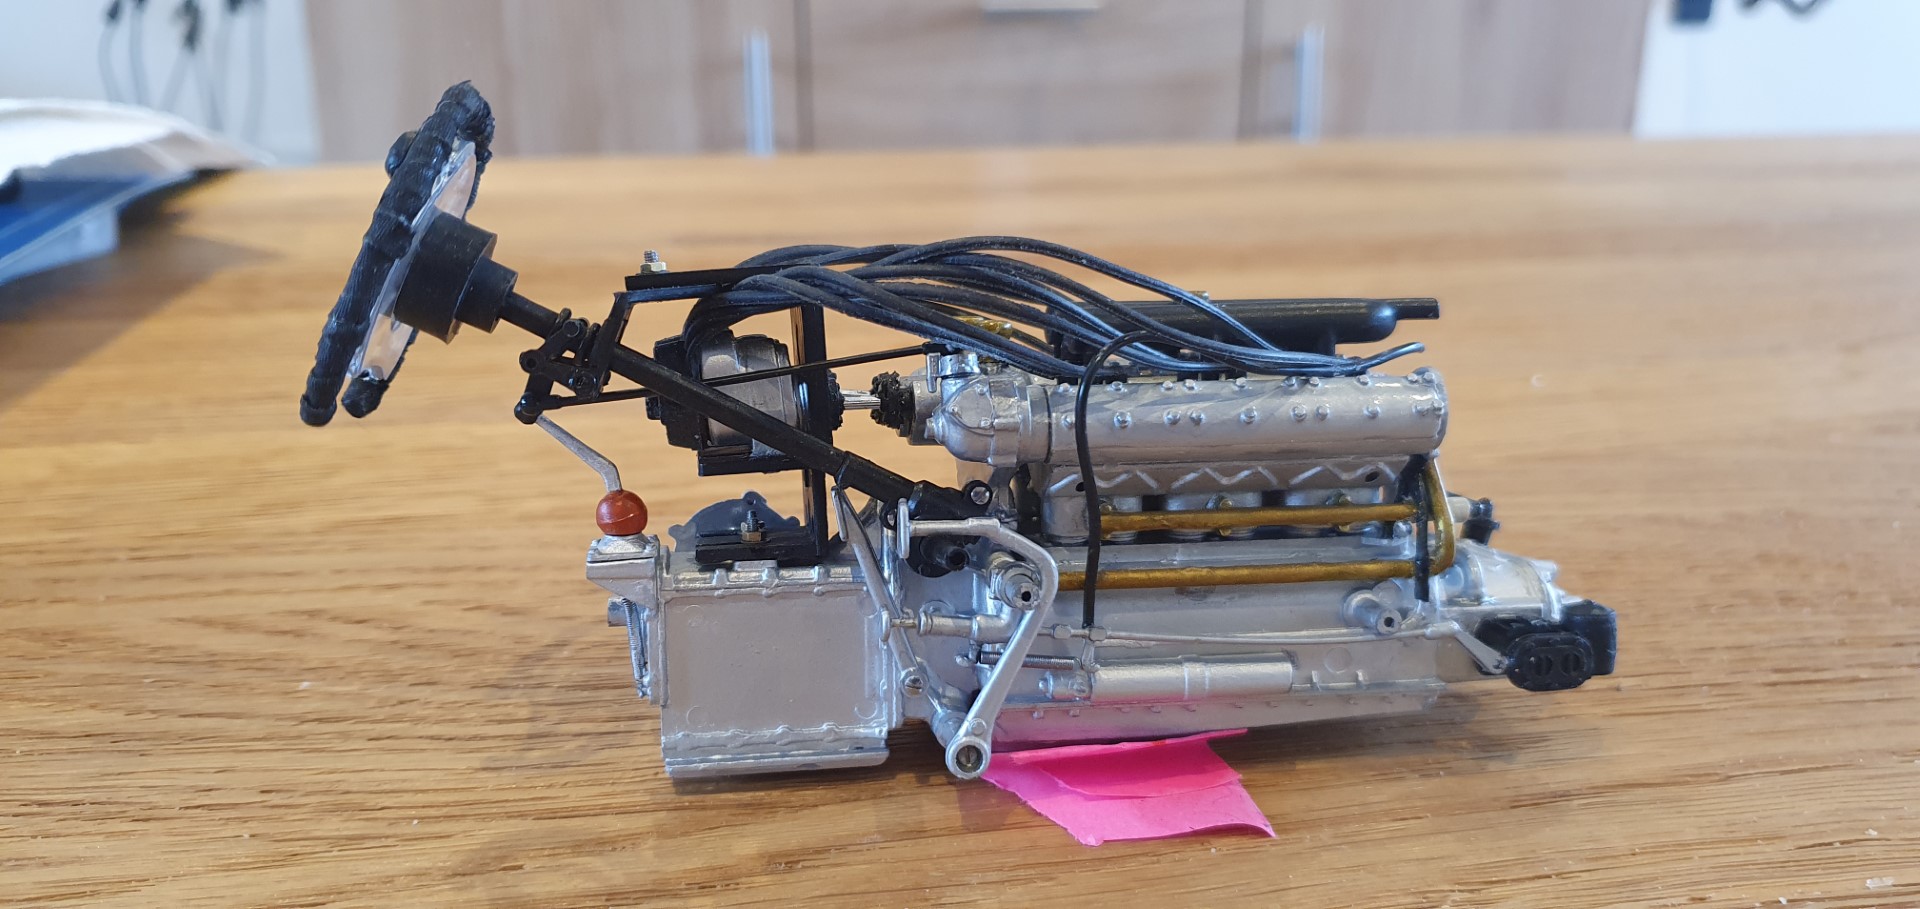
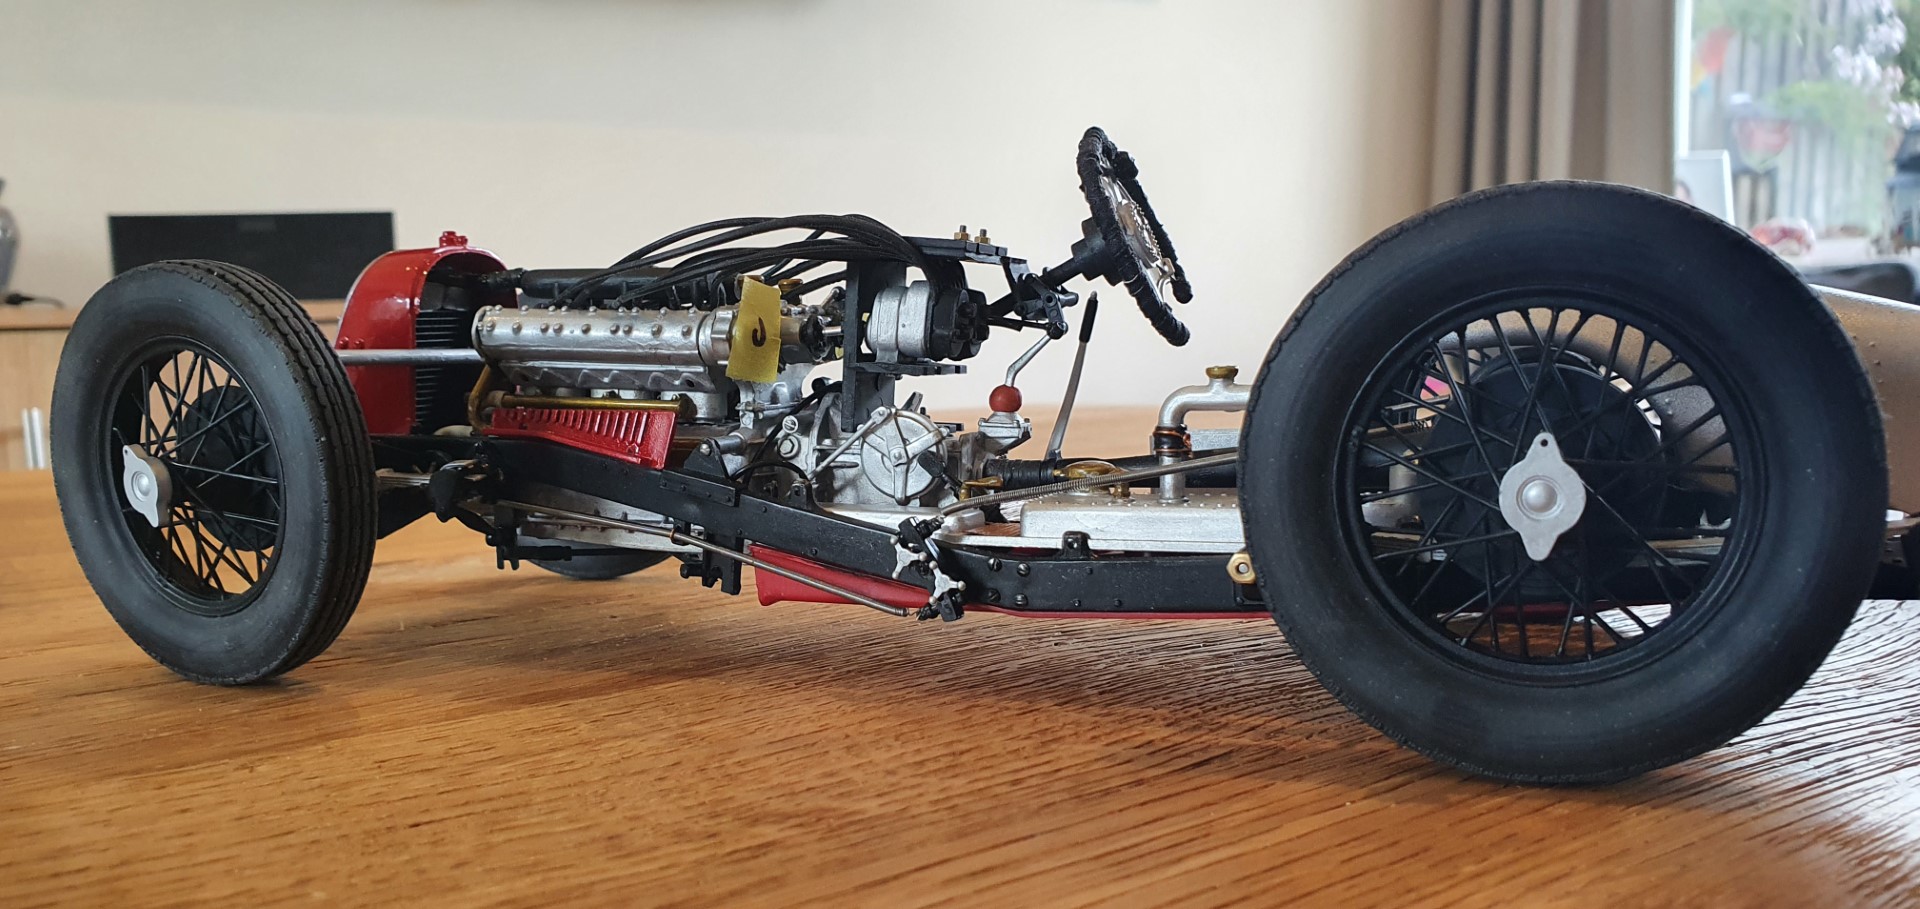
Getting a lot done today I can finally put the engine in..here it is beforehand
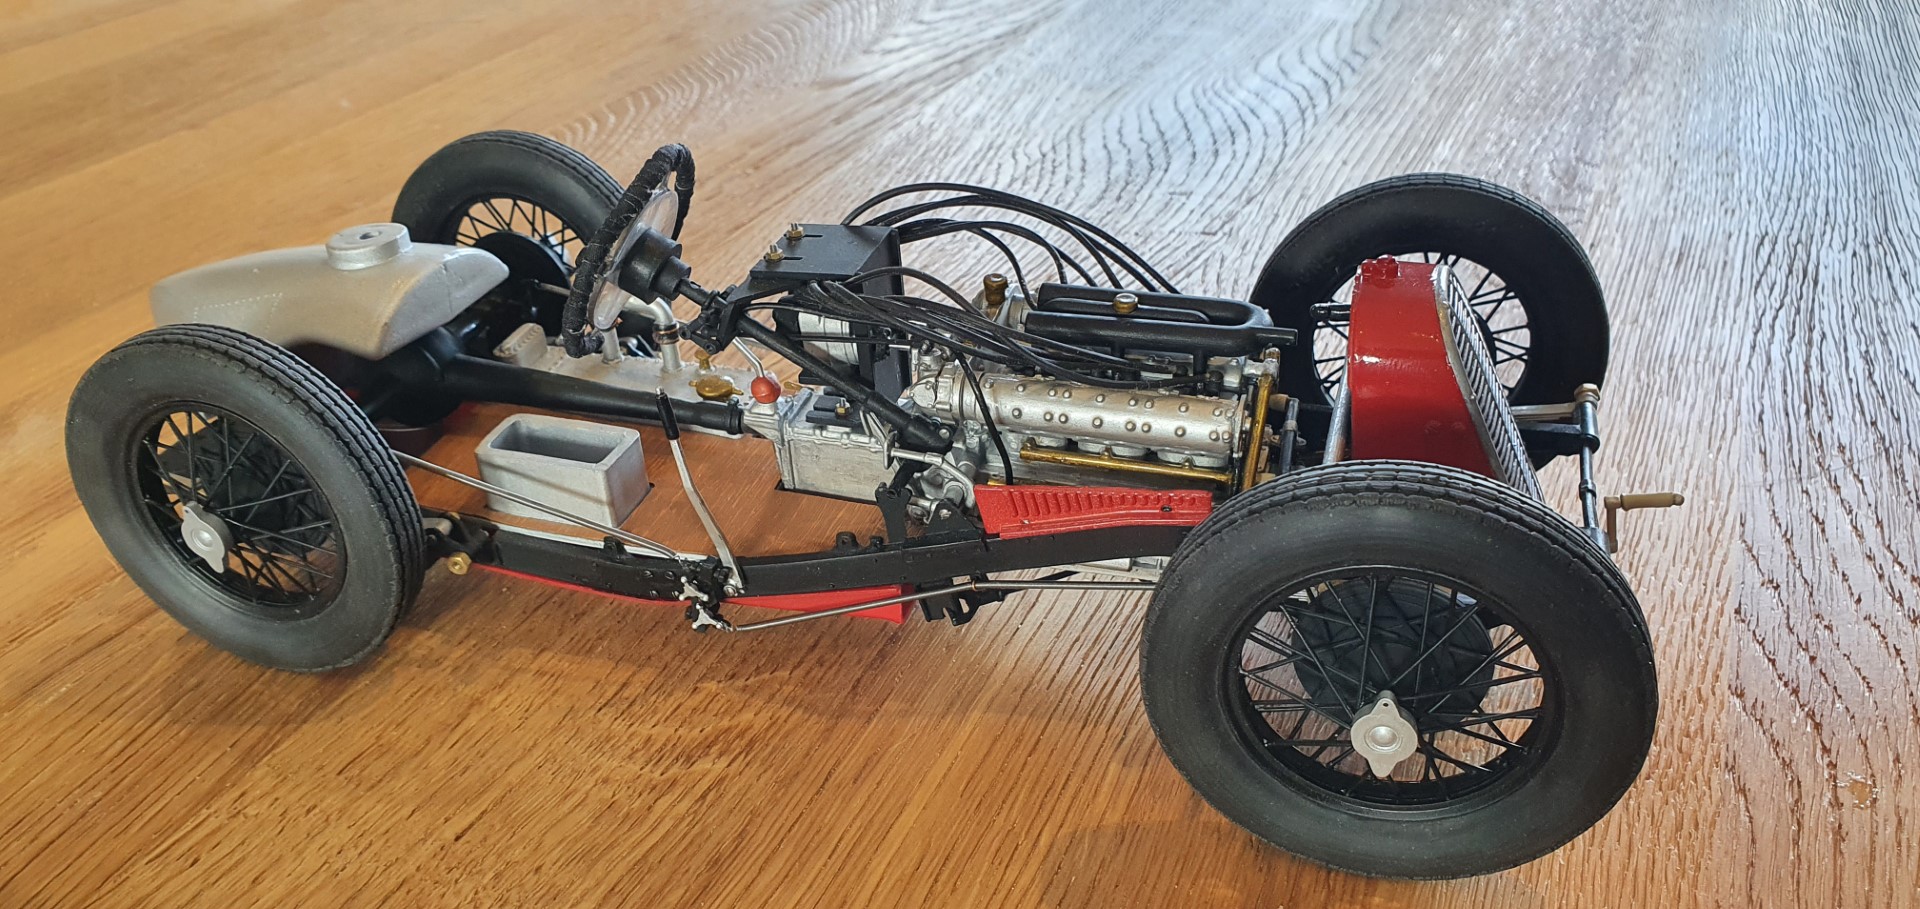
….and part fitted
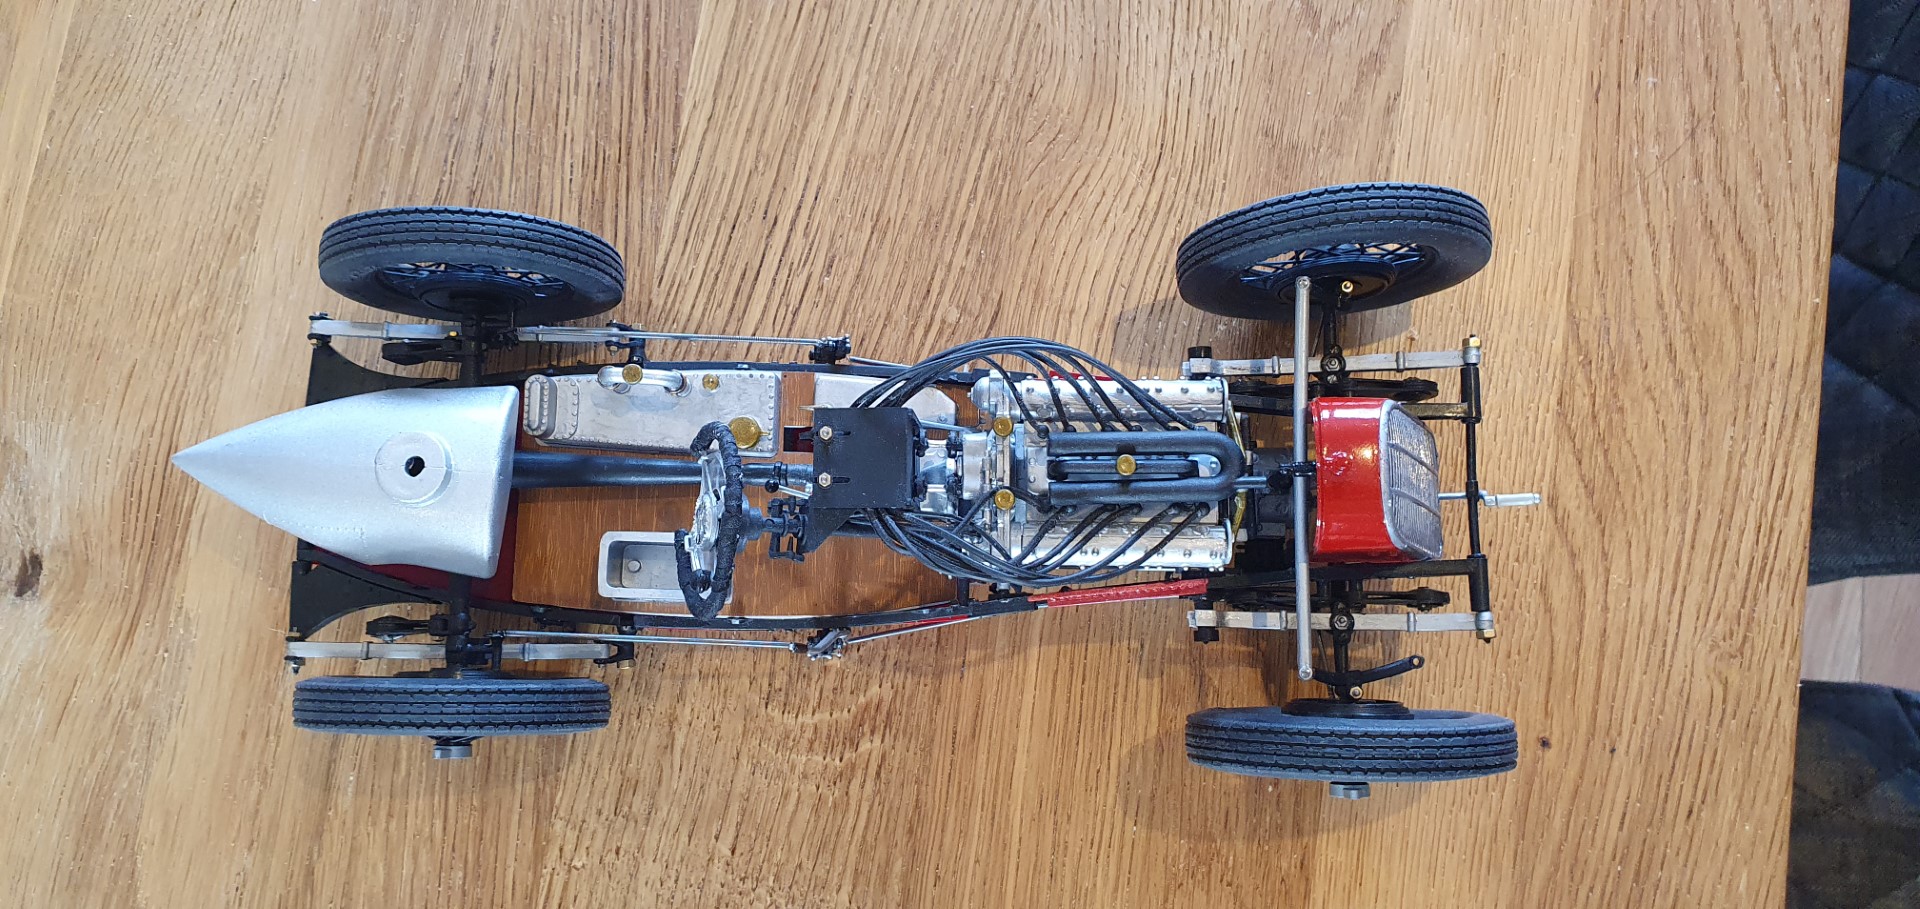
I had to connect multiple springs, pipes and tubes between the engine and other parts (radiator, fuel tank, chassis), what a nightmare that was with the misleading instructions.
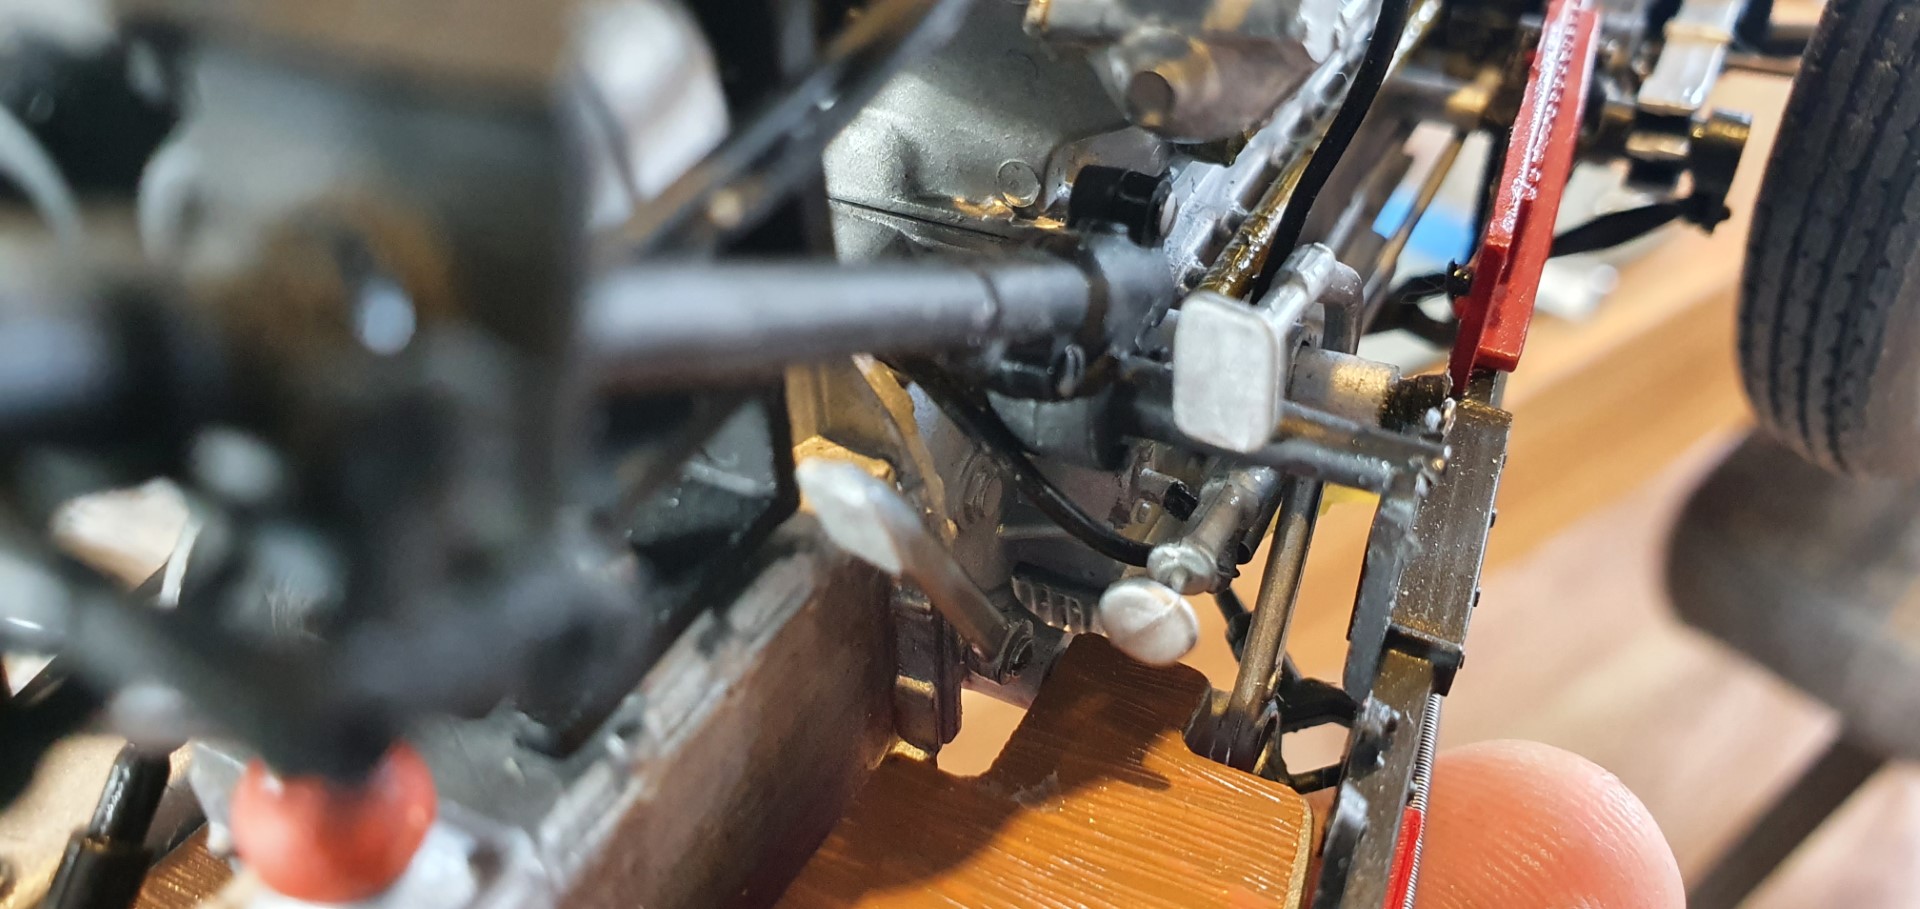
Also the engine is held in place with two screws at the rear (one each side) and two at the front. The rear ones are fine, however the front two are fitted from the outside, through the chassis and into the engine. That might be ok if there wasn’t another bracket (fitted in about stage 5!) that obscures the hole! There is most definitely no mistake on my part, they line up ok, you just can’t get to the holes (and there is no way I can take off the part obscuring them now due to the many other parts fitted since)!
At this point I’m resigned to using superglue between the two surfaces BUT not done so yet in case there is something in one of the final stages that may mean it was a bad decision…
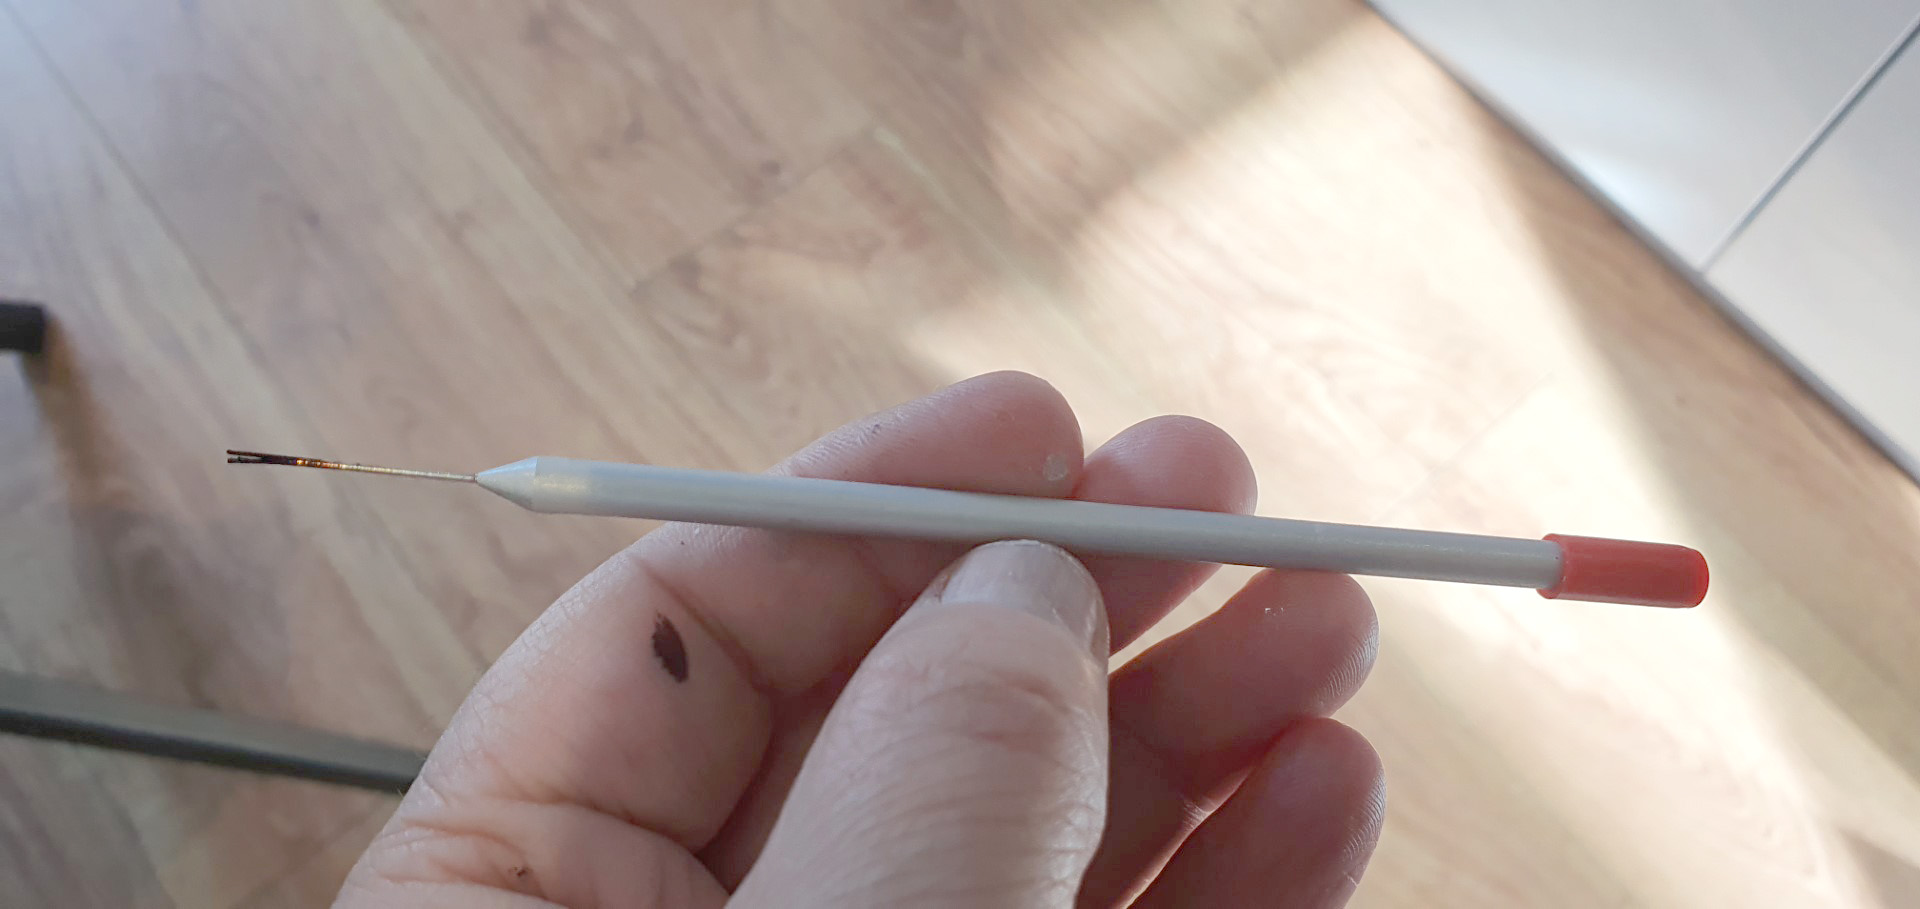
That was that for the day…but here is a new tool I found…
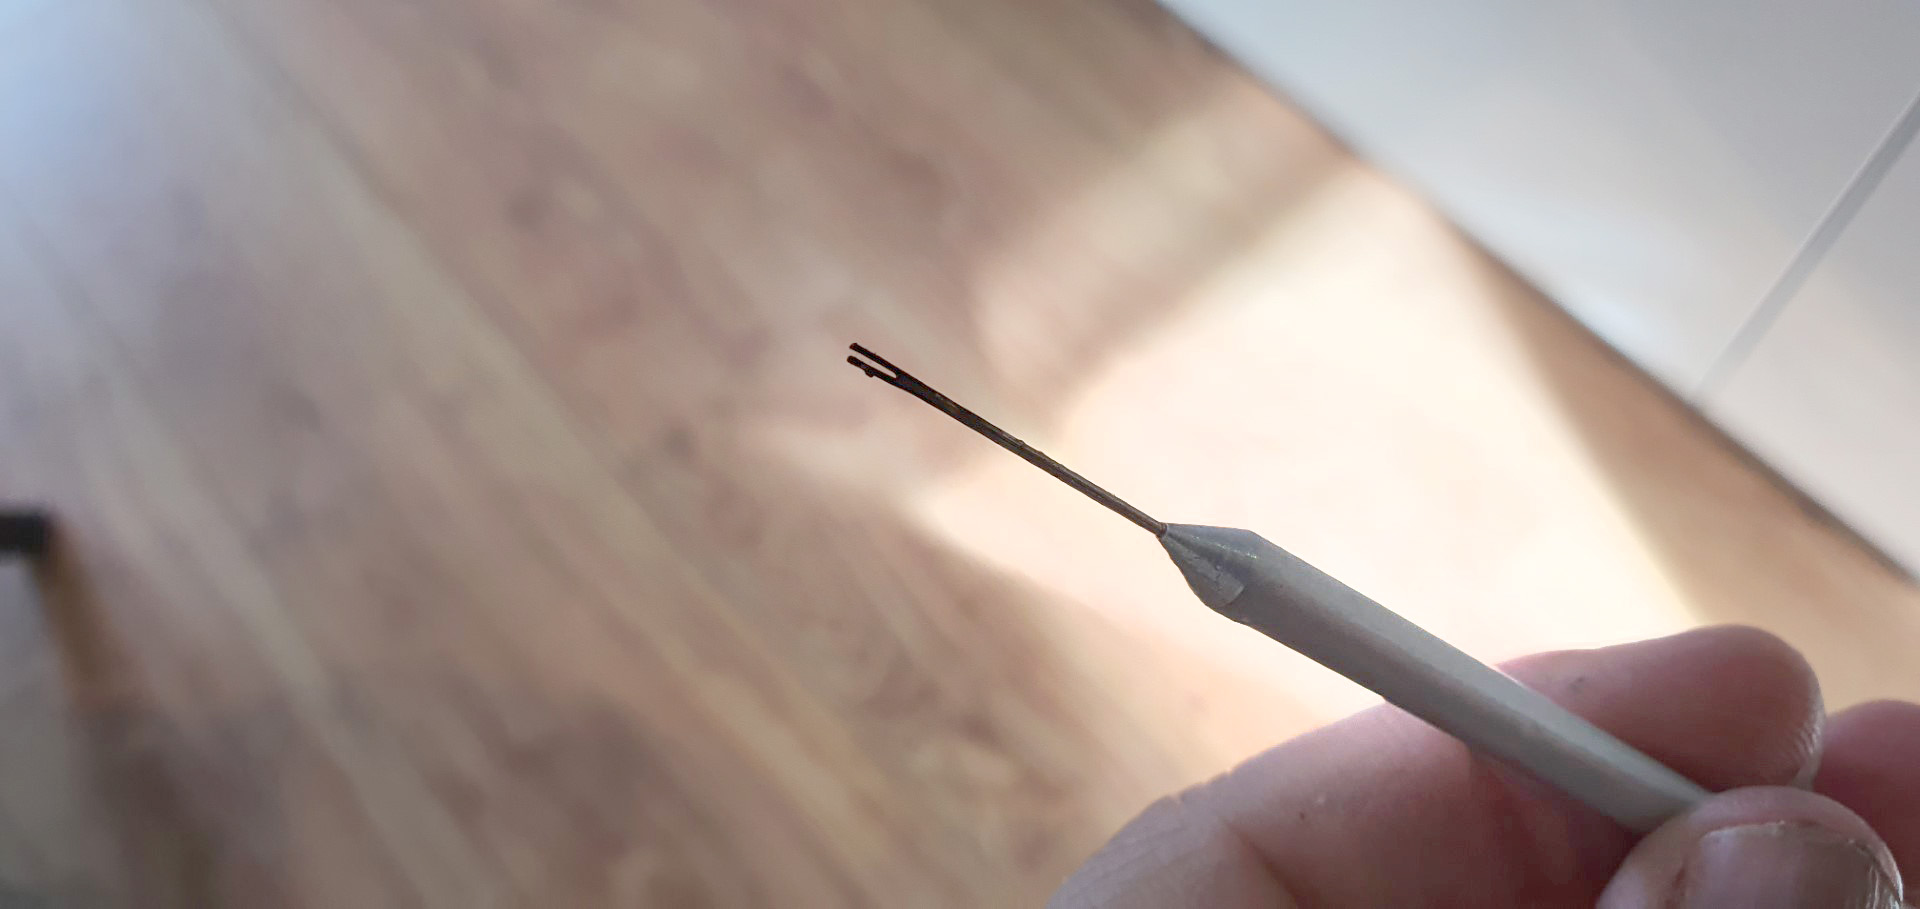
Basically it is a CA Superglue applicator which allows you to pick up a very fine dot of superglue. I have 4 viscosities of superglue – gel, thick, medium and thin.
The thin and medium are quite runny so come out of the tub way too fast (meaning you run the risk of getting SG all over the place). This applicator helps immensely. The glue clogs up the end (which is like the eye of a needle with the end cut off) but can be cleaned by just holding it over an open flame for a second or two.
YouTube shows clips of people making them with a dremel, needle and something to act as a handle.
