- Welcome to my website. Please use the menu below to navigate

- Home
- About Me
- About Us
- Flickr
- Galleries
- Galleries 2013
- Galleries 2014
- Galleries 2015
- Galleries 2016
- Galleries 2017
- Galleries 2018
- Galleries 2019
- Galleries 2020
- Galleries 2021
- Boxster Roof Damage
- Boxster 981S 1:18 model compared to the real thing
- History of the Boxster
- Porsche PSM, PASM & Sports Chrono Plus
- Unicorns for Cancer
- Home Garage Conversion
- Contact Us
- 981…Waiting in anticipation
- Lucy’s Gallery
Fiat 806 GP car 1/12 model – page 2
Tuesday 28th April 2020
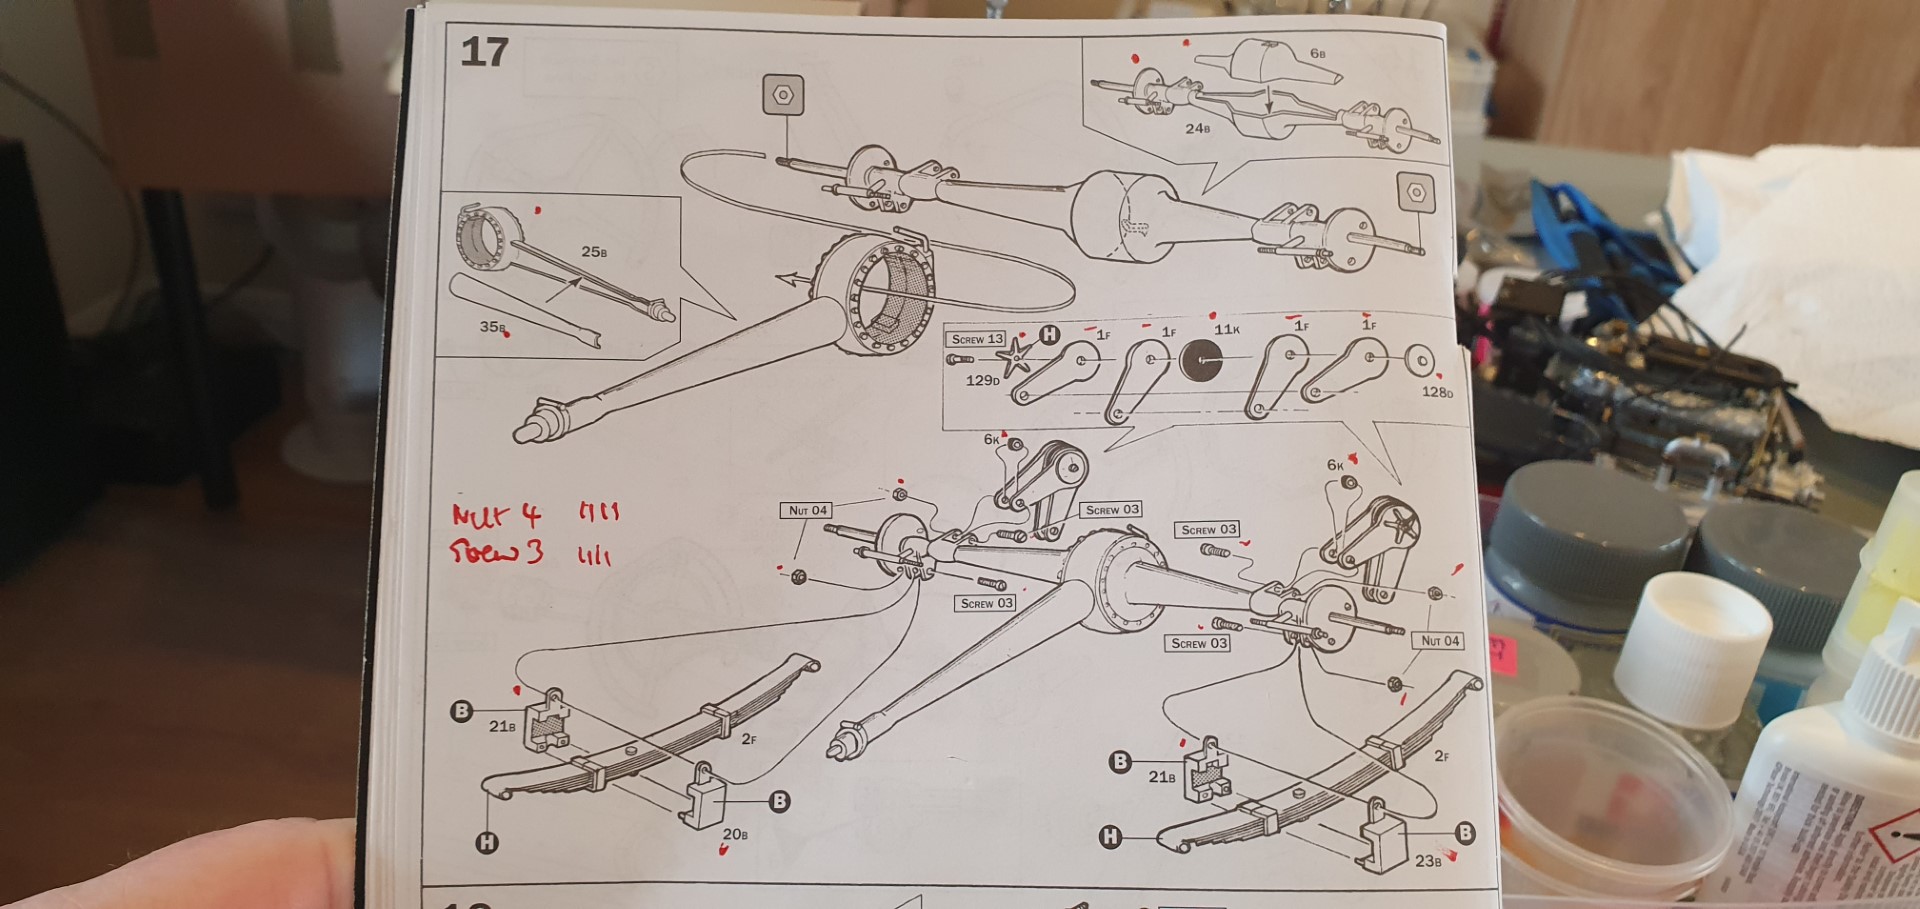
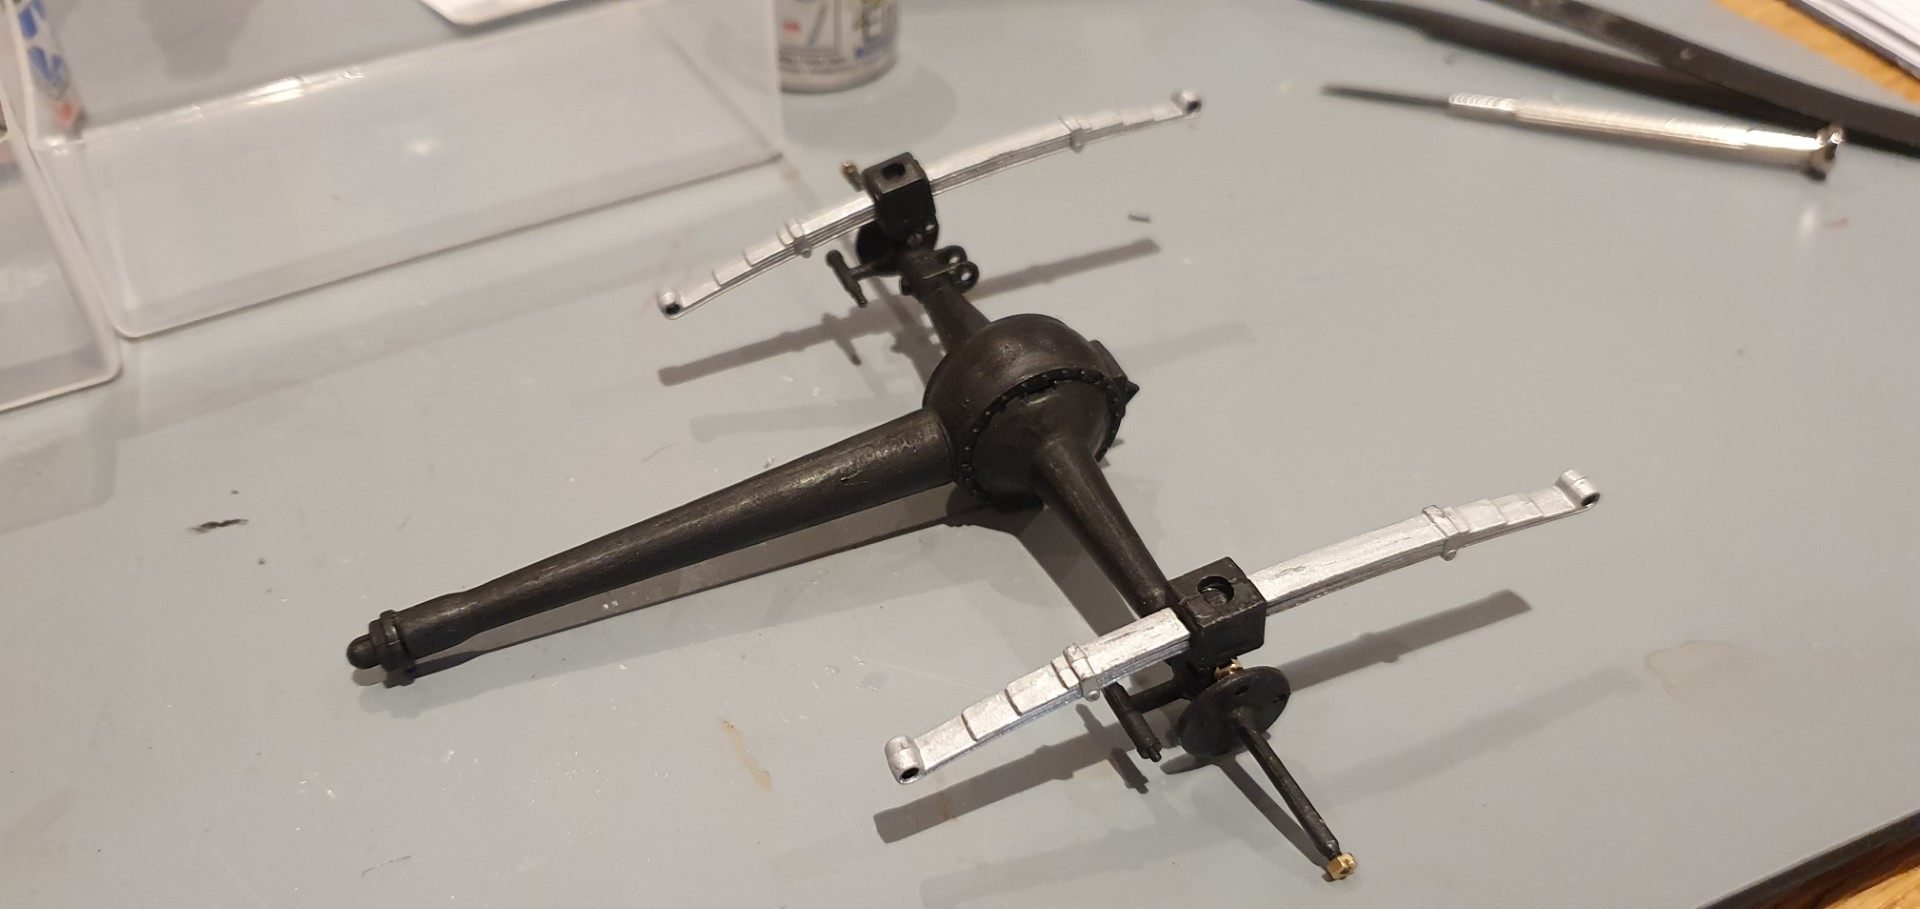
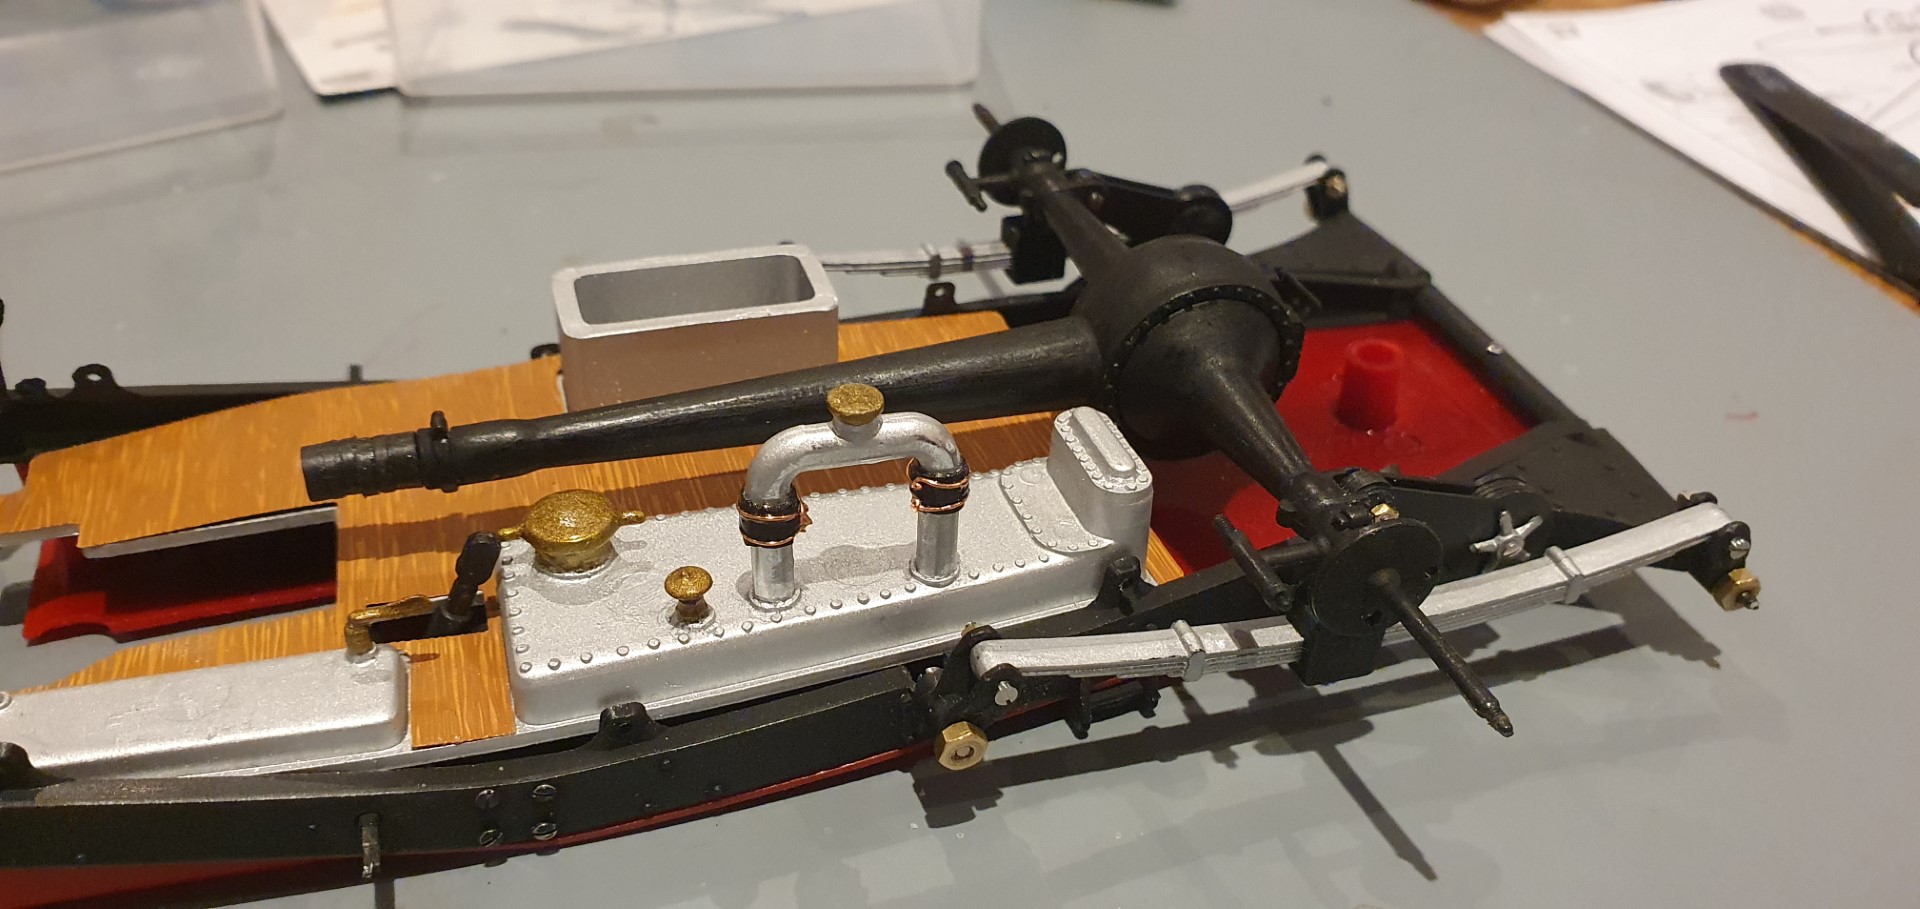
I start to properly put together the axle
instructions are nice and clear
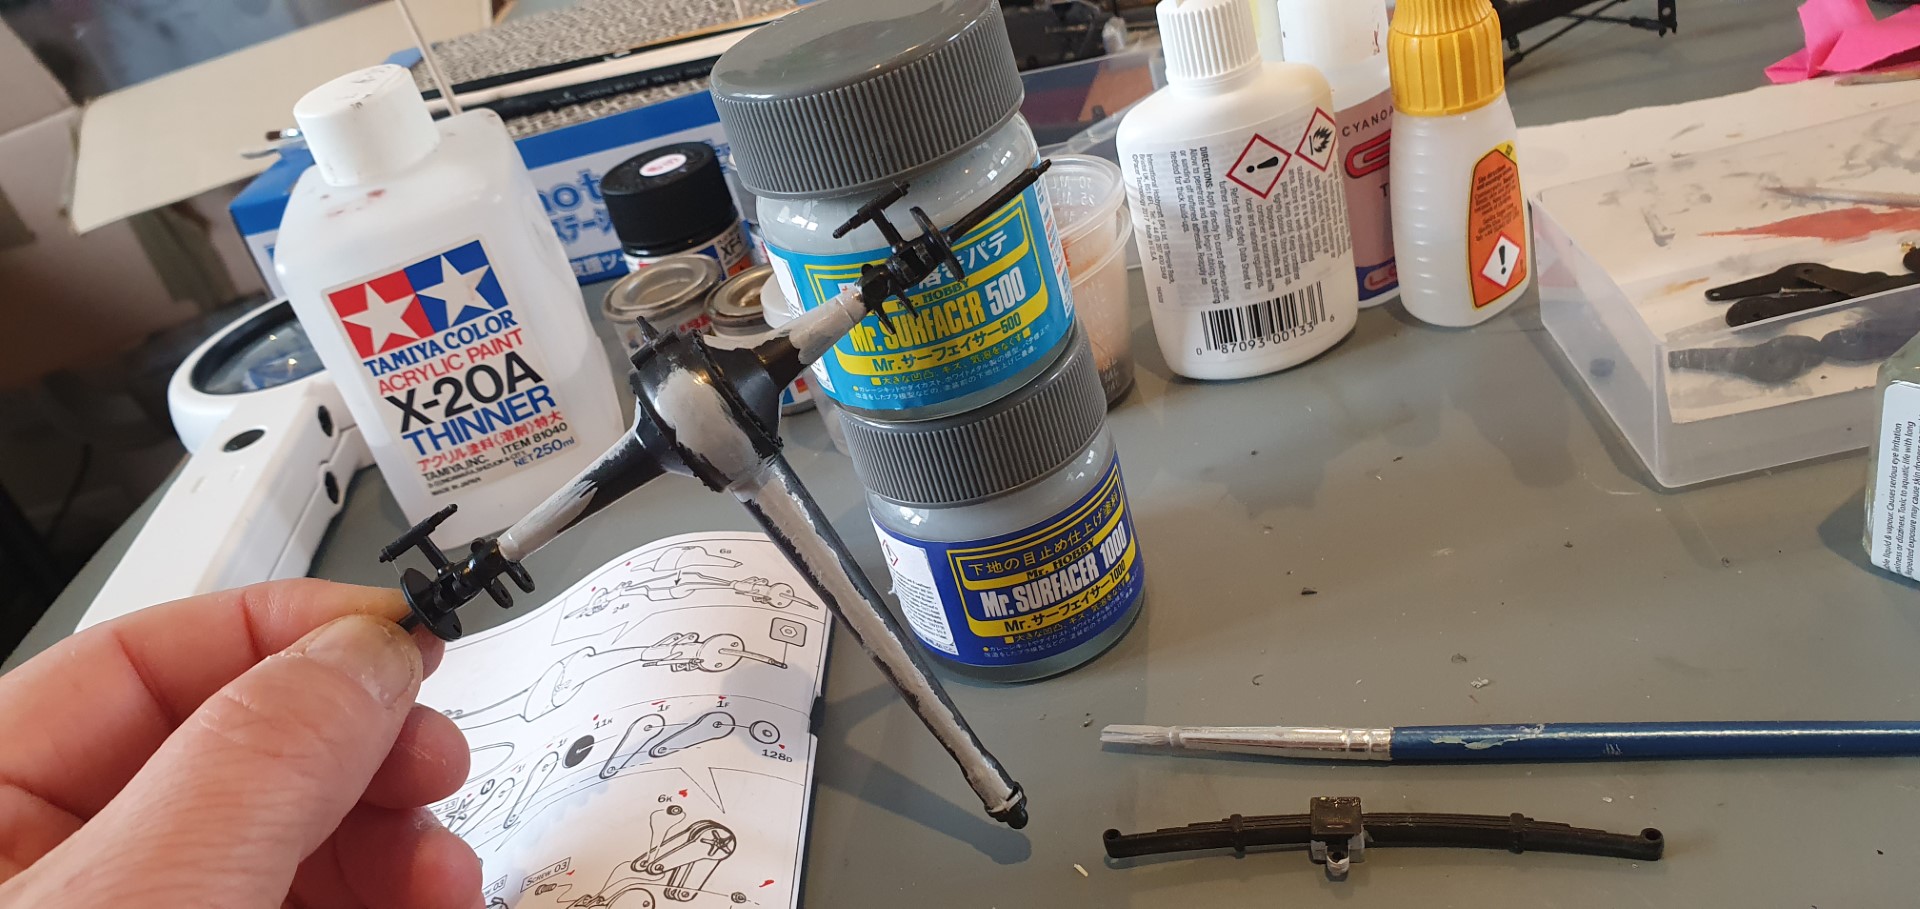
I found a product called Mr Surfacer which is a solvent based putty in liquid form. It comes in 500, 1000 & 1200 grades
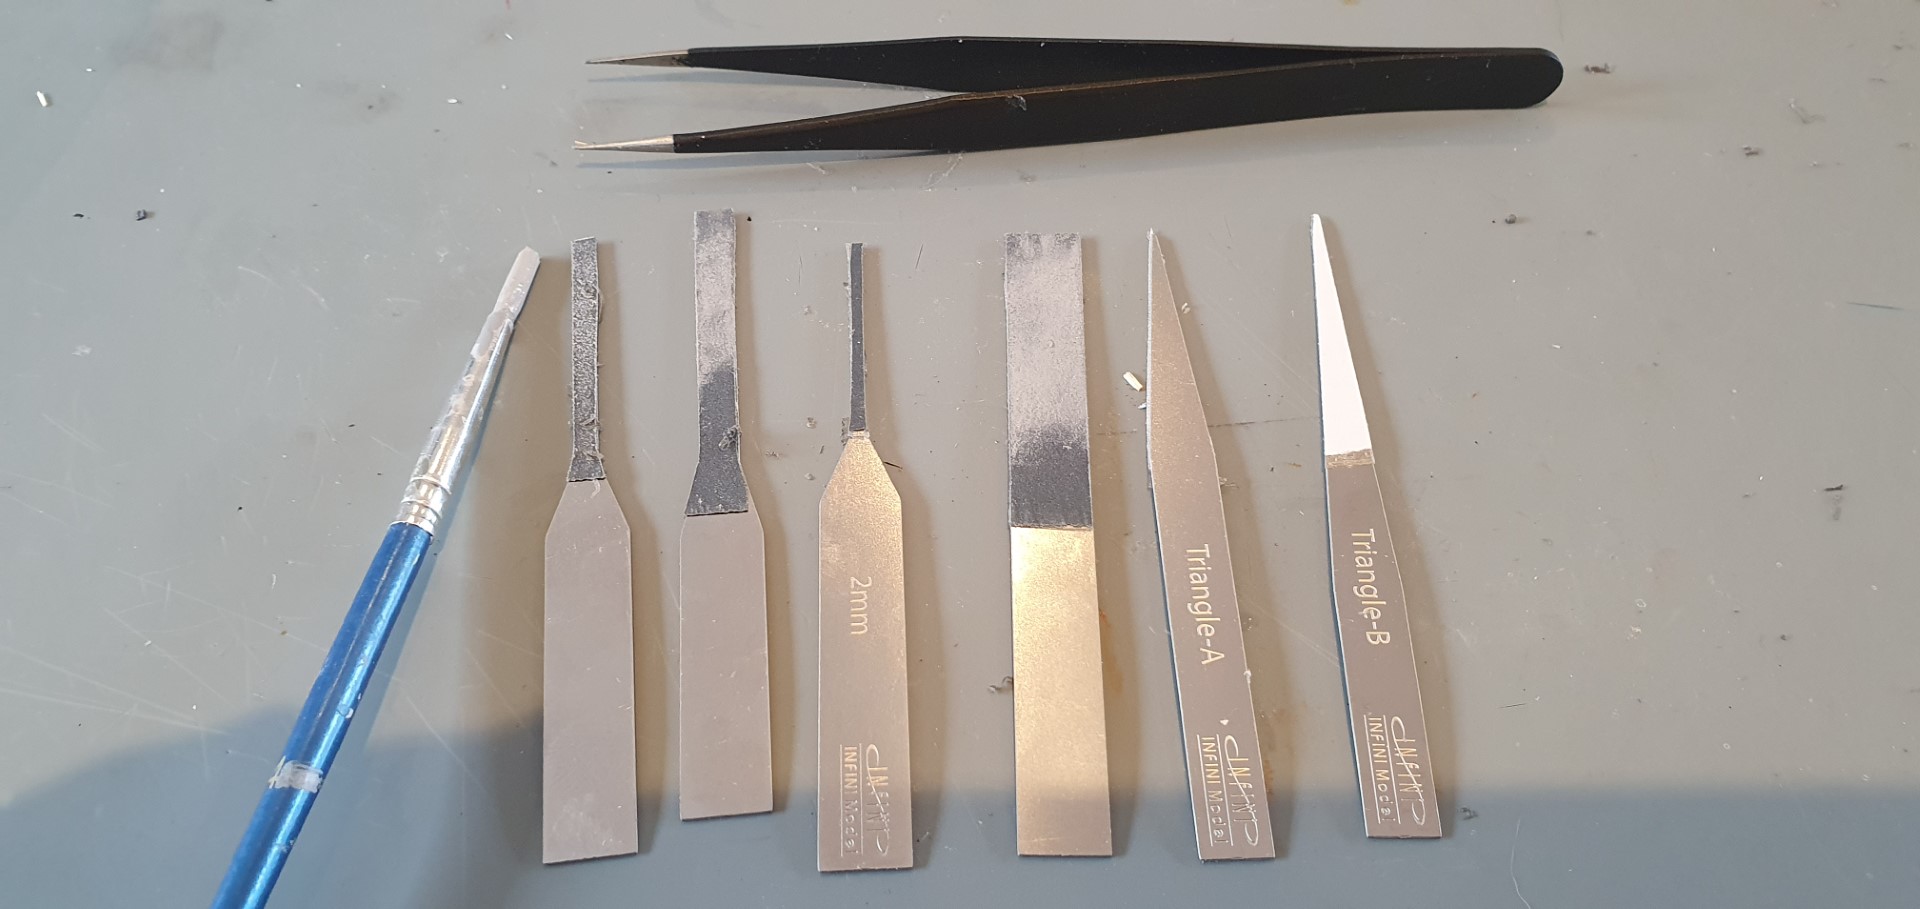
I’ve also bought some metal file things, basically small different shaped pieces of metal on which you stick self adhesive wet & dry
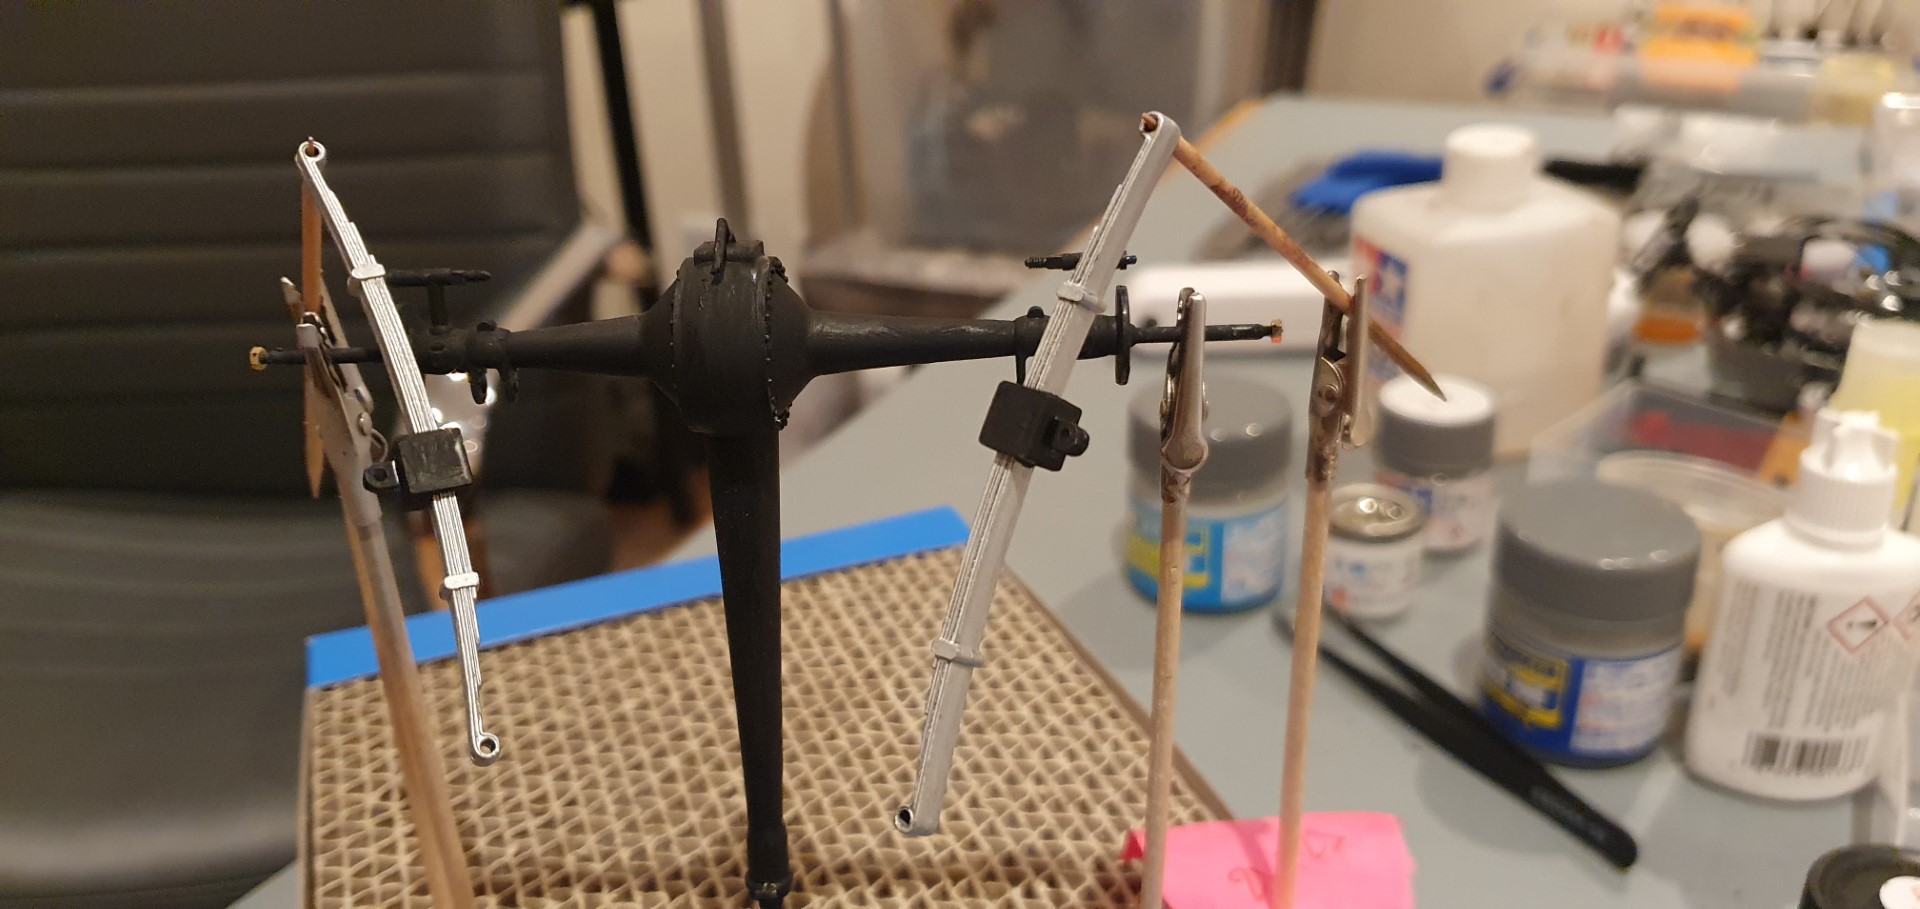
assembly partly built and painted
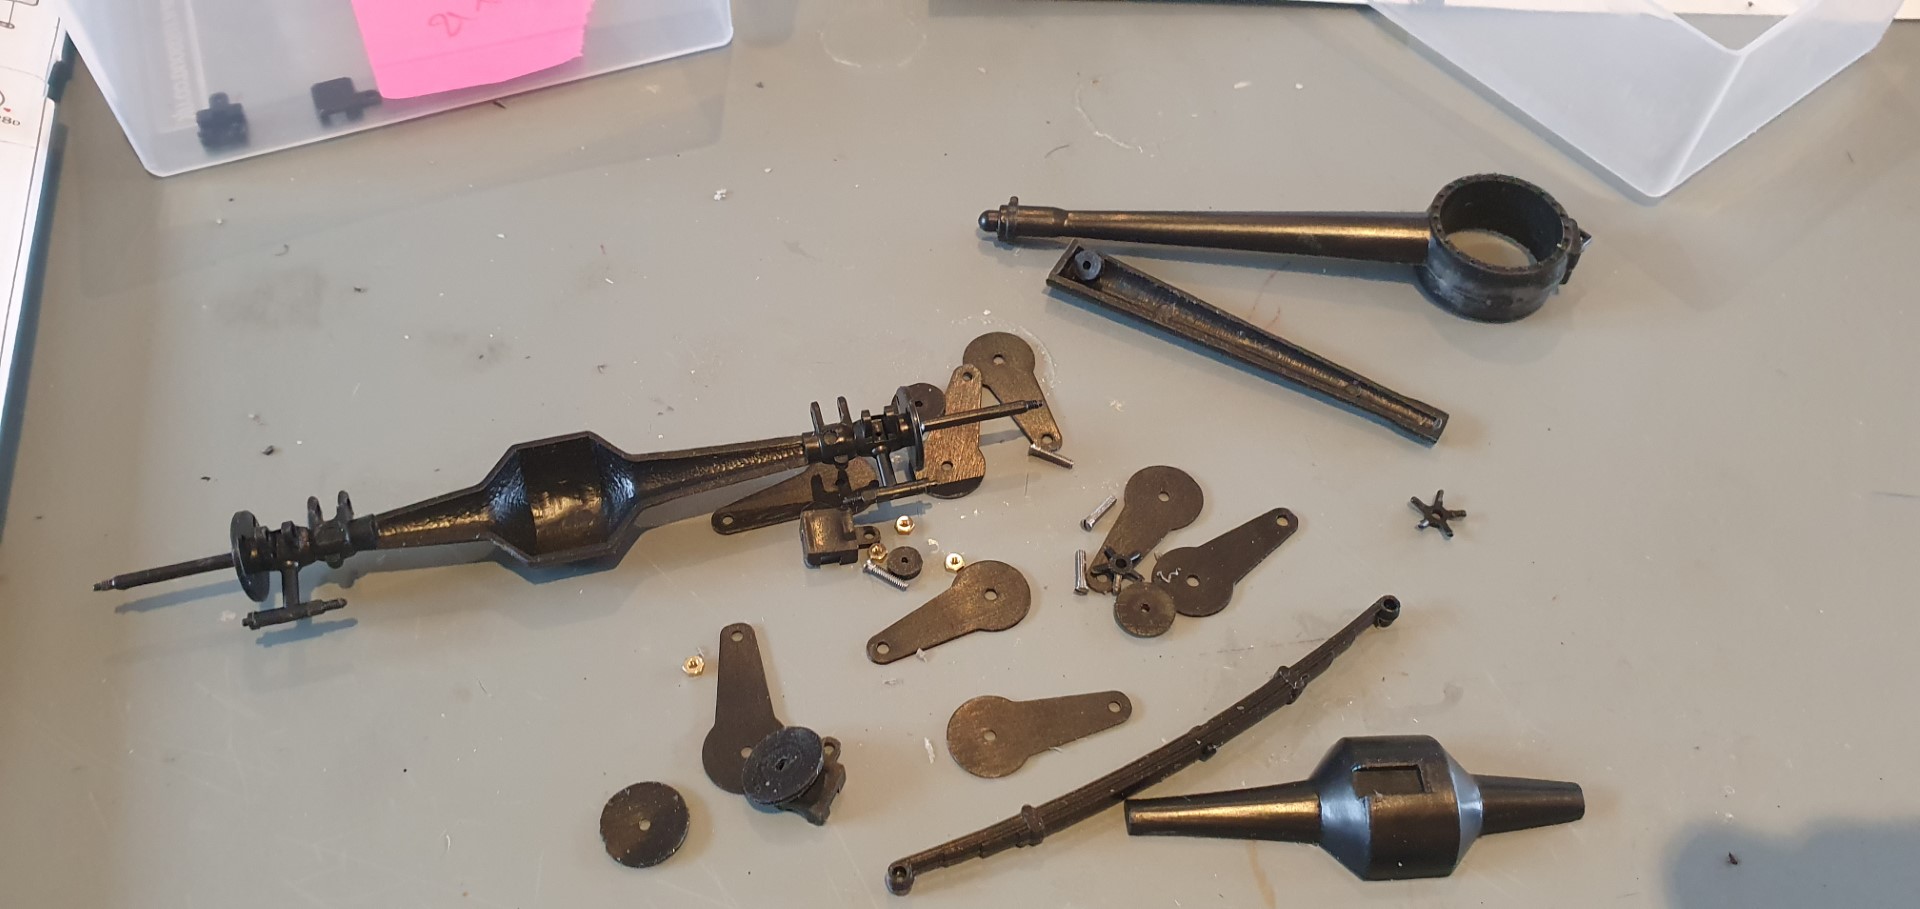
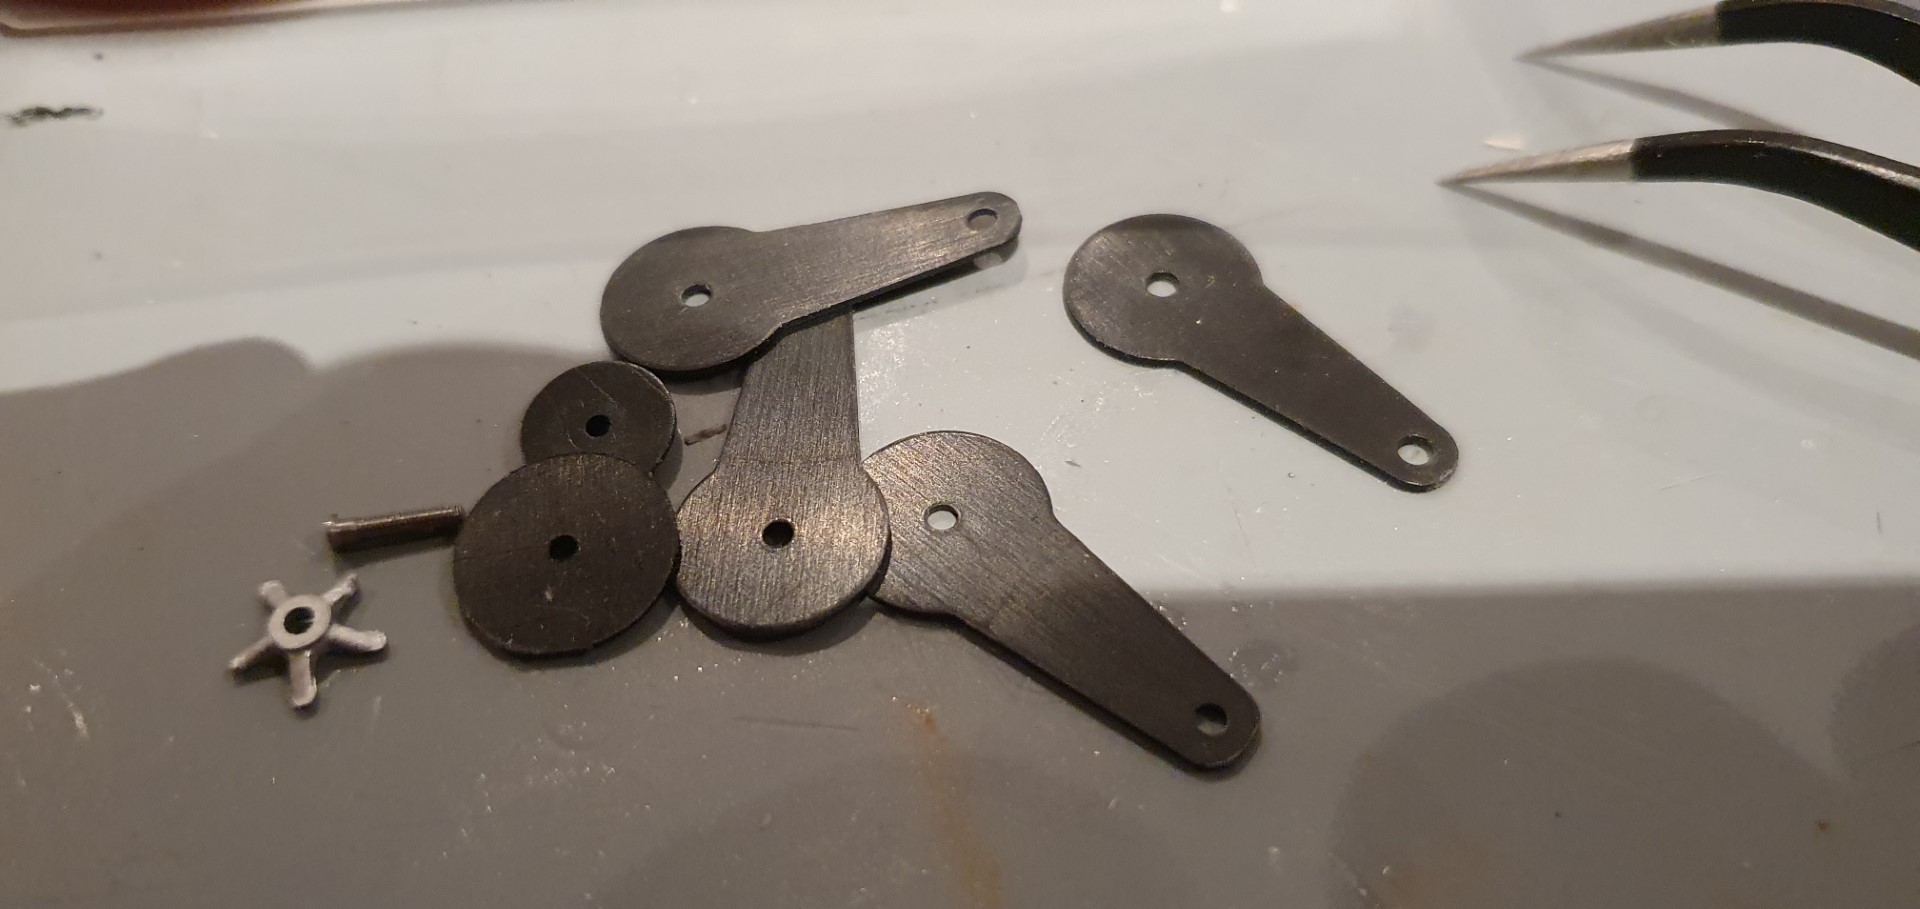
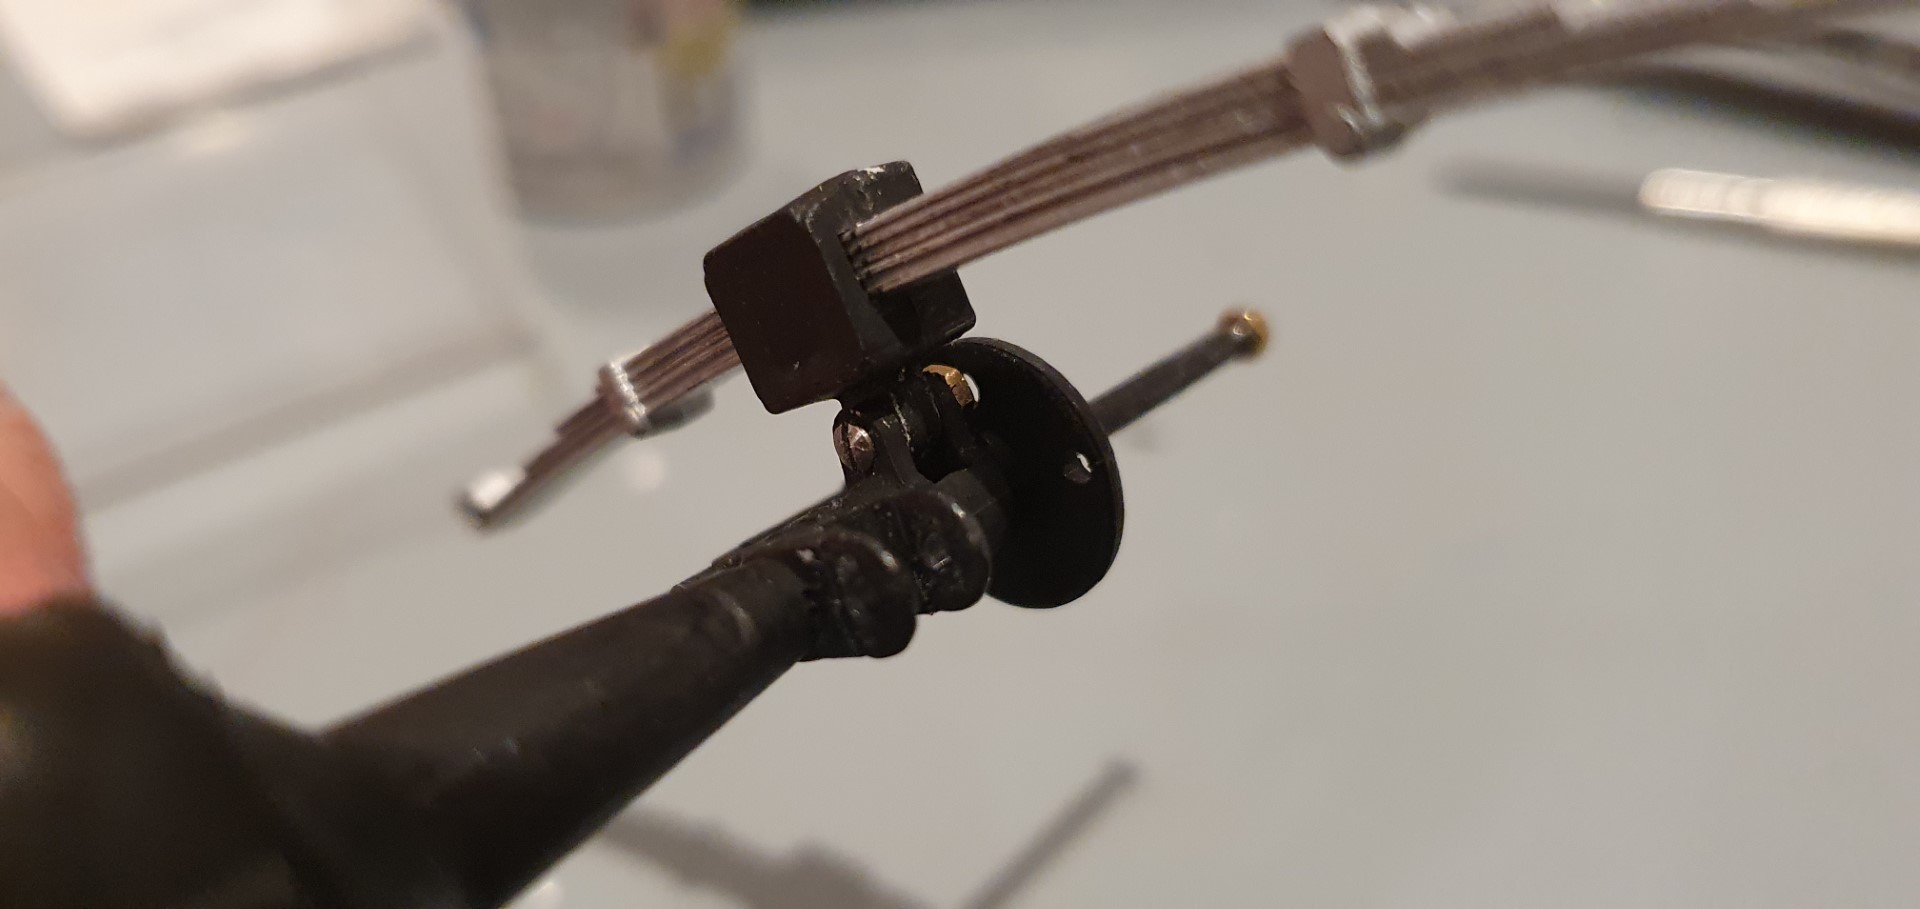
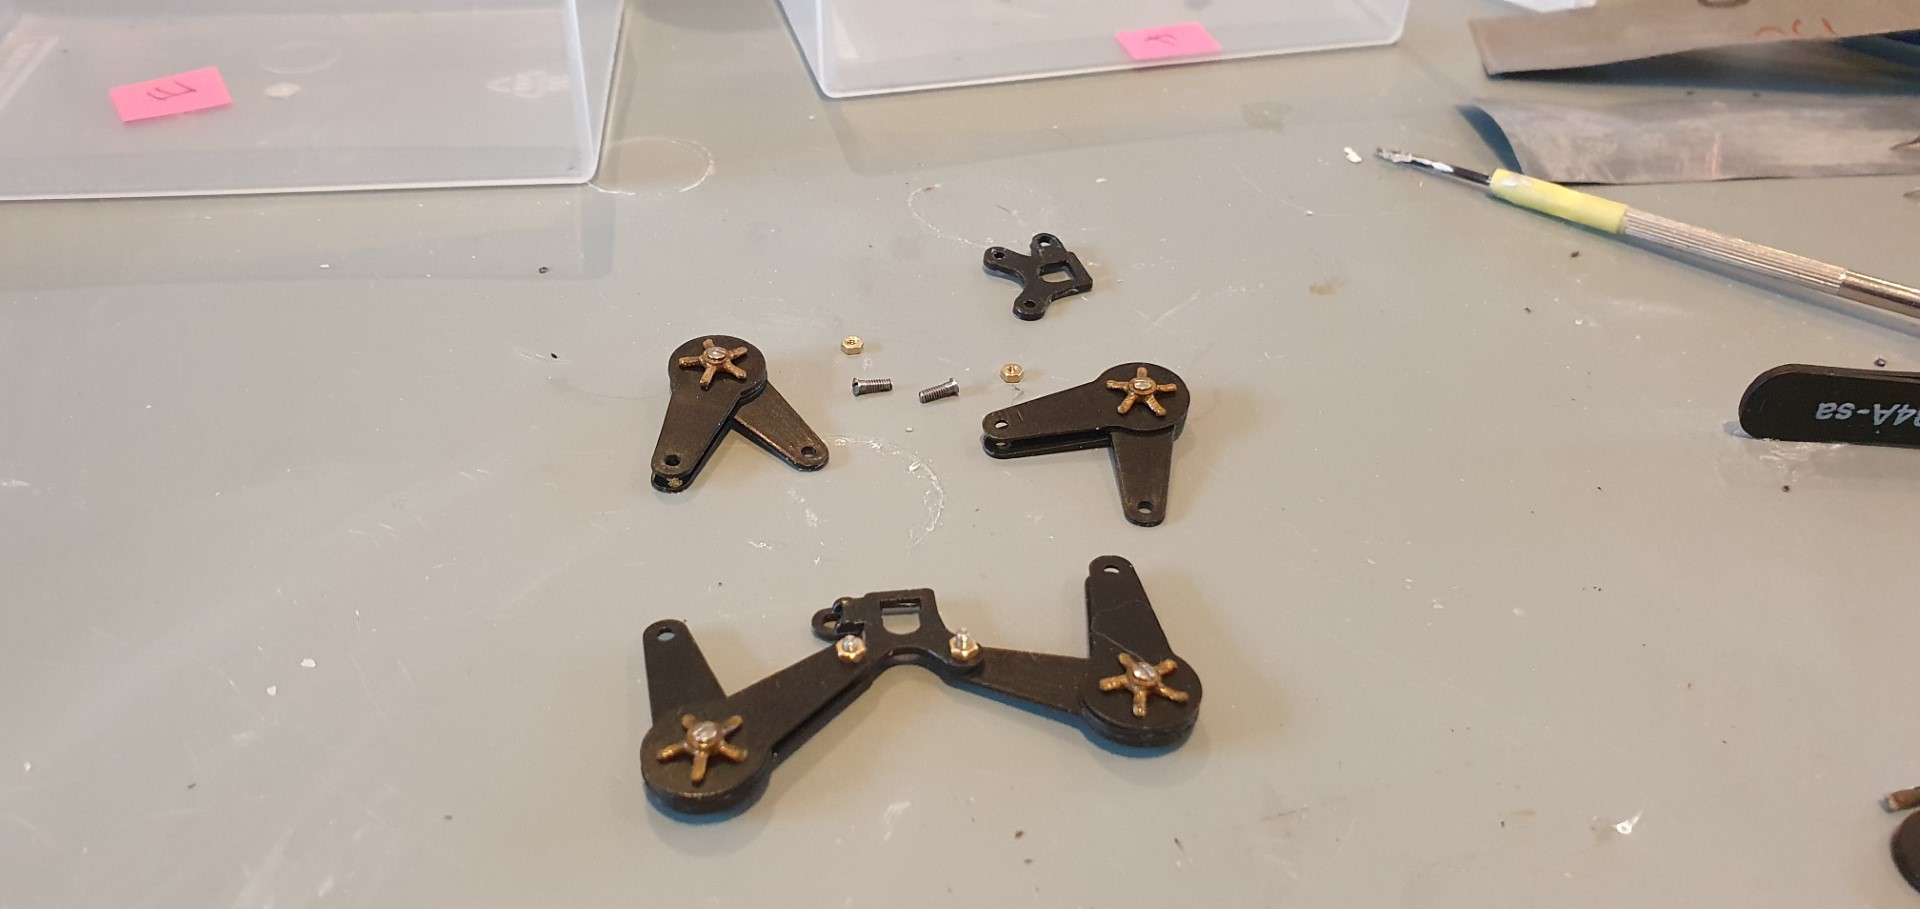
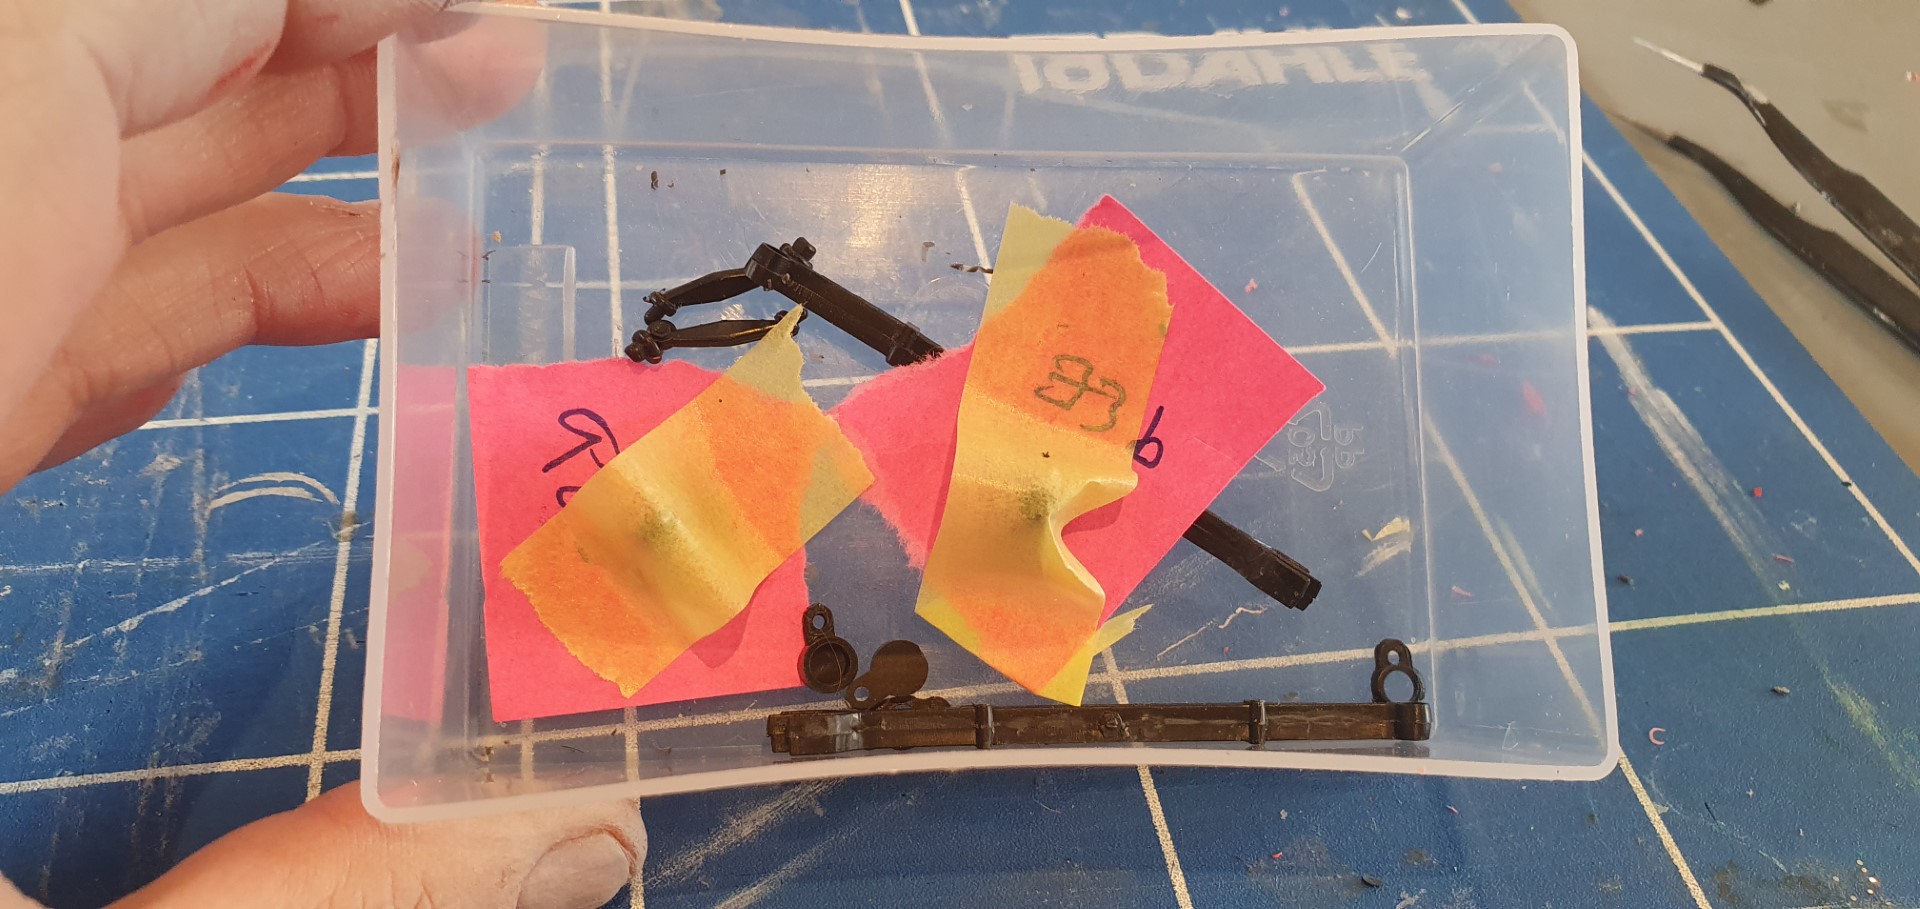
some parts before putting together
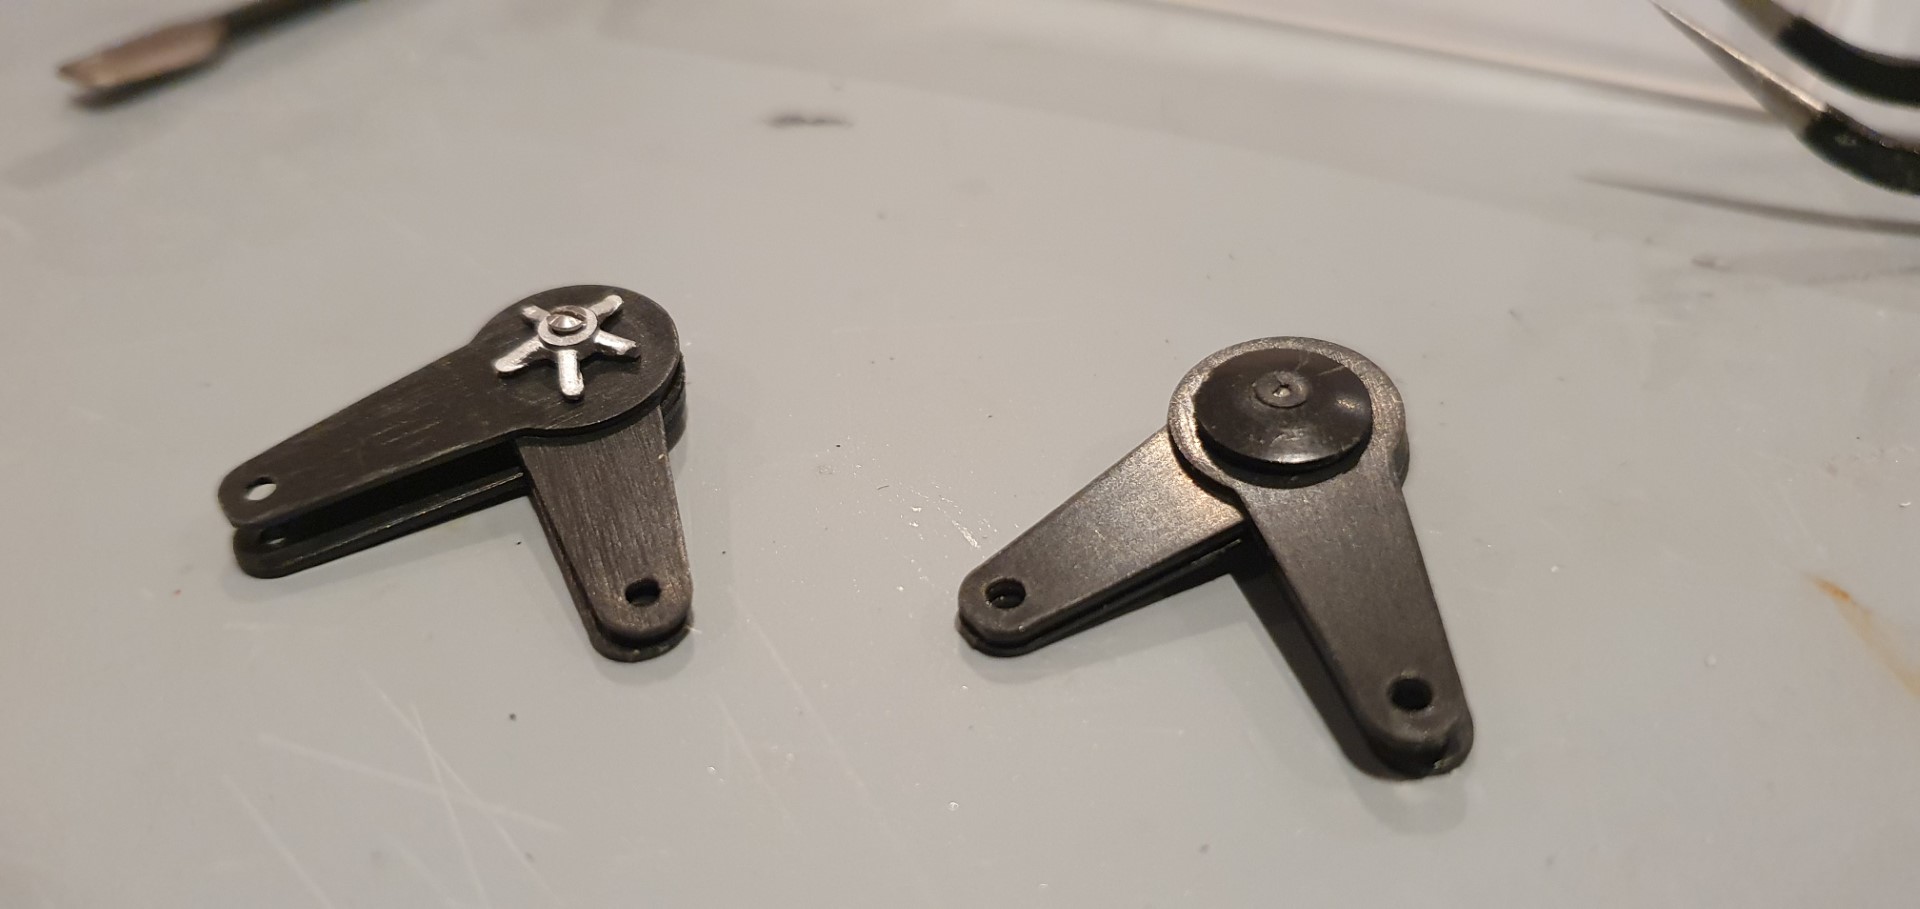
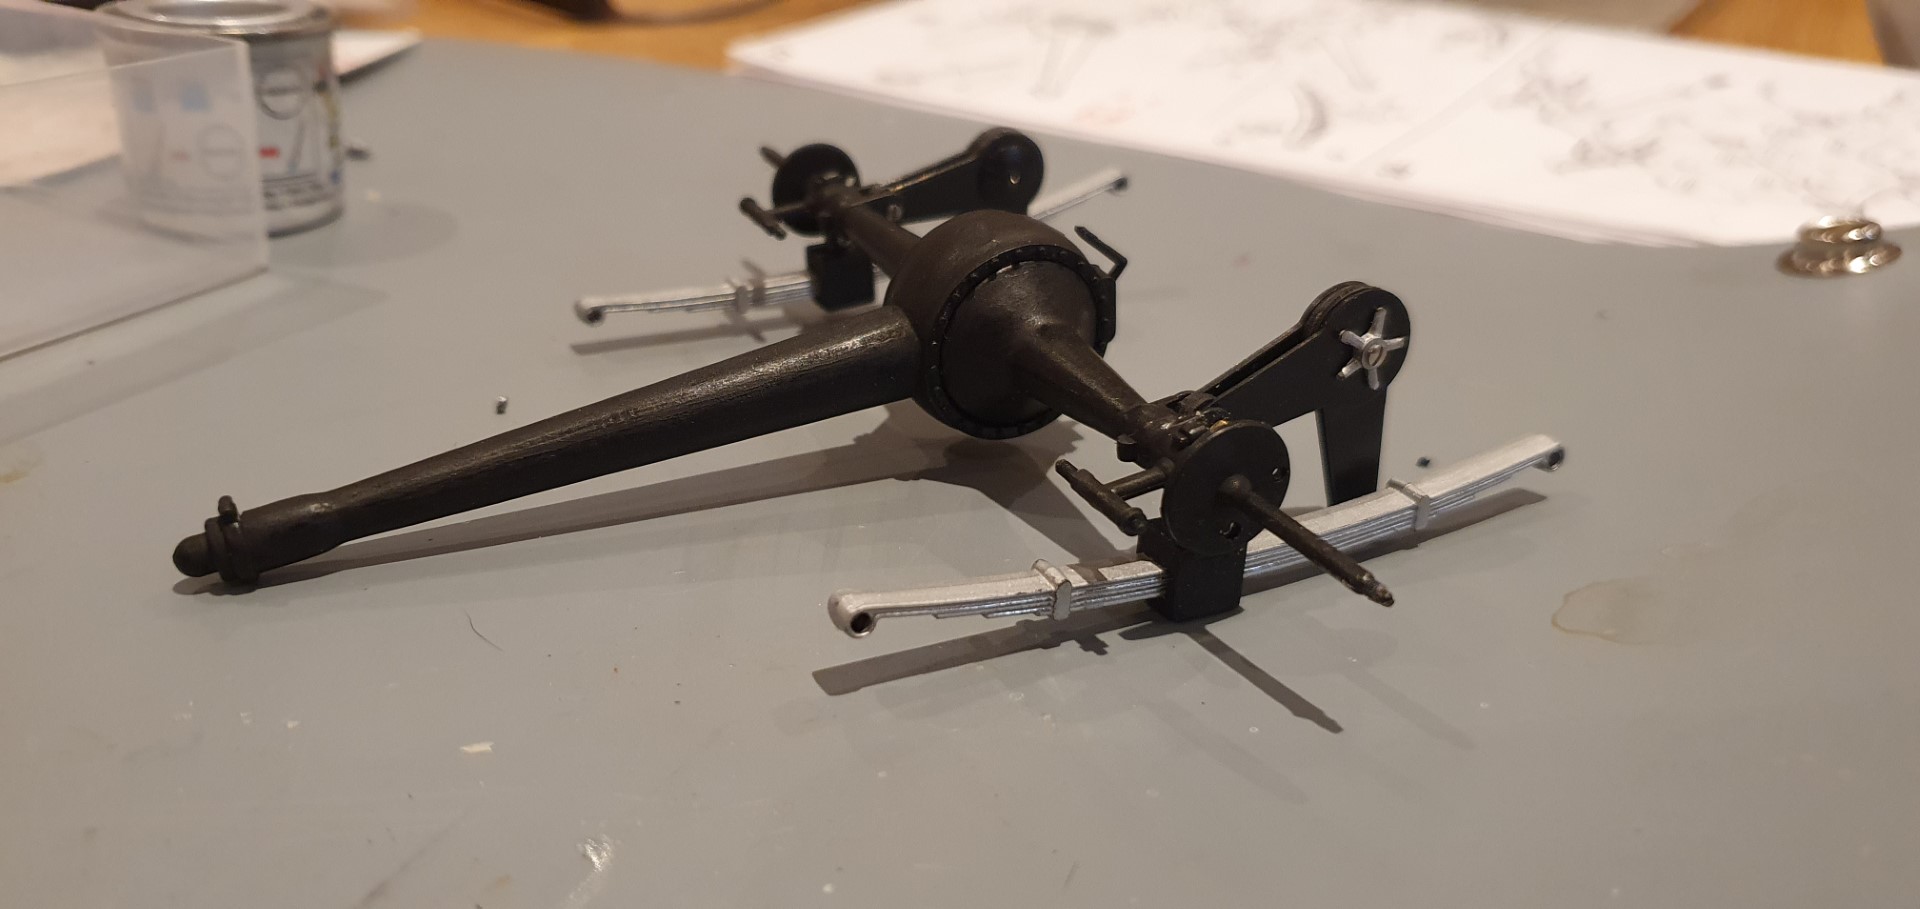
and afterwards
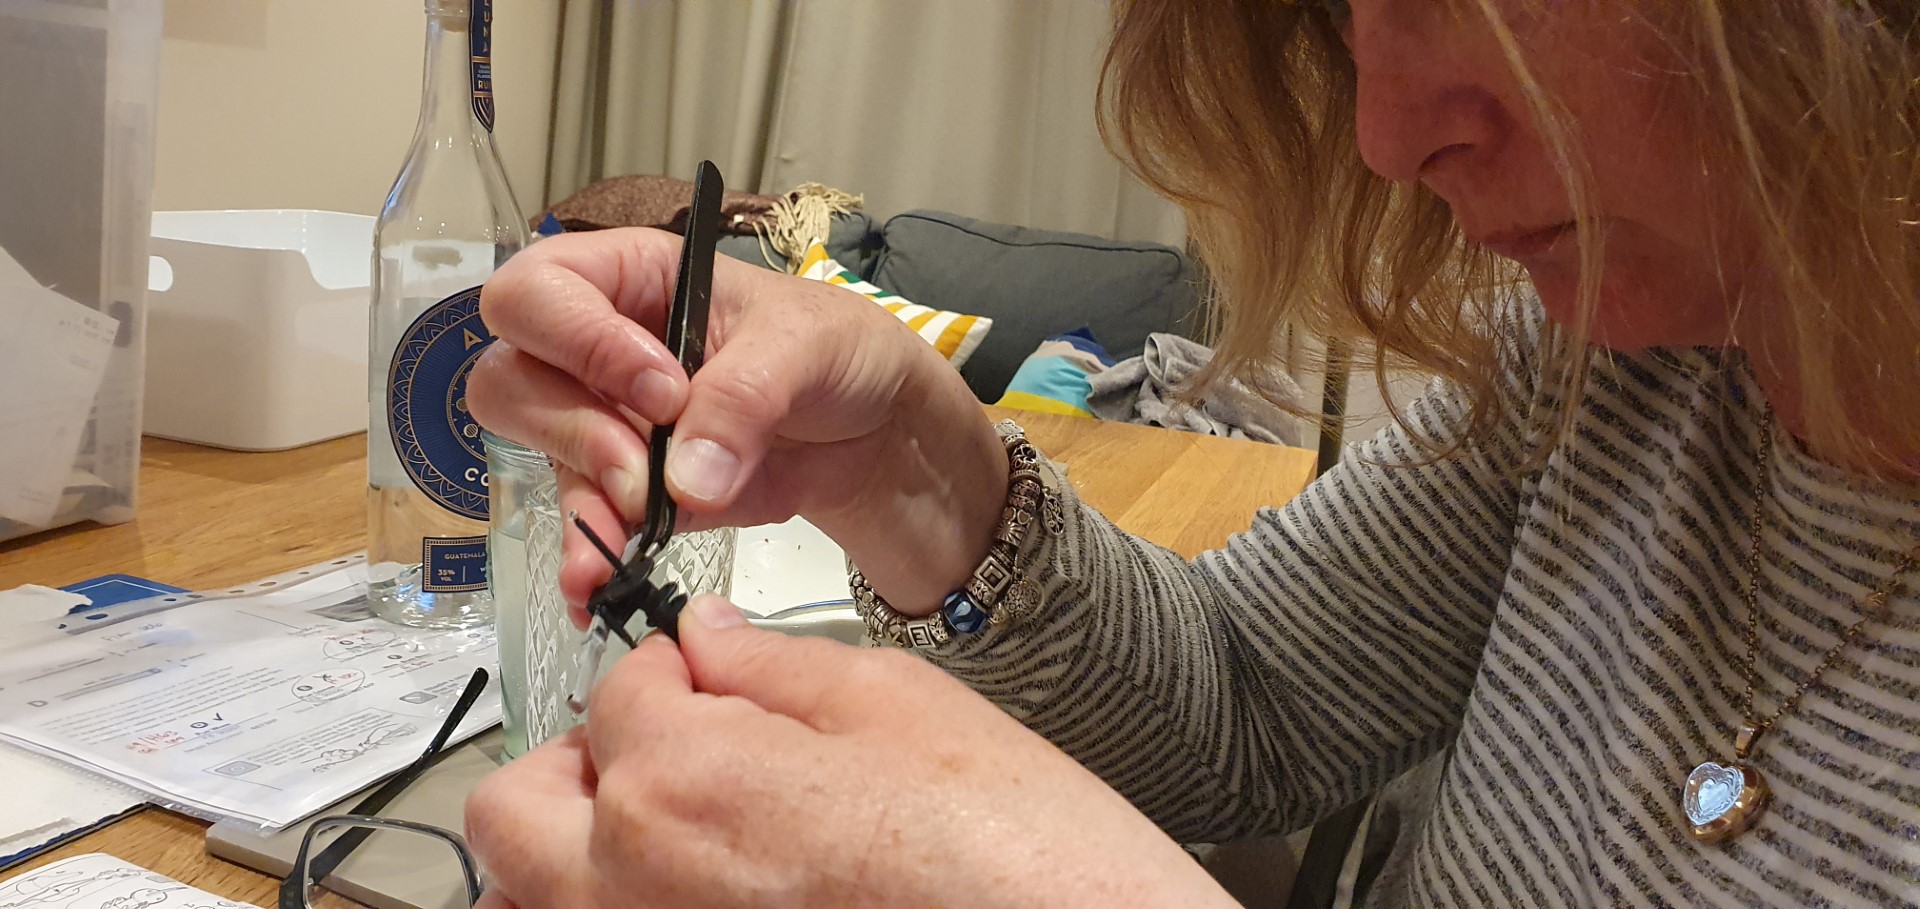
enlisted wifey’s help with my fiddly small nuts
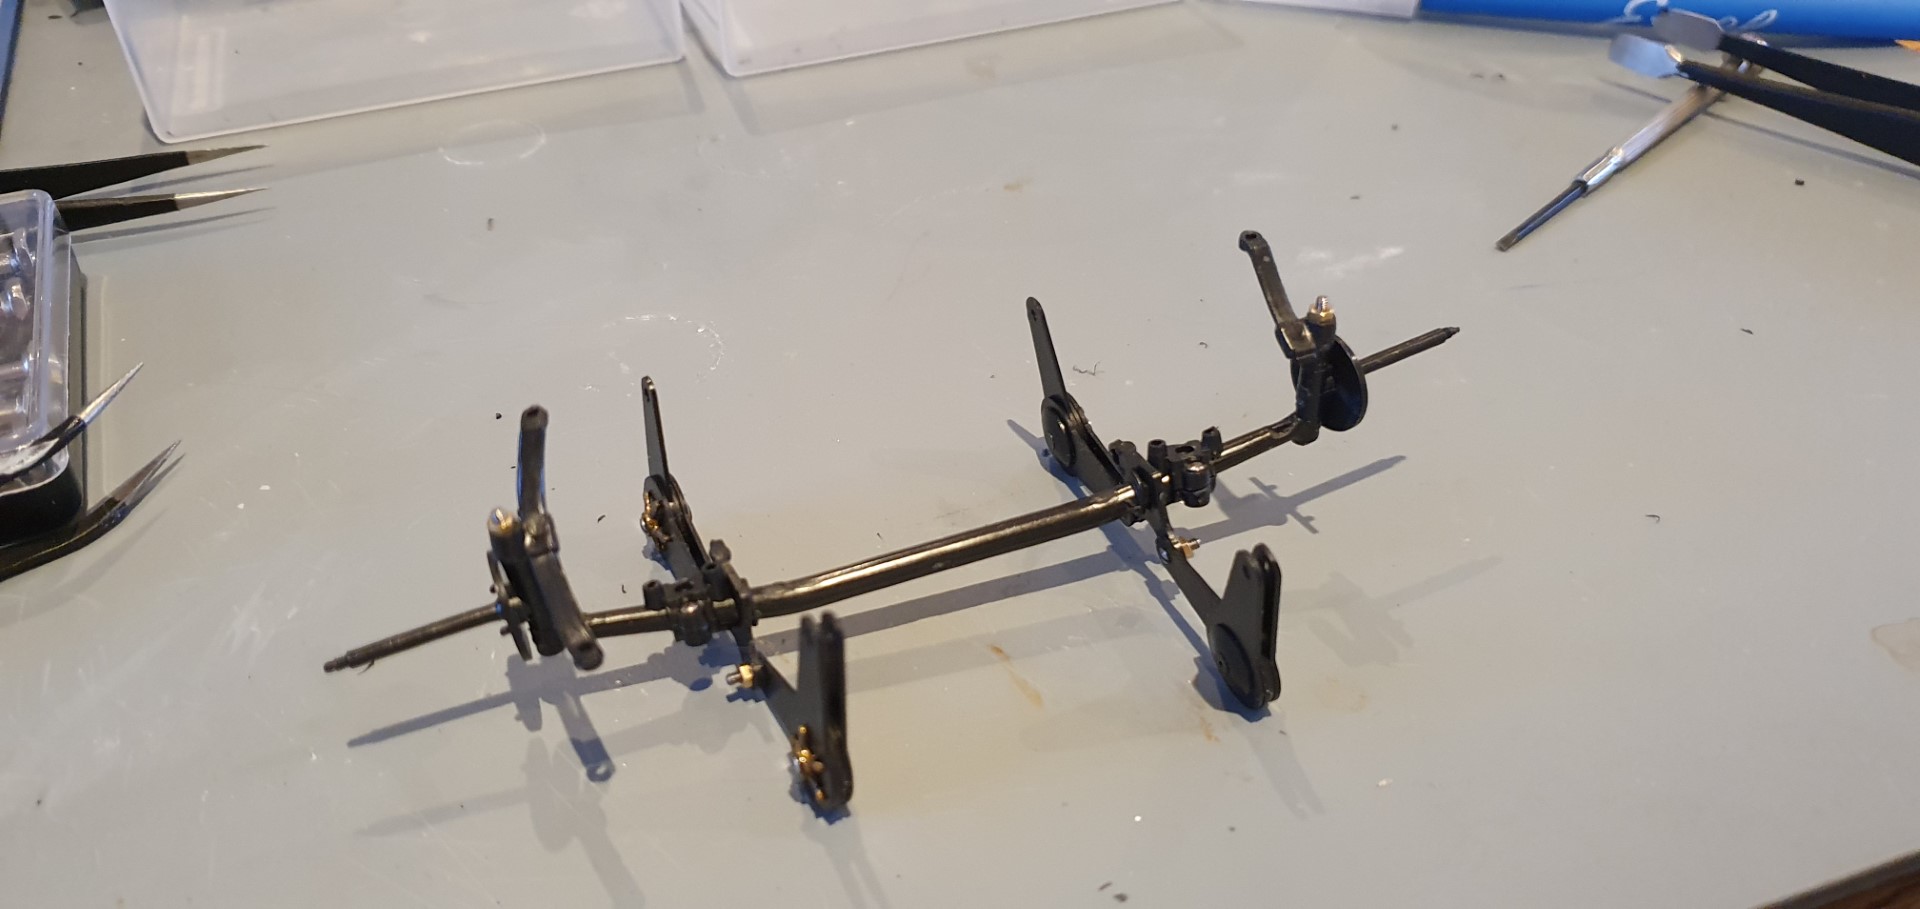
completely assembled this stage (this is after having to disassemble once I’d found out the drive shaft (?) was facing the wrong way! Thank god I hadnt glued it in place 😉
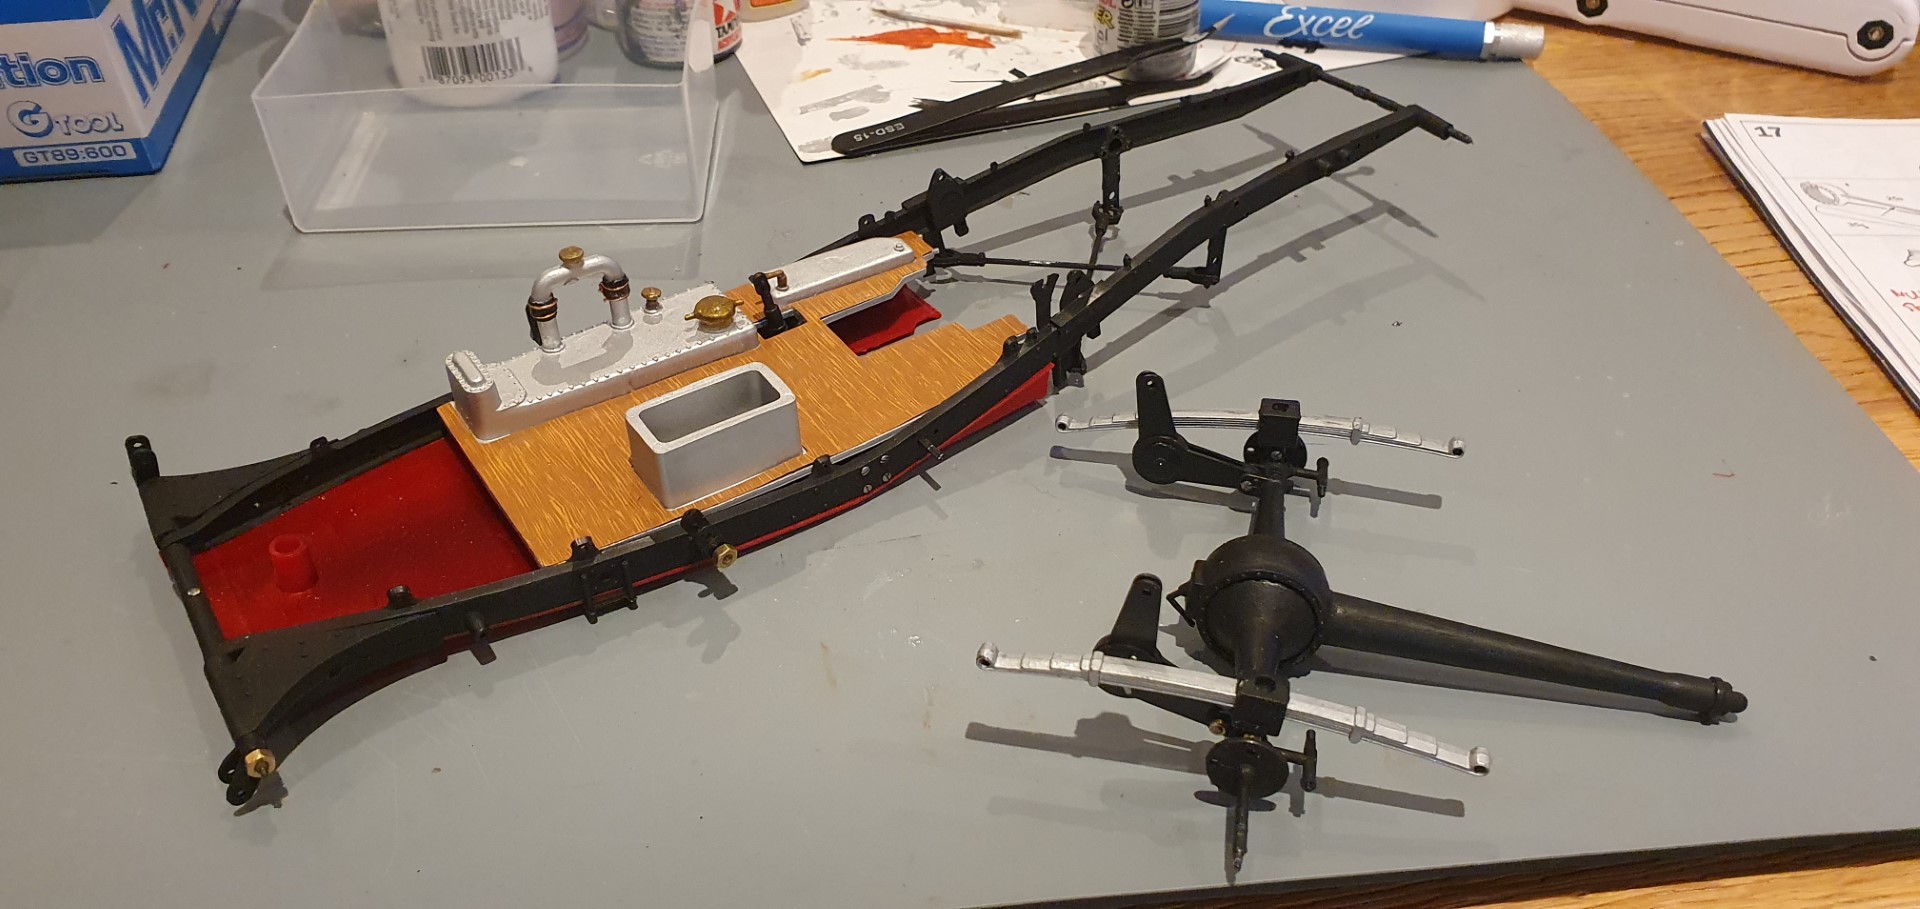
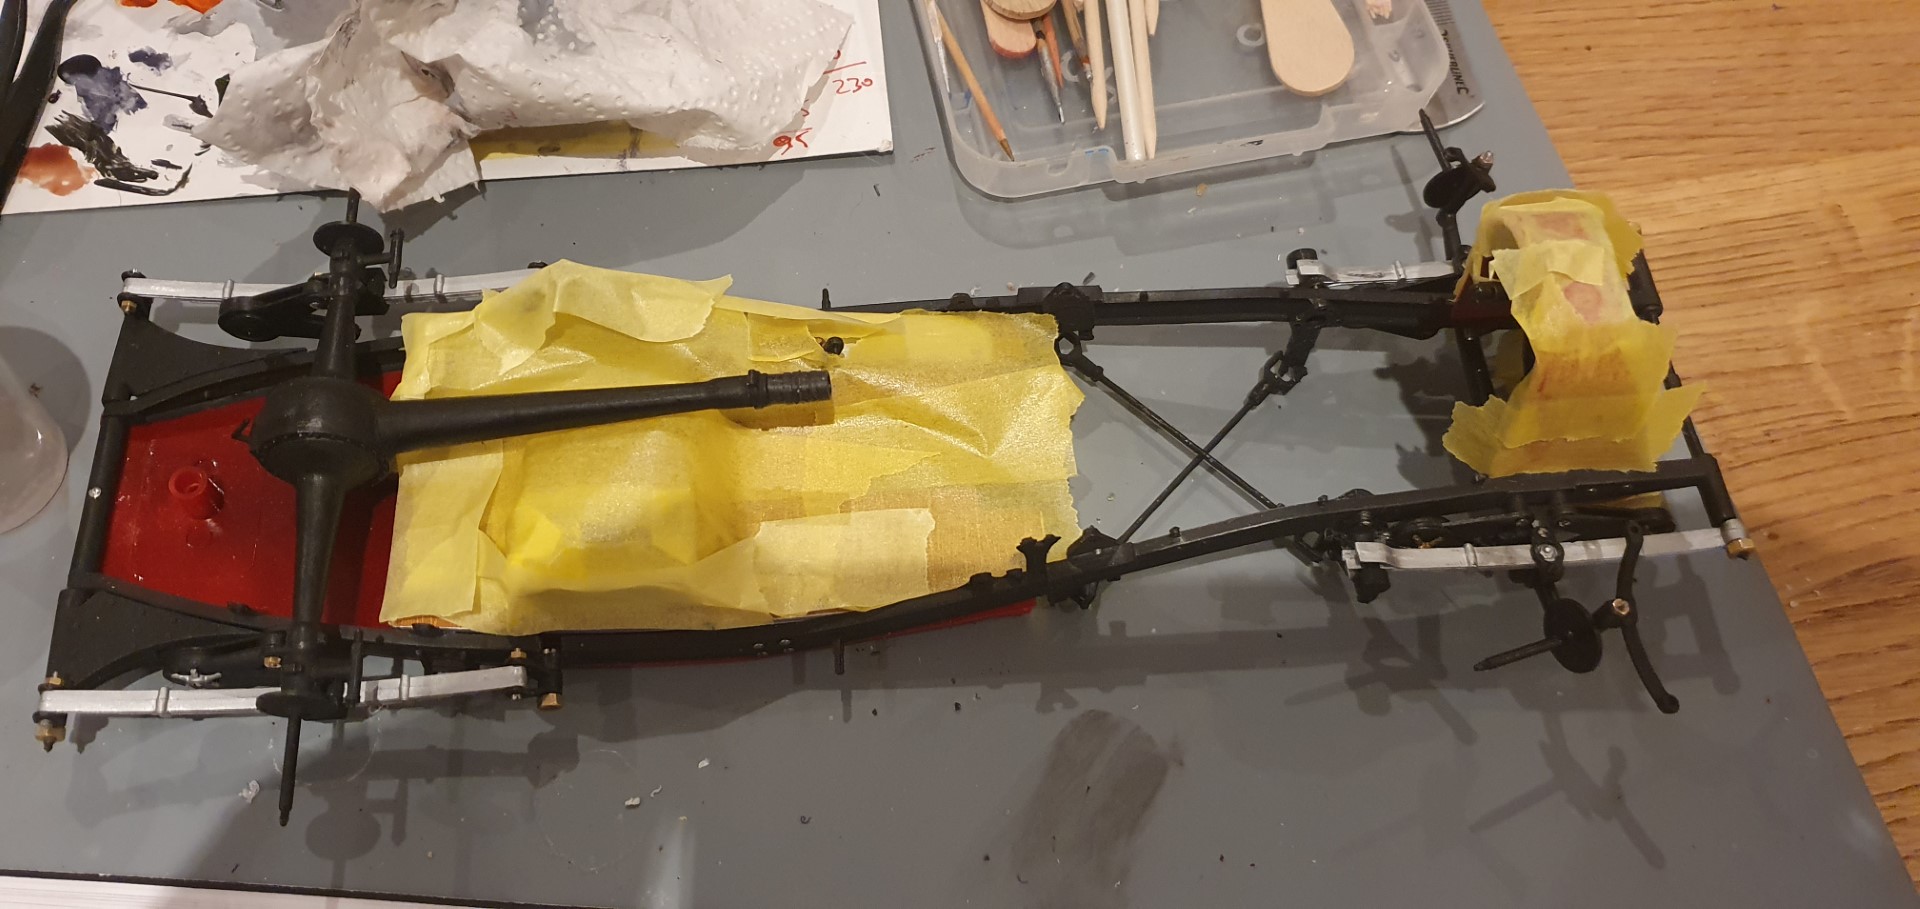
Tonight (30th April) I had the small (and relatively easy) task of doing up 6 screws/nuts to attach the axle assembly to the chasis
completed
next stage is wheels and tyres!
May 3rd 2020 –
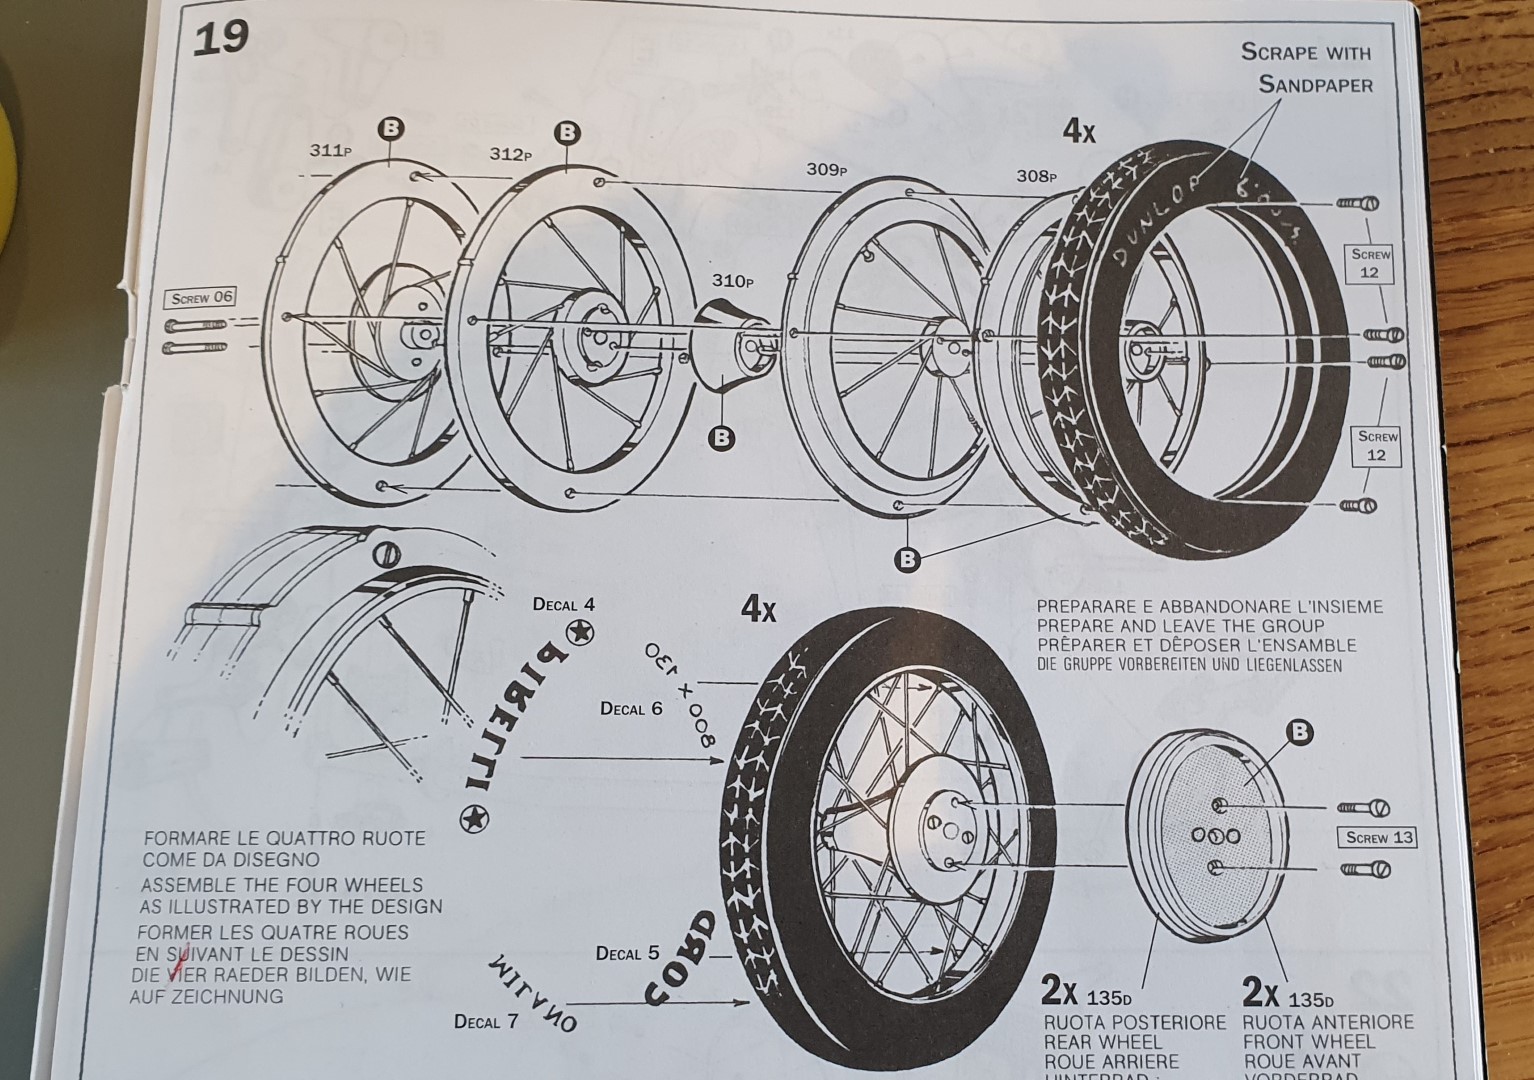
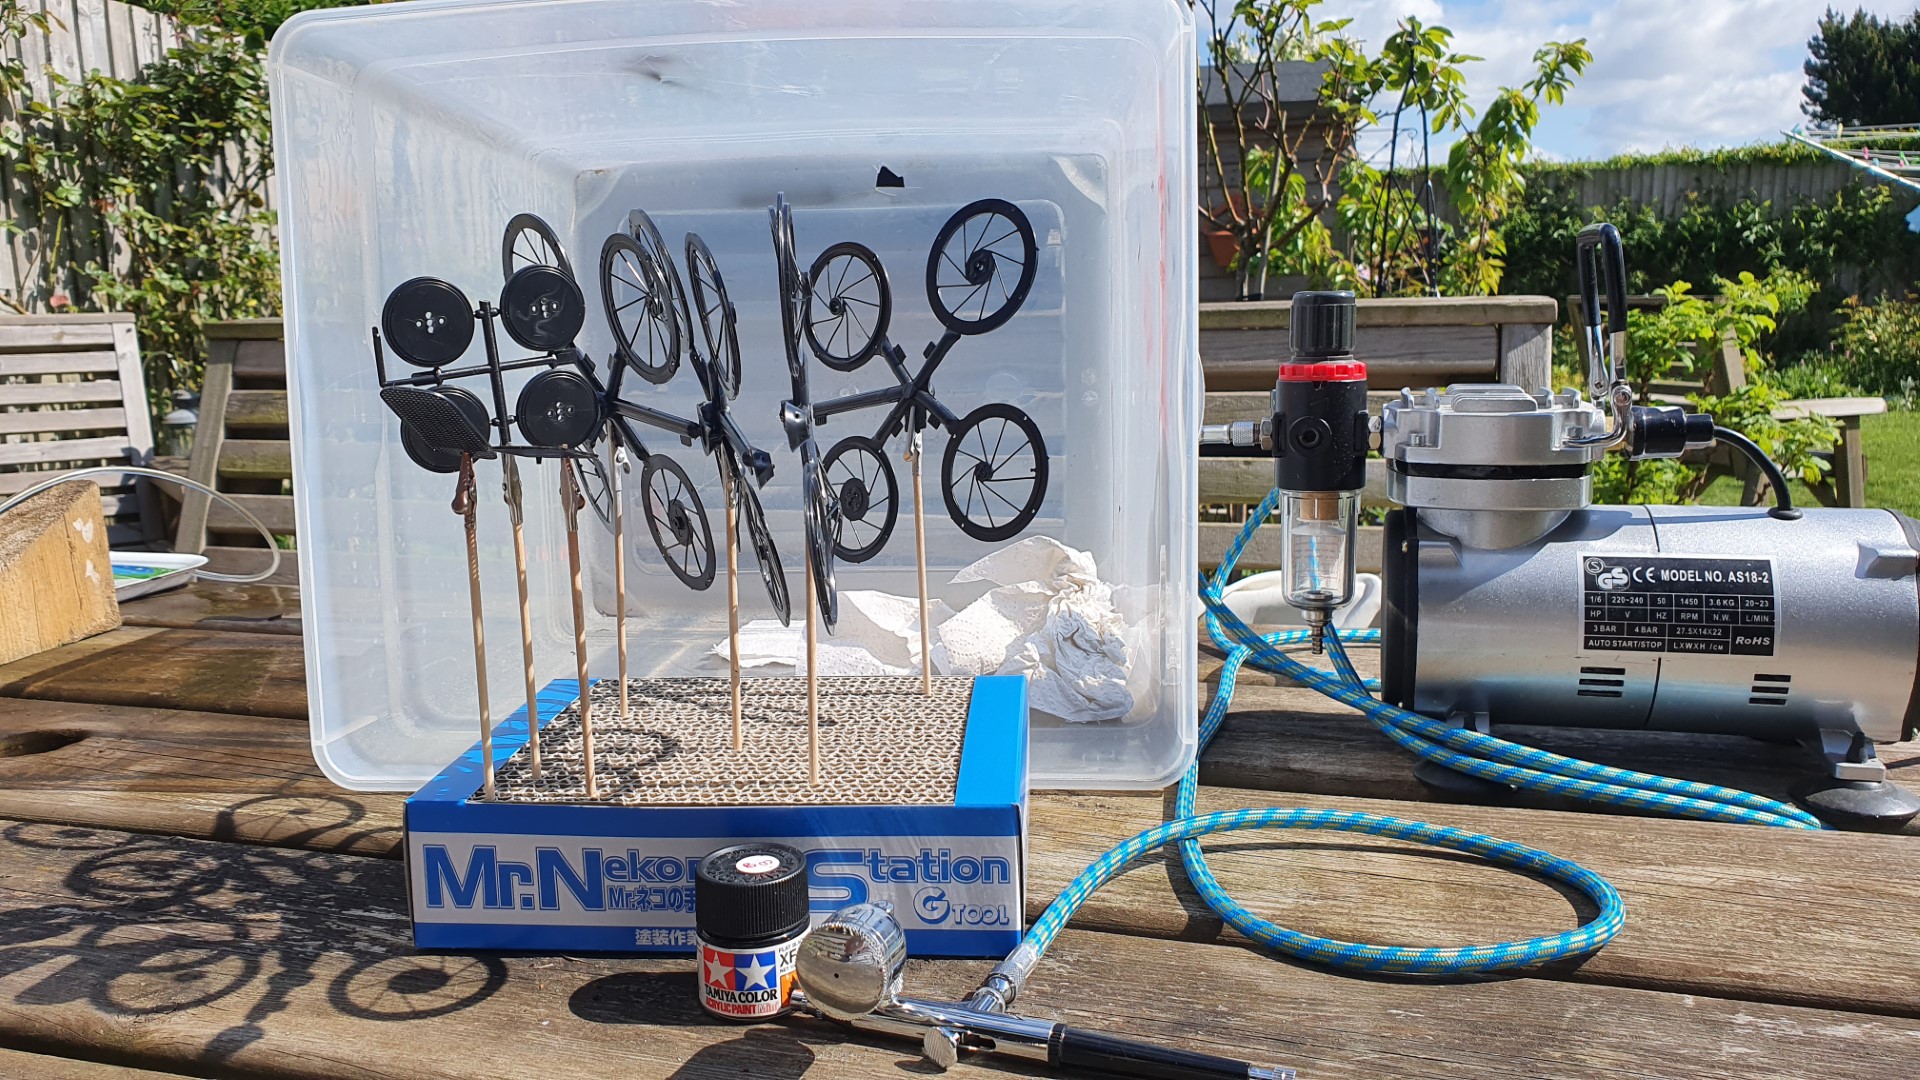
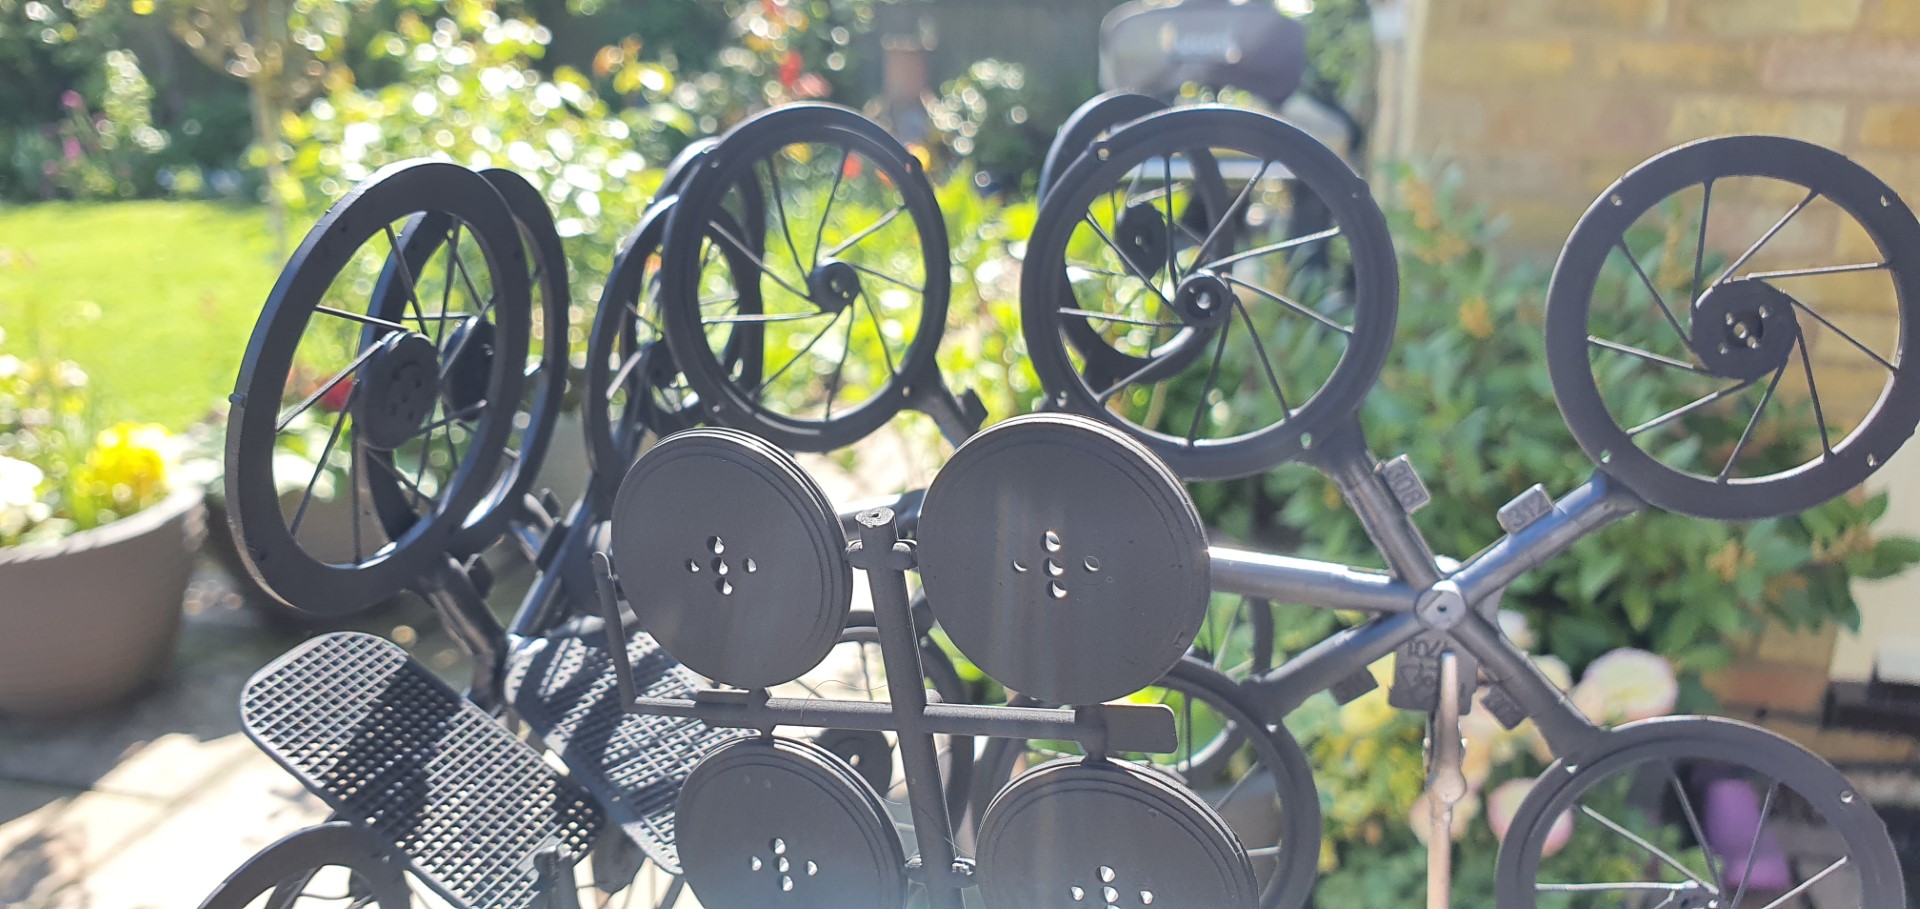
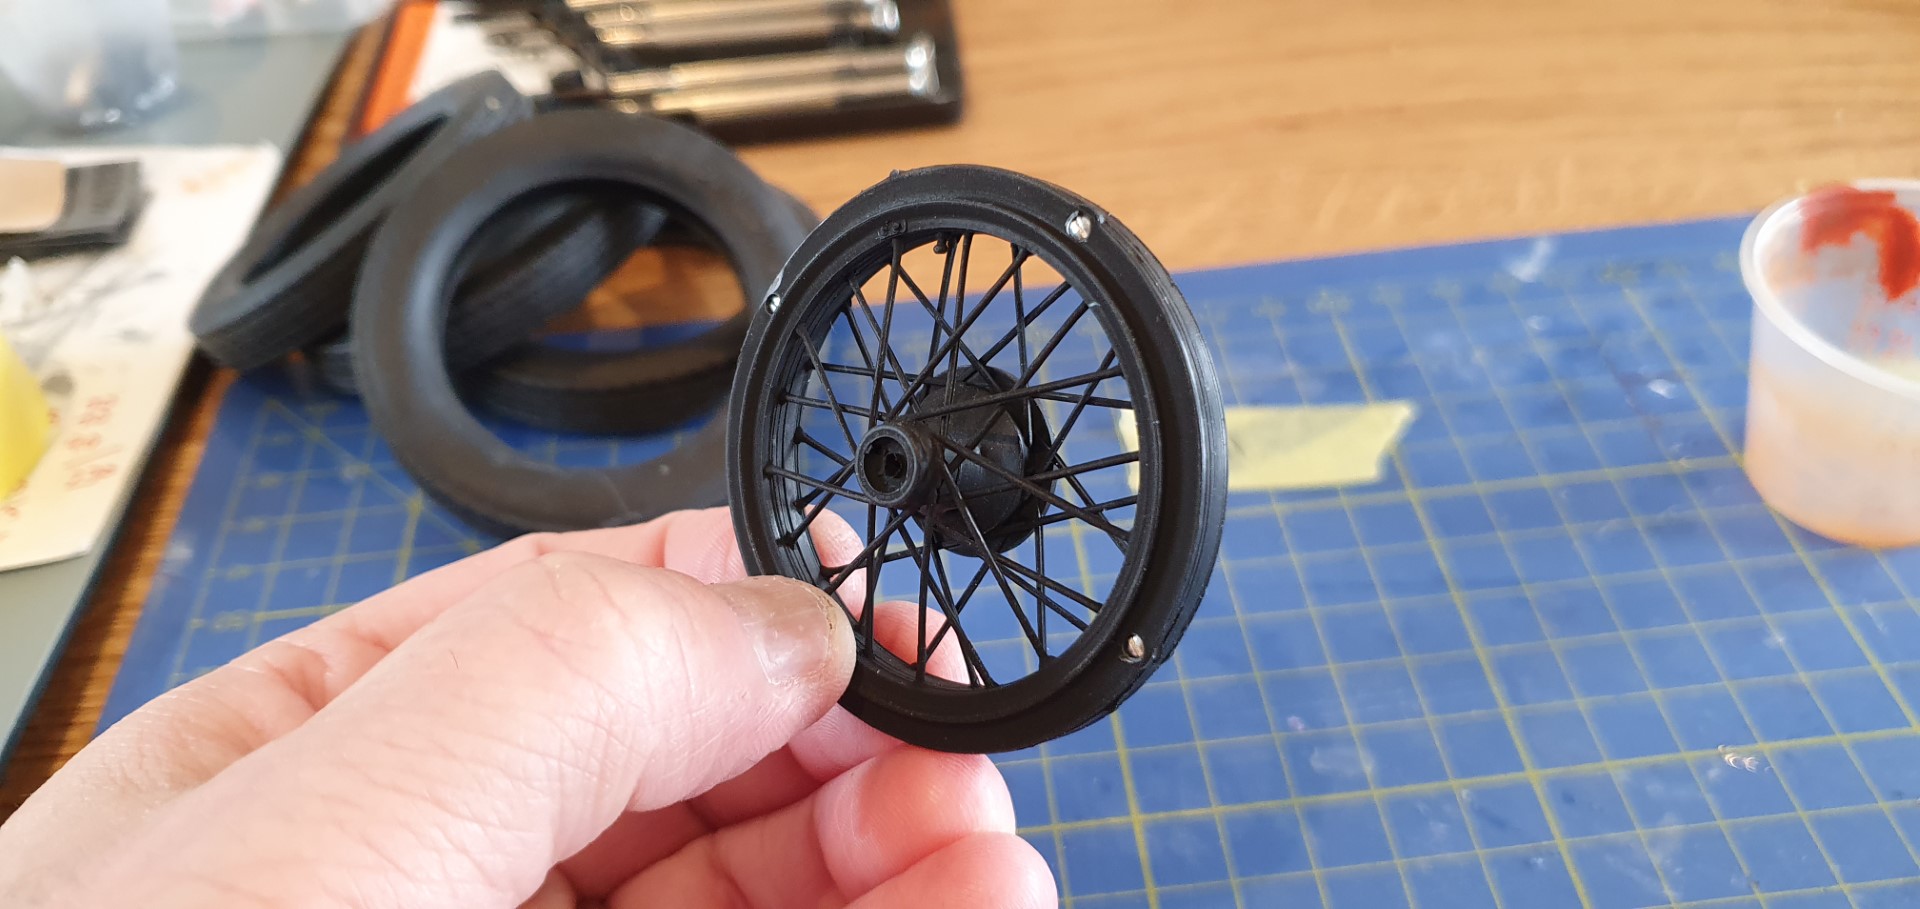
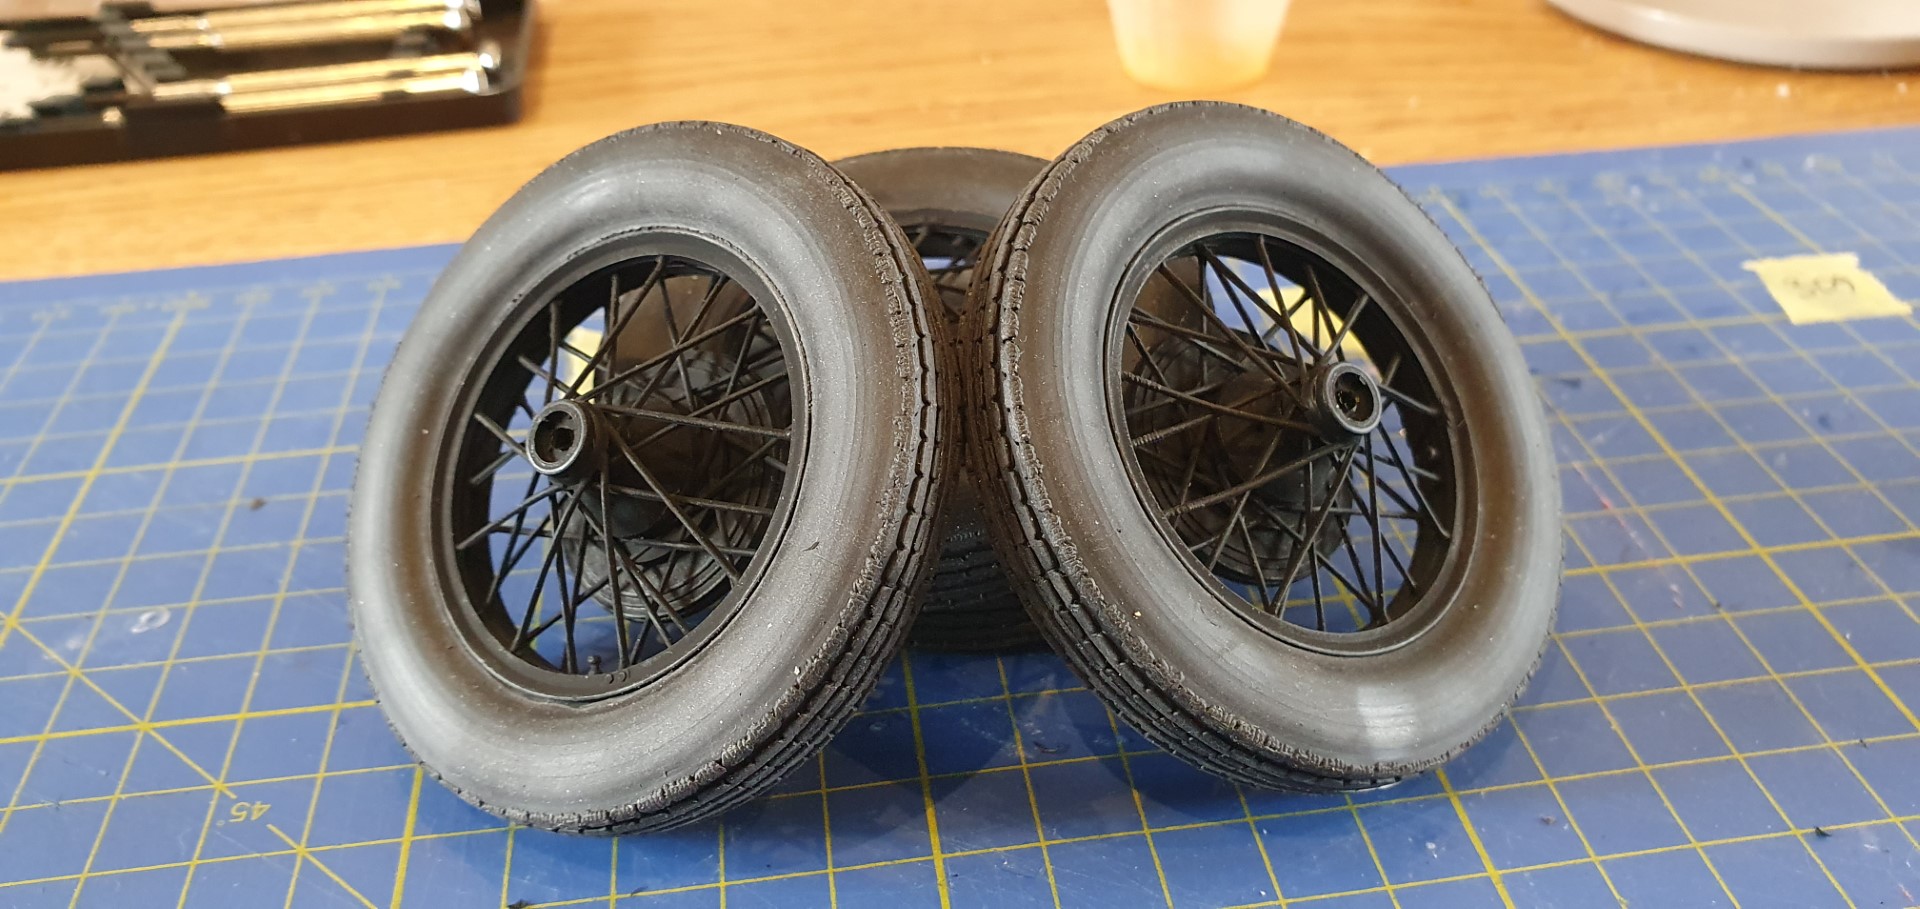
wheels are next…here are the instructions, first painted on the sprue, tyres cleaned up, wheels put together by screws and then tyres mounted on the wheels
wheels done!
next also on the 3rd May,
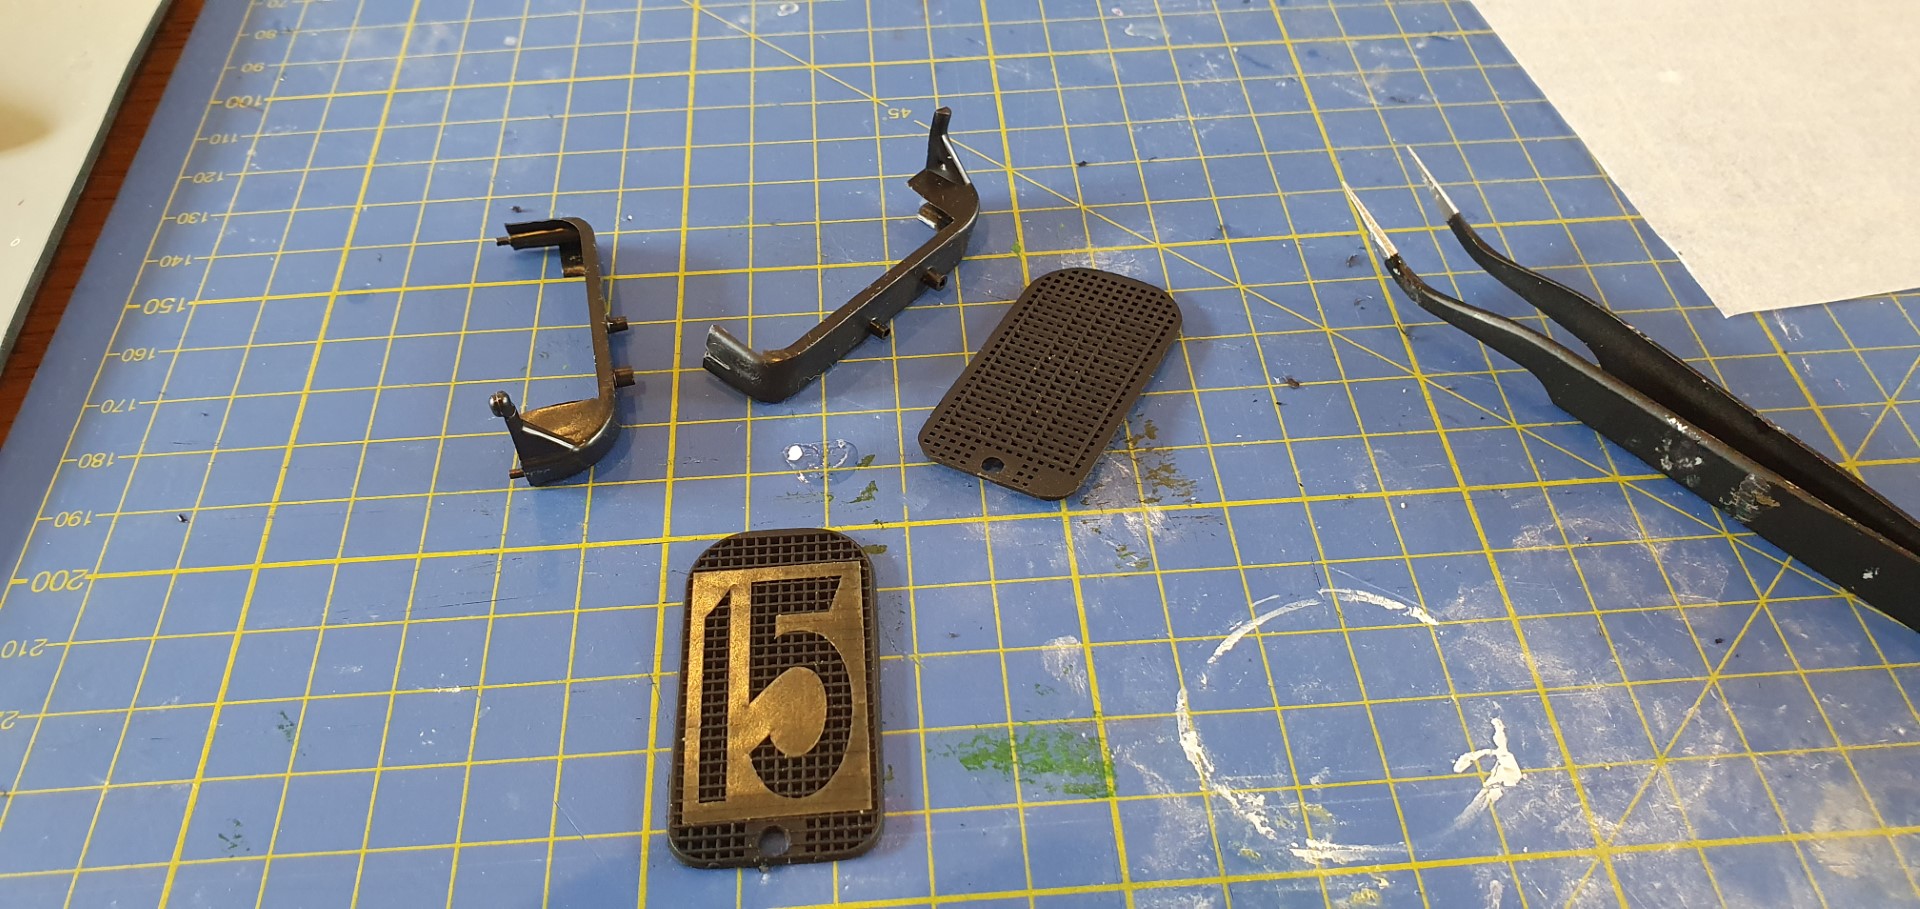
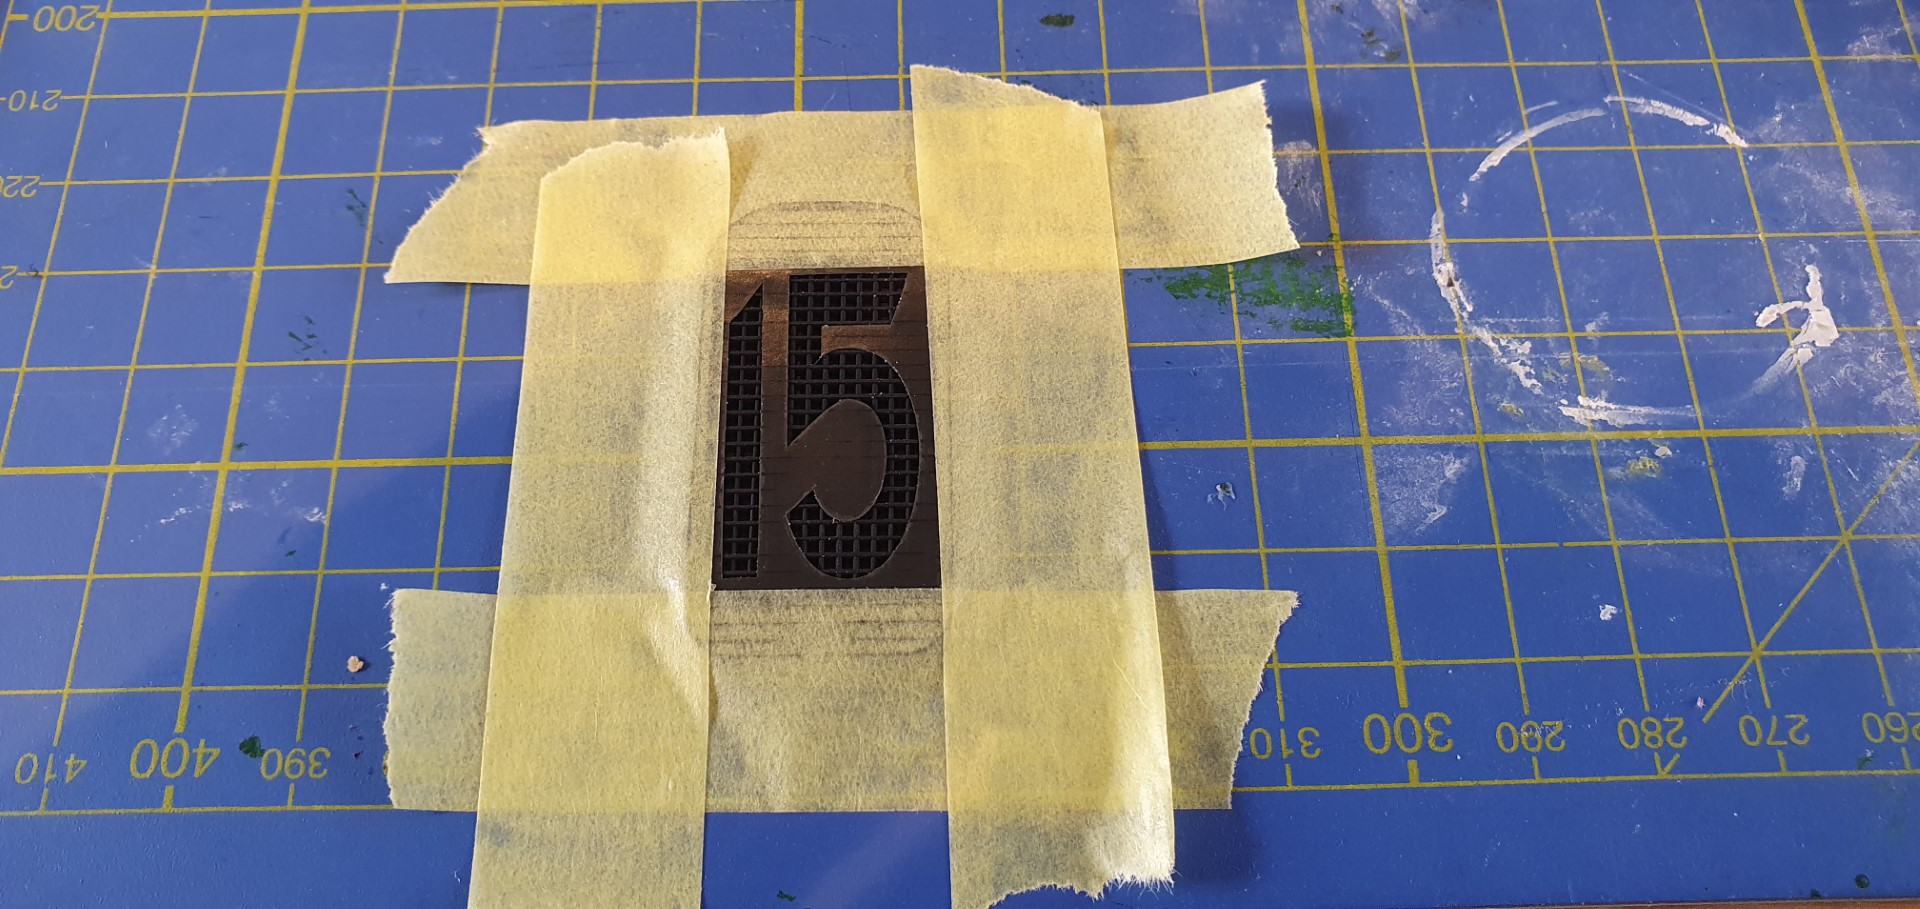
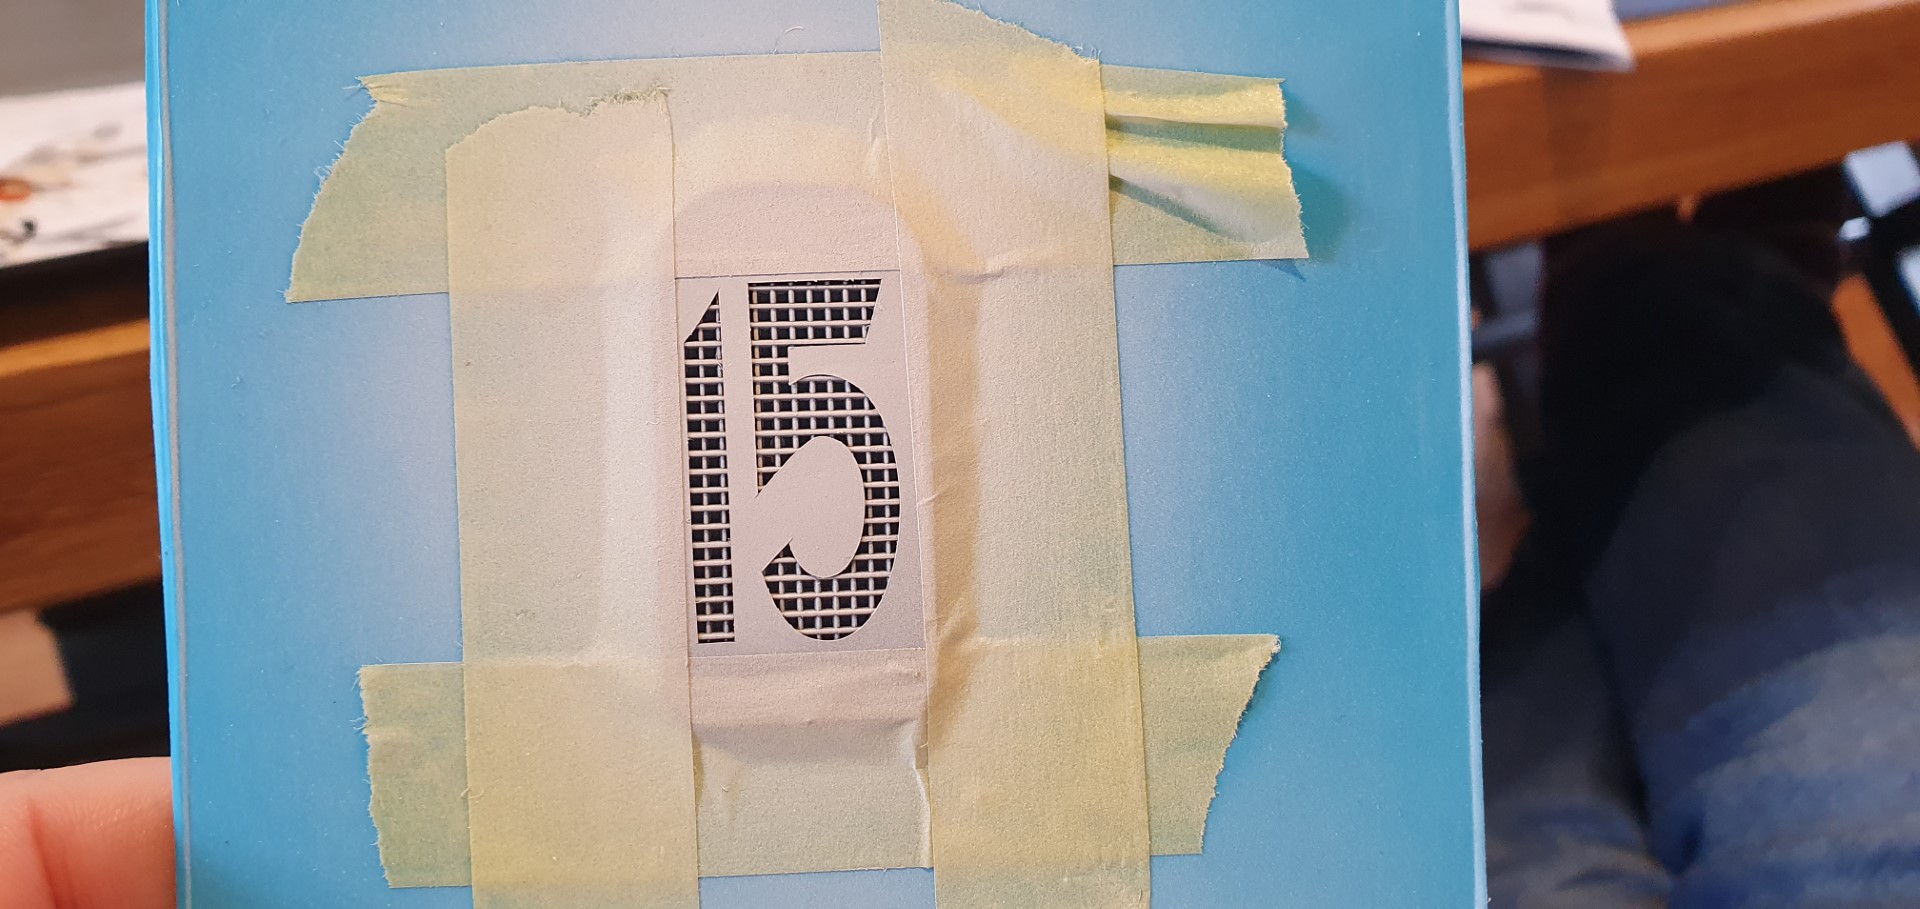
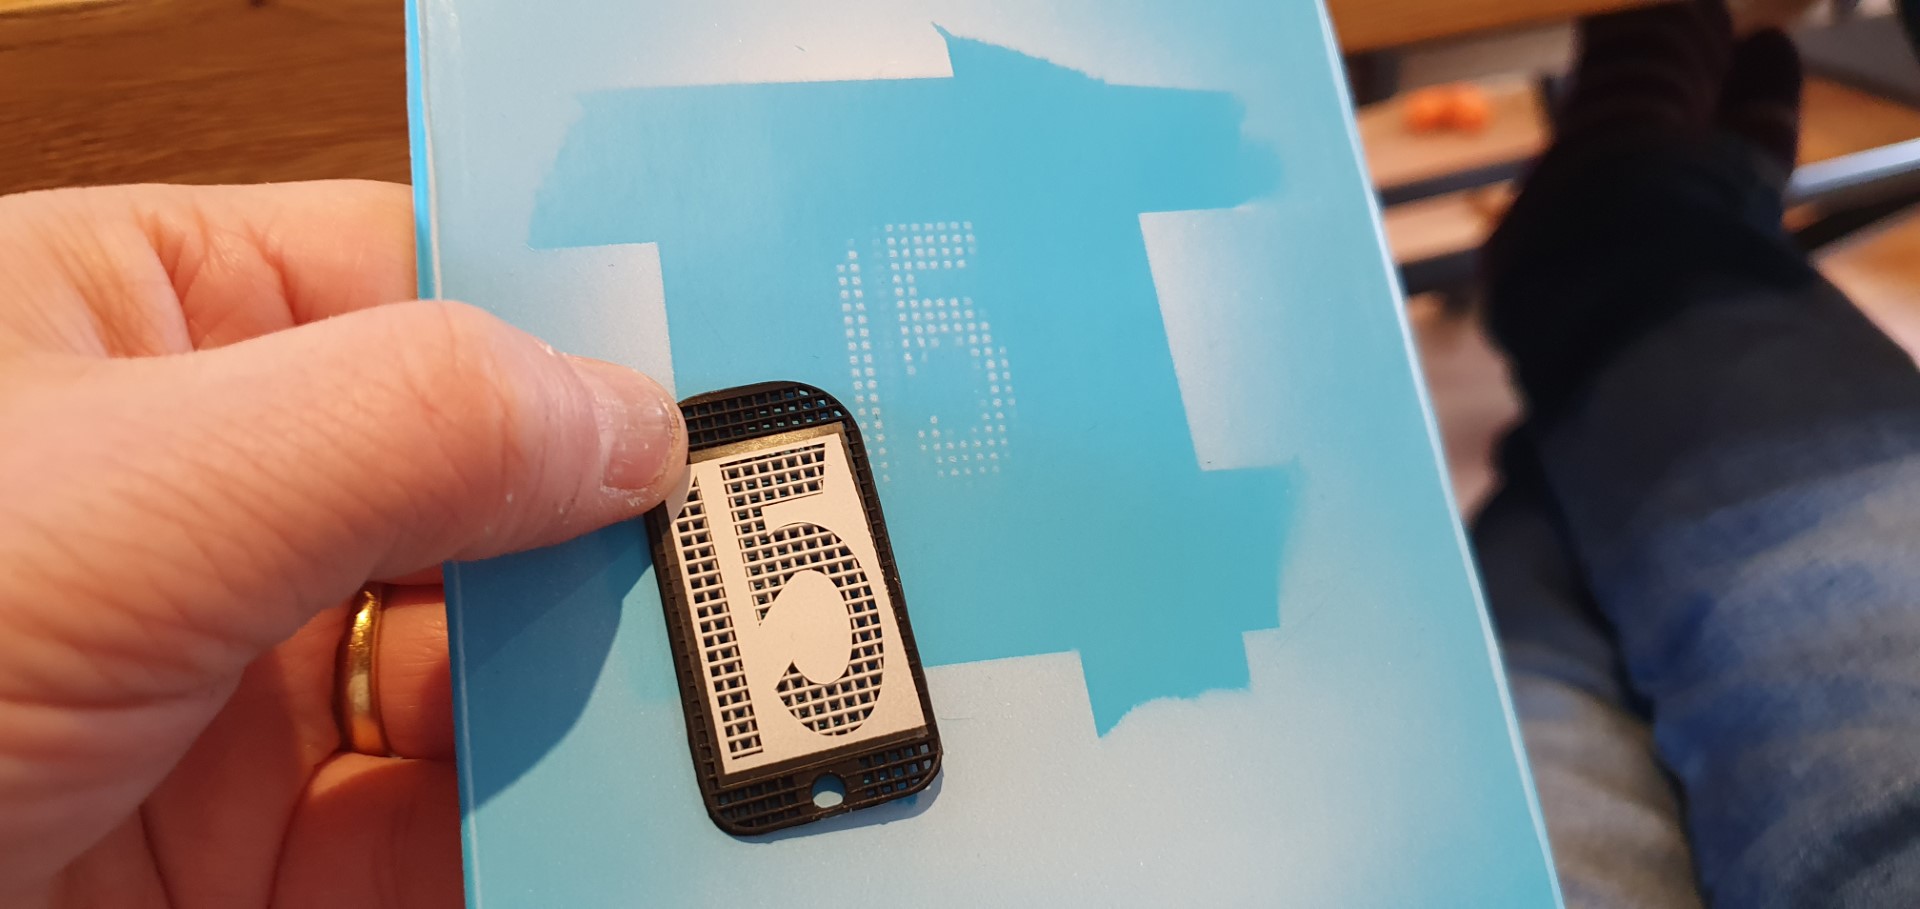
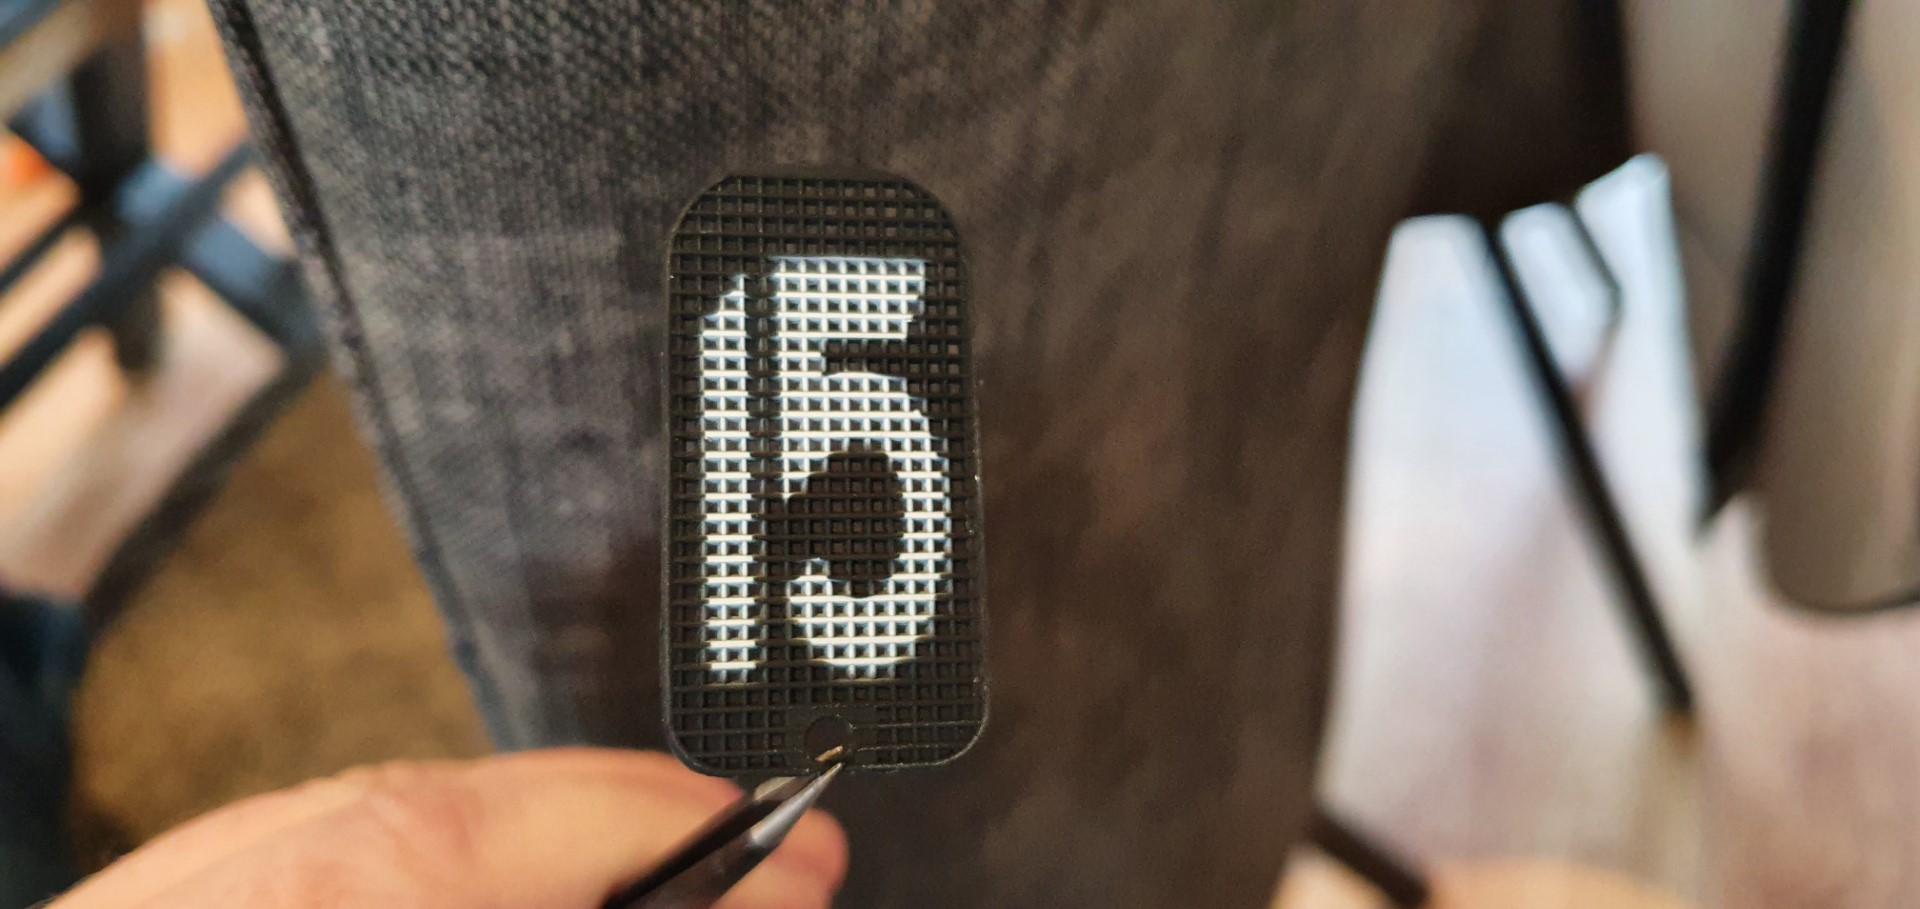
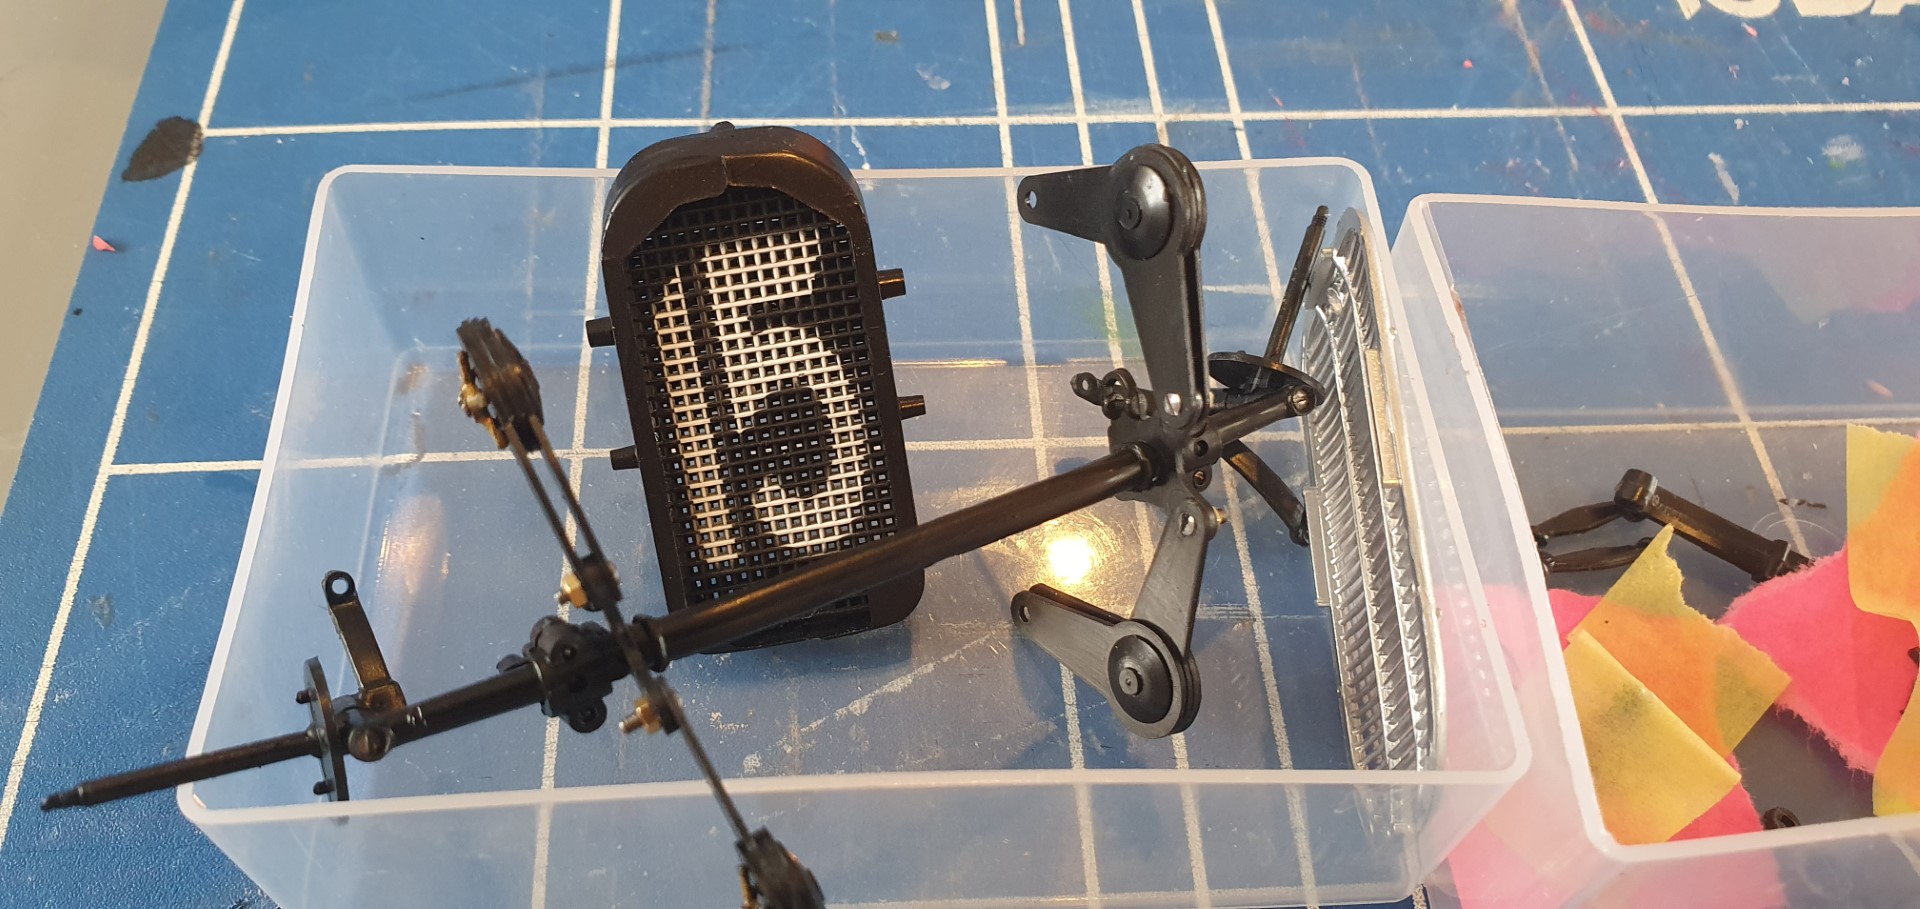
the grill parts, masked up then numeral sprayed
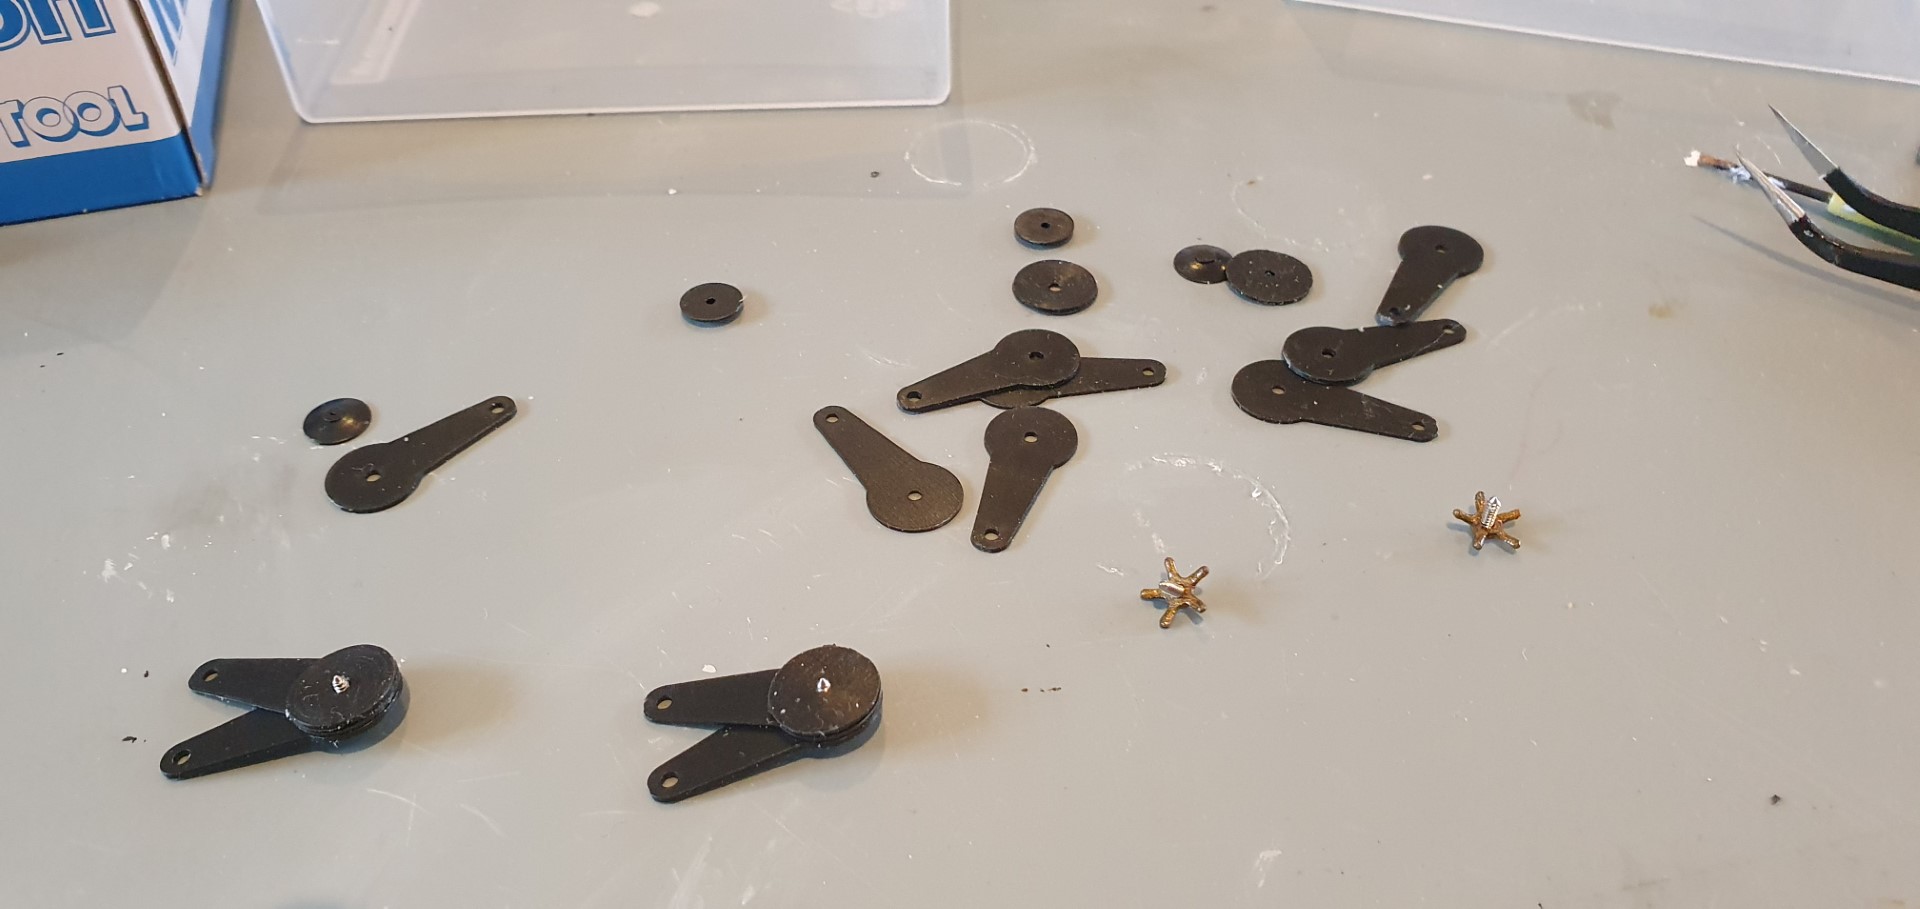
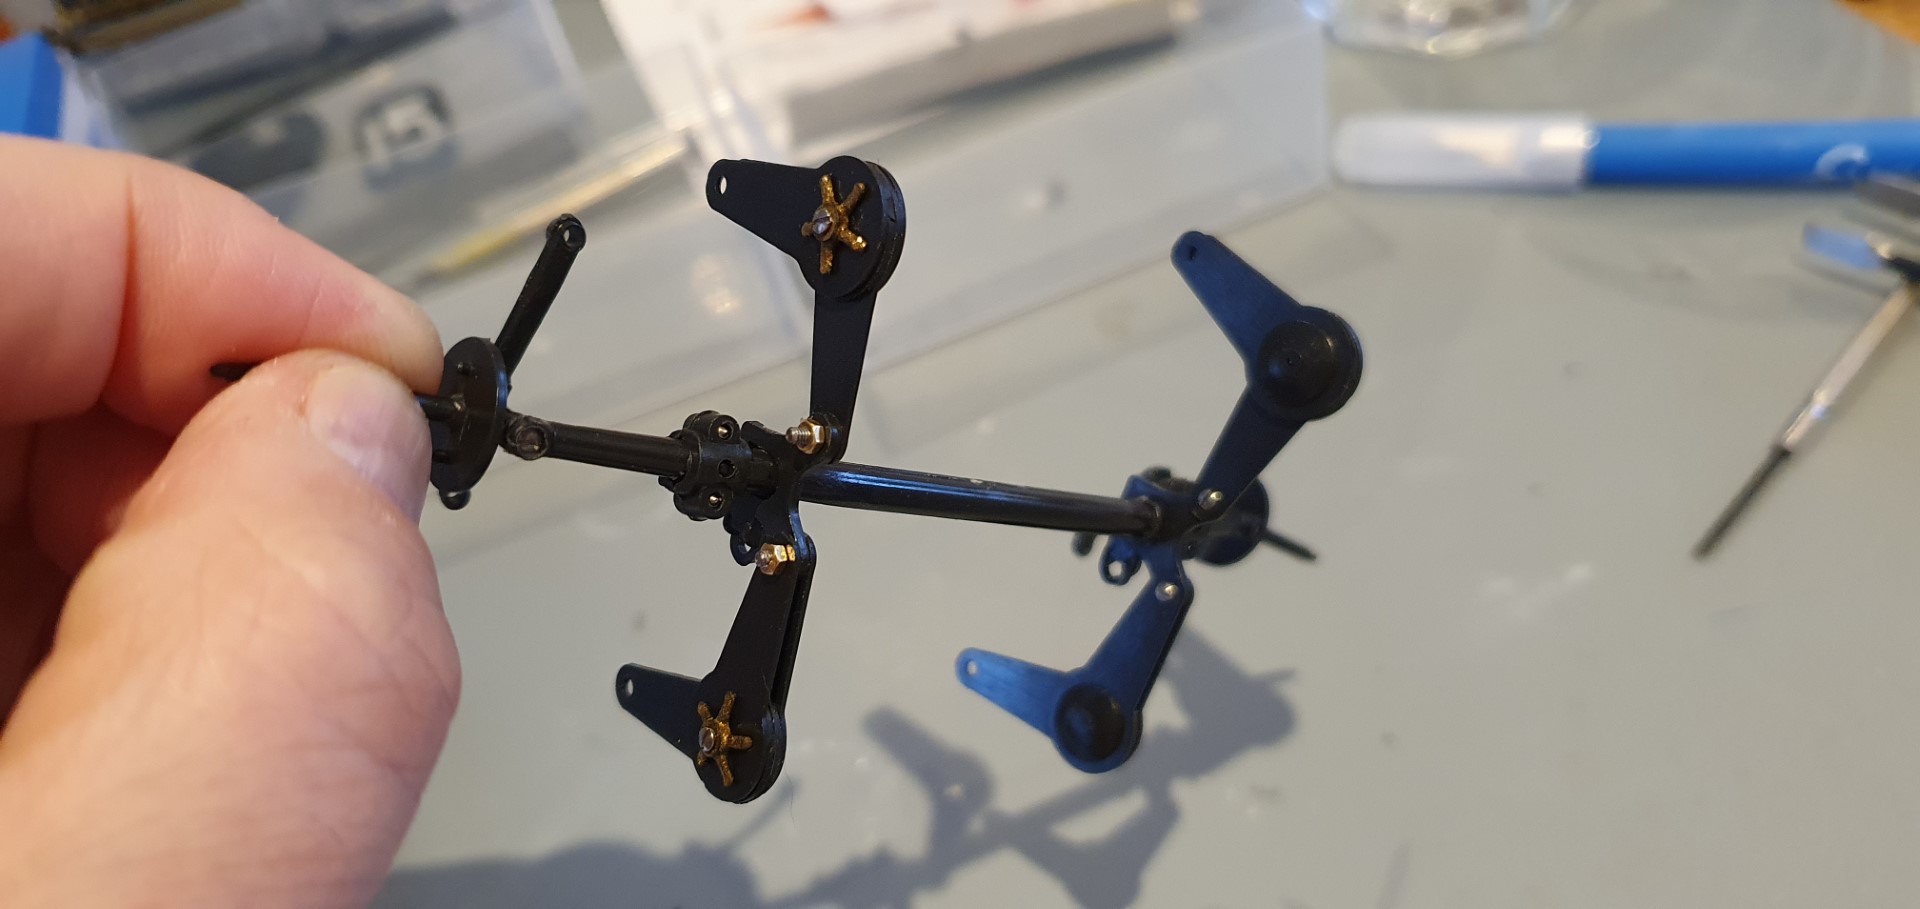
front suspension components before assembly (at this stage apart from the brass coloured parts it is unpainted)
during and after, overall about 33 plastic parts, 4 rubber parts, 8 screws and 6 minute nuts
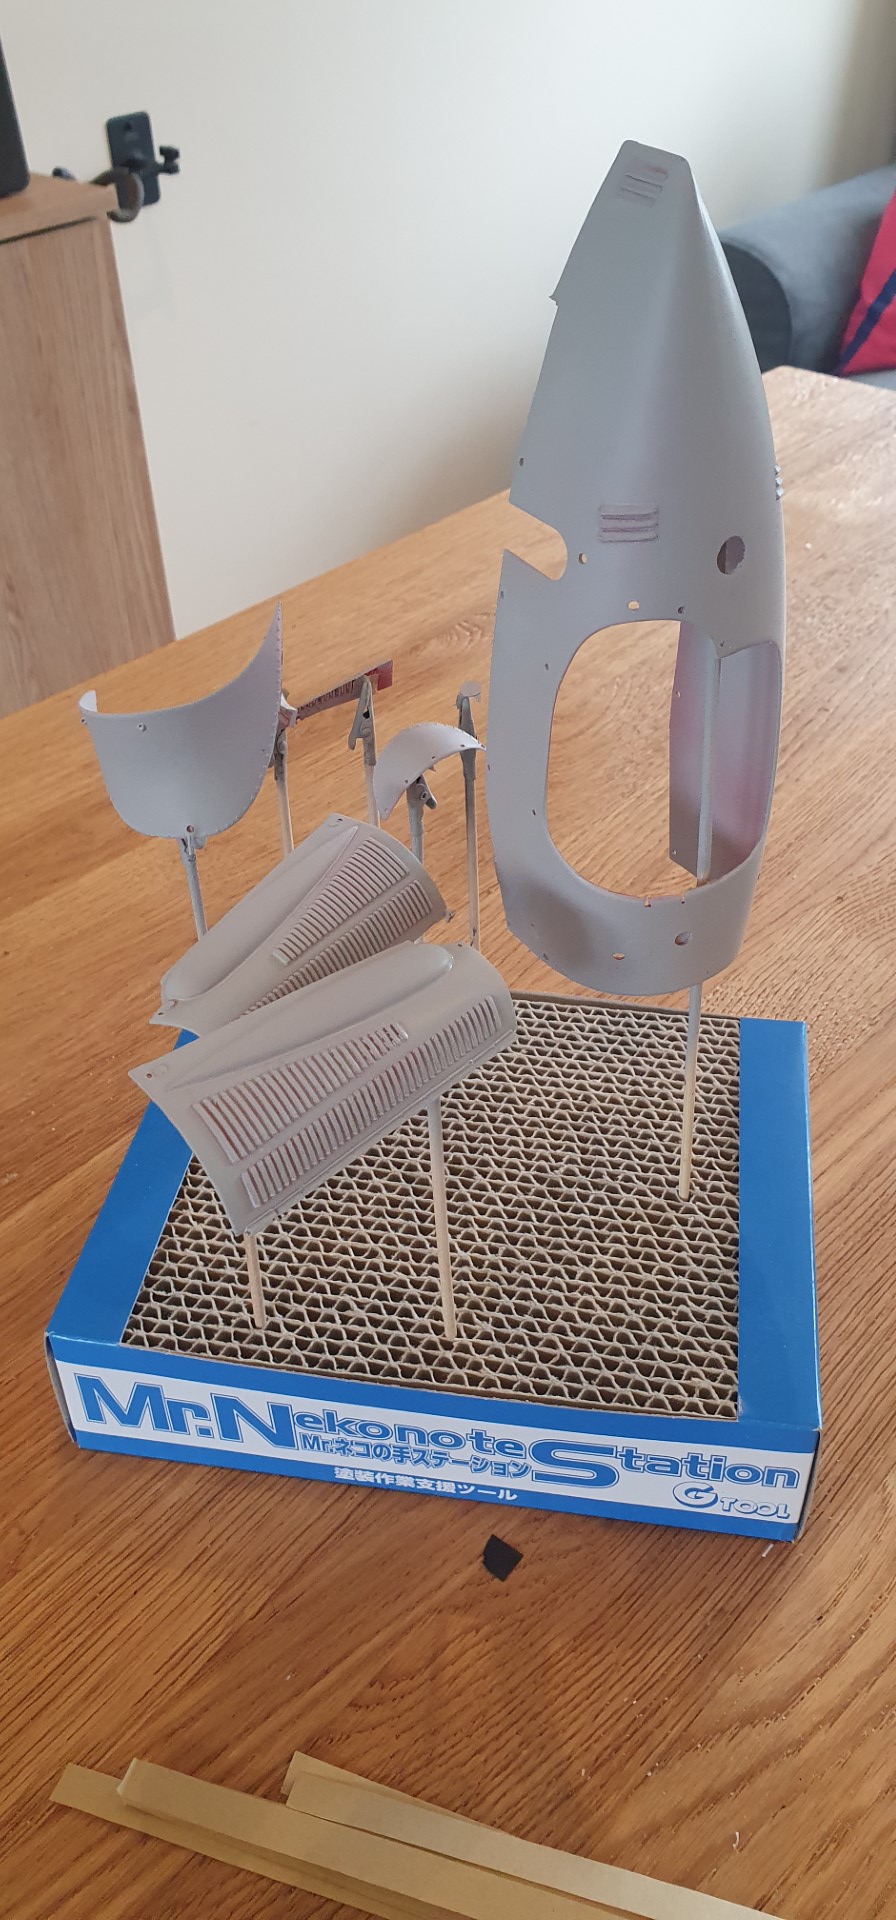
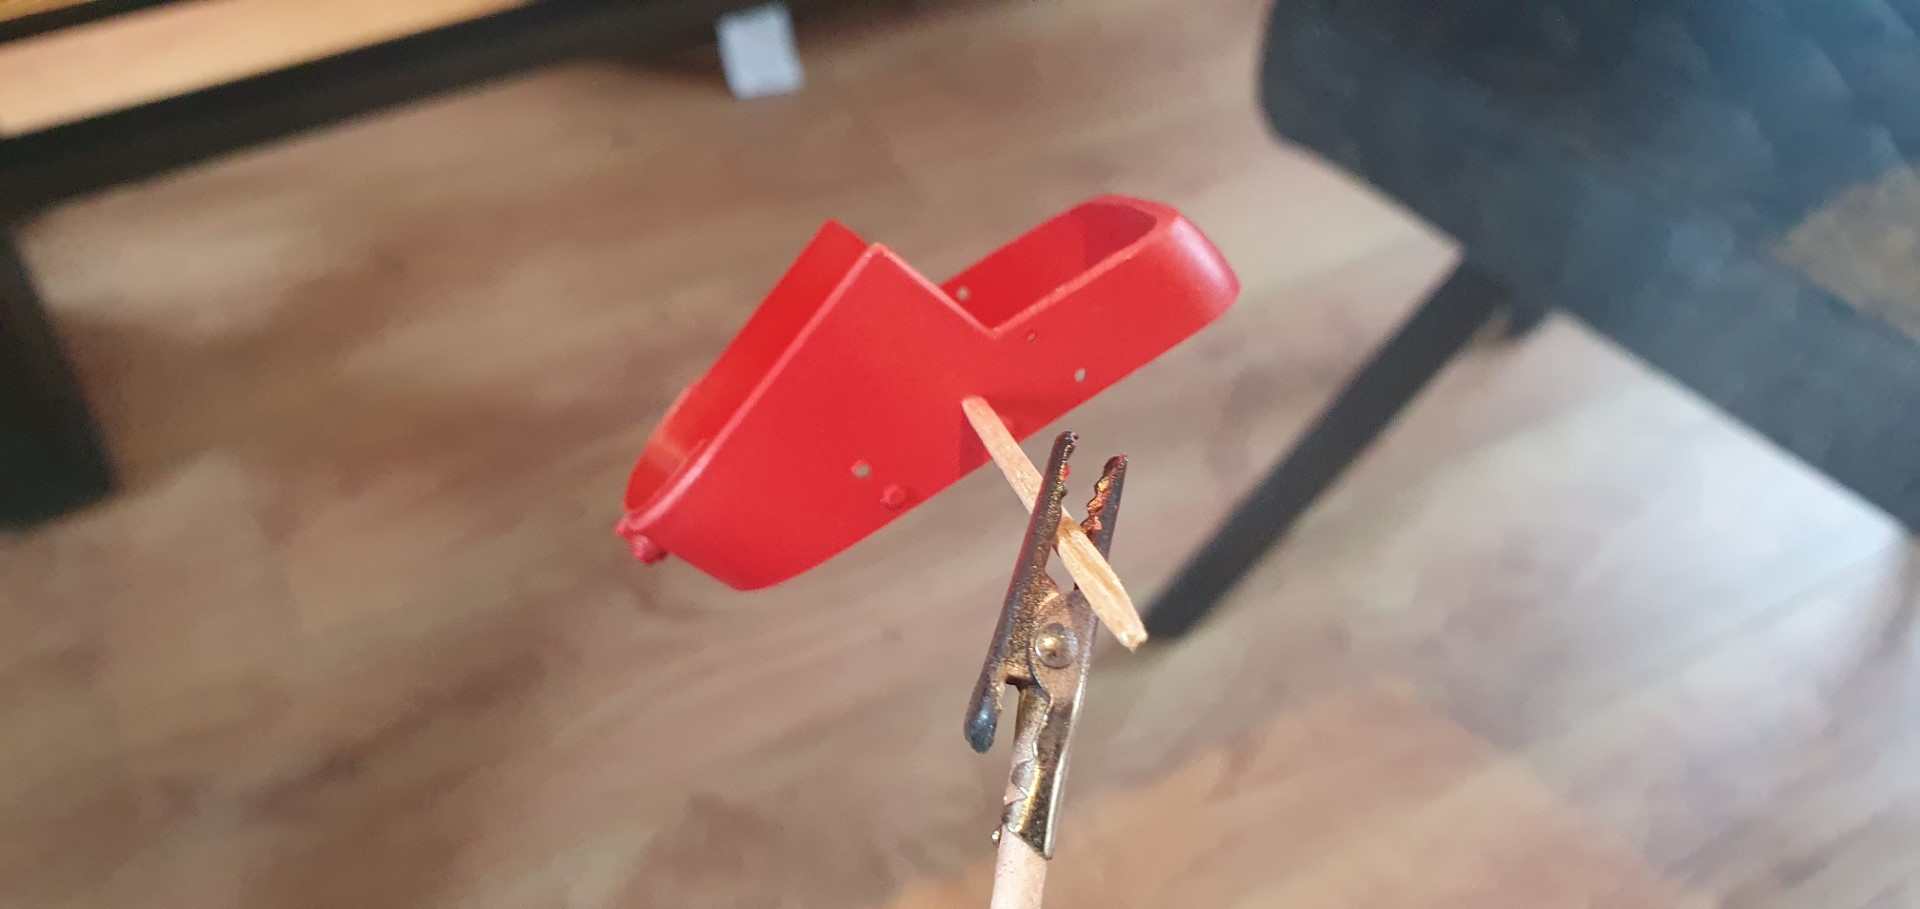
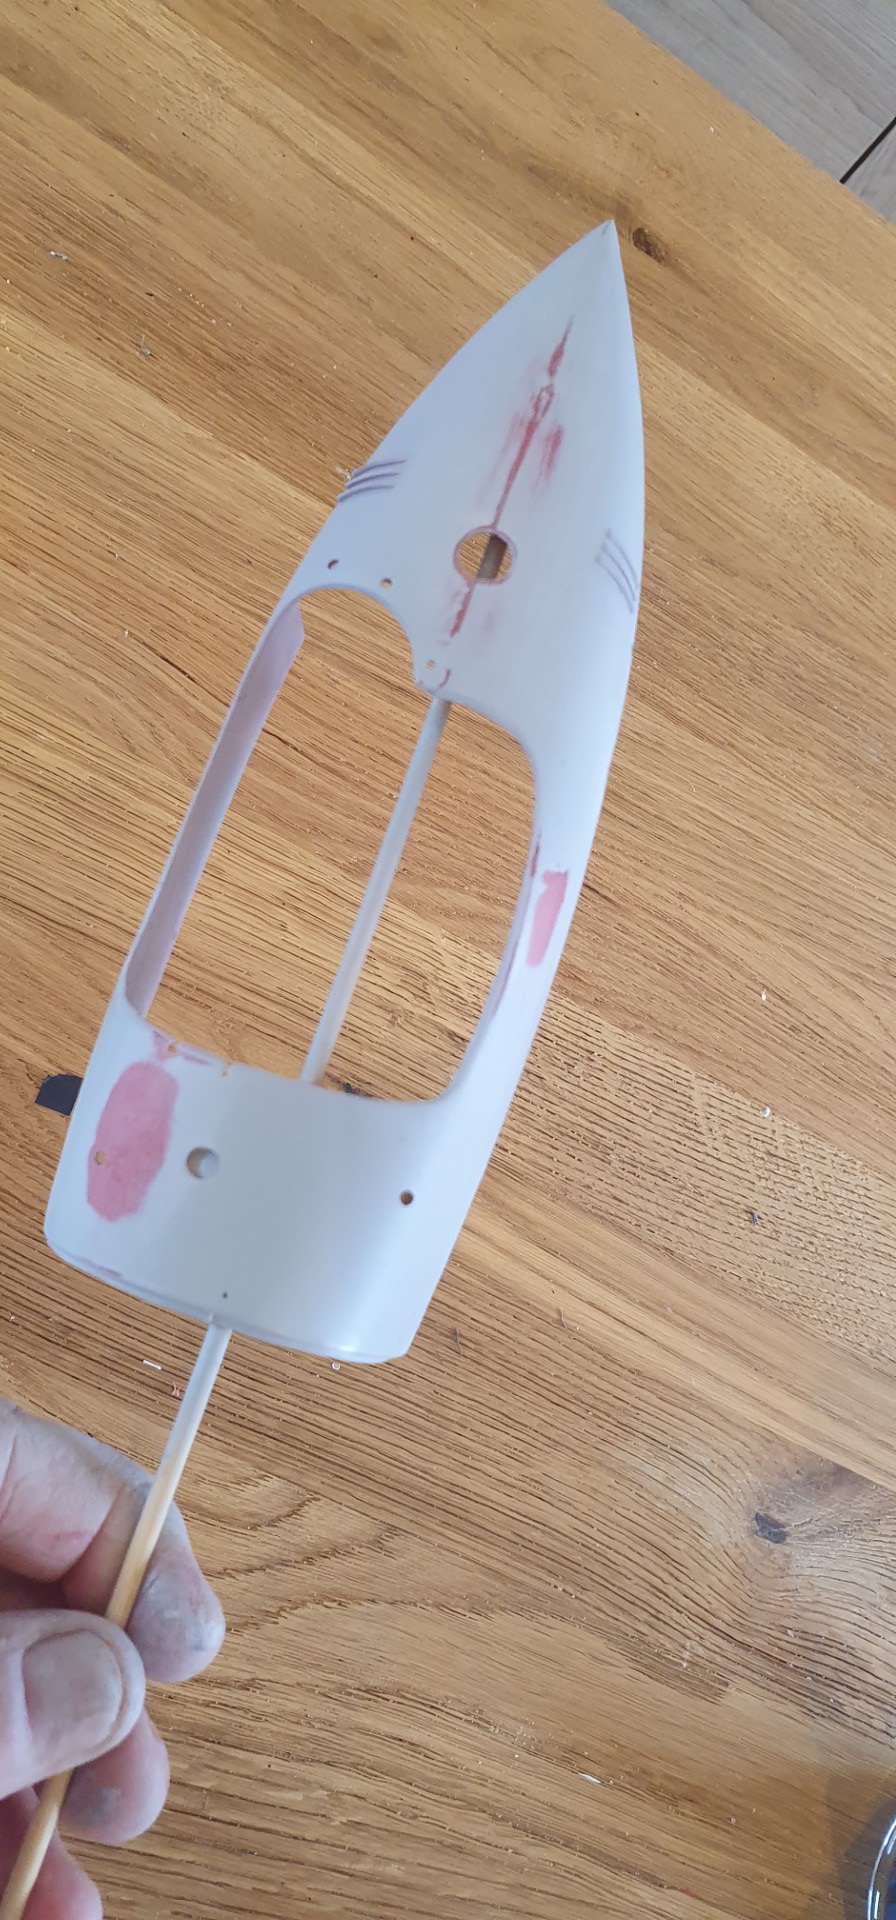
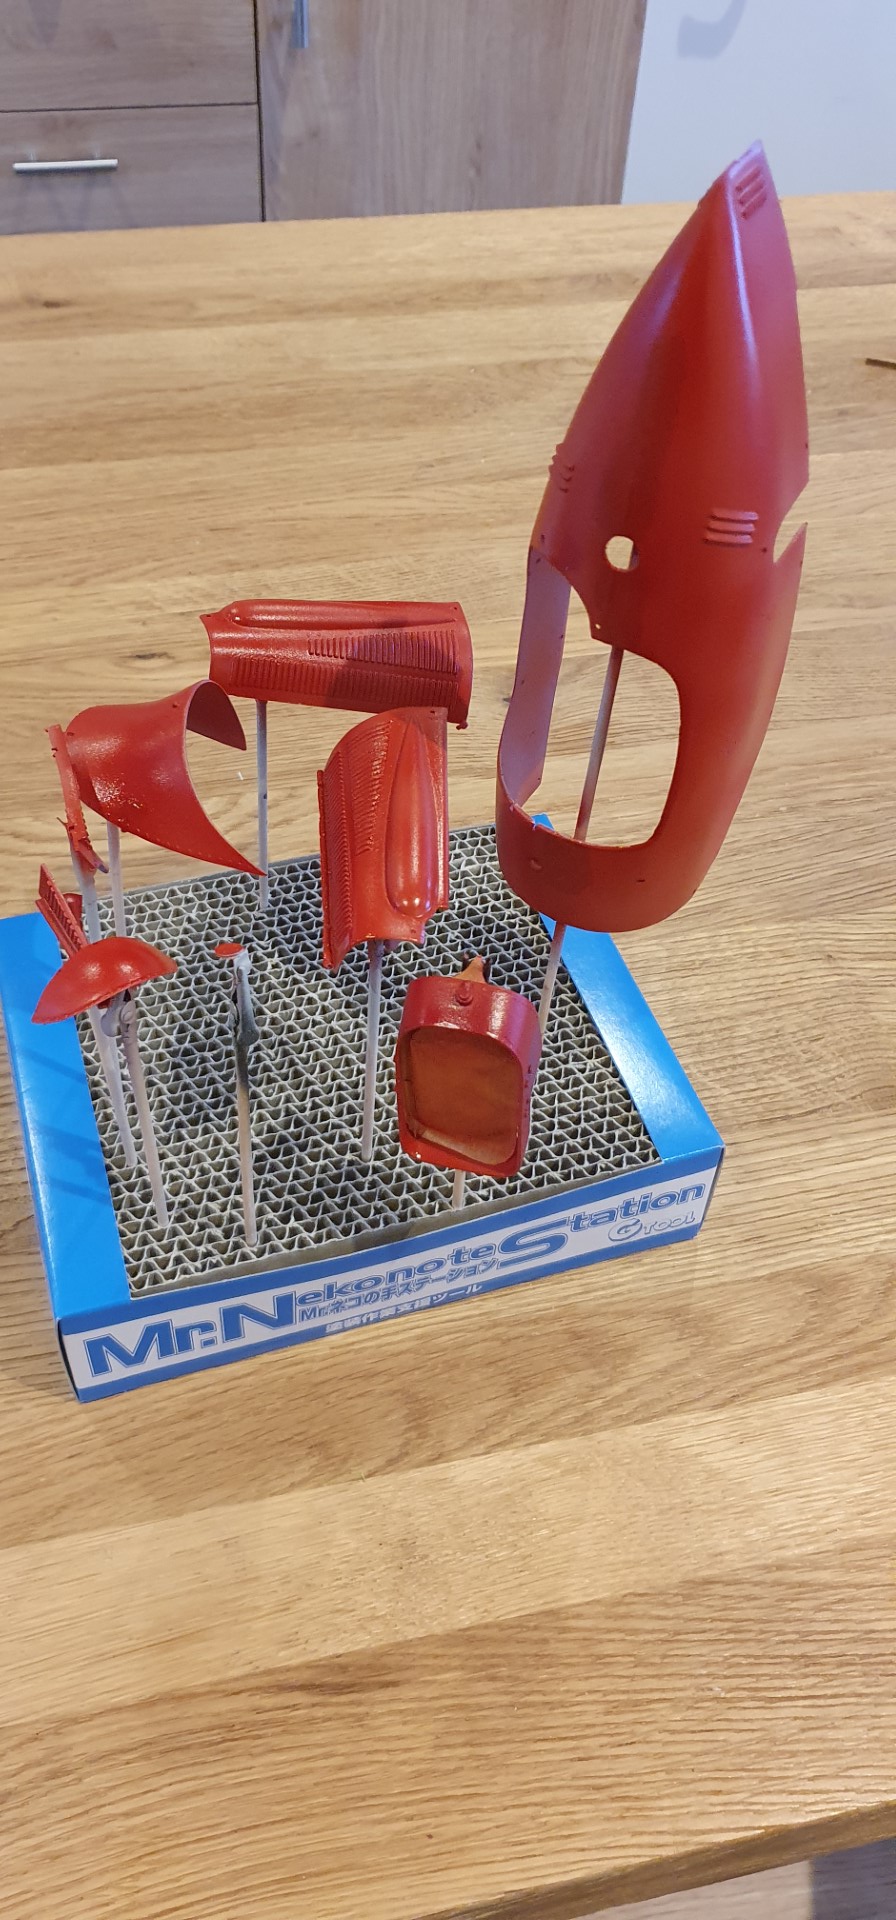
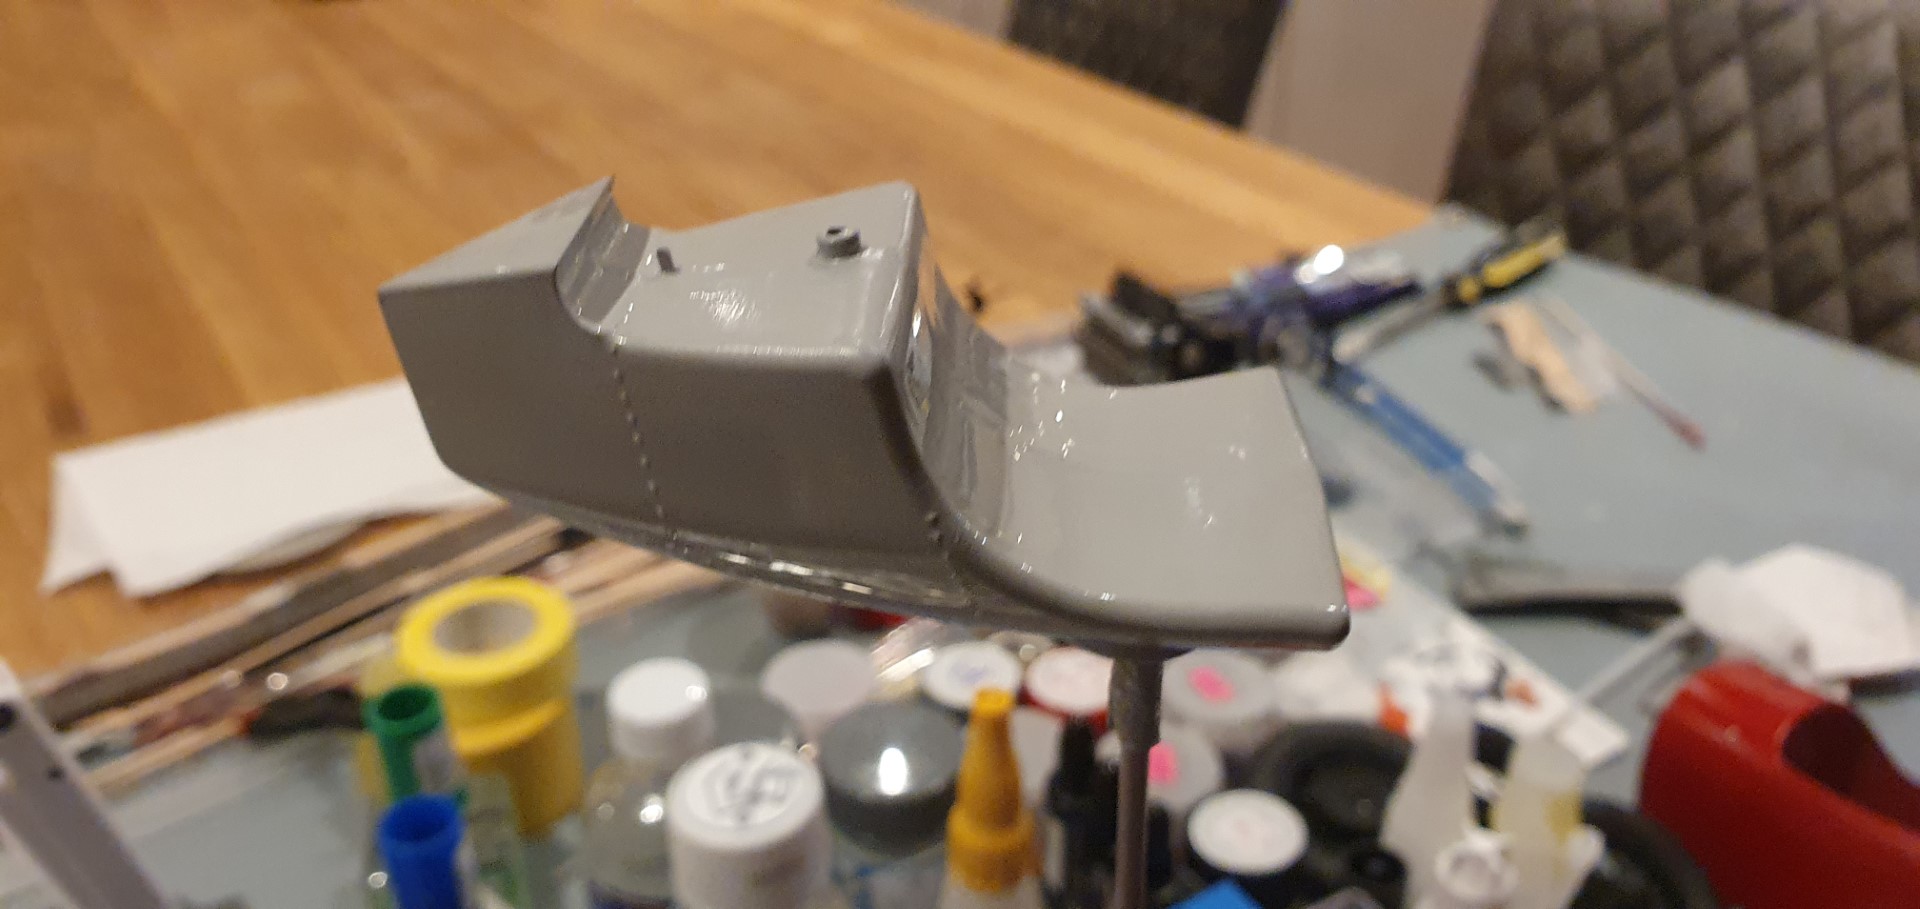
10th May 2020 – I see ahead on the instructions that body parts will soon be fixed to the chassis so I prime them in prep to paint and laquer them, also get together the parts for the next stage which is putting together the grill and attaching them and the front axle assmble to the chassis too.
May 14th 2020 –
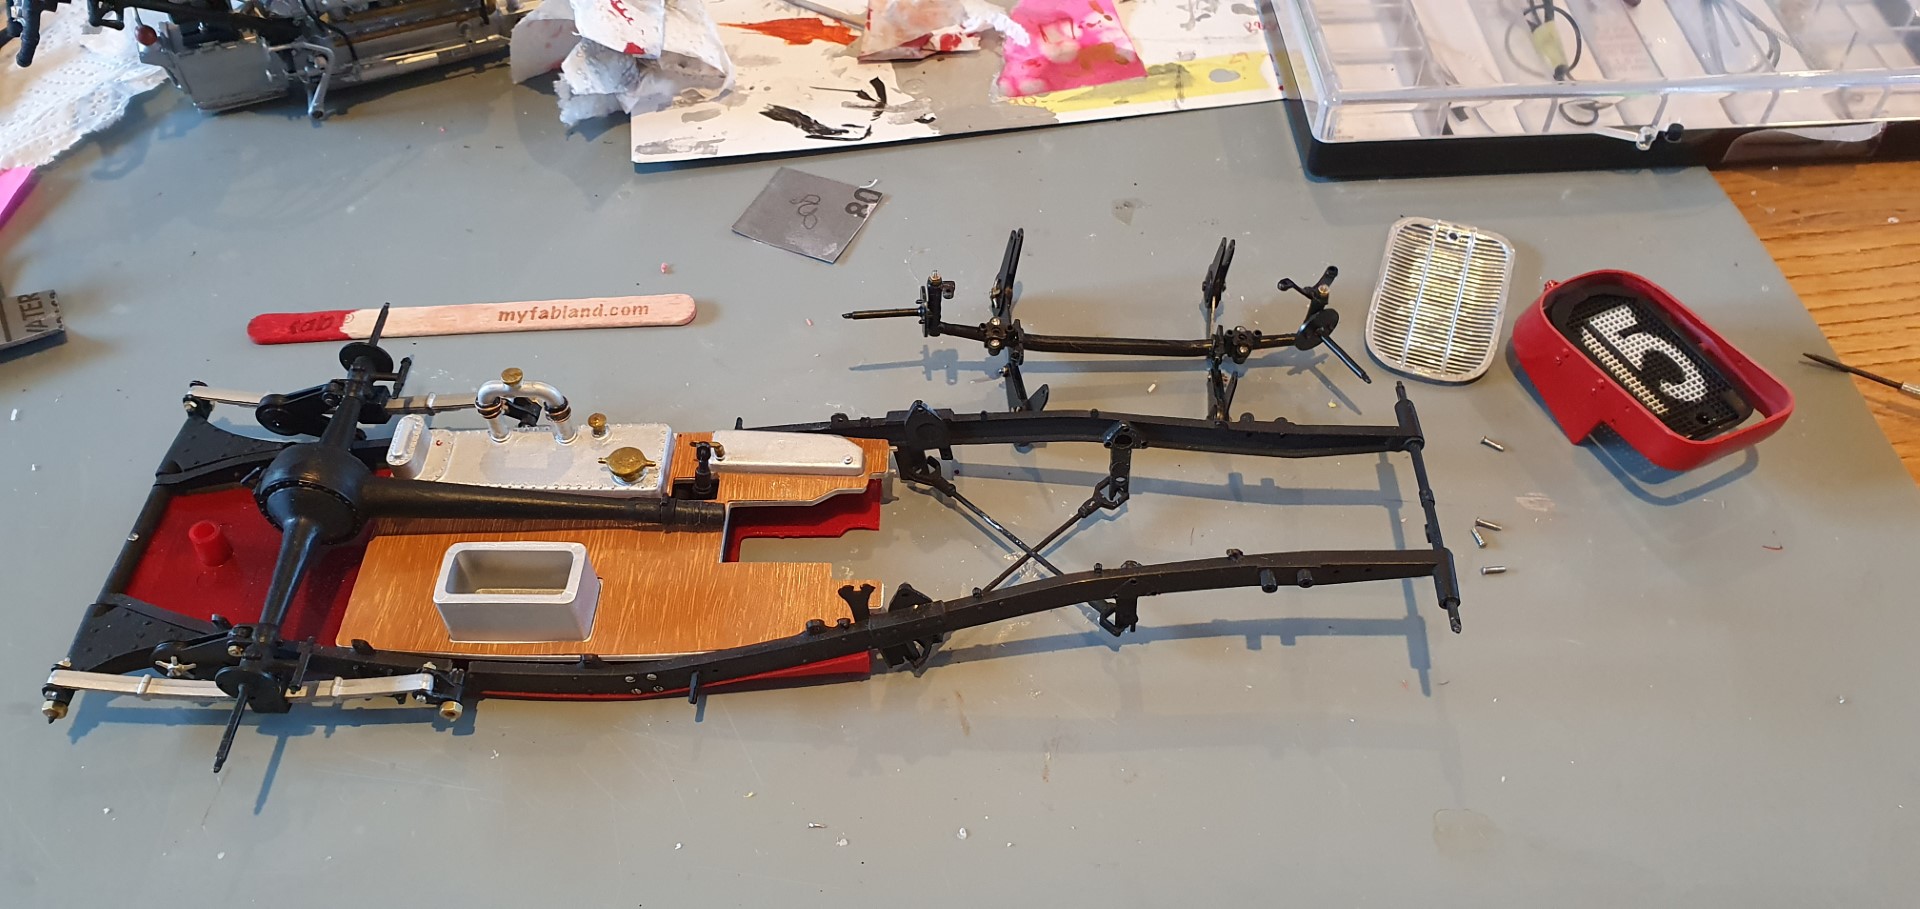
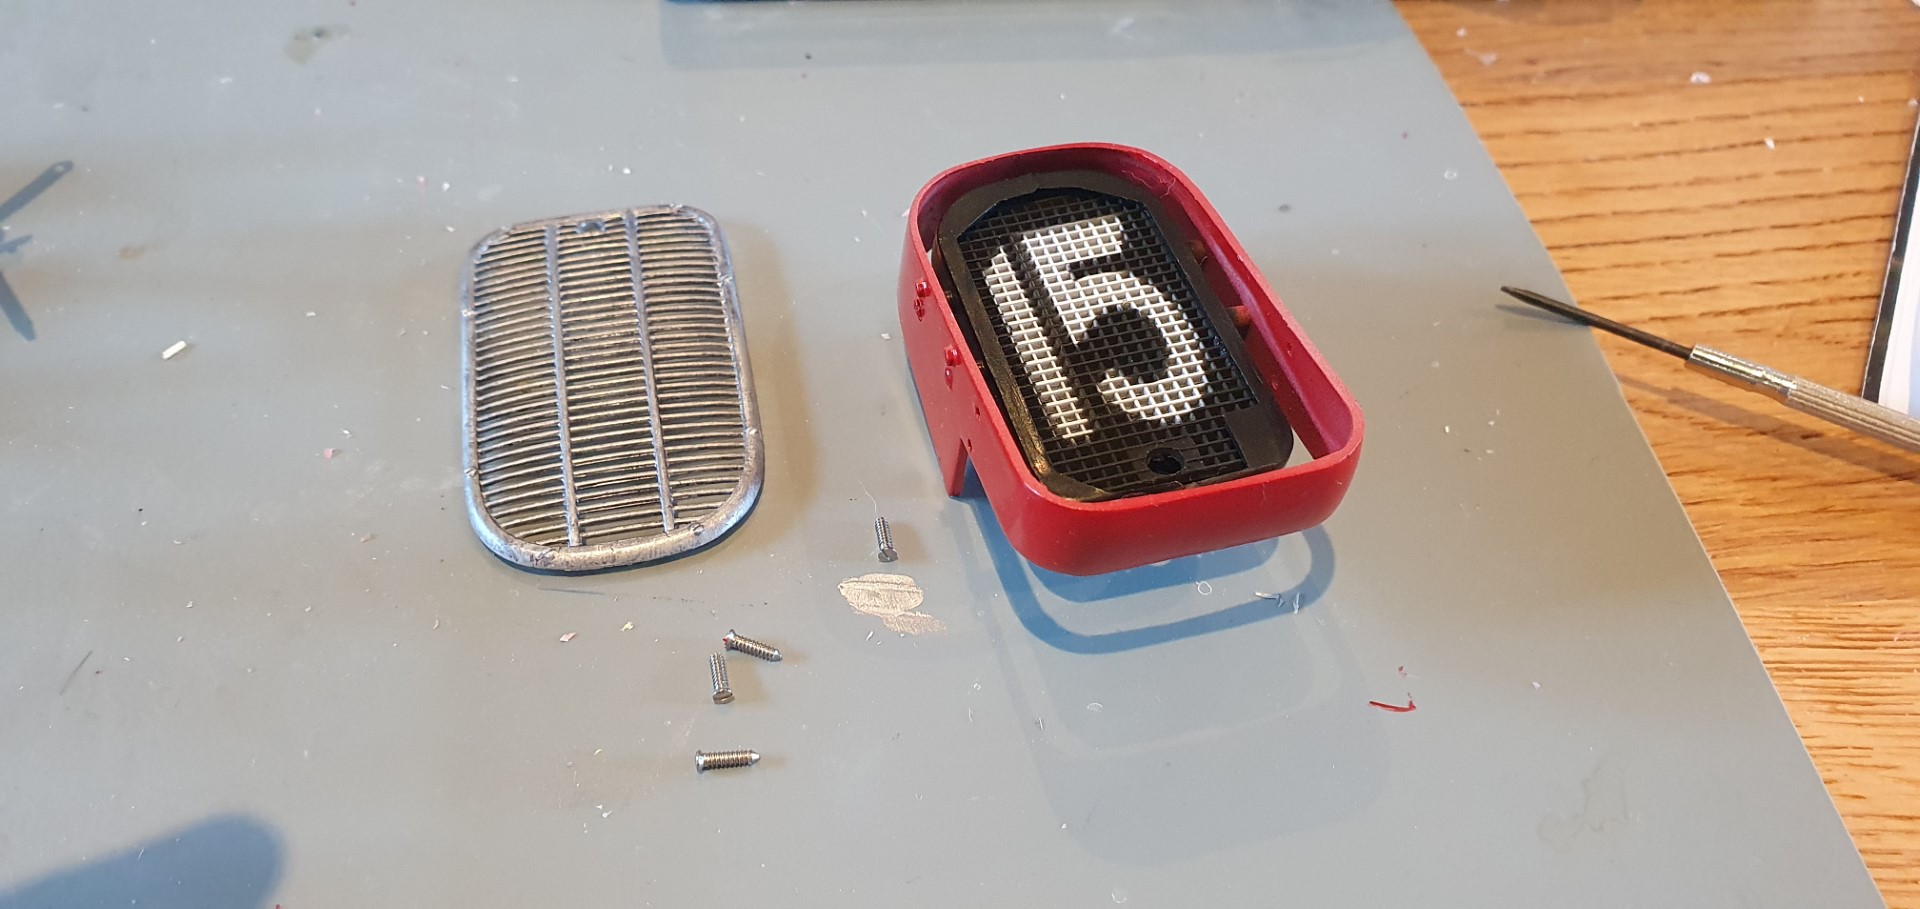
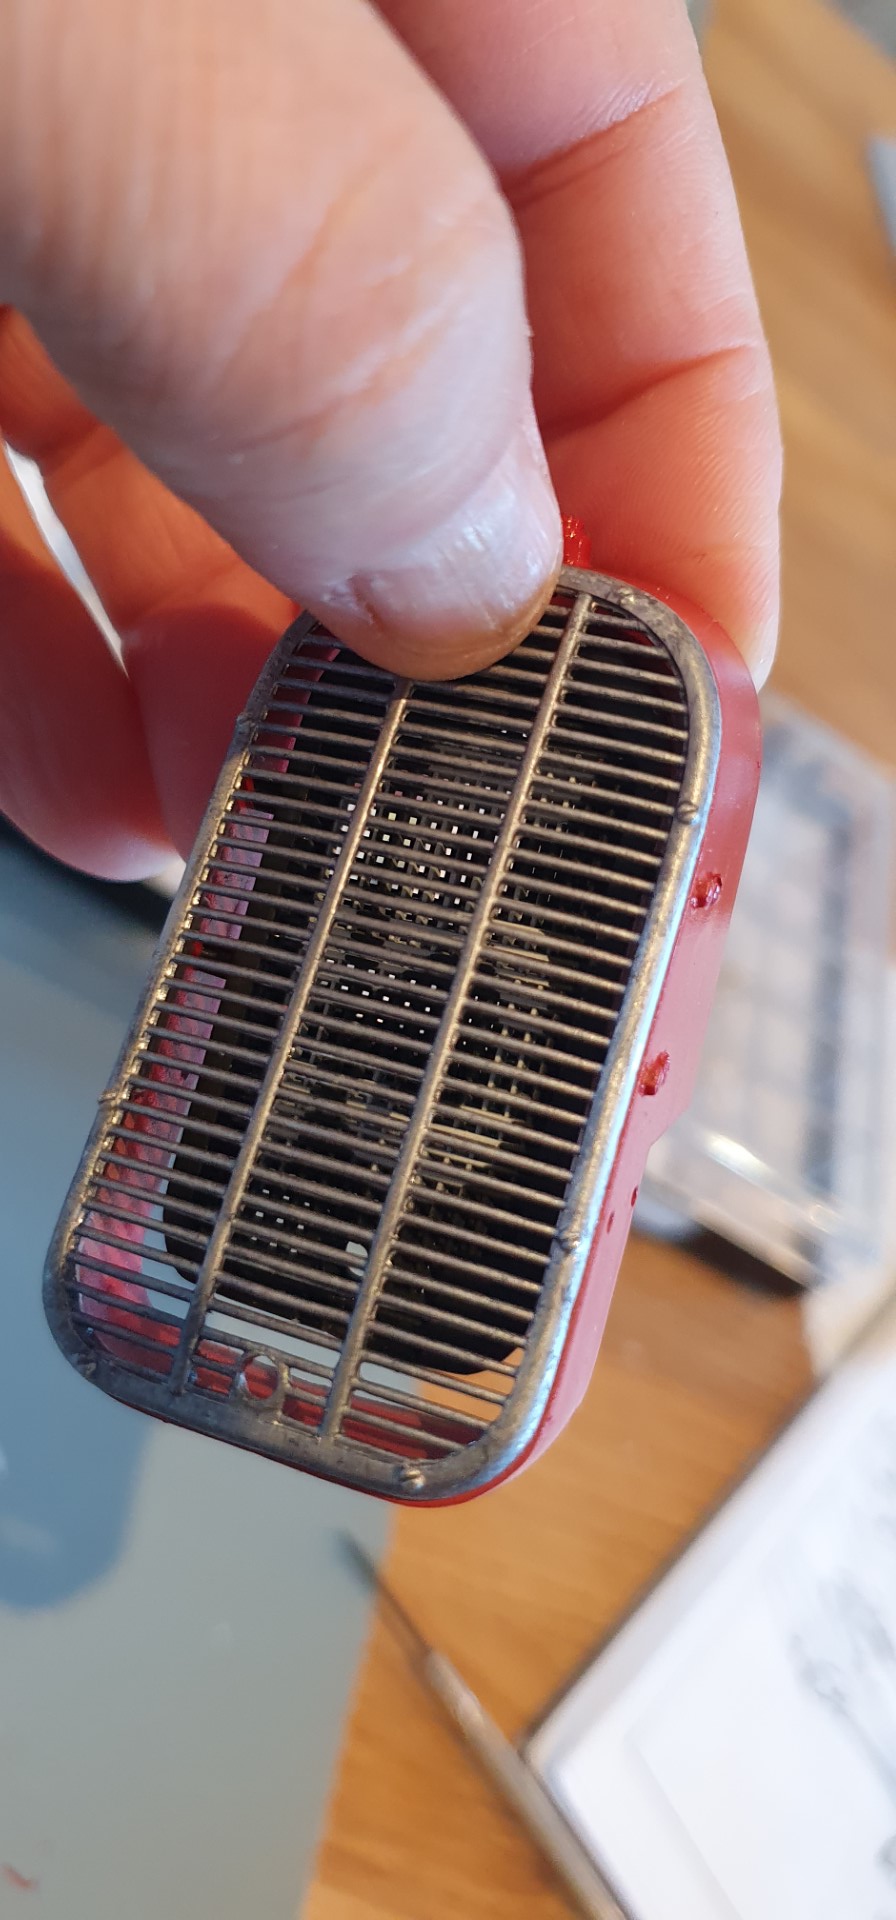
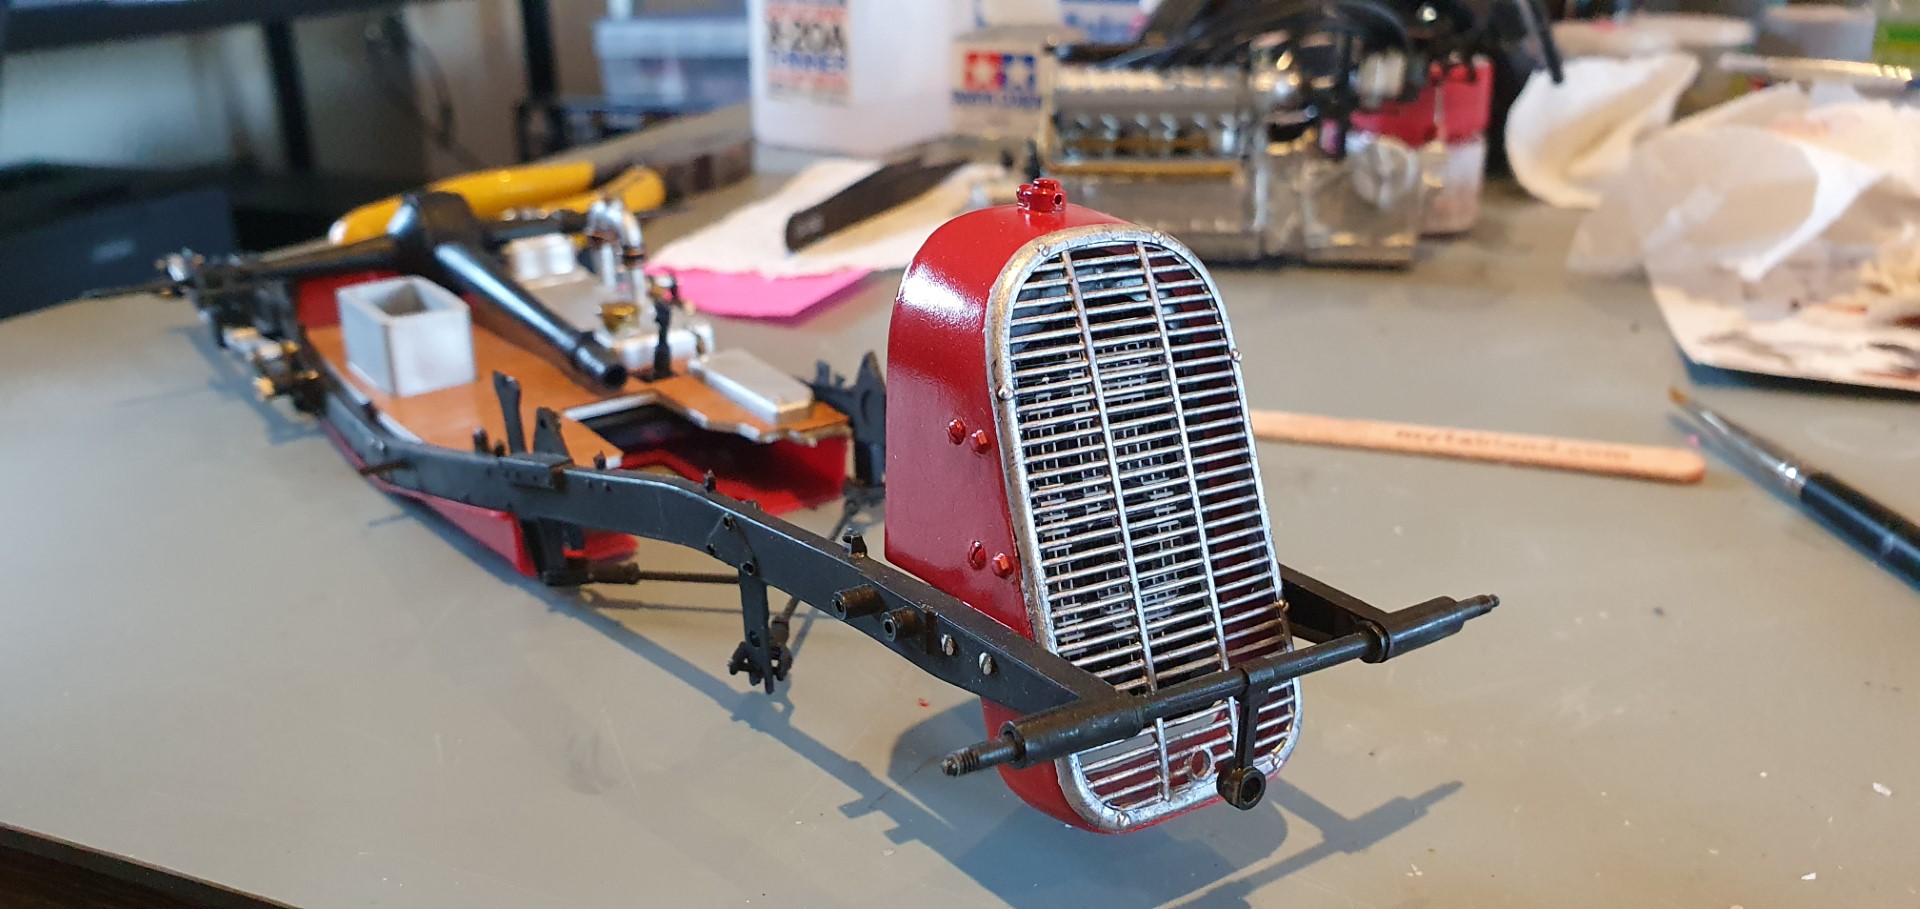
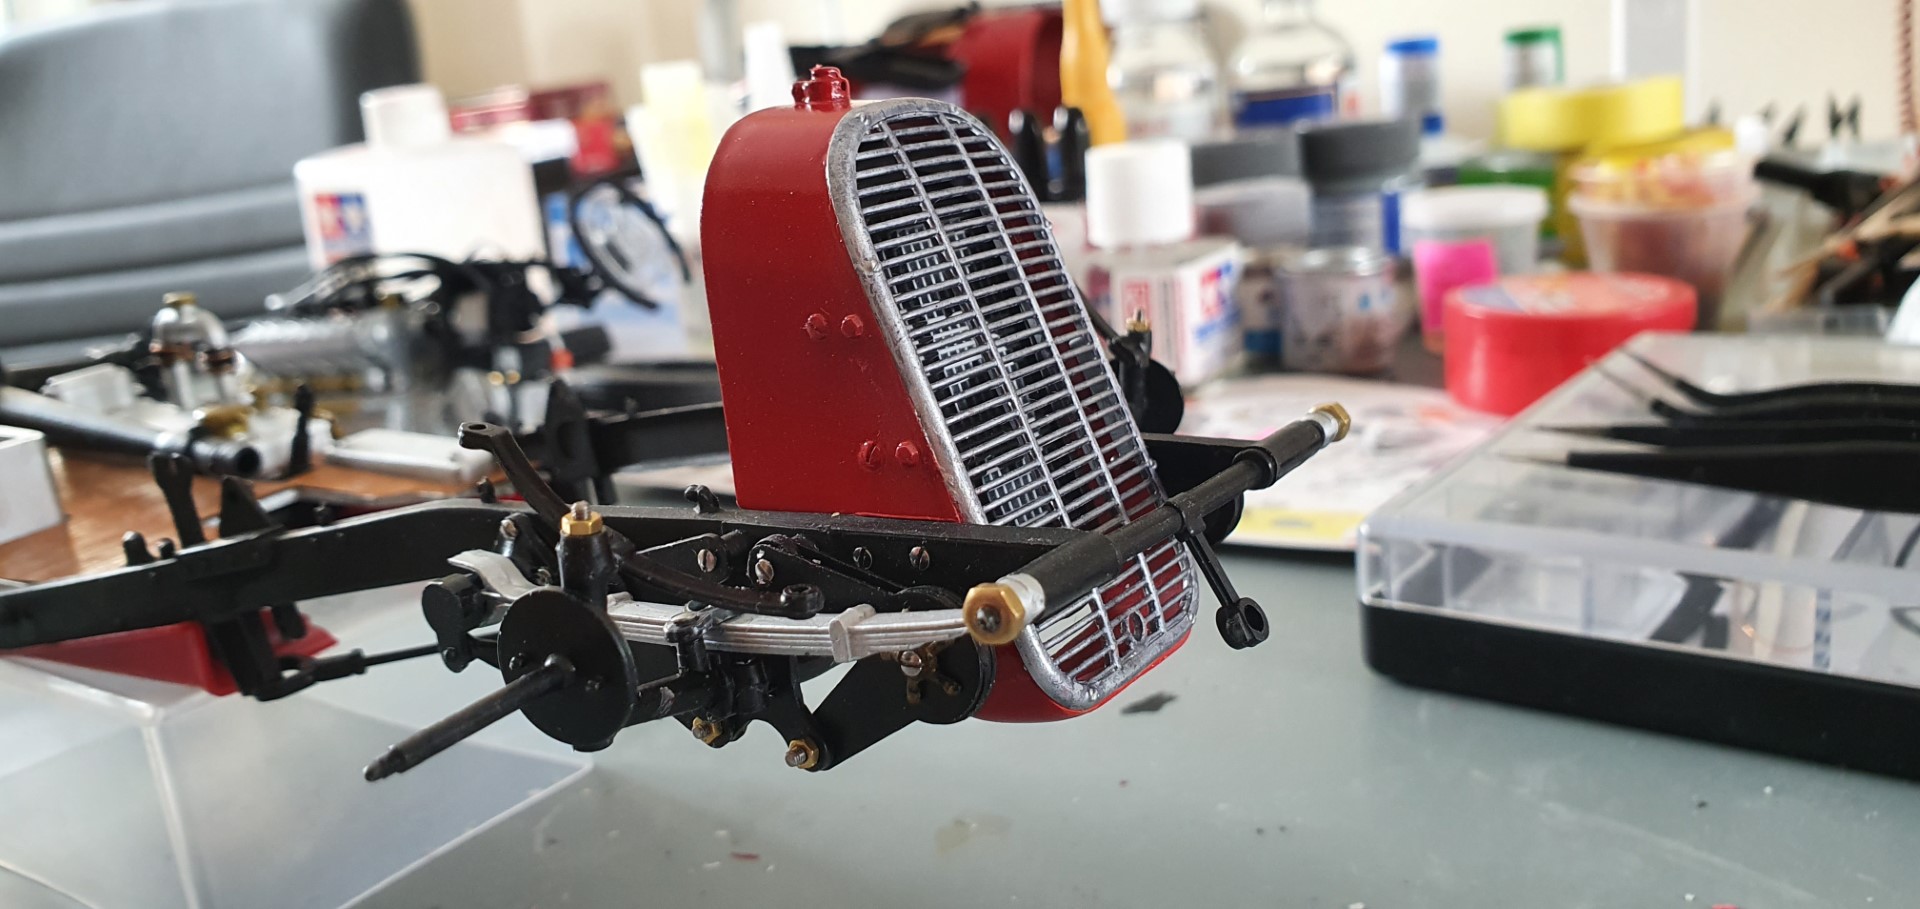
time to put together and attach the grill and front bodywork to the chassis
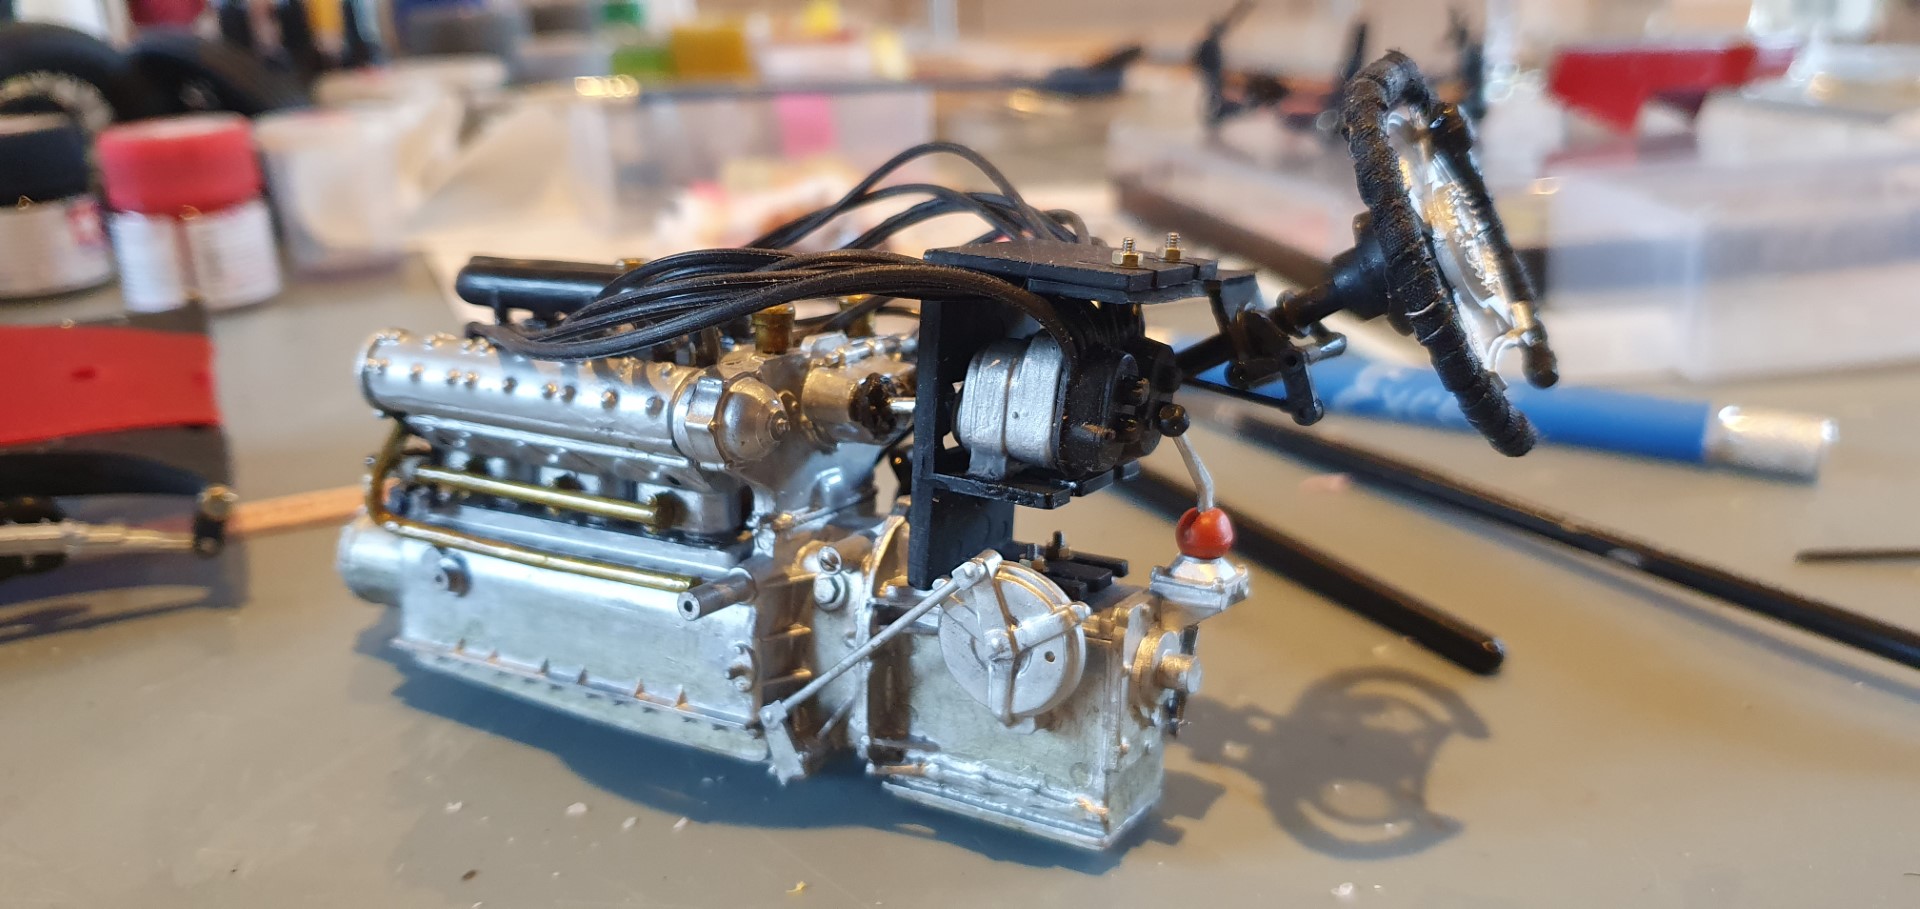
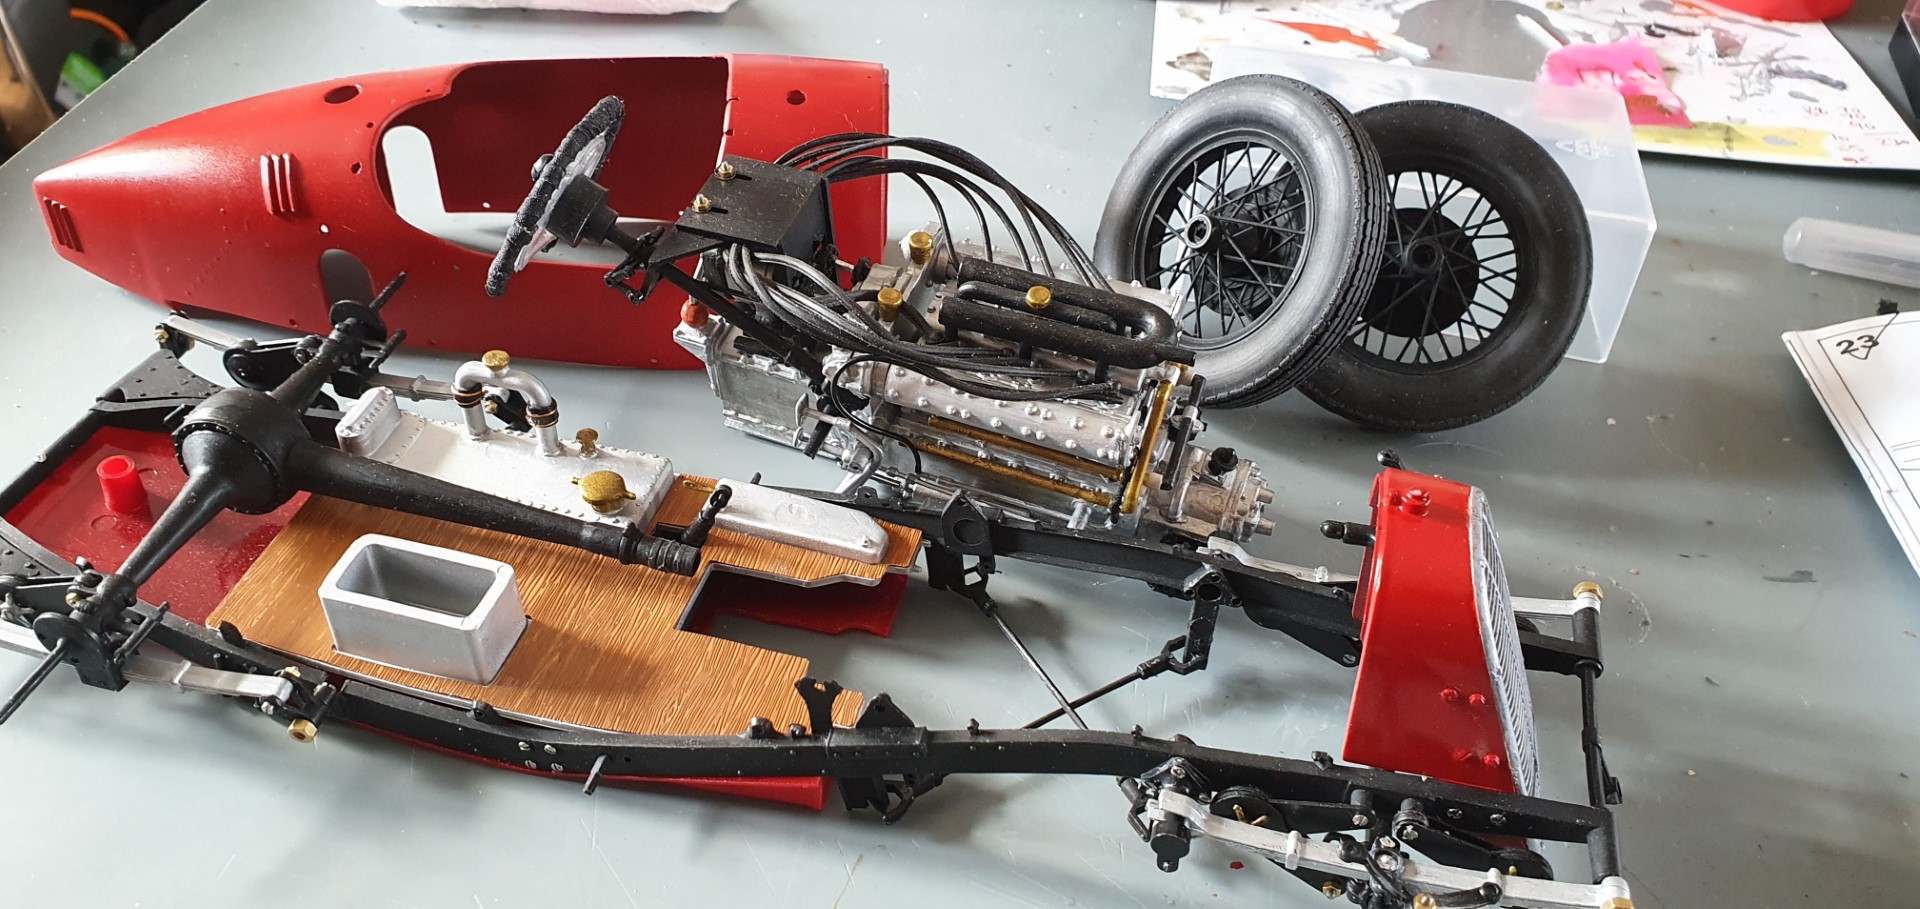
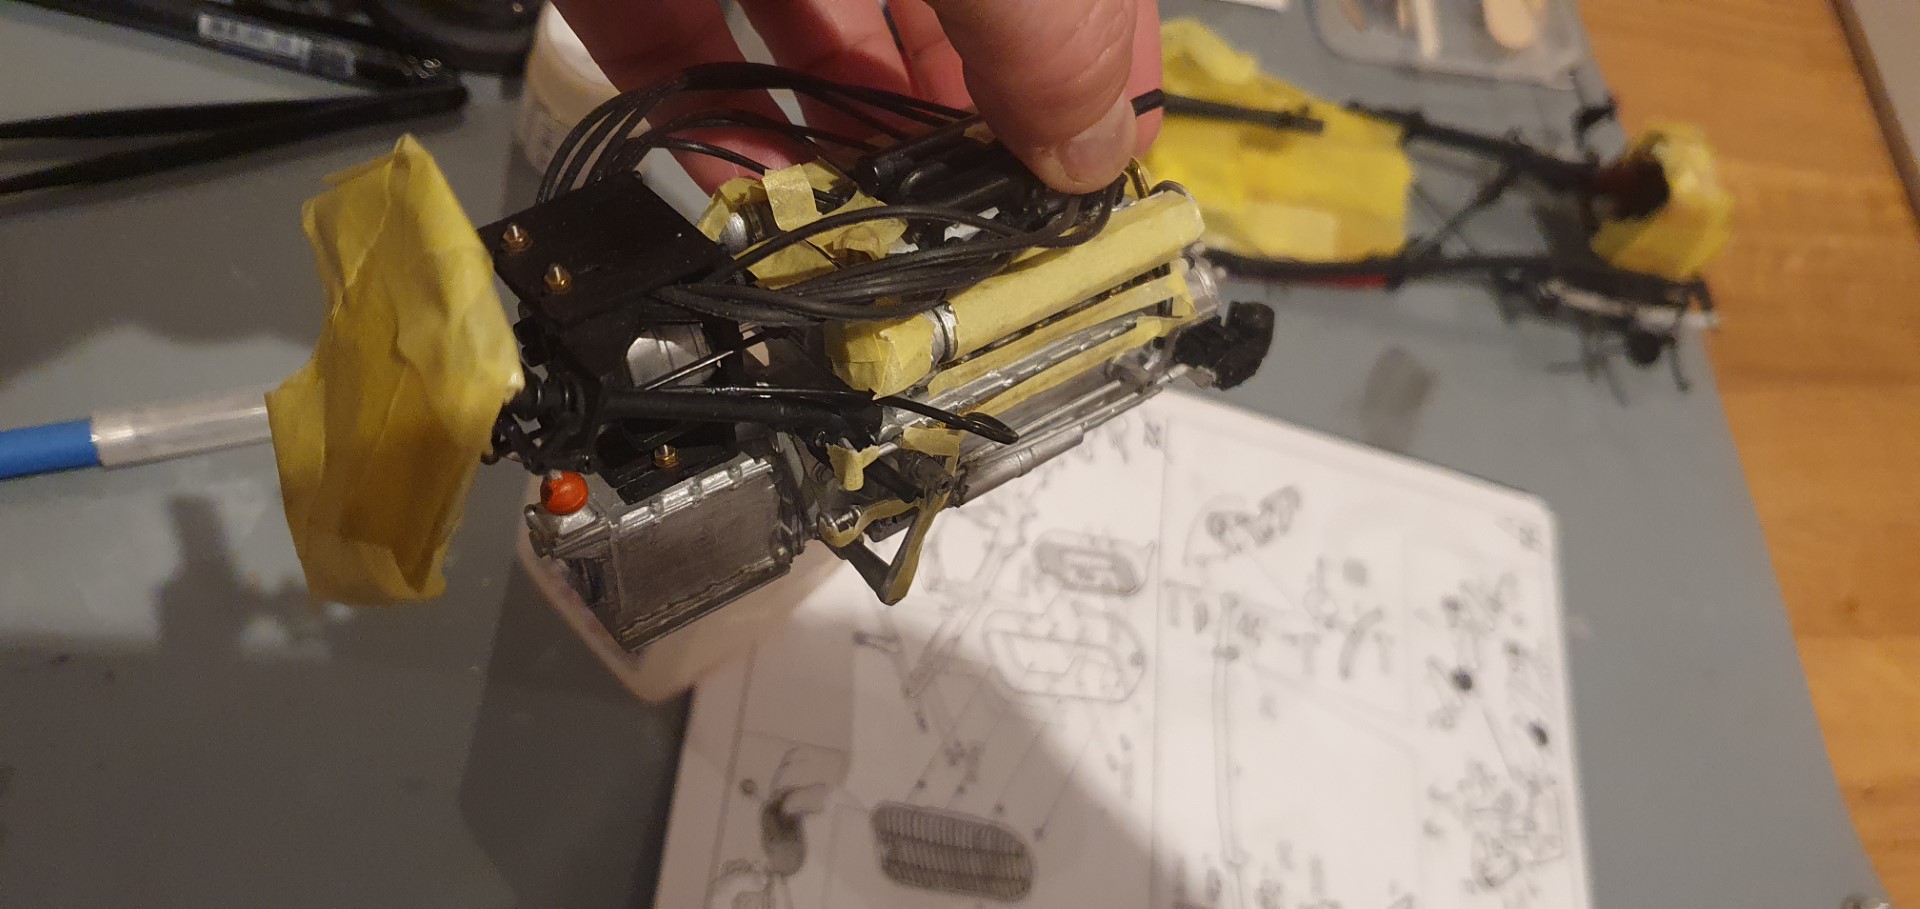
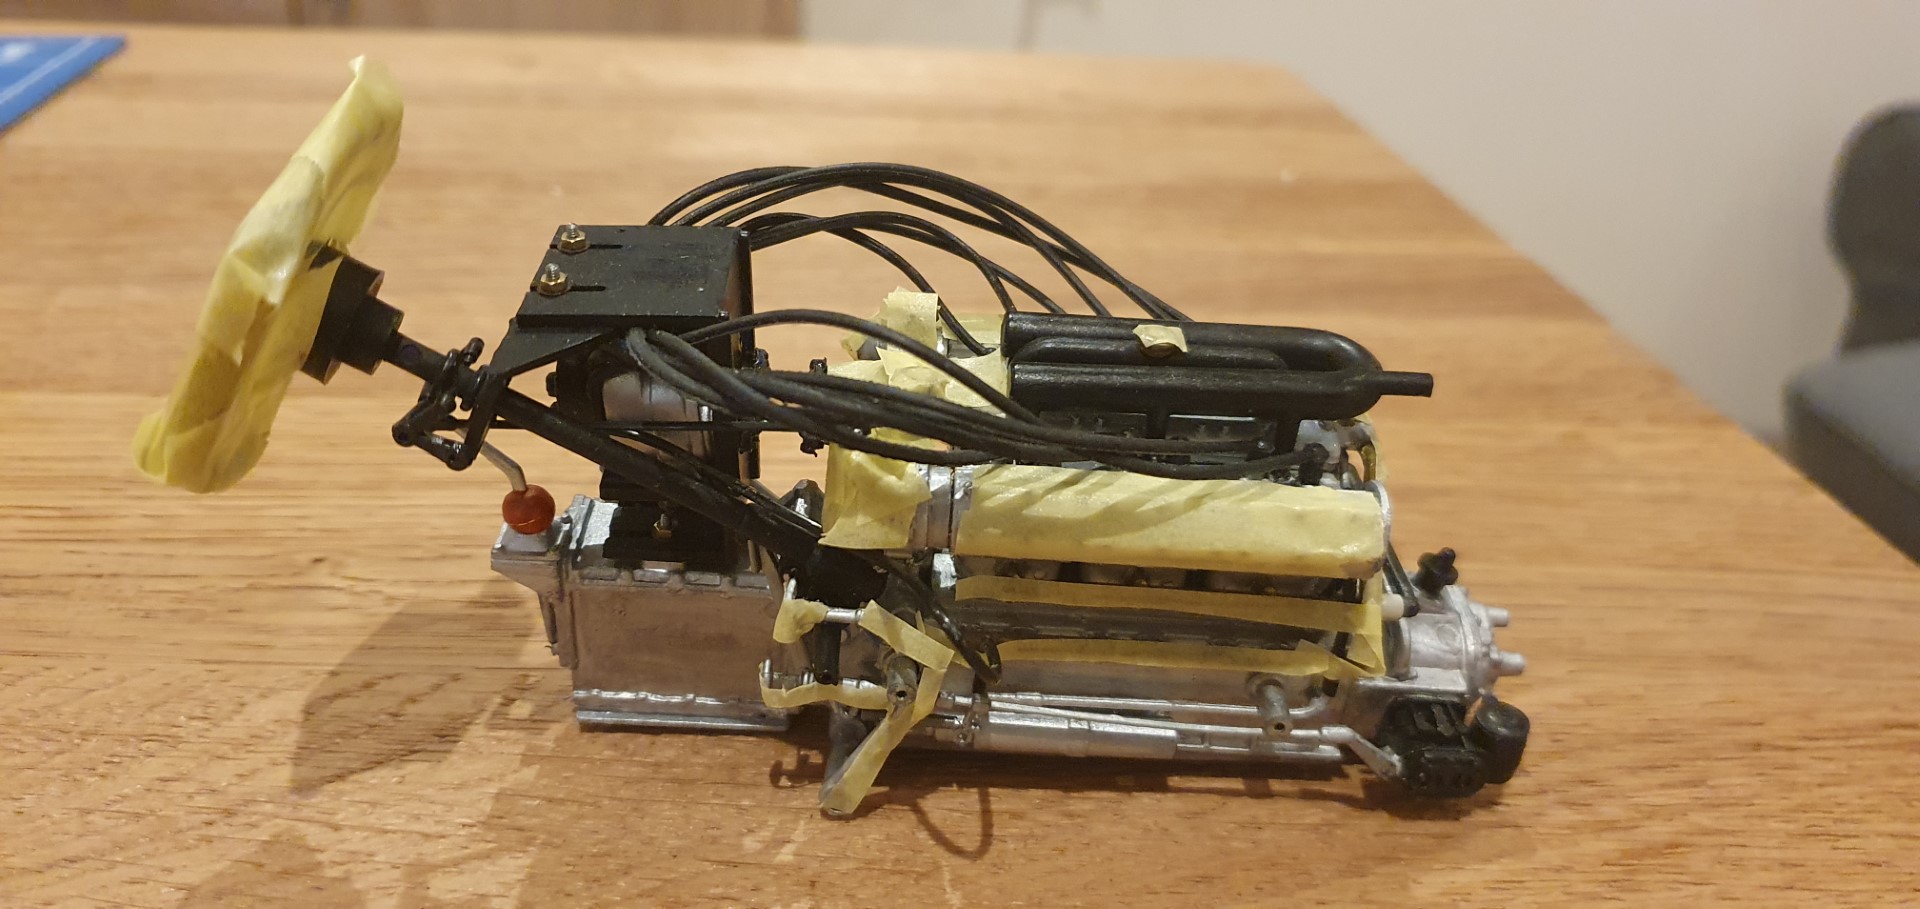
first a glory shot of the engine & gearbox and then the finished front grill (you can just see the numeral behind the grill)
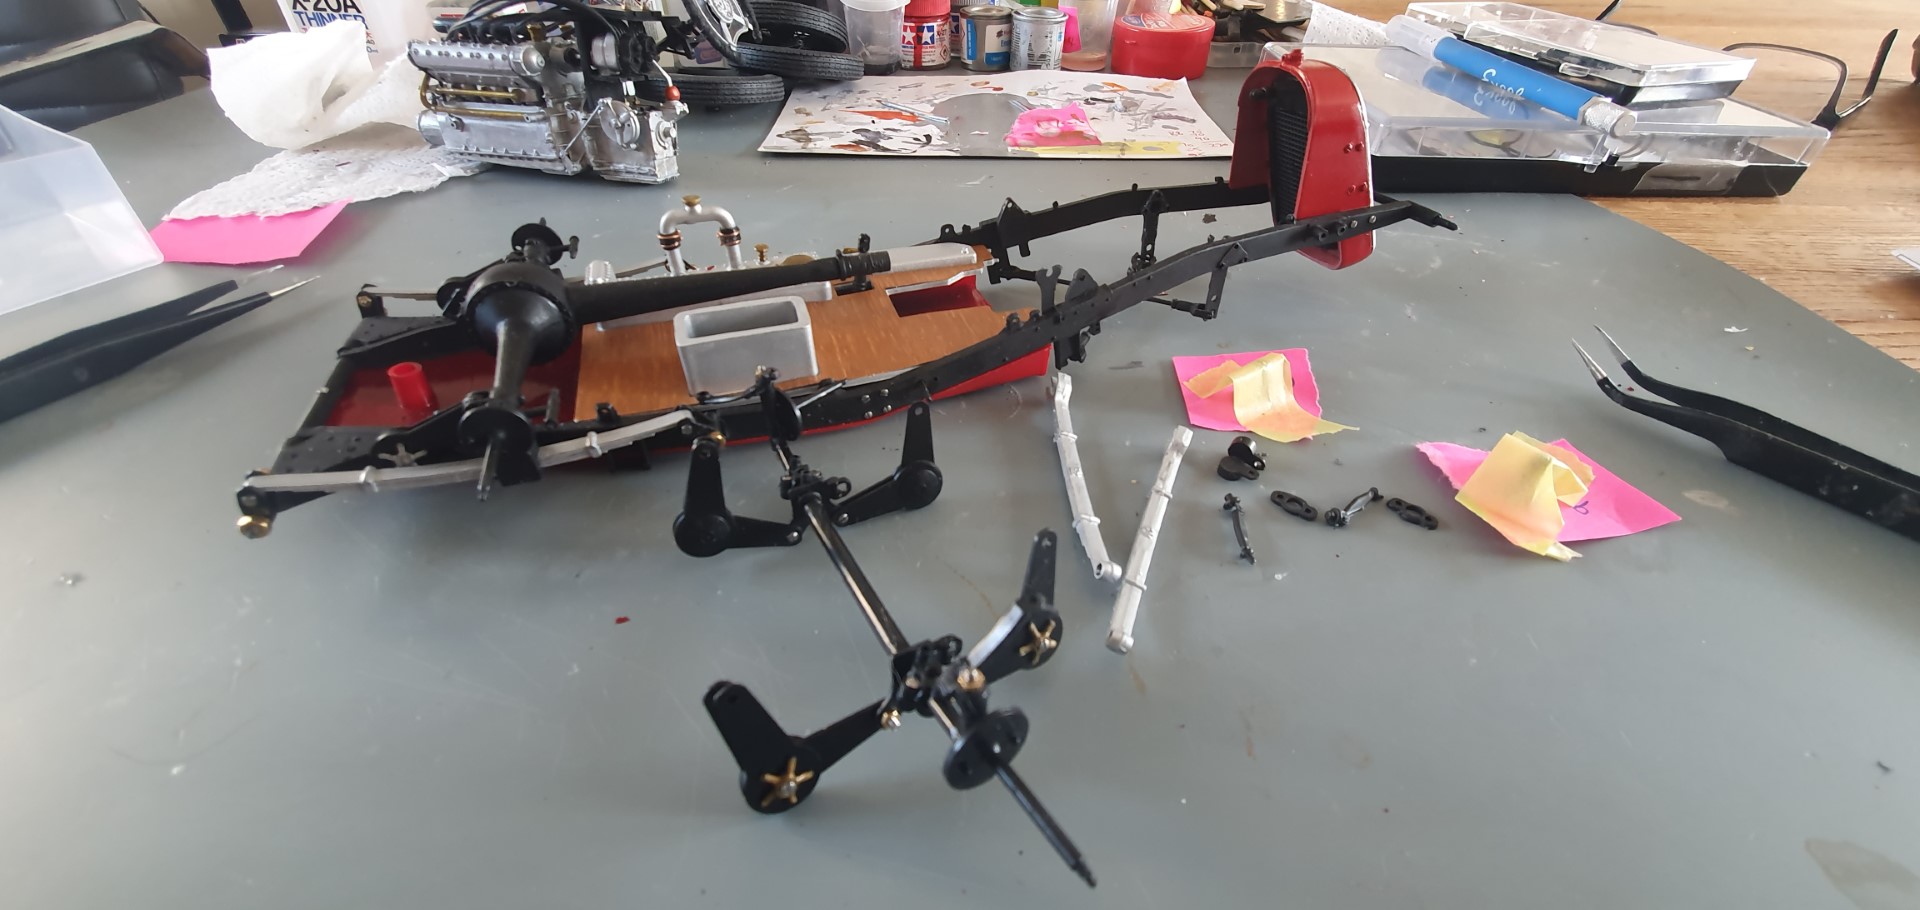
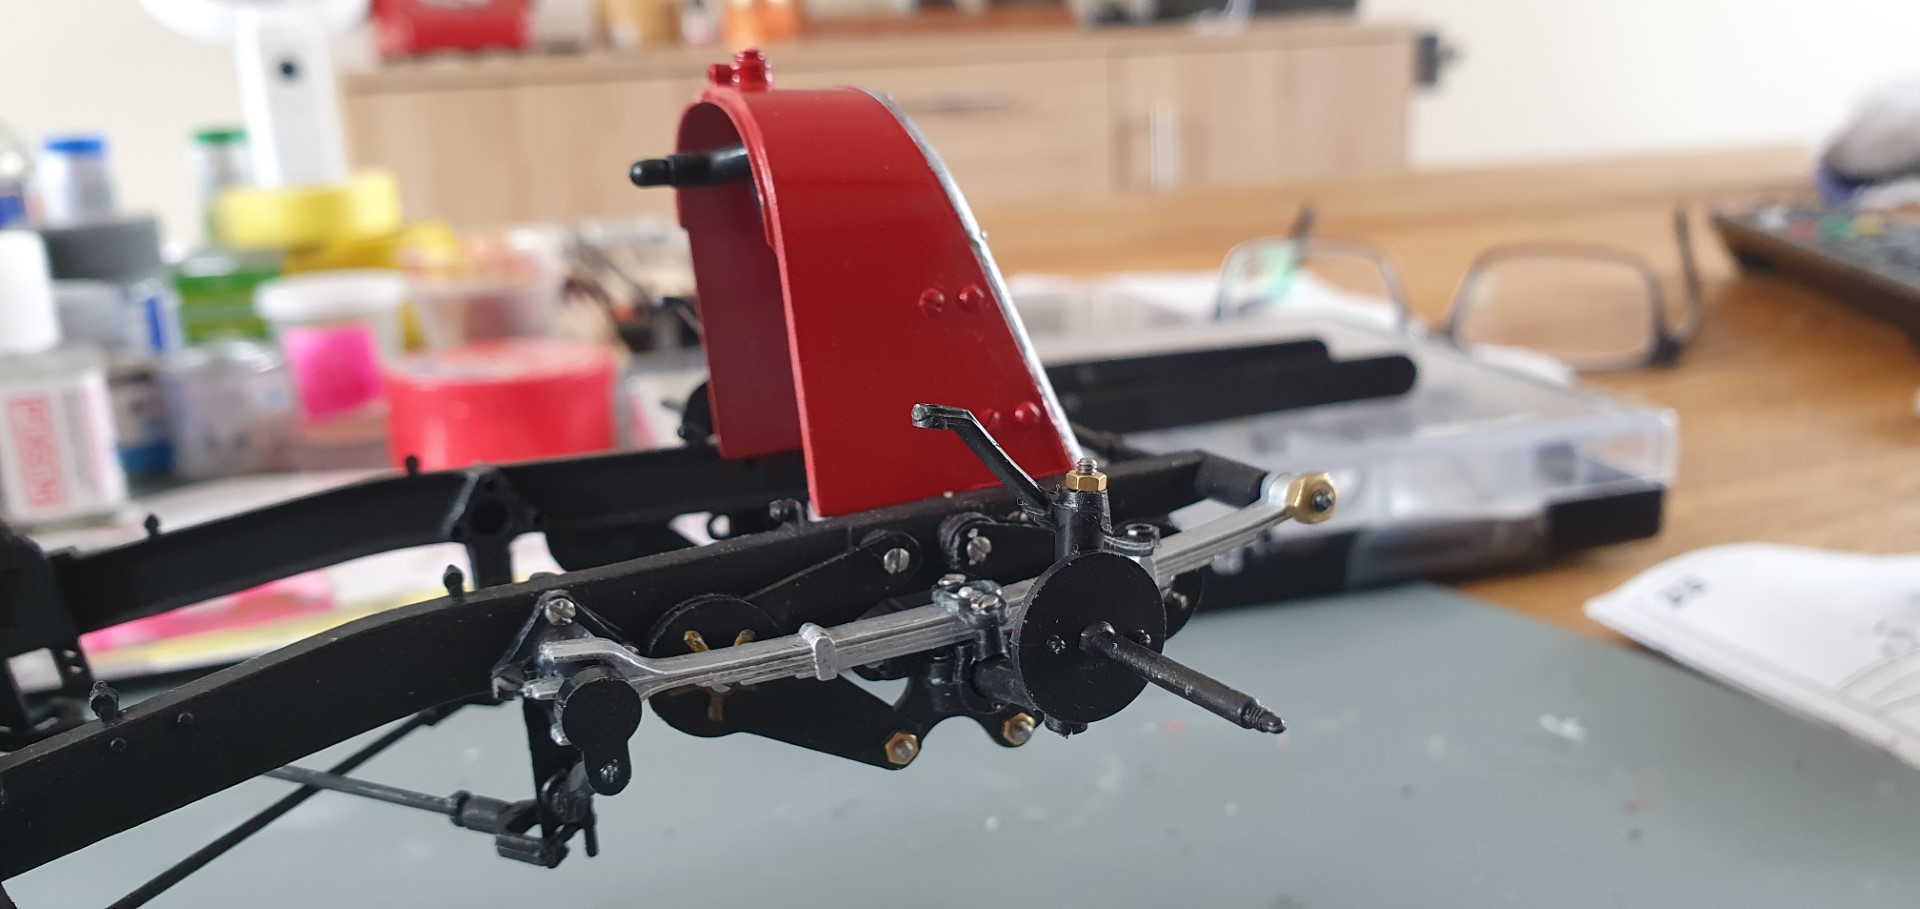
May 16th – onto attaching the suspension/axle assembly to the front of the caar’s chassis
…the parts, then the finished article
shot of some of the main parts together
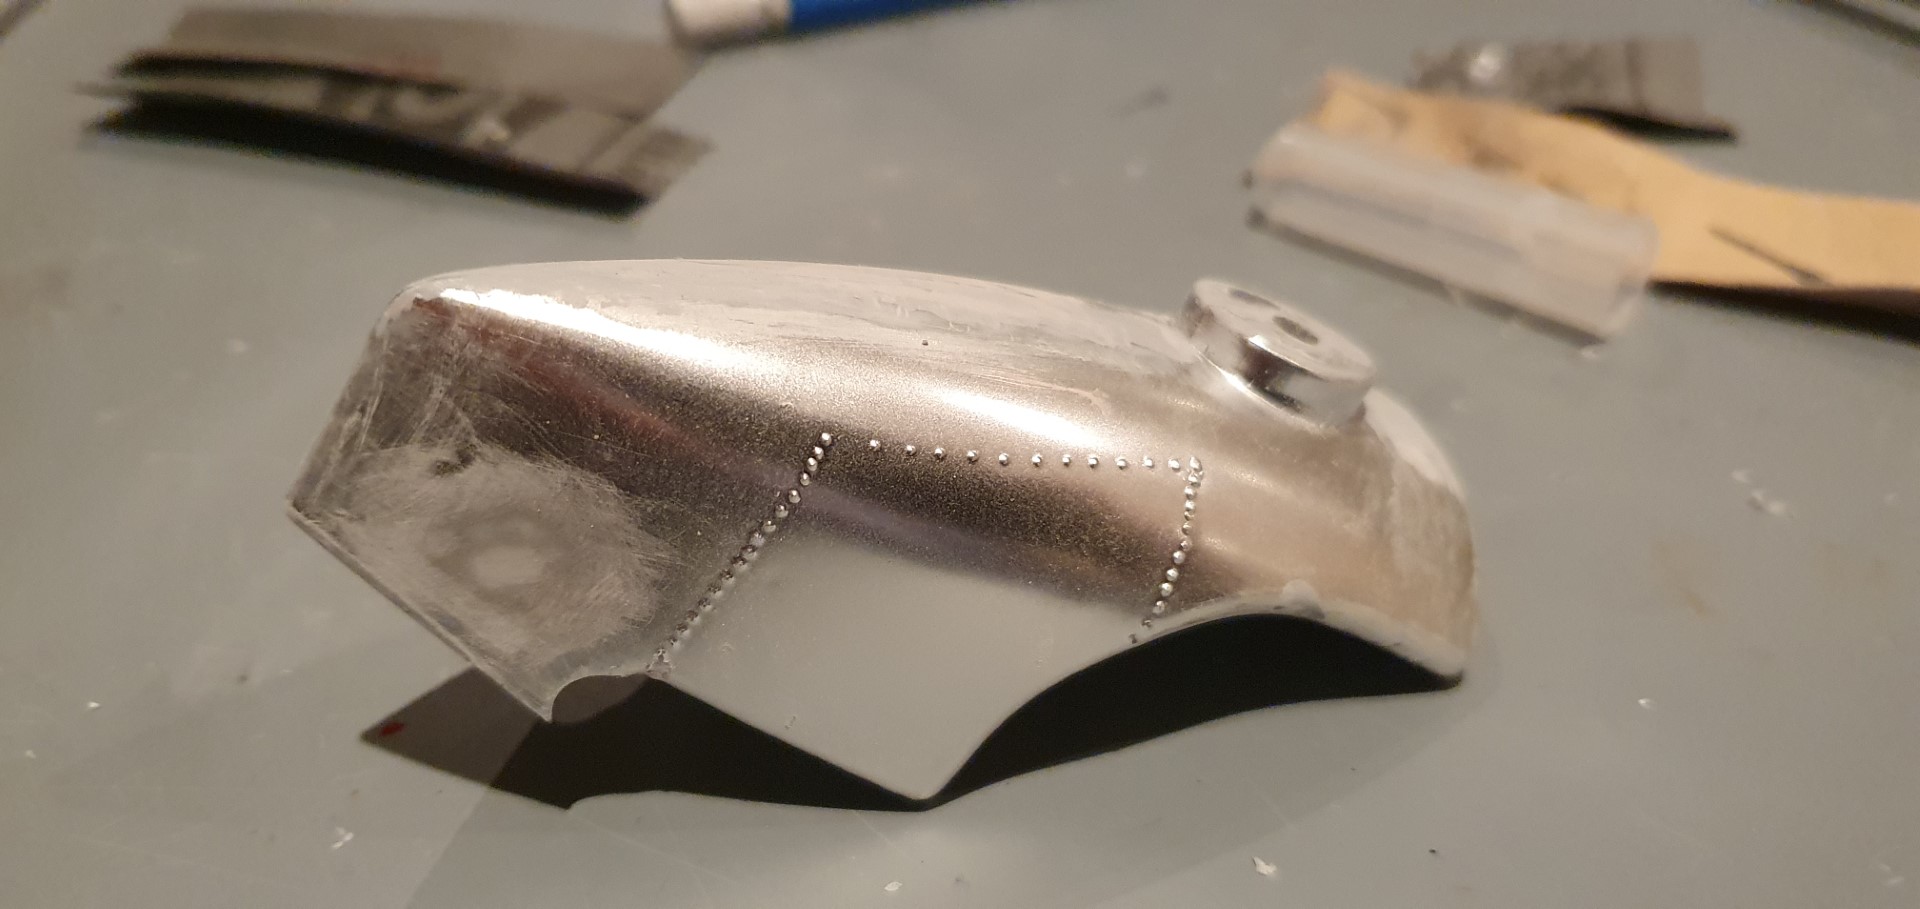
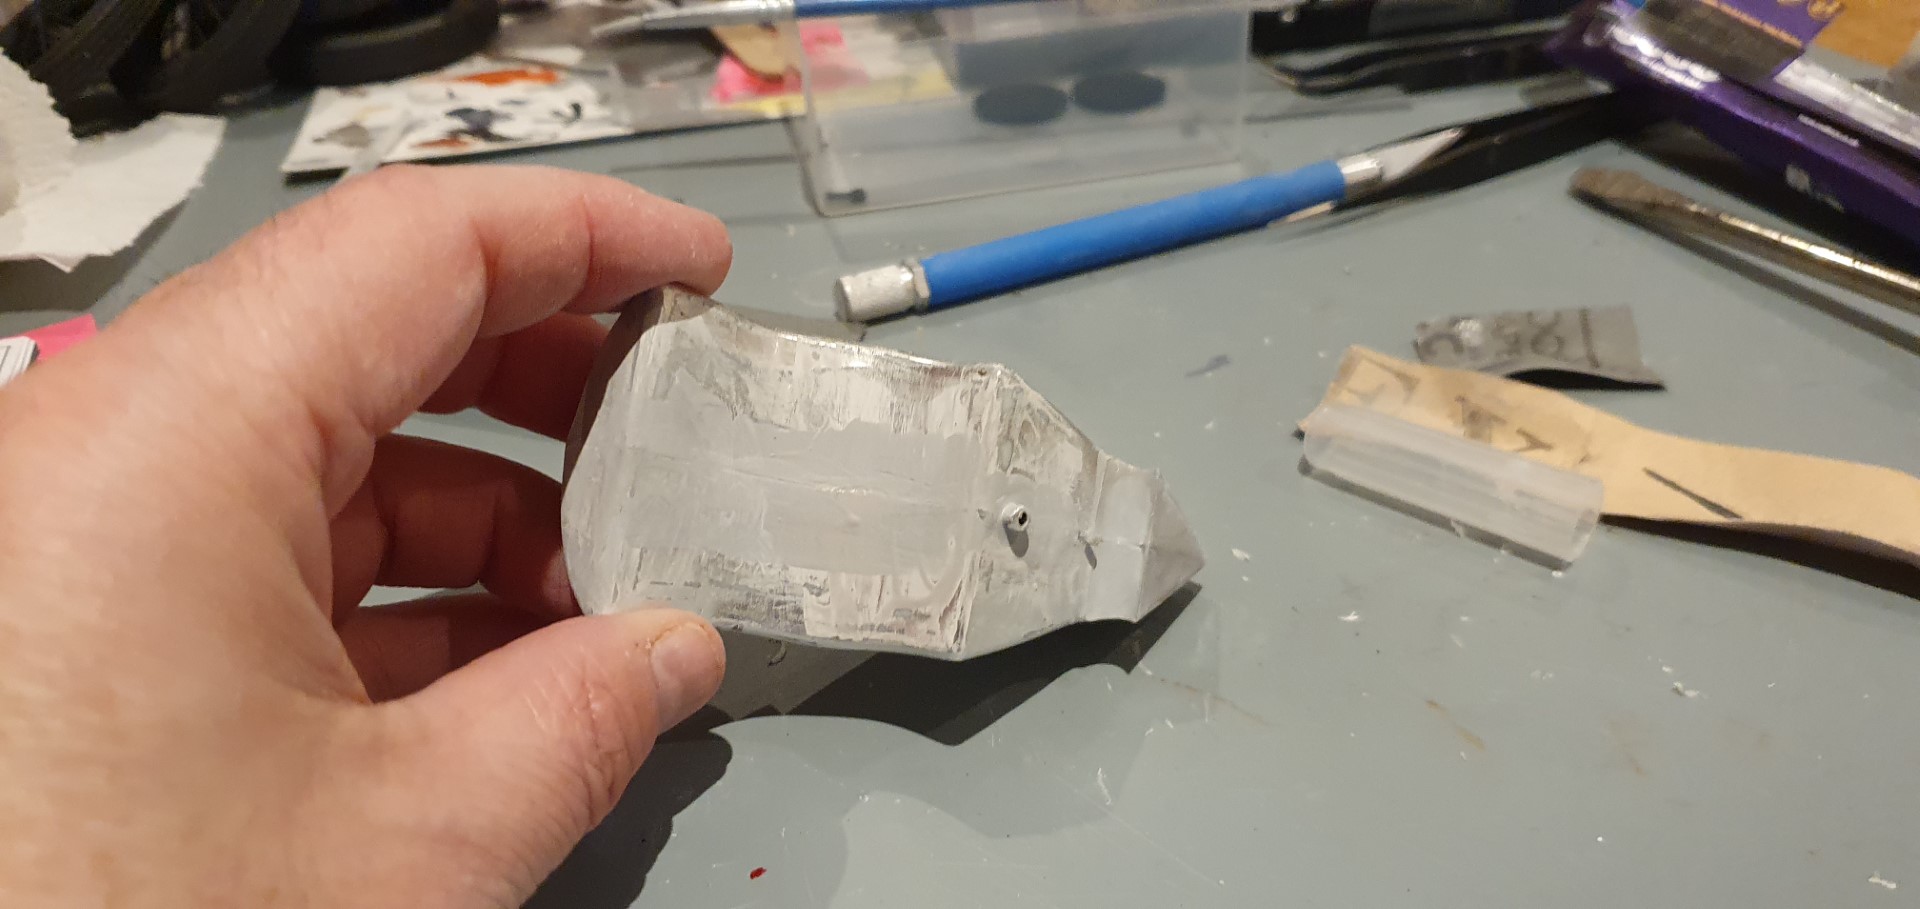
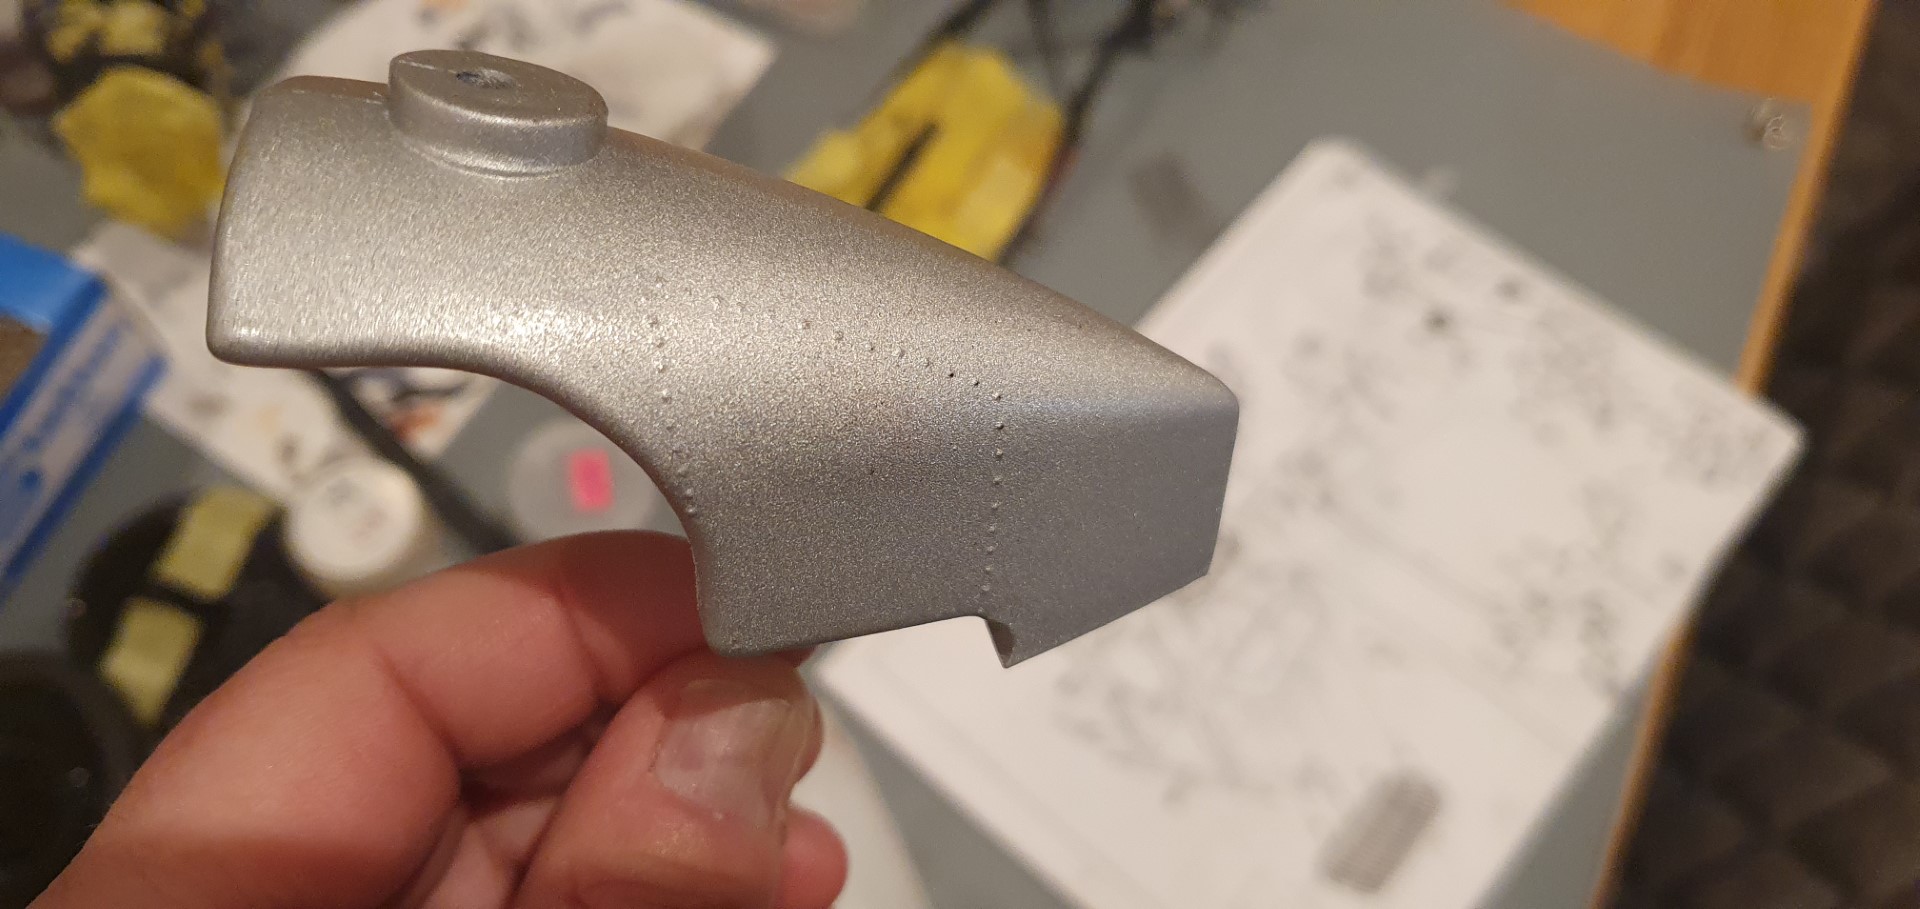
the fuel tank which started as cheap chromed plastic. Apparently you can remove the chrome by soaking the article in household bleach but I chose just to prime over the top, sand and use Mr Surfacer to ‘fill’ then re=prime.
May 20th – I use the airbrush to spray the fuel tank silver, its supposed to be ‘chrome silver’ but it has no gloss whatsoever so it will need a laquer.
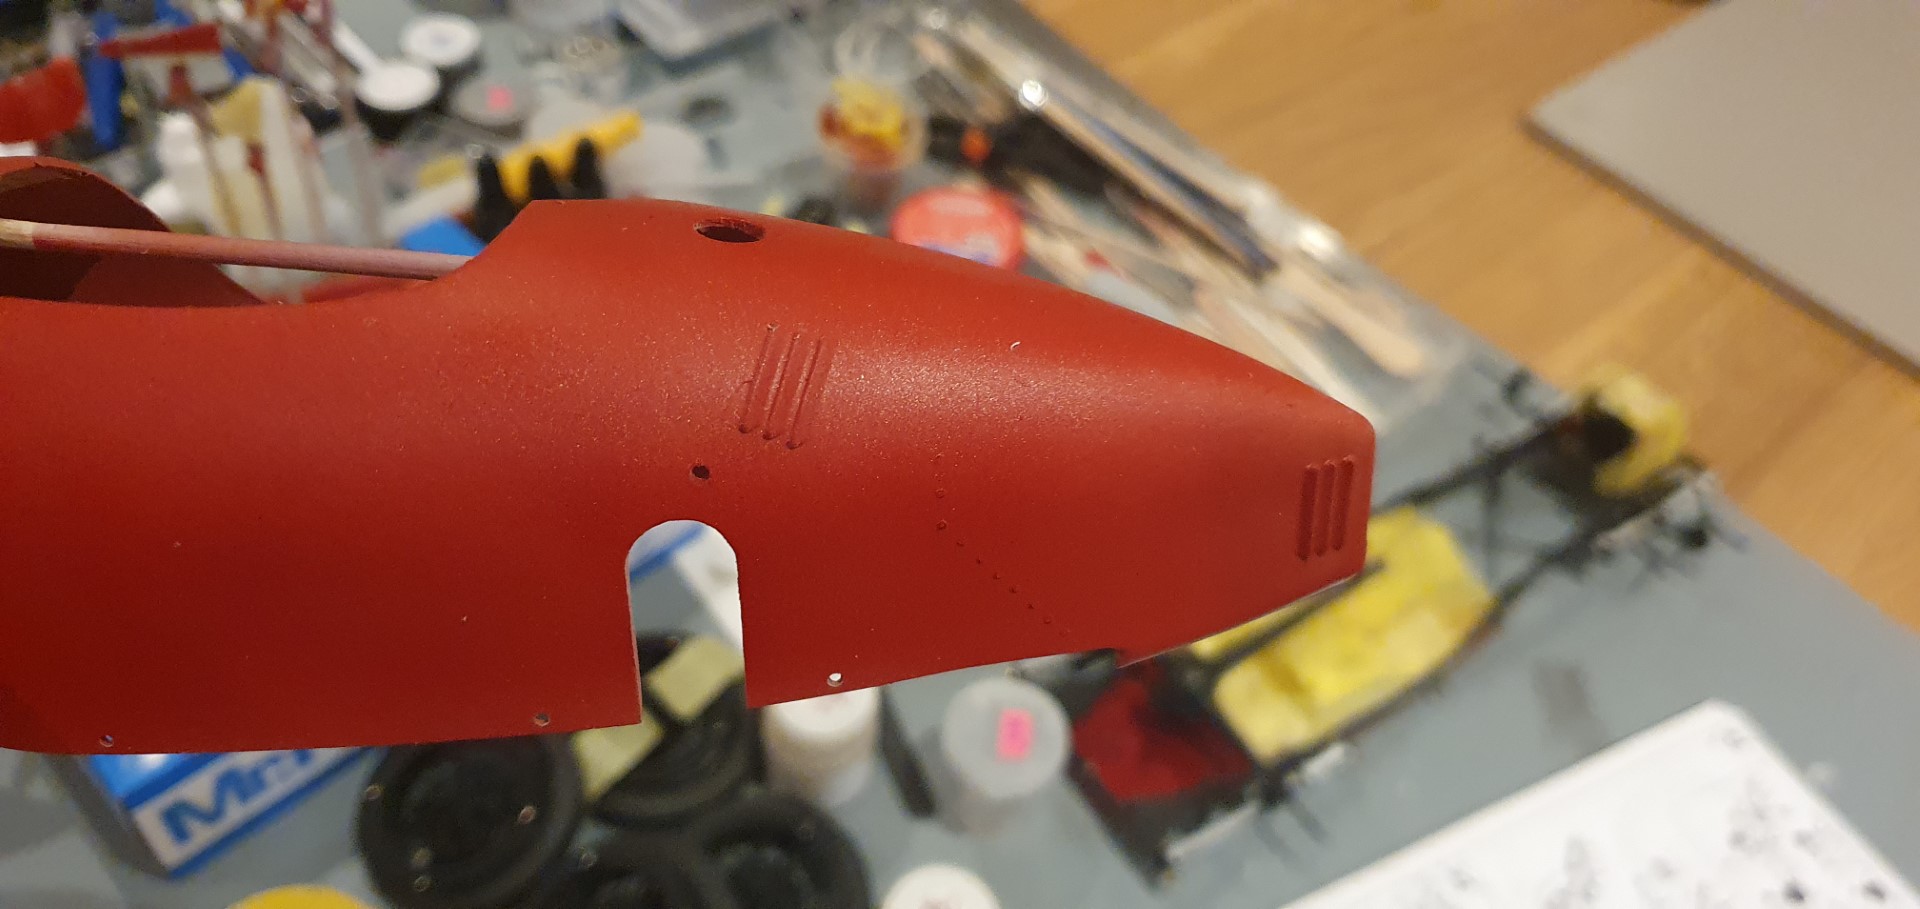
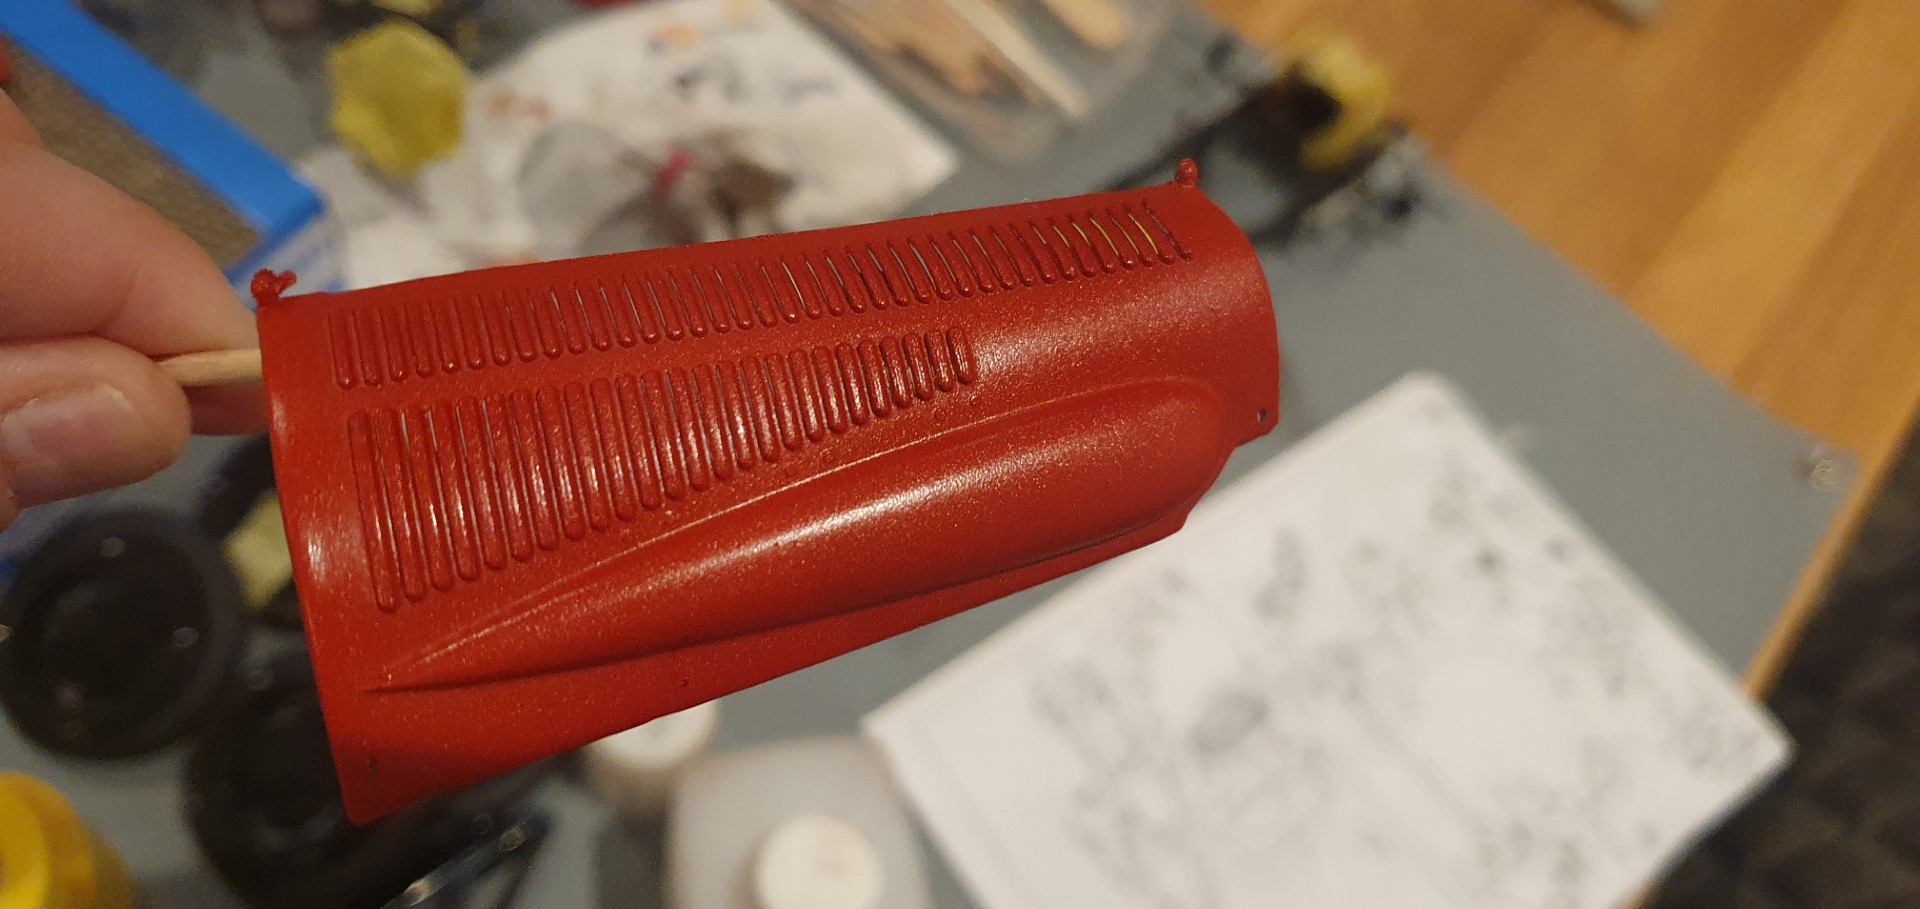
I also try to weigh up whether I should laquer with matt, semi-gloss or full gloss (of which I had none). So initially my thoughts were to keep the body shell matt so it was easier to weather and try to make ‘used’ and to semi gloss the fuel tank (which should be chromed).
You will also see some shots of the engine and chassis masked up as I intend to laquer them matt too (the black paint is matt already but needs protecting).
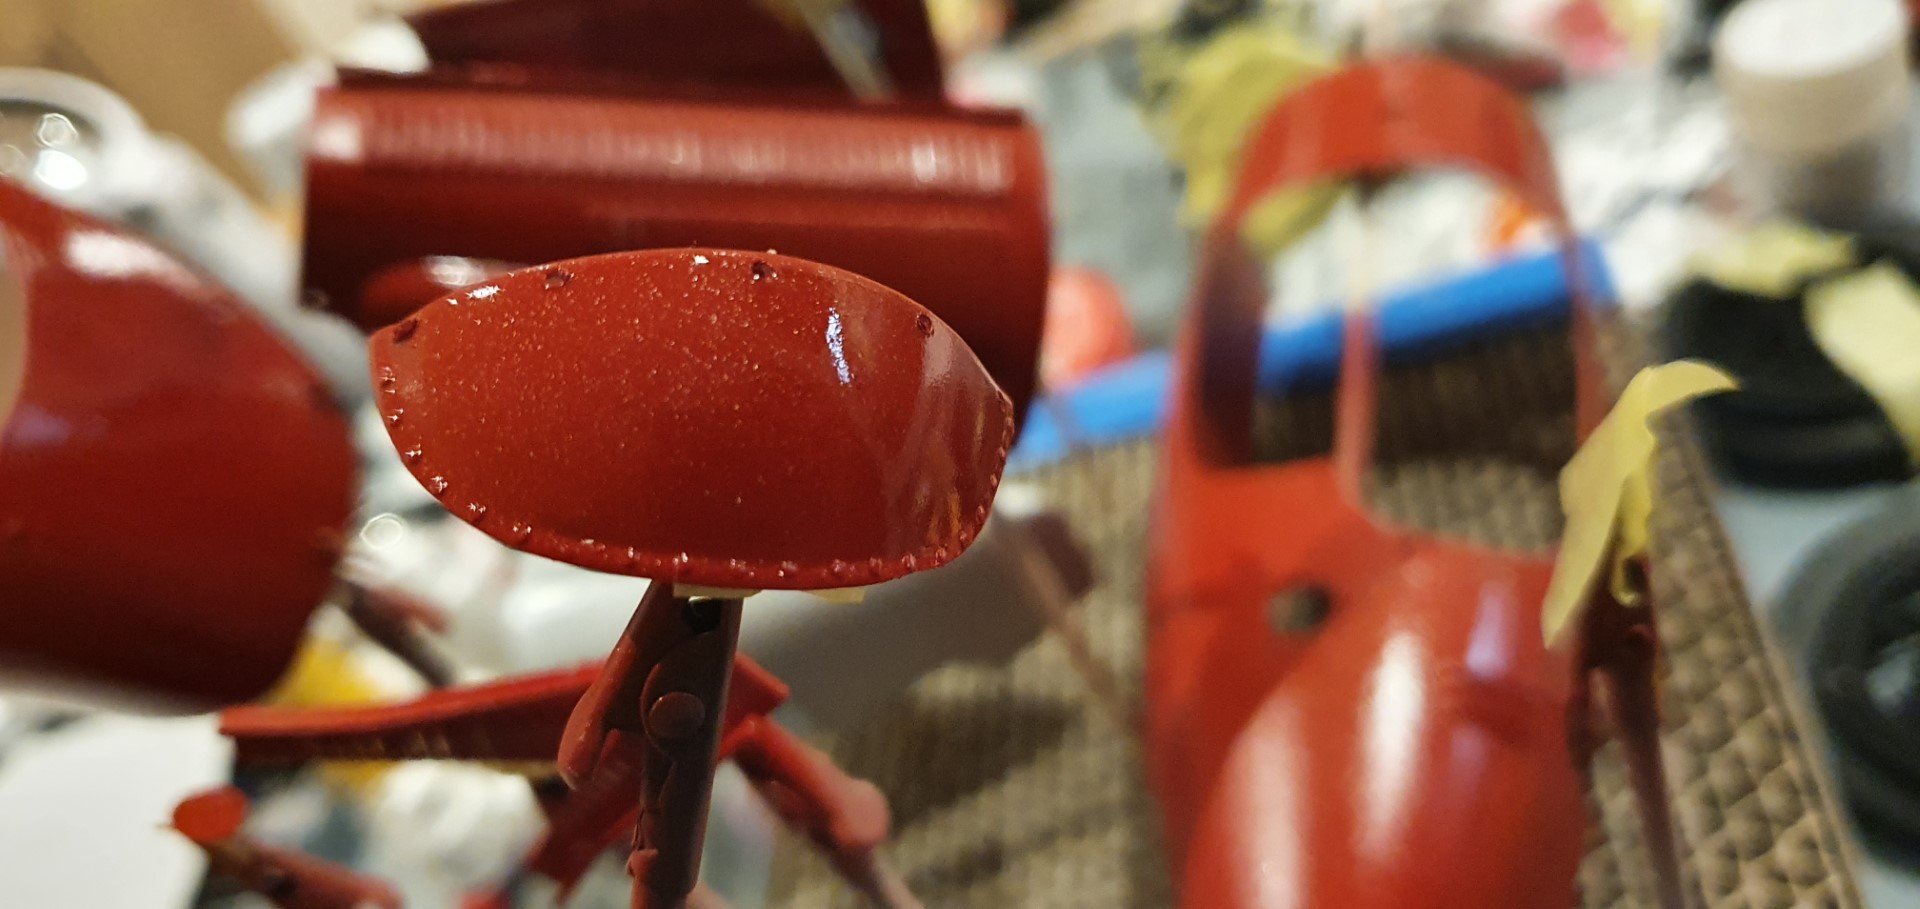
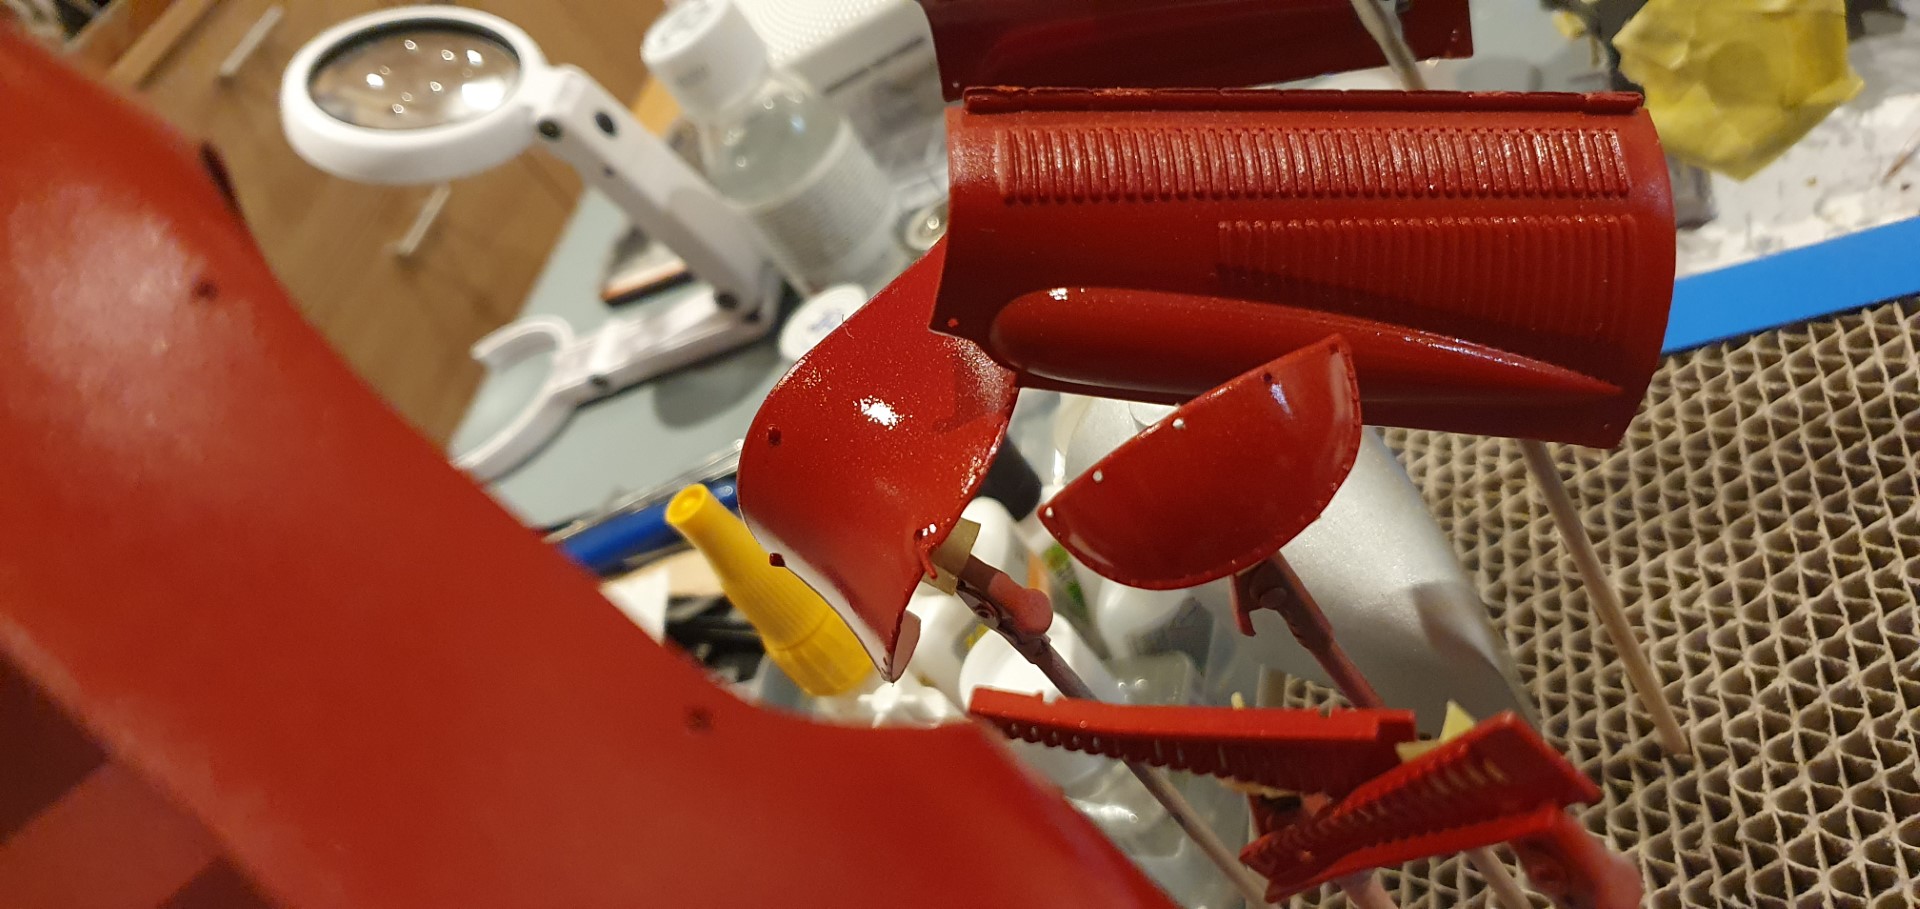
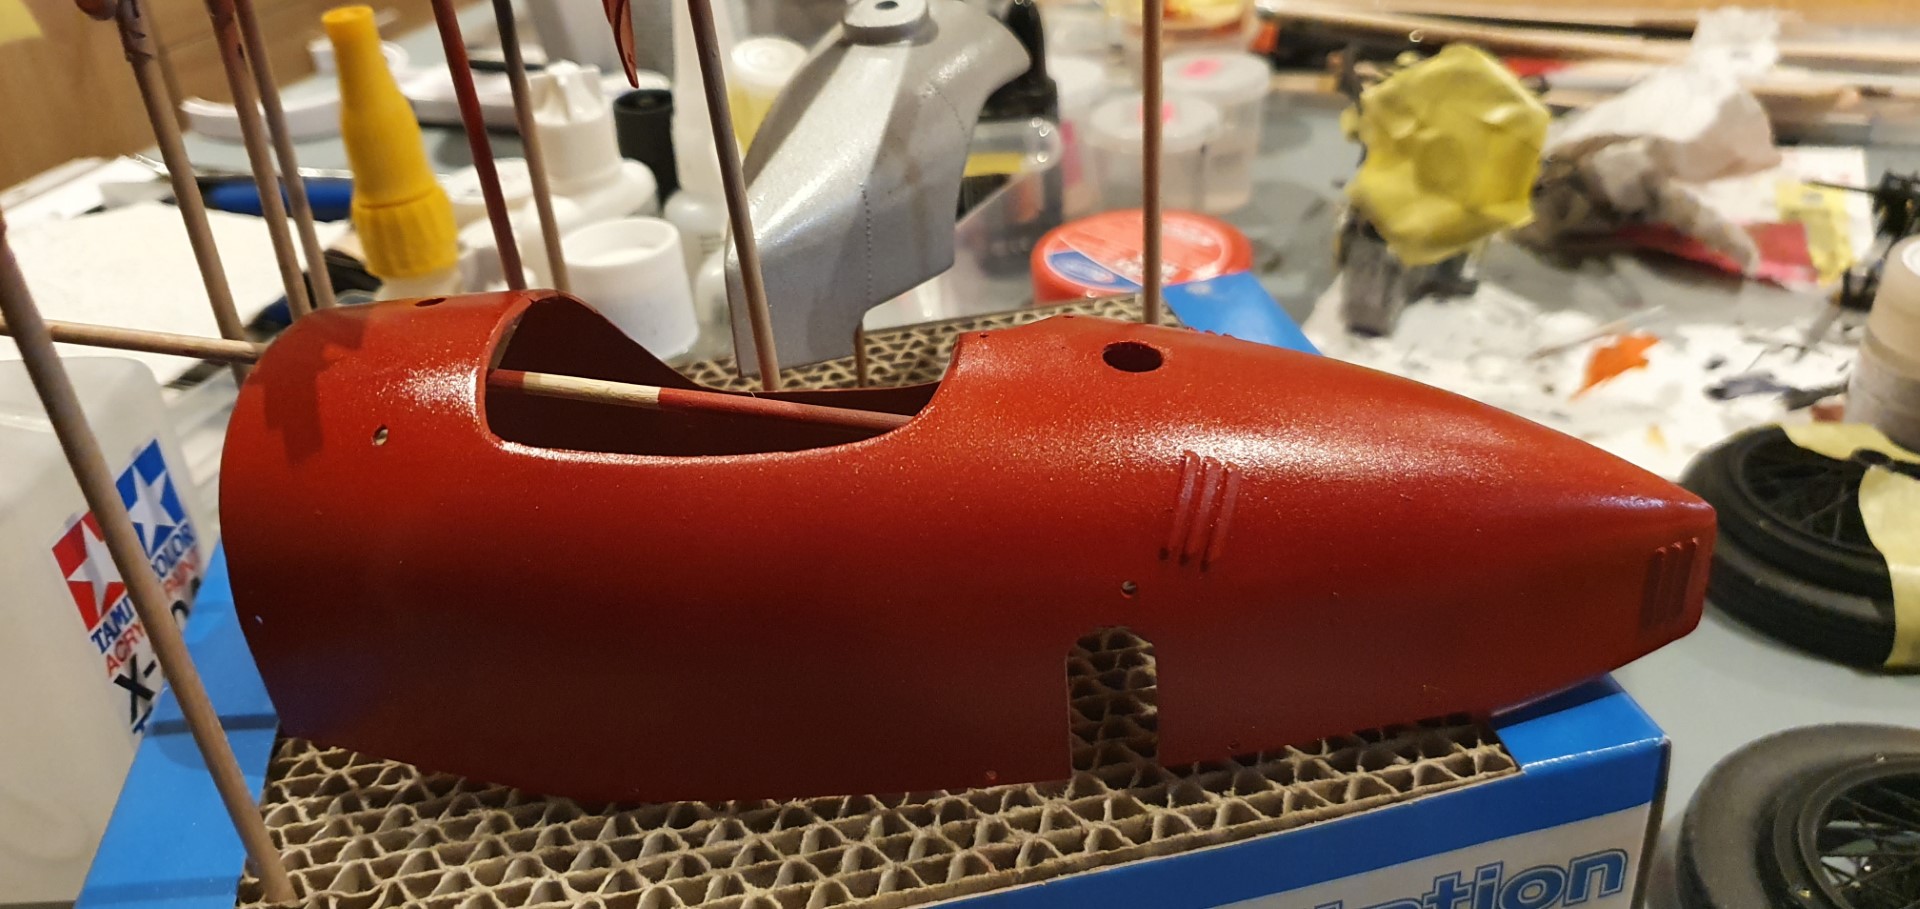
May 21st – I tried the semi gloss on the body parts and you can see the difference but Mrs B reckons that a full gloss would be better still so I order some (another £20 on bits and bobs!).
This picture is semi gloss and you can see flecks of silver in the laquer (a result to be honest of me not cleaning the airbrush fully)…the flecks just dont come out of equipment fully, however hard your clean…lesson learnt dont mix equipment if using silver or metalllic paints! At least its a flat finish still and not rough as it appears in the pictures.
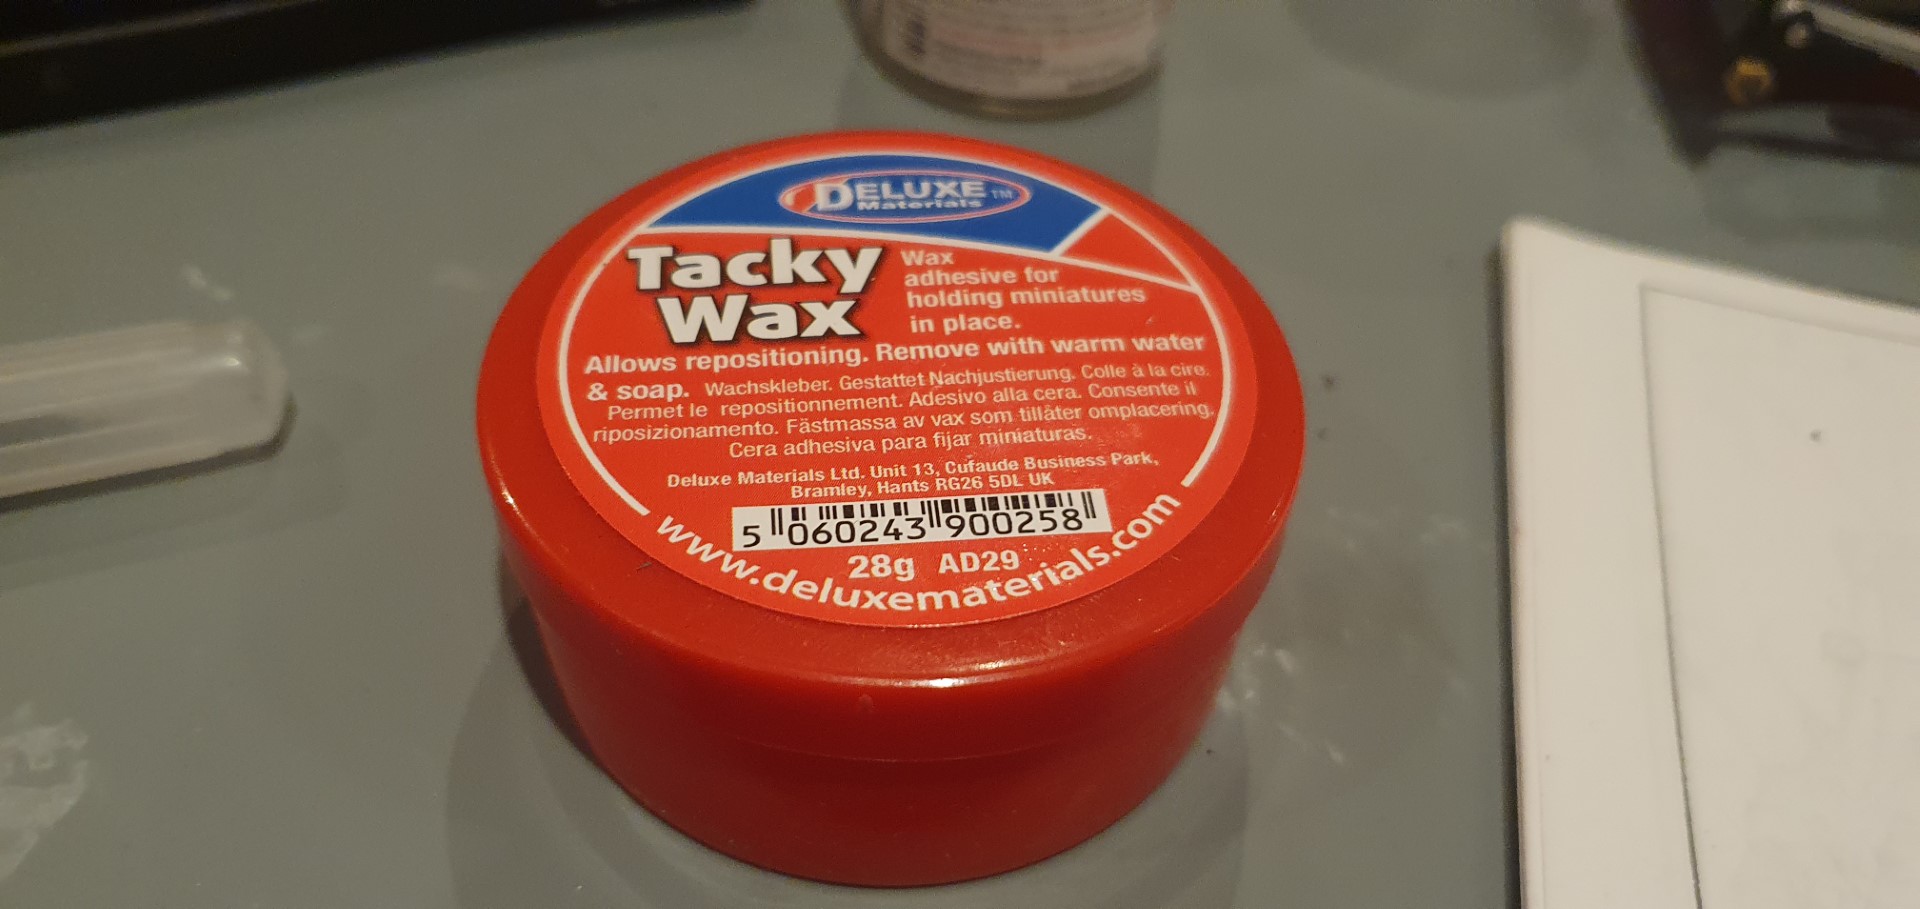
lastly a new ‘tool’…
‘Tacky Wax’
a £5 small tub of wax used to help temporarily hold parts together e.g. a small screw on the end of a screwdriver or a minute nut onto tweezers.
