Garage Conversion page 6


Day 1 – Work begins – 26th March 2018


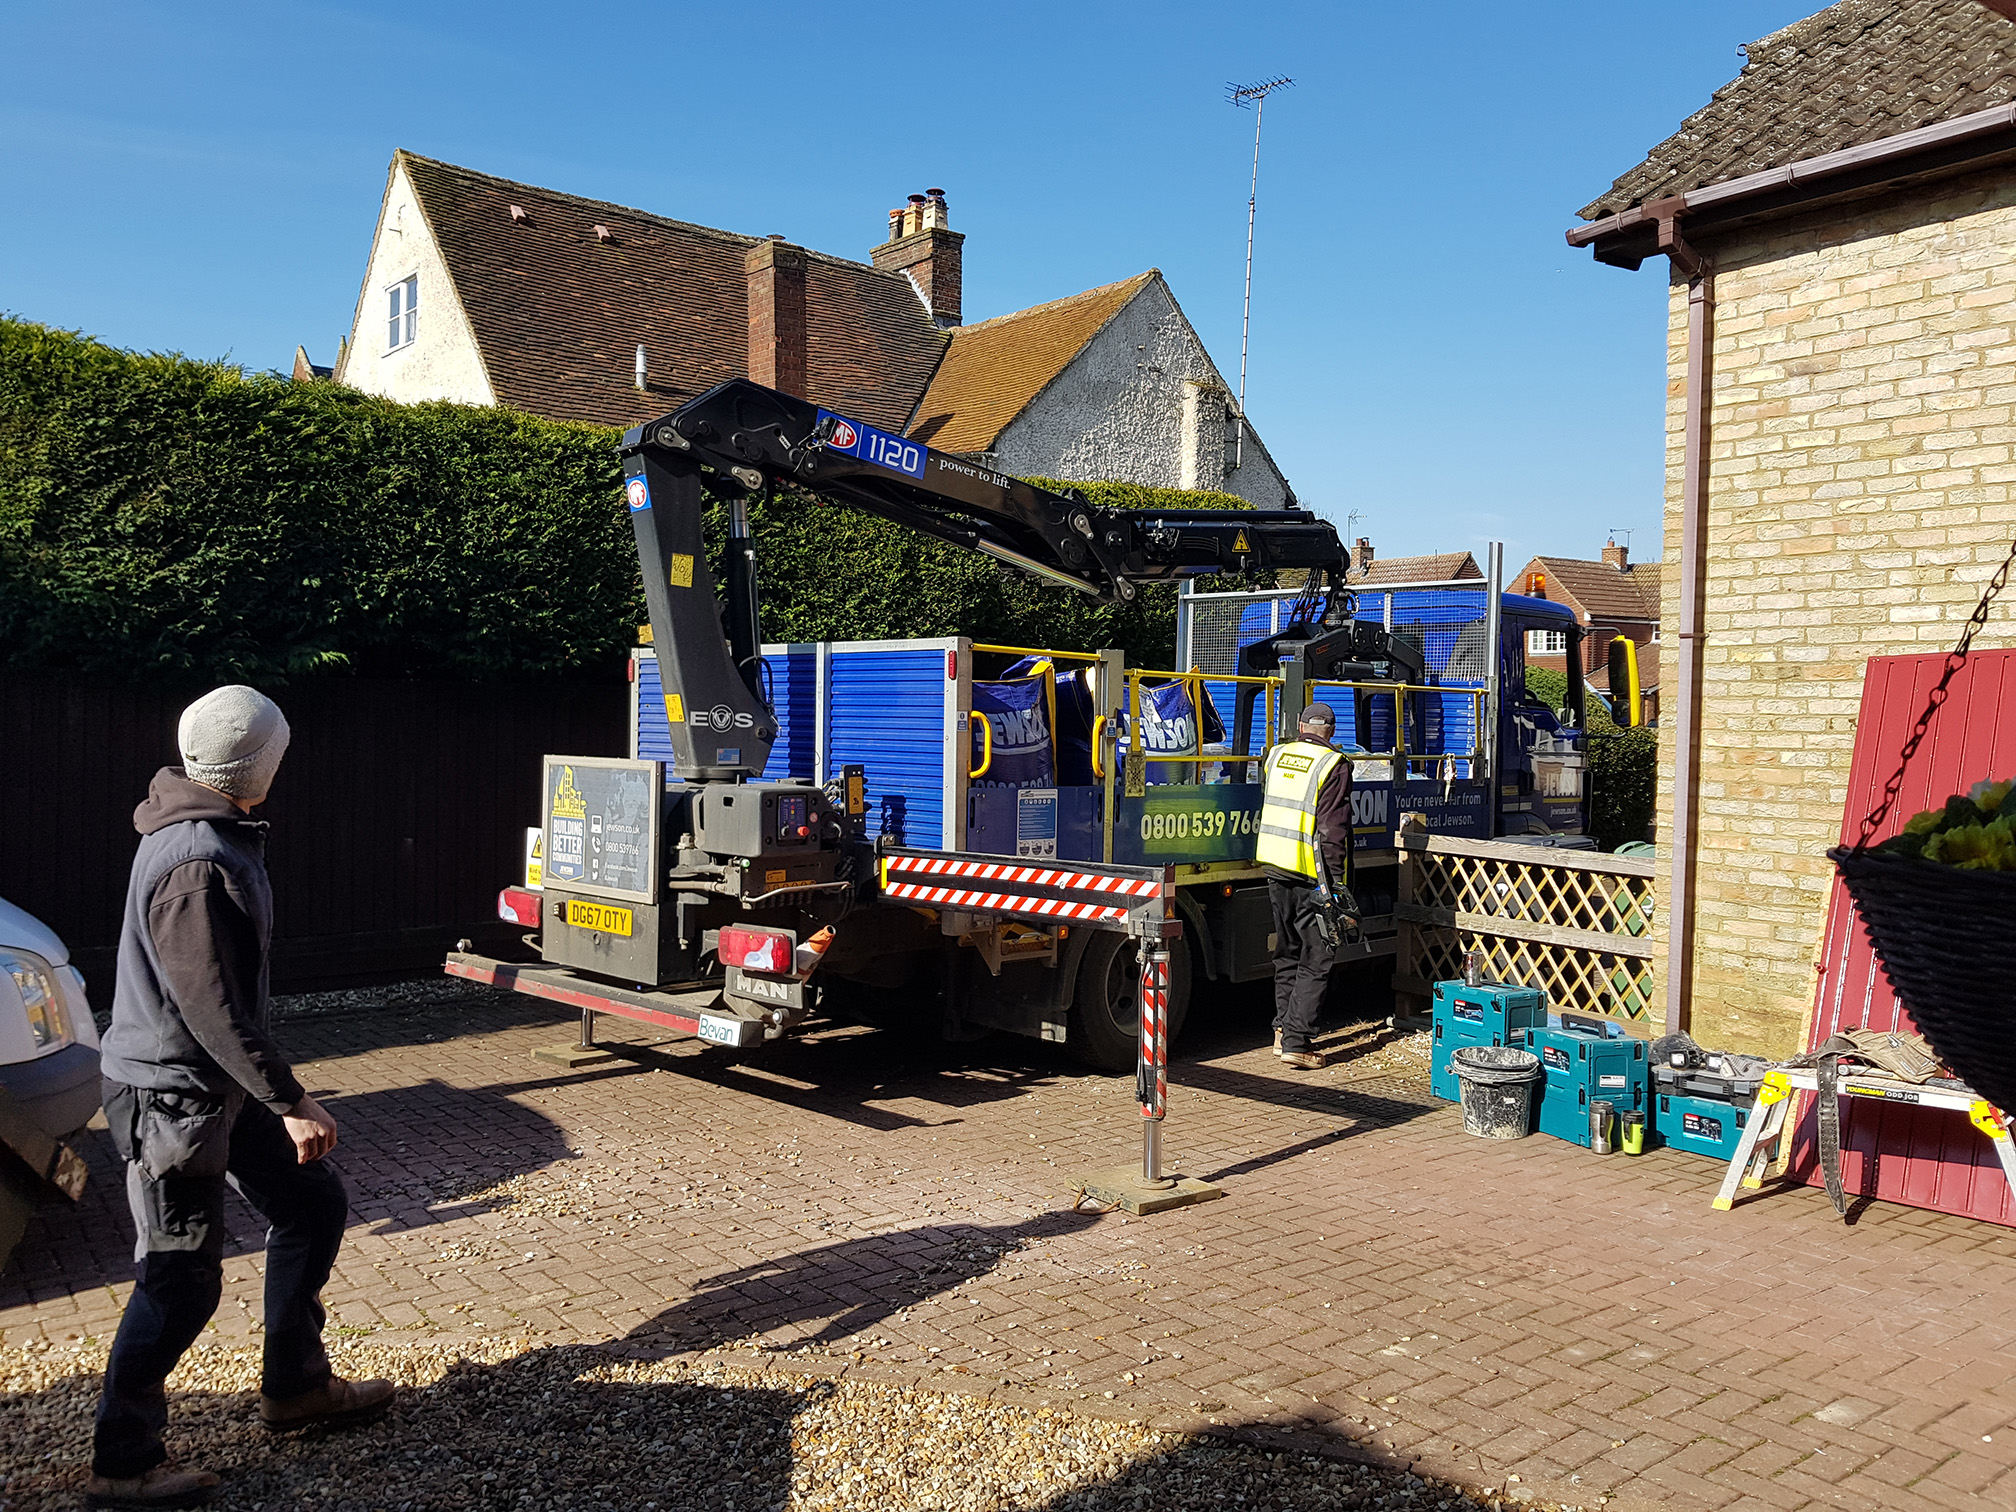
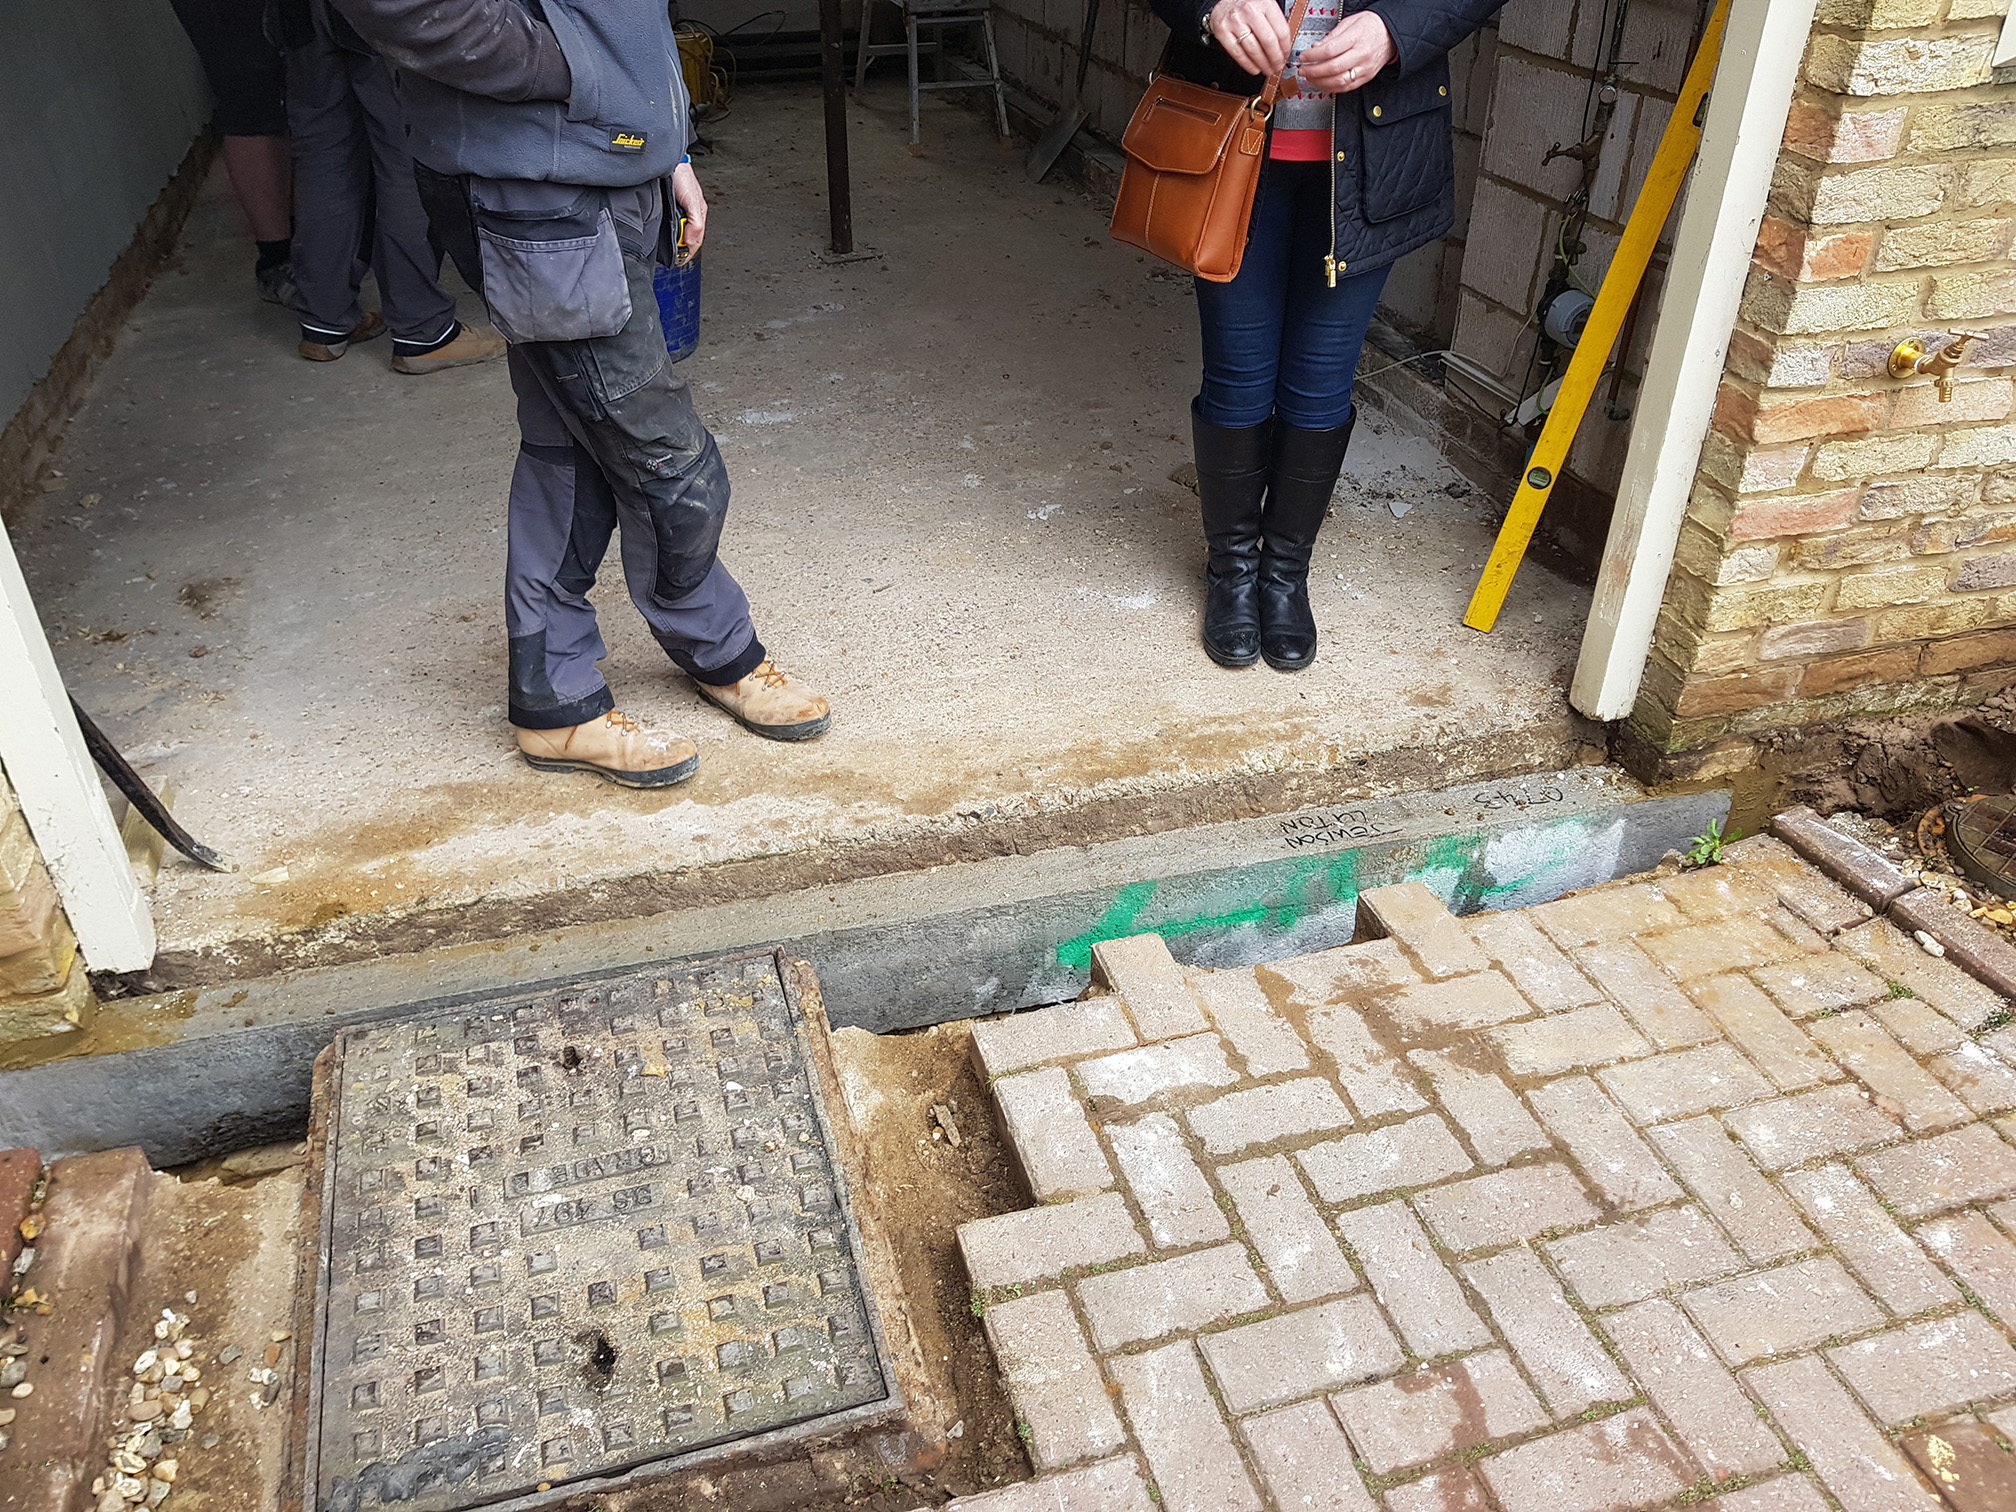
Ok its Monday the 26th March 2018 and its day one of the garage conversion.

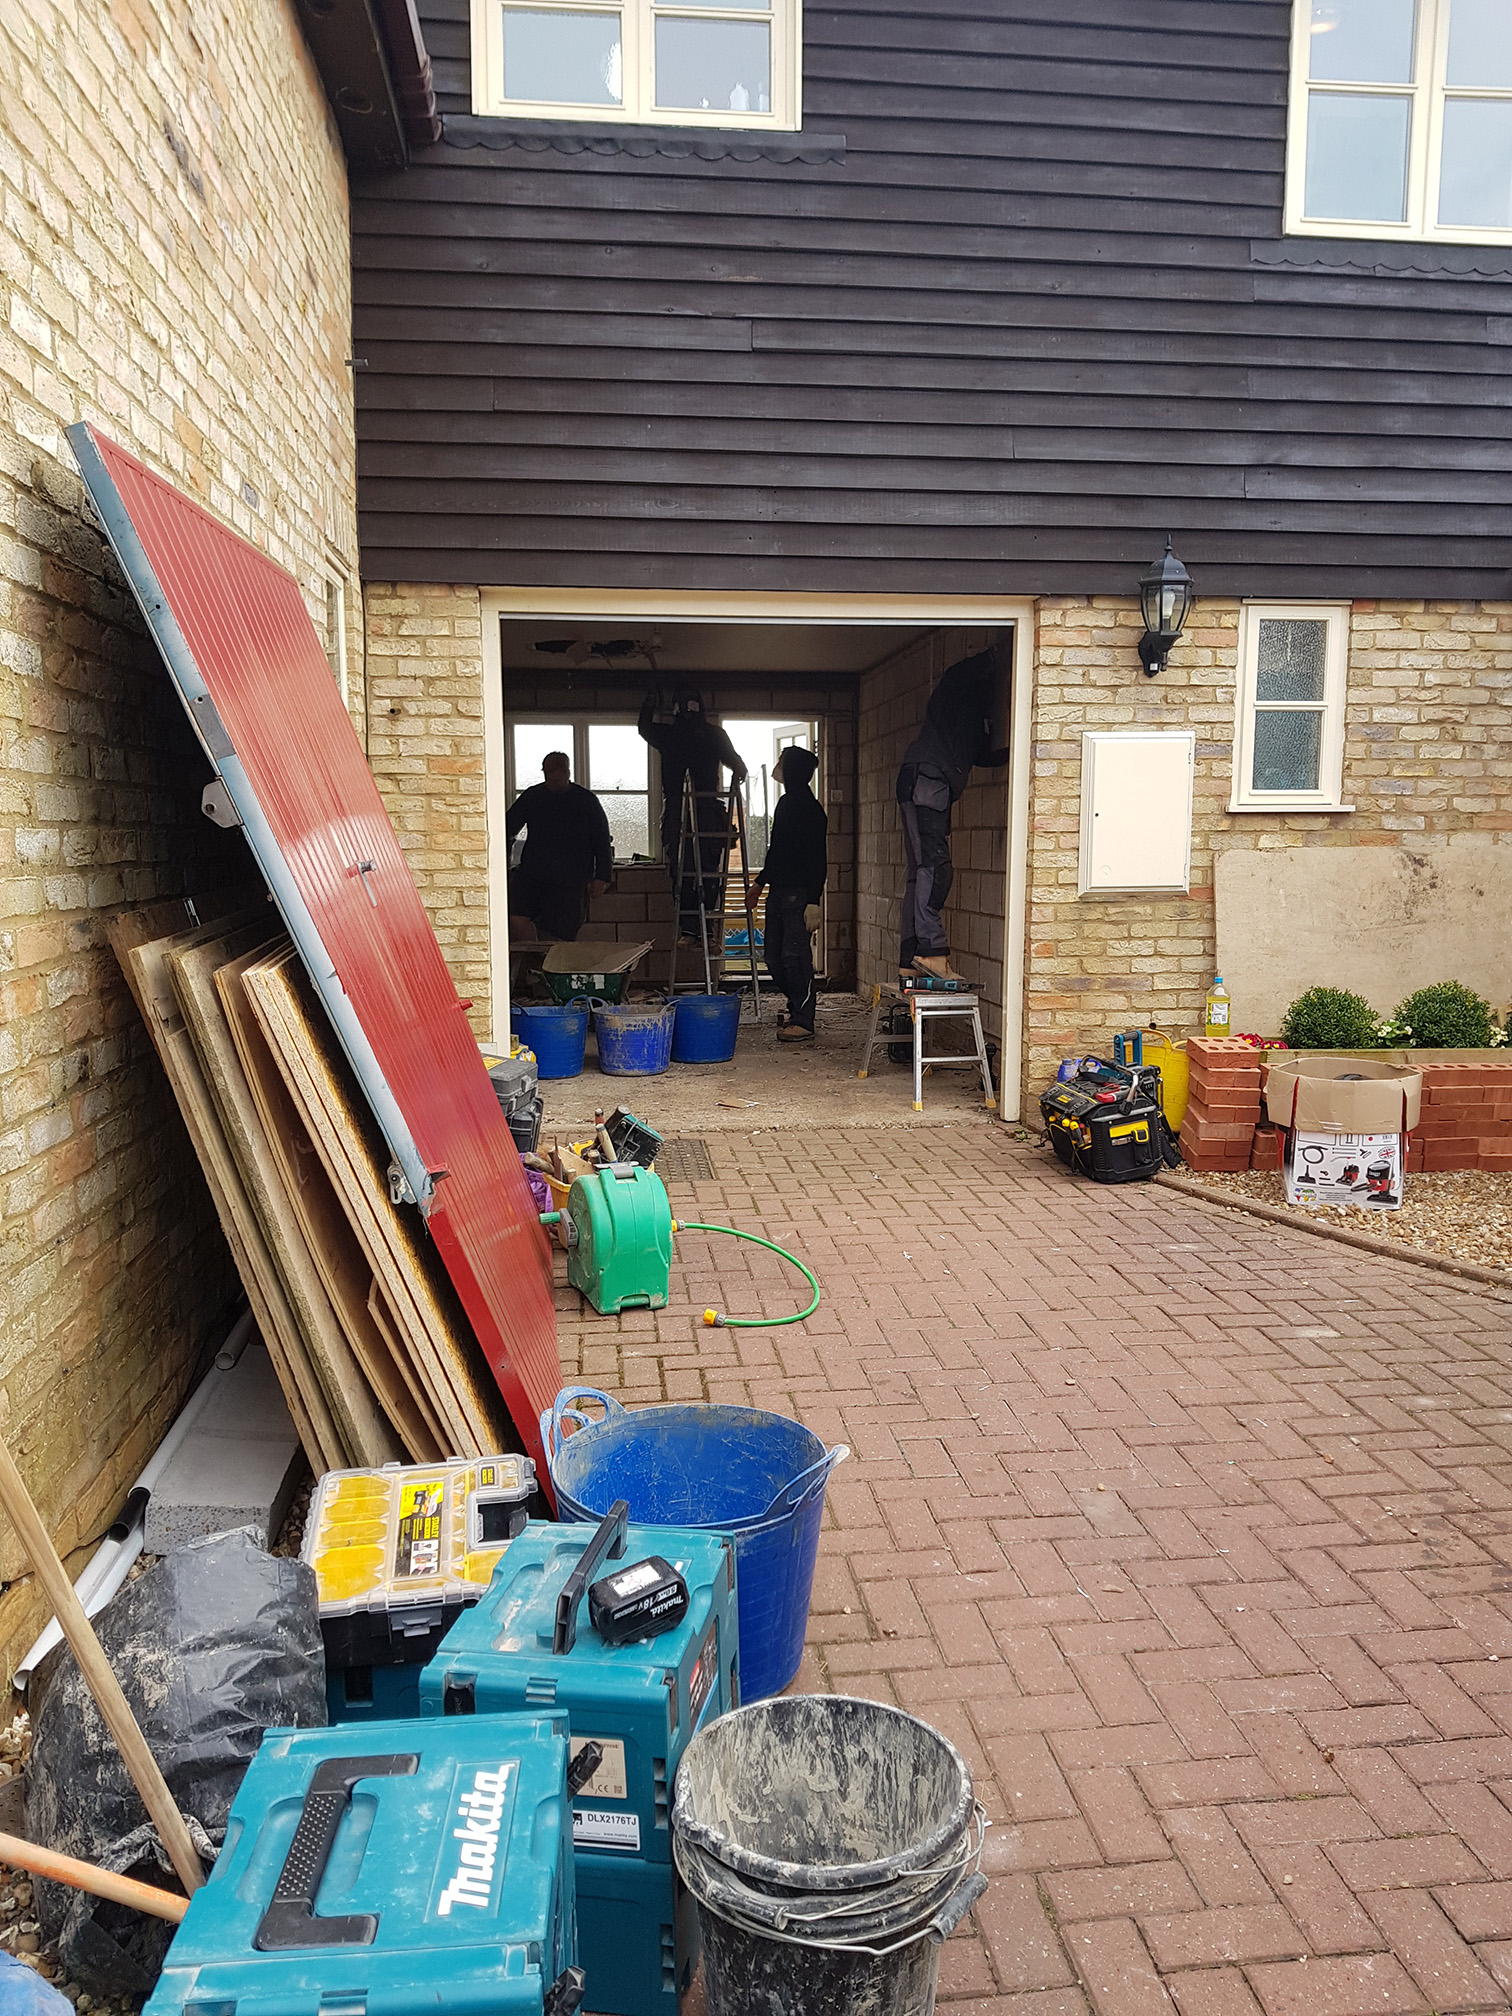
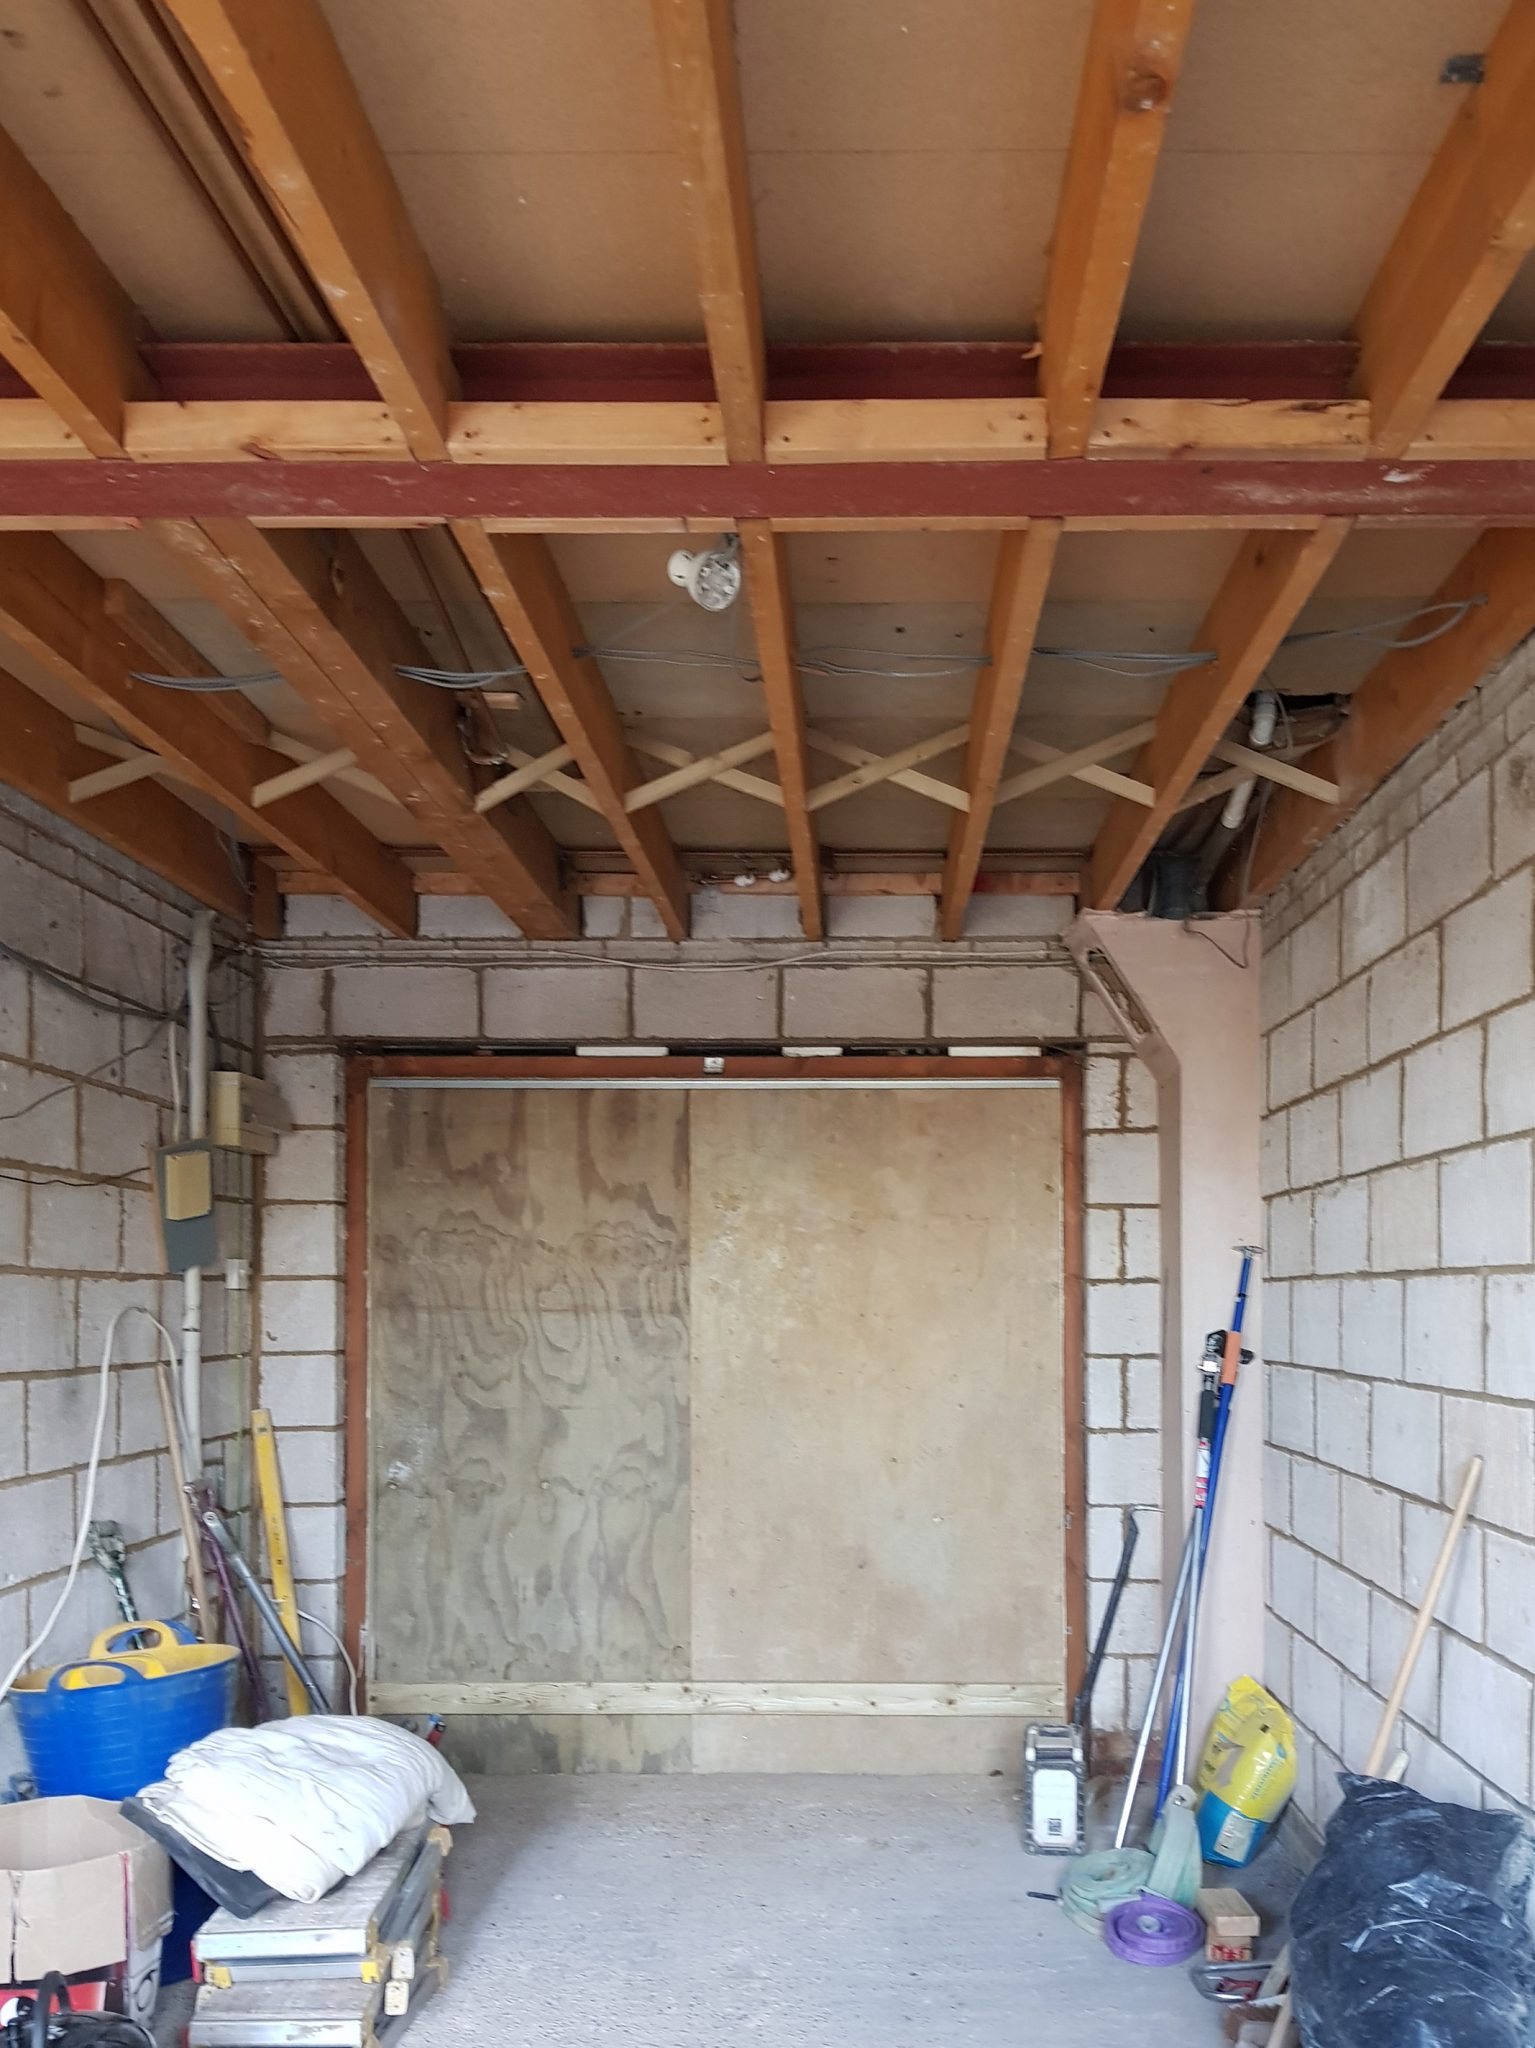
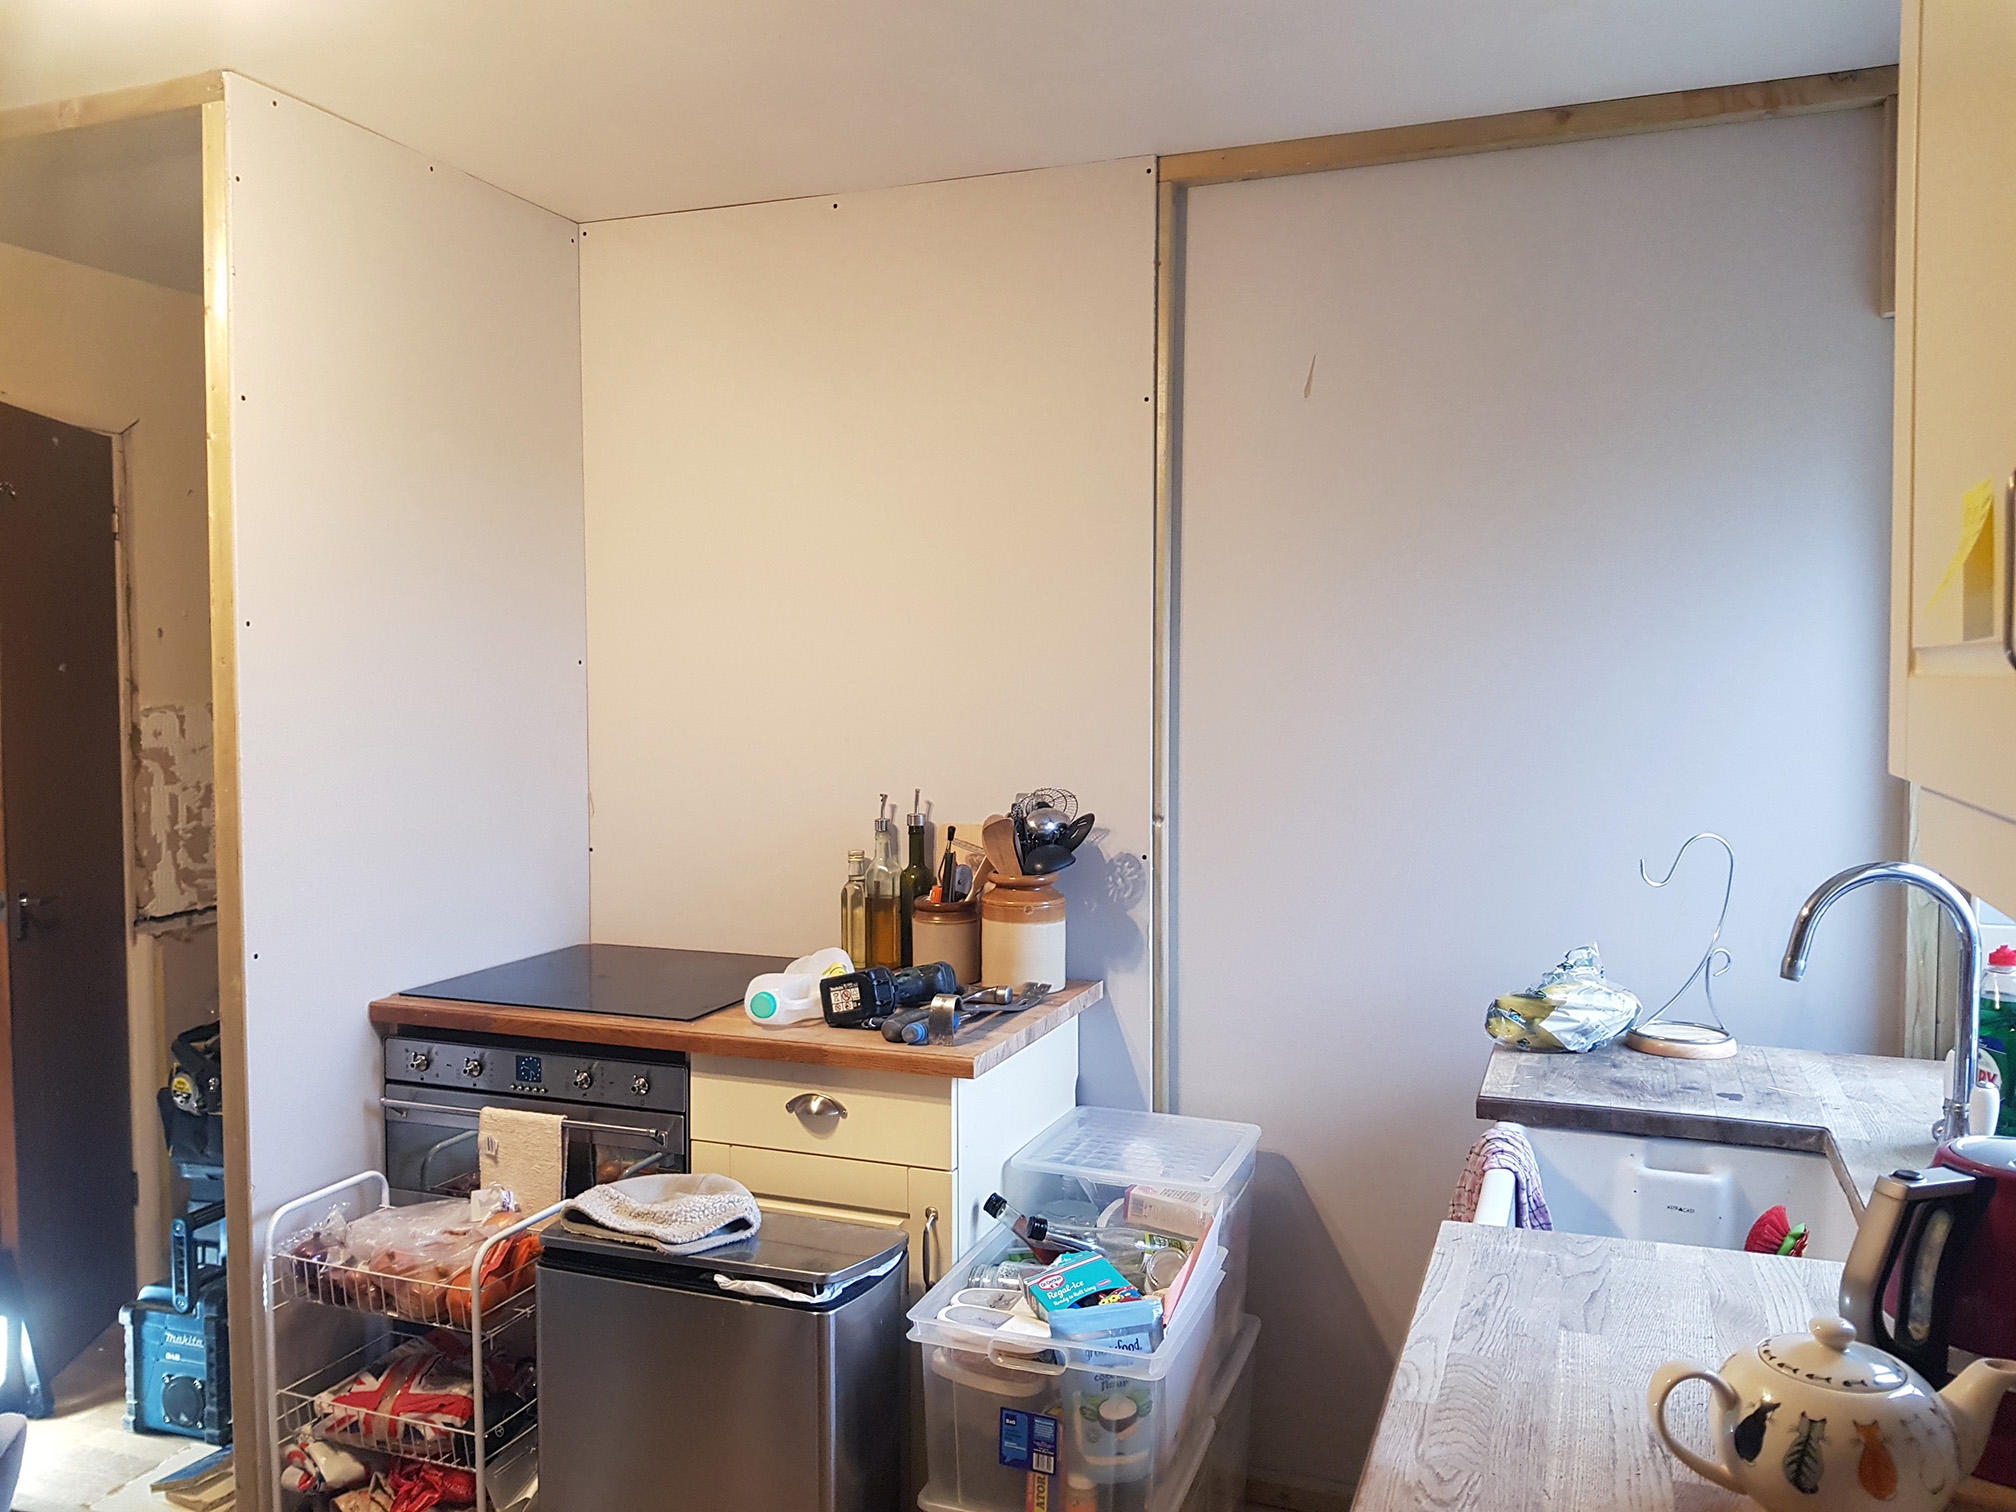
The plan basically is for the garage door to come out, the internal wall to be supported by a near 4 metre steel beam, the wall between garage and kitchen to come down.

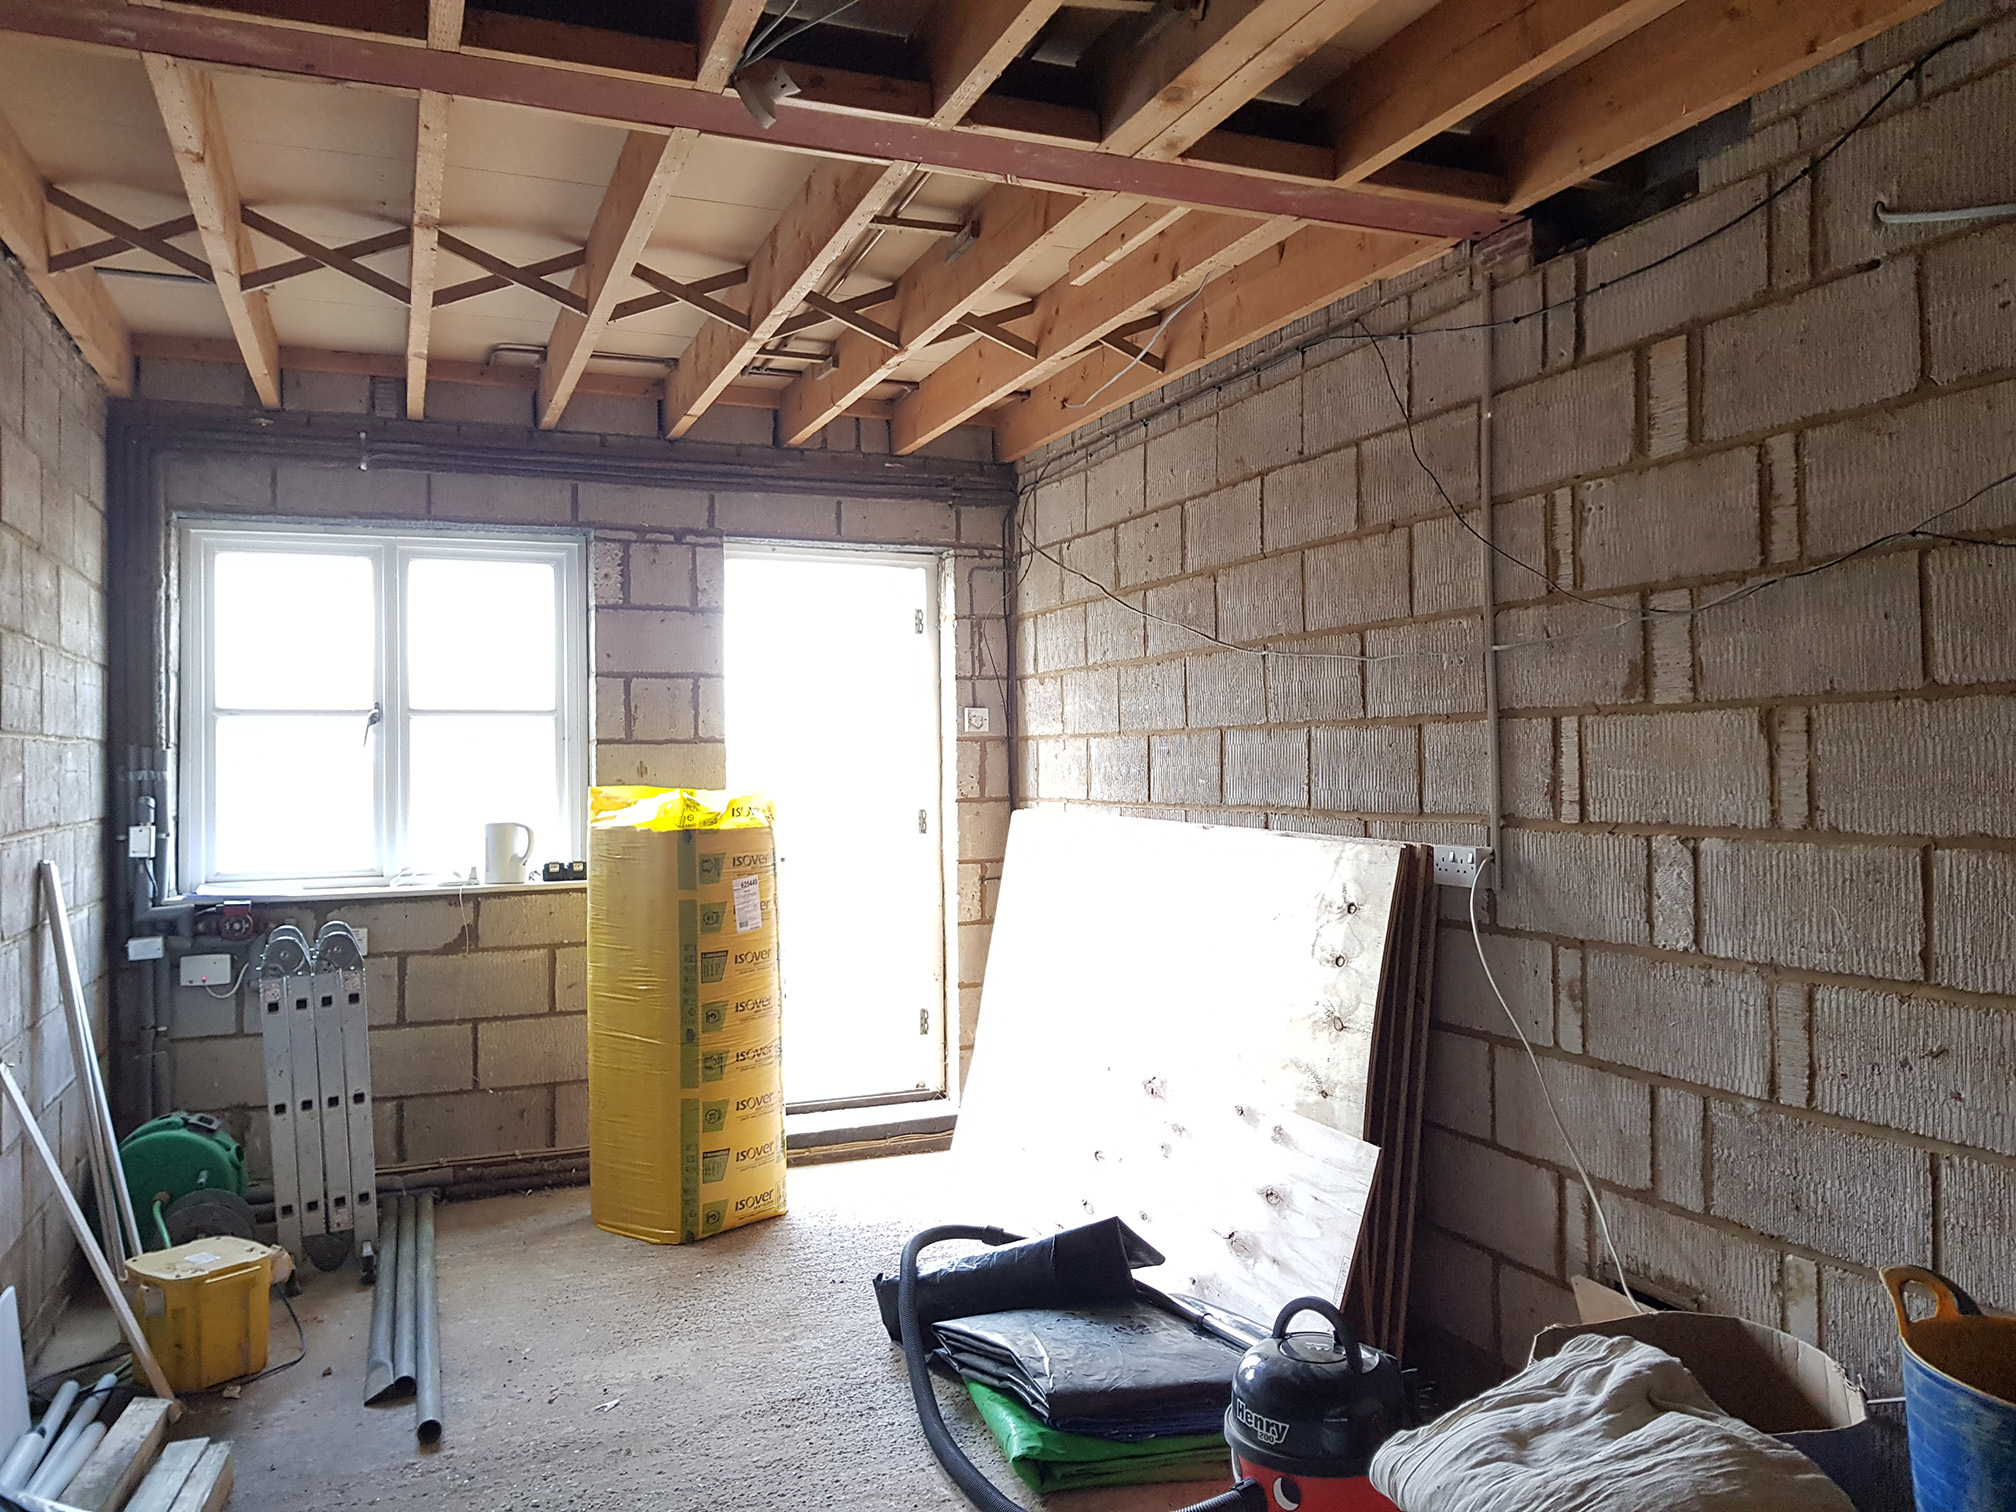
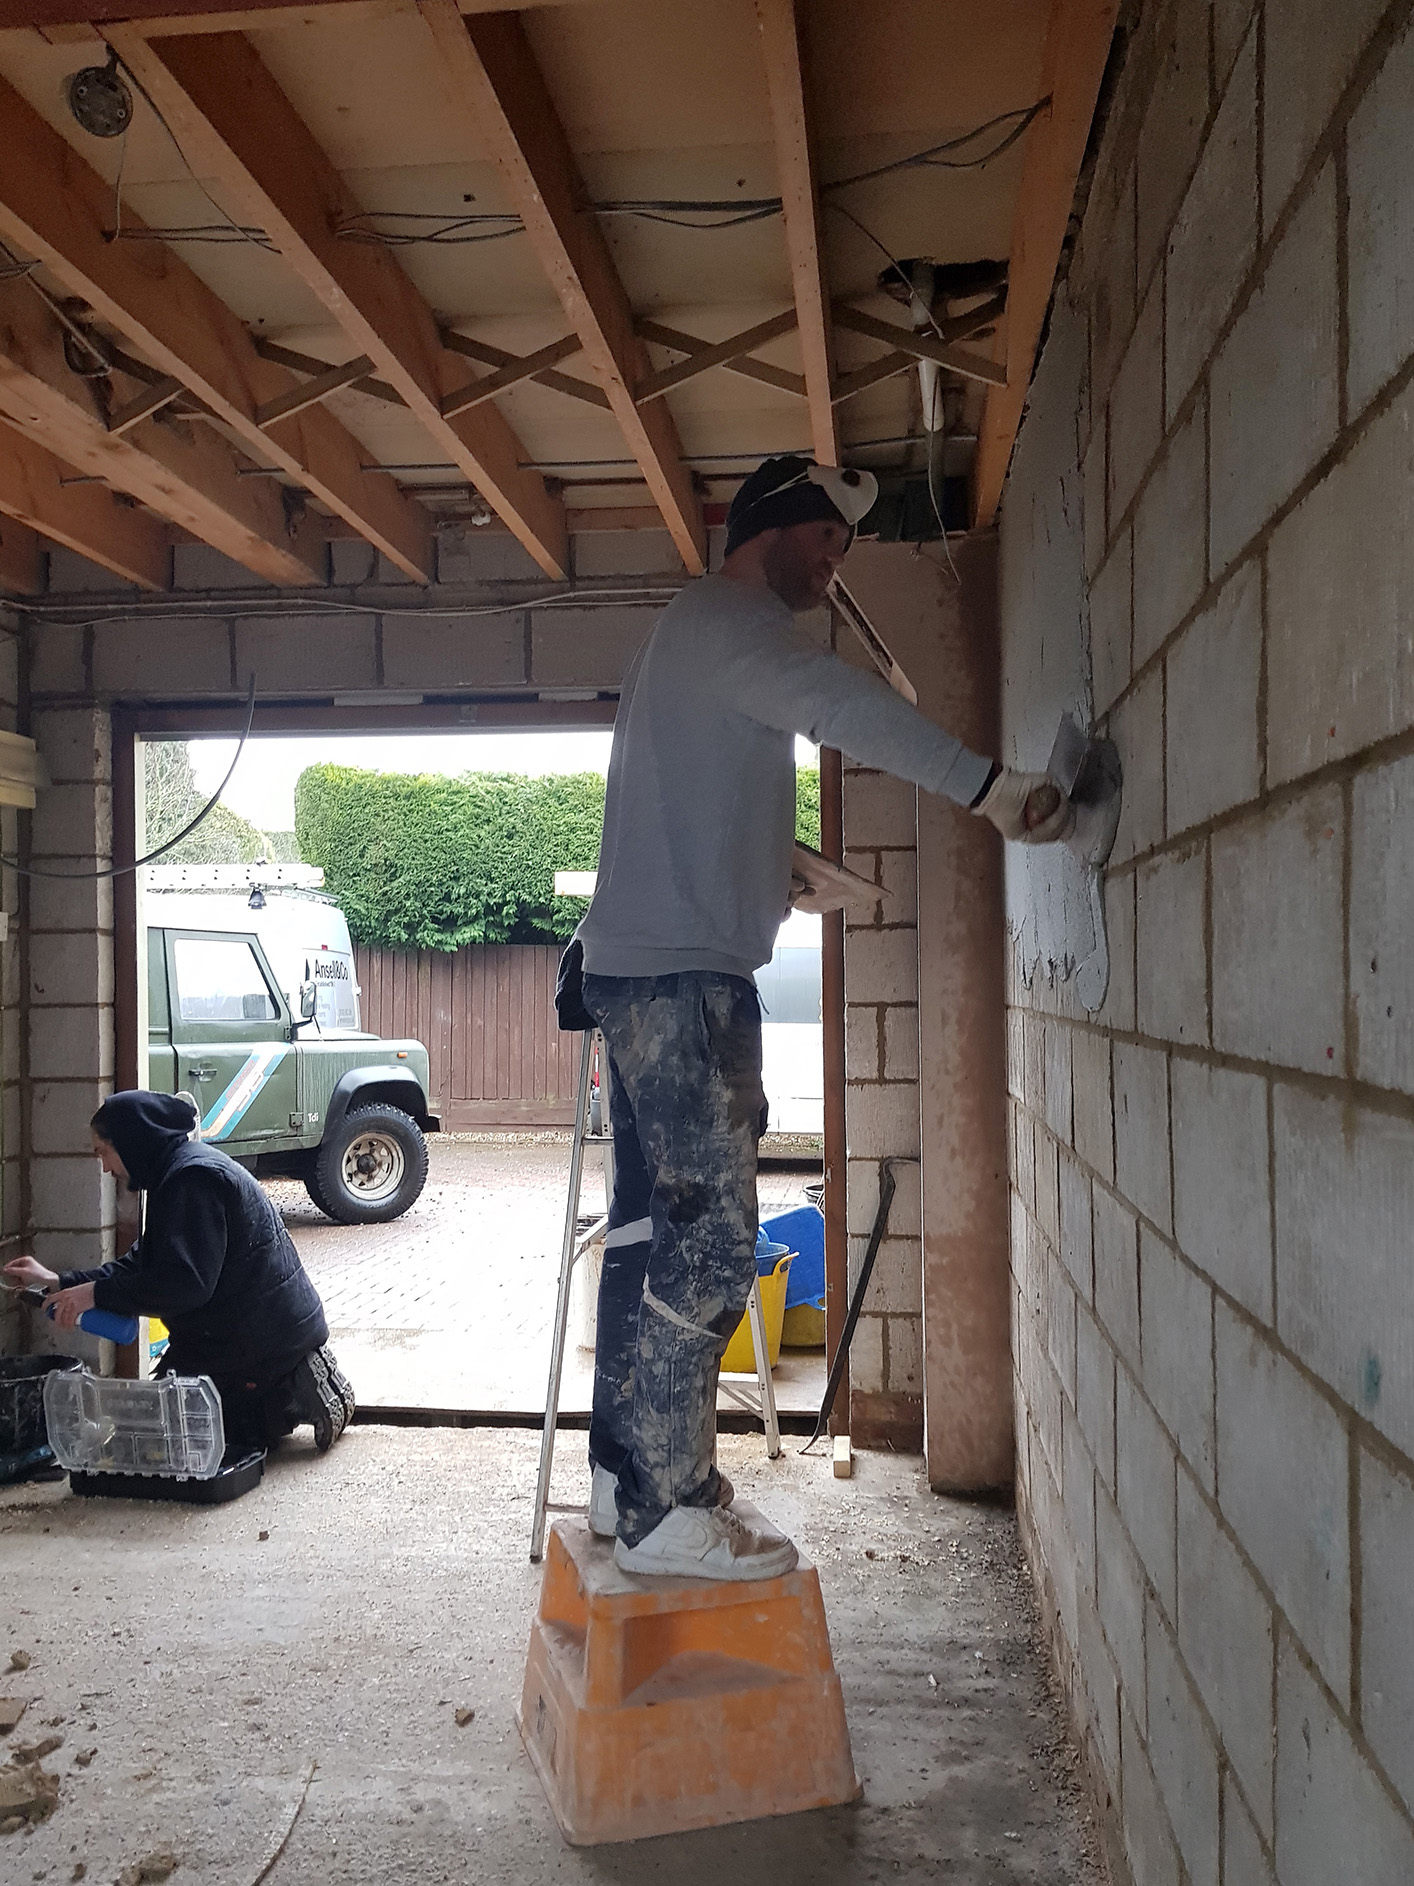
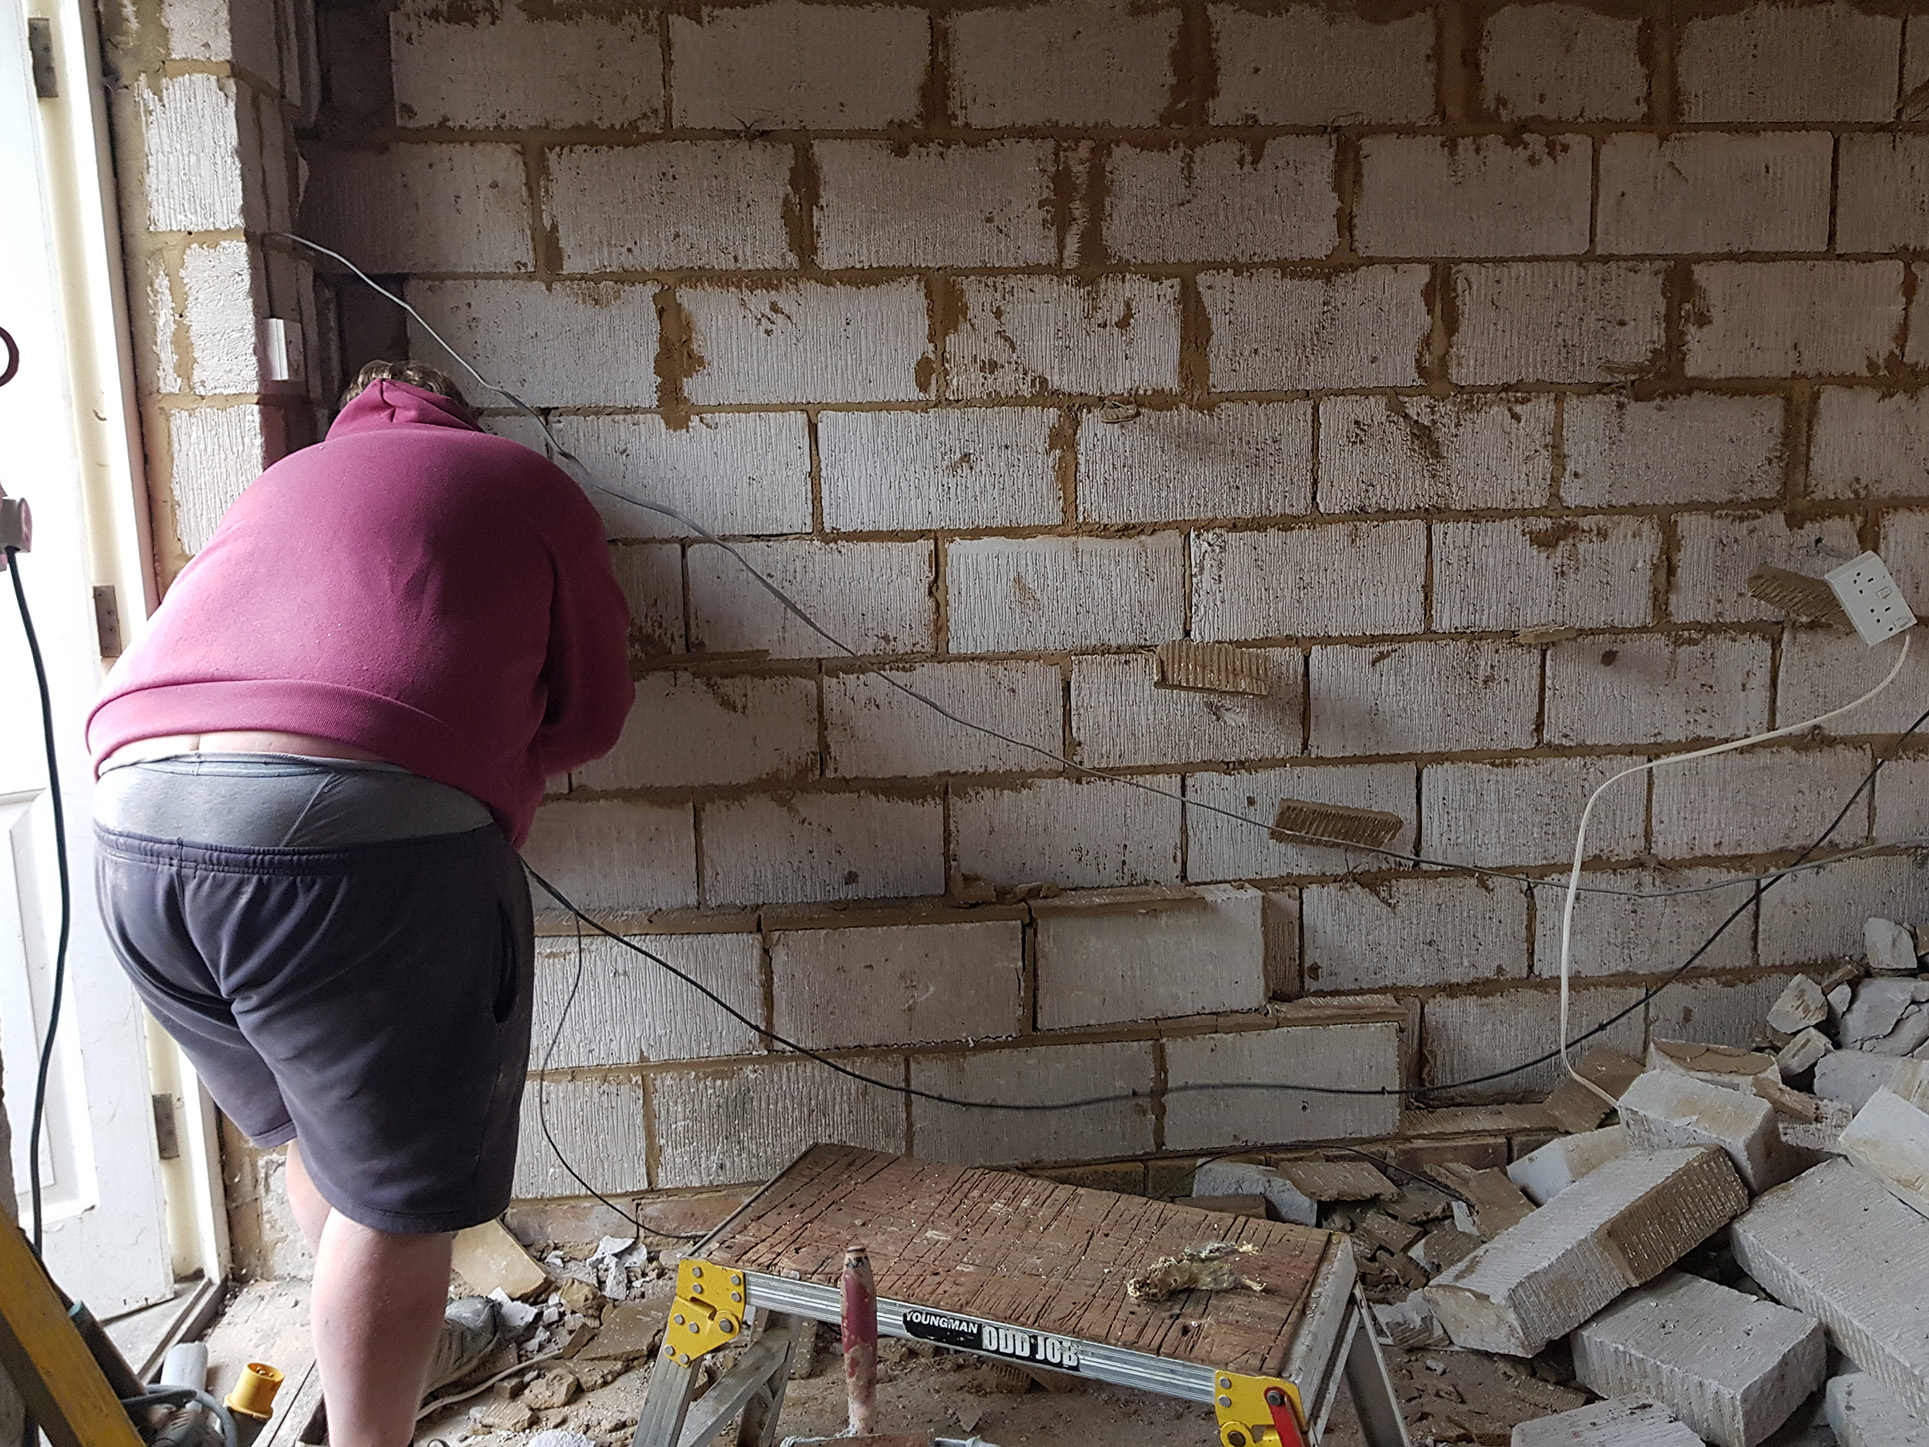
Next for the various aspects of converting what was the garage into an internal room i.e. heating, plaster boarding (and finishing), electrics (including internet, electrical, co-ax sockets and also new lighting and switches). Also the ceiling will need to come down, insulation put into walls and ceiling voids as necessary.

The builders’ job is effectively to leave the new combined room as a working internal space with all heating, lighting, plumbing and electrics in place for the kitchen fitter (via Stadium Studios) to come in and install the new kitchen.

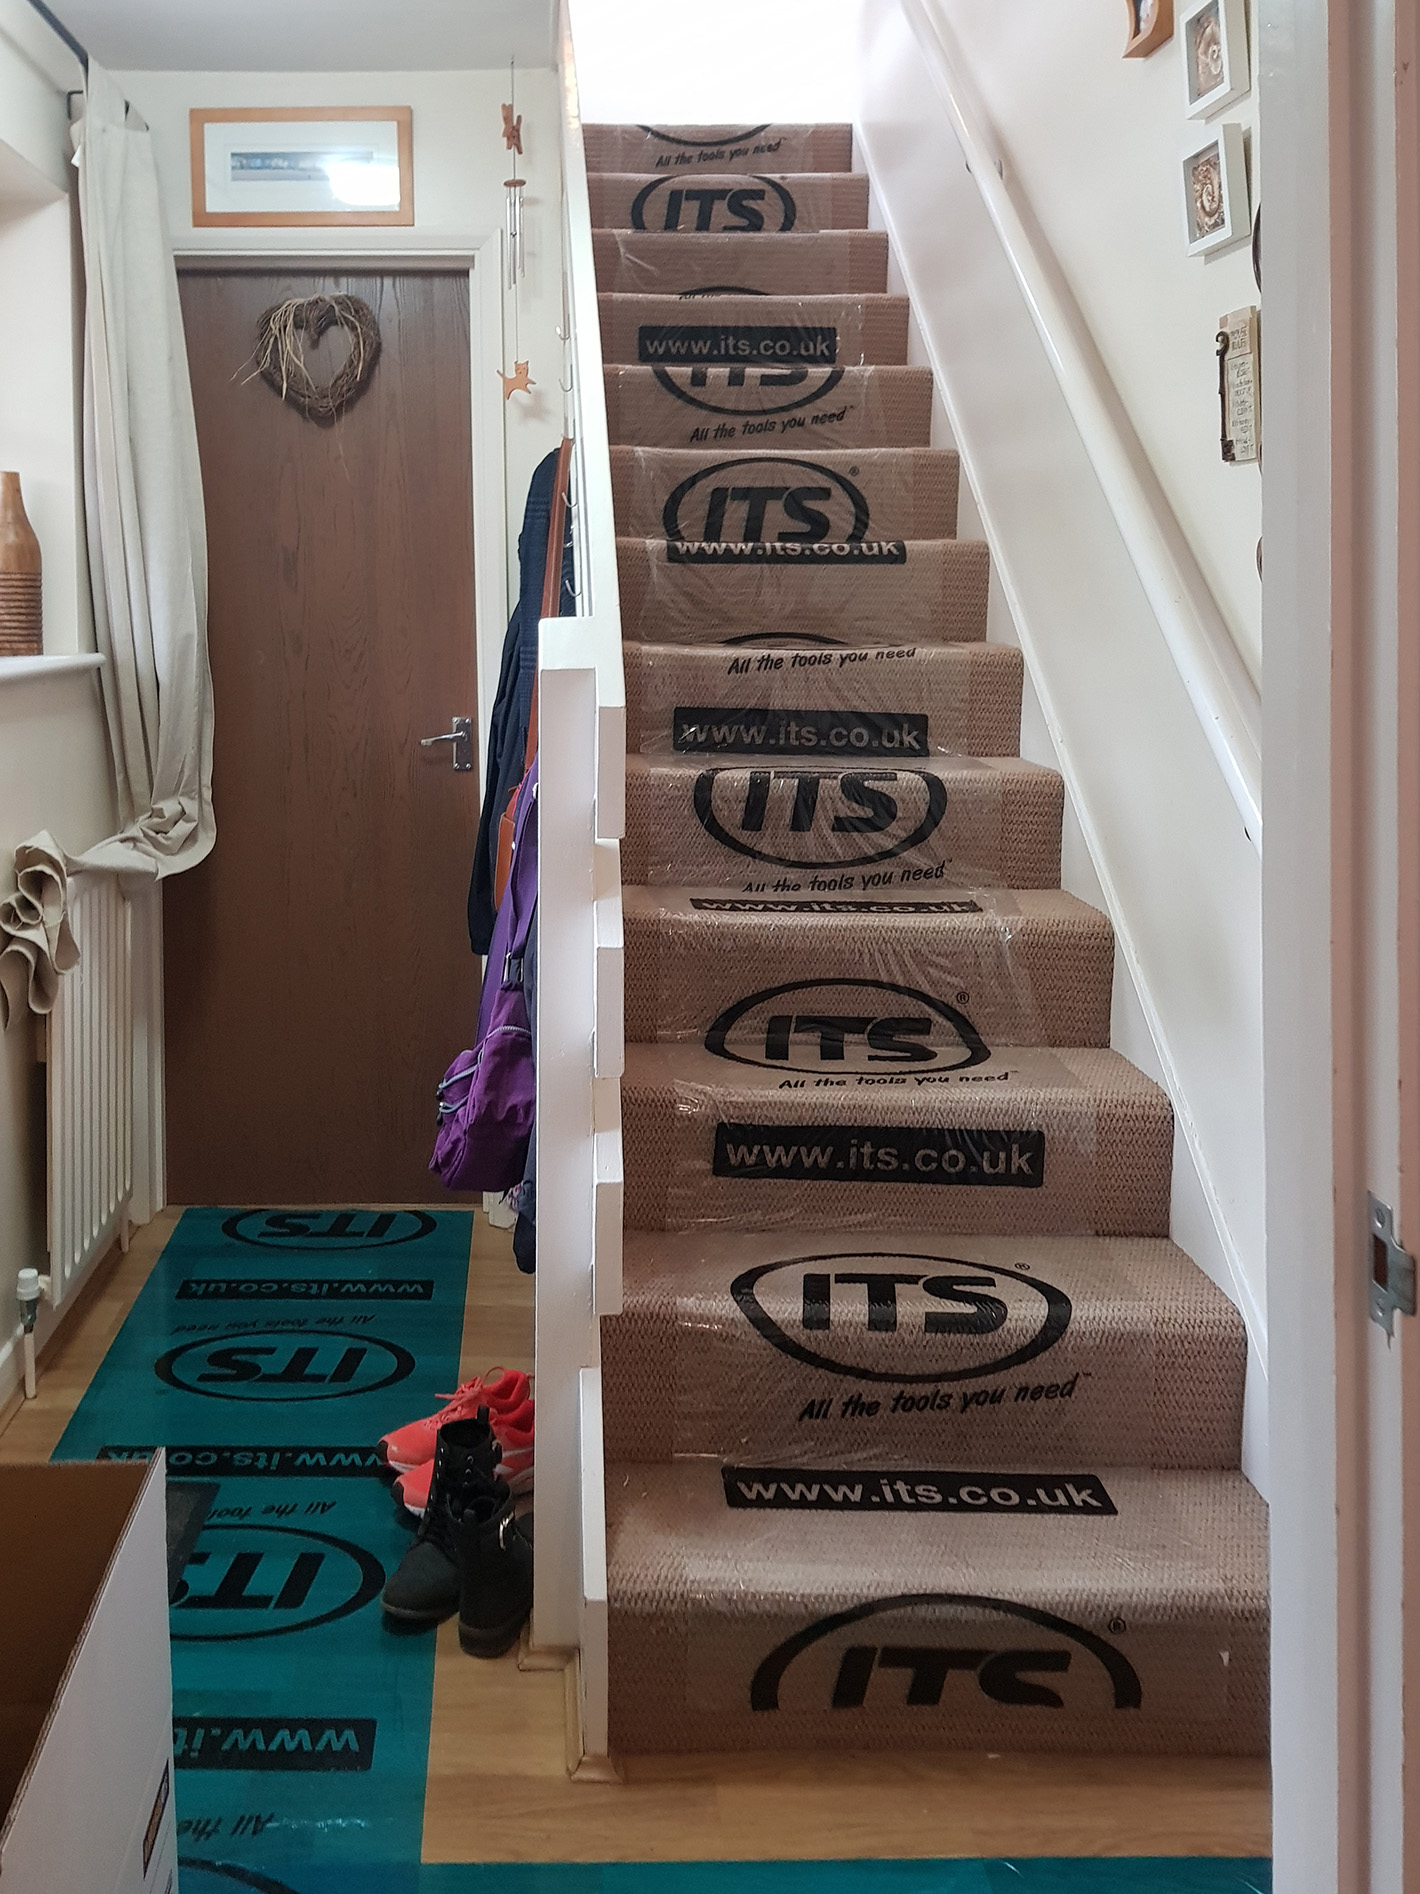
Once that’s done then the room will need ot be decorated and we are having the whole of downstairs refloored…


Equipment and materials arrive

Equipment and materials start to arrive very quickly, we have Nick & Wayne (the main men), ‘the boy’ Shay and Karl the brickie all on site within the first week

The garage door came off very early on in the day!

We spent the best part of 10 days until a partial wall was built on the 2/4/2018 in its place, and not until the 13/4/2018 when a window went into the front elevation.

For all that time until the window was fitted we would be woken at 8am every morning to the sound of an electric impact screwdriver undoing a dozen screw to remove the hoarding…this would echo around the open space (our bedroom was above with no insulation and the ceiling had been taken down so it really was a rude awakening every morning.

If that wasn’t bad enough we could count to 30 and be guaranteed the ‘builder’s radio – thump and bang station’ would start up shortly afterwards too!


lots of digging, knocking & pulling down ensued

Day 2 – 27th March 2018

Work to remove the garage door and put a lintel to support the brickwork for the new window were undertaken on day 2

In these pictures you can see a sound proofing render being applied to the party wall (pic 1) and then in pics 2 & 3 one skin of the cavity wall coming down (the one separating the garage and the kitchen).

Oddly picture 2 shows the Cat flap that had been installed by the original owner that ran between the garage and the kitchen. I assume they used to have another cat flap that allowed the cat to enter the garage, the one in the picture then allowing it to enter the house via a gap in the floor units on the other side of the wall!

When we moved into the property in 20015 we replaced the kitchen so found it then, we had always had base units covering the exit so our poor pussy had to live rough if he want in by the time we went to bed each night 😉

Also in picture 2 you can see the prop holding up the first floor…this also shows an existing steel that went across the garage and gave the builders issues later on (as they were unaware that it was there until the ceiling came down). A special ‘L’ bracket had to be made and used to join both new and old support beams together later on (which required reference back to the structural engineer and supplier of the steal beam)


Inside didn’t escape  alterations!

Inside didn’t escape  alterations….in preparation for their being some heavy duty clamping of walls to temporarily provide support until the steel beam was inserted, a self adhesive plastic sheet was laid over the carpets on the landing and stairs and all downstairs too (pic 1).

You can see the mess that is the living room in picture 2 (partially).

The kitchen became 2/3rds of normal size by virtue of there being a single skin temporary stud wall being built so that once the adjoining wall had been fully removed, the dust and dirt would (due to the work) would not filter throughout the rest of the house.

This also meant that we still had the basics of a working kitchen.

In the left picture you can see the understairs kitchen cupboard, in the right picture you can see how the temporary wall has been built around this doorway. This is so that it can be removed (the doorway) and bricked up in due course.

The oven is loosely in the same position on the back wall except it has been moved with the temporary wall about 1/3rd into the room. All the floor and wall units on the far wall (shown in the left hand picture) have been removed and a temporary housing for the oven and hob made out of some of them (evident in the right hand ‘after’ picture).

This picture is facing the opposite wall and shows the much smaller area we now have to sit and eat (and this was temporary as in due course the whole kitchen had to be cleared!).

The big American fridge freezer used to be positioned between the two units, it has been placed across a doorway short-term to make room.


So the end of day 2…lots of work done, lots of mess created…although Nick, Wayne and the team always did a very good job of tidying up at the end of each day.