Garage Conversion page 5


Garage as was 18/2/2018


So on with the plan….this was a picture of the garage prior to any clearance.


Organise Shed

So how do you decide how big a shed you need, where to site it, where to source it and who to get it installed by?

A shed is a shed isn’t it?

We found out that there is a big variance in shed designs, sizes, shapes, materials and prices!

I wanted something that I didn’t need to replace in 5 years time, that was relatively secure and whilst being big enough to contain all the objects it was going to house, wasn’t too imposing in the garden!

In the end we were recommended a small firm in Maulden, Beds called Countrywide Sheds, a link to their website is here.

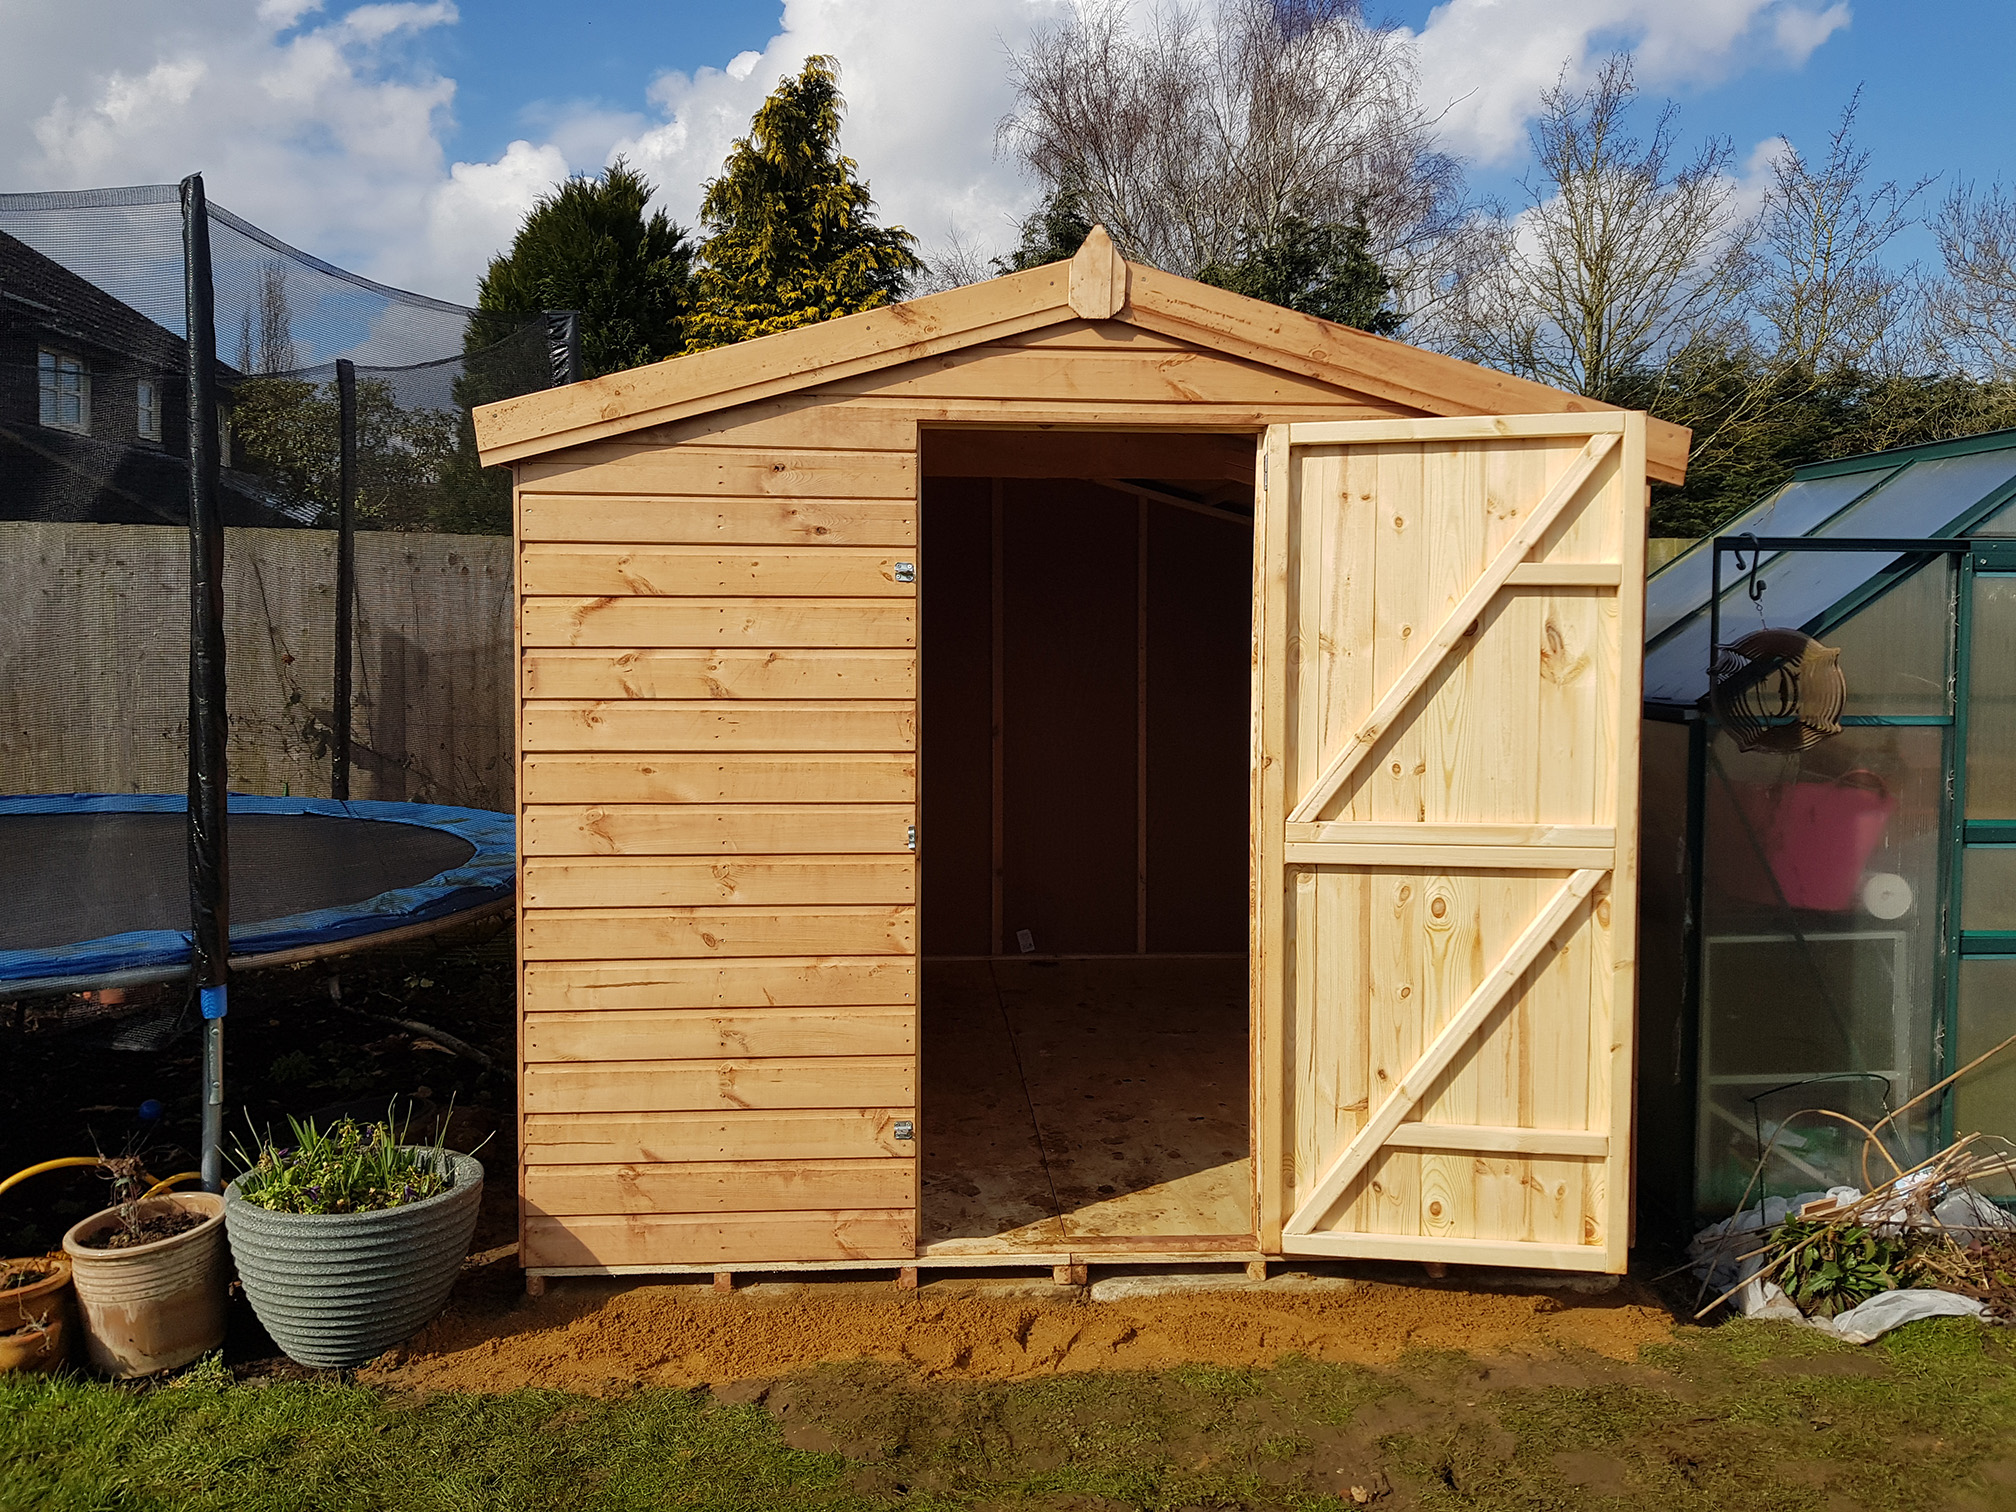
We ordered a shed, built to our spec and design for a reasonable £1730 including fitting, base and all hardware. The shed is an 8′ by 10′ with a single door and no windows (better security 😉 )

This is a picture of it installed on the 7th March 2018.


Loft Boarded

Onwards to sorting the loft as this needed to be boarded to take some of the stuff from what was still the garage.

I spoke to the father of one of the girl’s school friends who does all sorts of DIY and odd jobs, he took on the task for me (I can’t lift and carry and do many tasks that I used to be able to nowadays) although I did source the loft boards from a local DIY store.

He came to finish the boarding (I had started boarding the loft 5 years previously), and as it turned out we completed it in a Saturday between us. It was well worth the day’s money I paid him for his time.

So now we had the place to store all the things we needed to, it just meant planning between Sharon and myself (with the girls help) the time to start to organise and move it all. Also selling, giving away or tipping the rest!


Kitchen finalised (almost)

1/3/2018

Next on the list was to finalise the kitchen order, a visit to Stadium Studios and then several emails and calls backwards and forwards resulted in us choosing the worktop, floor and wall cabinets, sink, hot water tap and matching it to the type of floor we would have.

In the process we changed from Hacker Classic to Systemat range to get a better standard door finish and switched from the original white gloss finish to a taupe gloss door with wall cabinets in a dark pine effect grey and a white speckled Corian worktop with moulded one and a half bowl sink and steel base.

The final cost bumped by another £3500 to £28000 (and that wasn’t the final figure as the appliances still need to be fully agreed too!). To think we had expected the kitchen to cost around £15000 at the start of this journey…

Below is a picture of the different elements side by side.


Planning the layout

4/3/2018

So we had a plan for the kitchen (still not final) but the larder unit and upright oven unit on one side and fridge and freezer units opposite were causing concern.

We were worried looking on the plan that the combination of the upright units on opposite walls with the larder unit (some 1860 wide if I recall) would result in the door openings on both walls being restrictive and feel a little narrow on walking in, or out of the new kitchen. Once all these units were placed in position there was of course no way to rectify any narrow gaps.

To try to visualise the plan in the real world we used packing boxes, placed at the points the upright units and larder unit would be.

After much ‘umming and ahhing’ about the options (we were pretty much unable to slide either the oven unit or the fridge/freezer combo further away from the respective doorways due to other factors (windows/doors/wall edge further along) we decided to alter the larder unit such that it was three 500mm wide units side by side (with the 25 mm pull strip in between) instead of the originally planned three 600 mm units.

In the final picture on the right you can see the old kitchen and kitchen table as it sat in the kitchen..


Below is a render of the near final kitchen with the amendments to the larder unit (far wall), the fridge and freezer are on the far end of the left wall and the oven unti on the far end of the right hand wall (which both have doorways next to them).


The plans, both Stadium Studios and the one I used within Photoshop to plan different things are here…


11/3/2018 Onward now with the clearance of the garage into the loft, the new shed, Facebook selling with anything else being taking to the tip….


18/3/2018 to 24/3/2018

…and more….it took a while!


24/3/2018

a Skip arrives for the builders in preparation for them starting work


25/3/2018

So the garage is now cleared with the exception of a filing cabinet (which was sold a few days later and picked up by the buyer), and the 3.5m double ladder that was sold to an asian fellow.

Funnily he picked it up in the dark at about 8:30pm one night. He turned up in an R reg Honda Accord (the original shape), he had family in the back…he proceeded to lift the ladder and mount it directly on the roof (no roof rack or rails!) and tied it in place by running rope over the top, the rope going through the interior of the car from one rear window to the other….

I wish I had taken a picture, all I can imagine is him driving down the road with a 3.5m aluminium ladder see-sawing up and down the length of his car roof on his trip back to Luton!


dem girls…


25/3/2018 Final pics before work started, the amount of bits and pieces that were in the kitchen that are now strewn around the living room, work area and the landing is untrue…

Want a cup of tea, some toast a knife and fork? Look in the living room…

Want to get something out of the fridge freezer….probably its in the living room…

Washing up? well currently you can still do that in the kitchen but that wont be for long!

The right hand picture below shows the kitchen as was (without some of the normal kitchen appliances such as kettle, toaster and food processor etc. I wish I had taken a few more pictures before work started.