- Welcome to my website. Please use the menu below to navigate

- Home
- About Me
- About Us
- Flickr
- Galleries
- Galleries 2013
- Galleries 2014
- Galleries 2015
- Galleries 2016
- Galleries 2017
- Galleries 2018
- Galleries 2019
- Galleries 2020
- Galleries 2021
- Boxster Roof Damage
- Boxster 981S 1:18 model compared to the real thing
- History of the Boxster
- Porsche PSM, PASM & Sports Chrono Plus
- Unicorns for Cancer
- Home Garage Conversion
- Contact Us
- 981…Waiting in anticipation
- Lucy’s Gallery
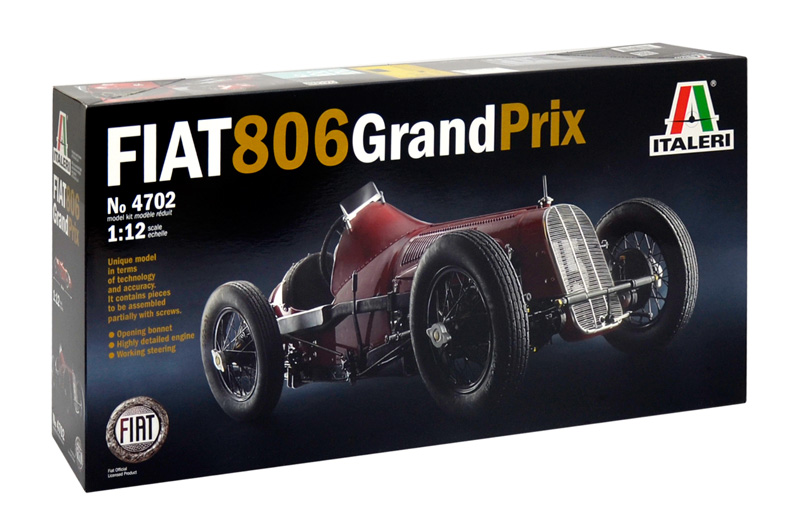
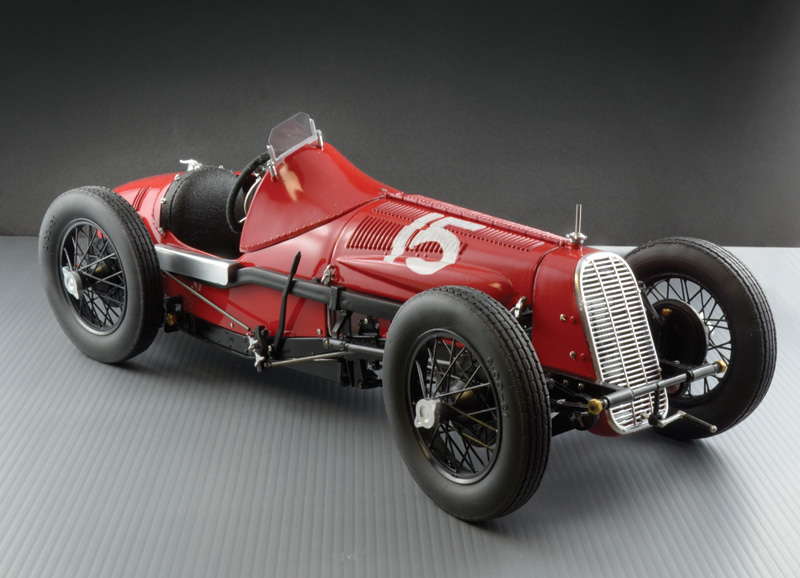
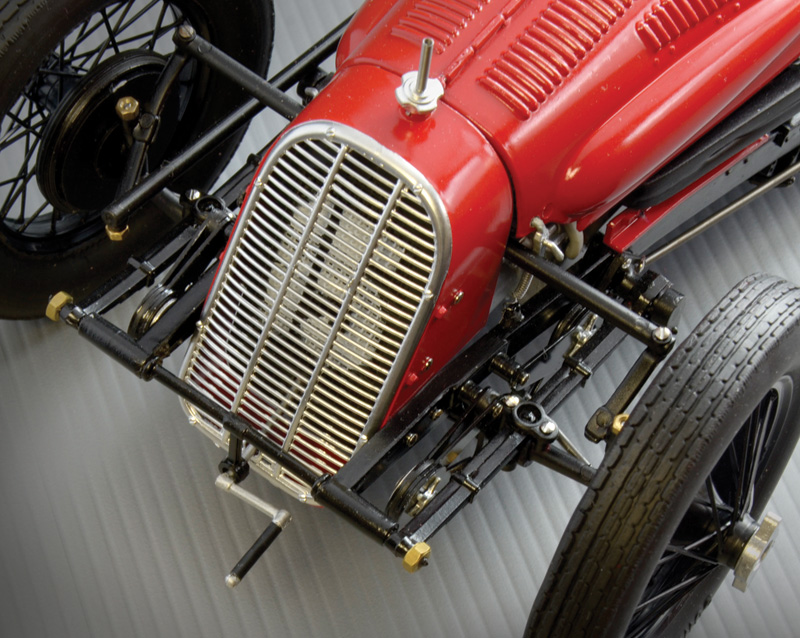
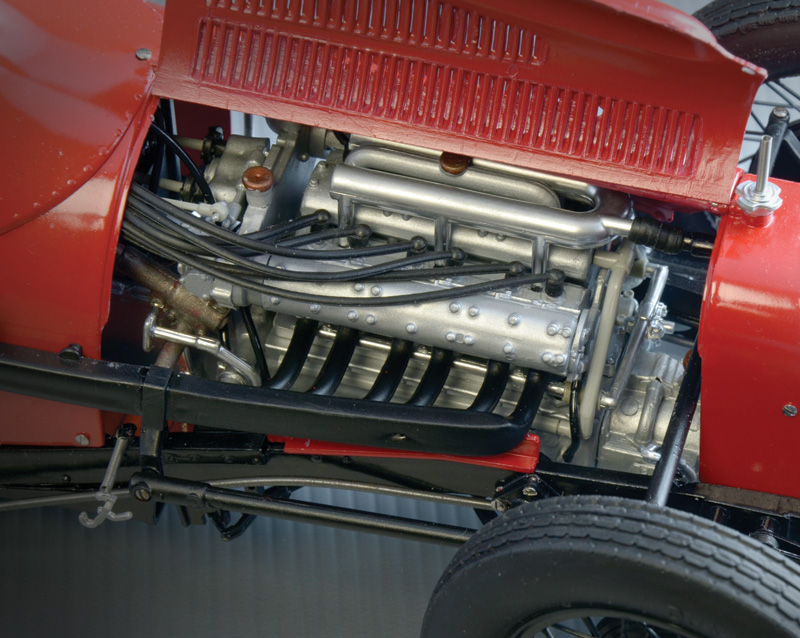
Fiat 806 GP car 1/12 model – page 1
With Covid 19 (aka Corona Virus) keeping us all in lockdown think a stay home model project is called for in the coming weeks/months…
Its been a while since I last made up an Airfix model (like 20 years plus)
I started on the boat HMS Belfast again? then the plane, Lancaster Bomber again? both done when as a teenager
Or the petrolhead car option….I searched for Porsche and they are all small models about 180mm x 70mm
I have a die cast 981 in 1:18 scale and I figure something that size, or more, would be great so I got to the following…I’d got to one of the first two being my favoured choices…
other options considered….
Italeri 1-12 Fiat Mefistofele 21706
420mm (so a bit big), £150
https://www.italeri.com/en/product/2400
1/12 Big Scale Racing Cars Series No.55 Porsche 934 Jägermeister
360mm, £130
https://www.tamiya.com/english/products/12055/index.htm

Tamiya 12056 Porsche 934 Vaillant 1:12 Plastic Model Kit
360mm, £130
https://www.tamiya.de/en/products/plastic-models/vehicles-112/112-porsche-934-vaillant-300012056/

So here is what I decided to build...
So after deliberating a lot and scooting over what I could buy and where (in lockdown), also trying to gauge what paints I could buy as the Italeri ones were not around to buy (hence I needed to source matched colours from Tamiya, Humbrol or others) I decided to go for the Fiat 806…
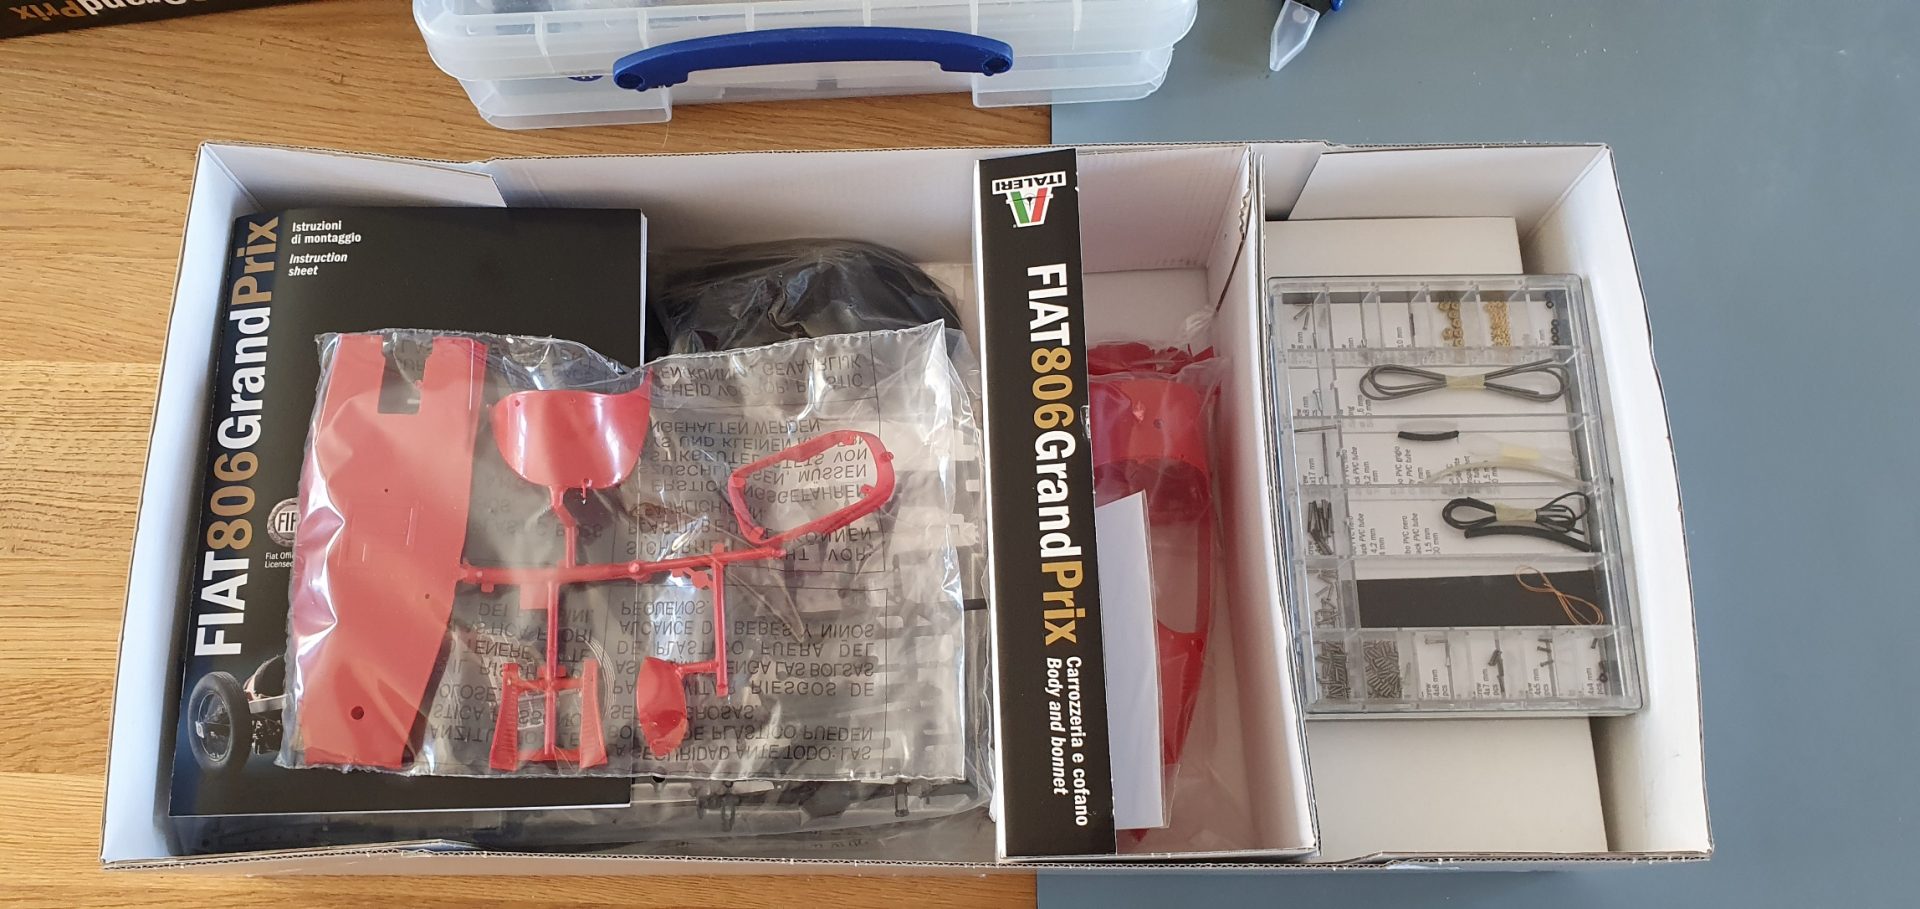
And after delivery, here is the open box
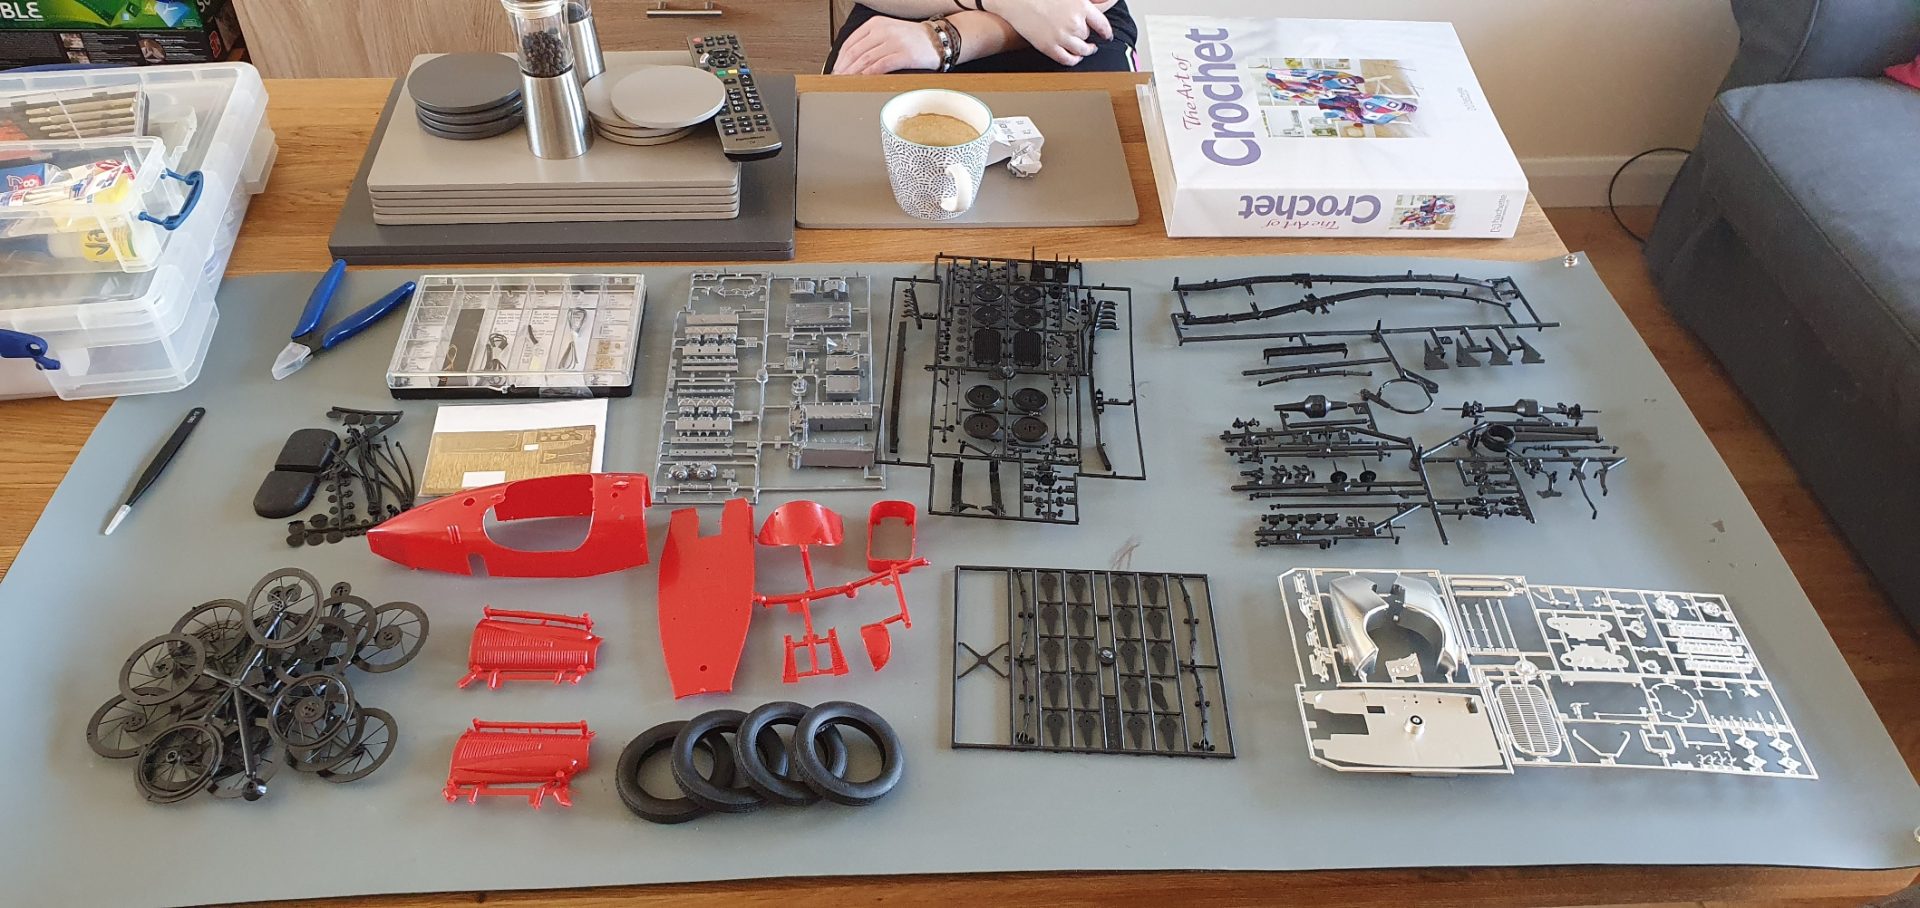
unpacked
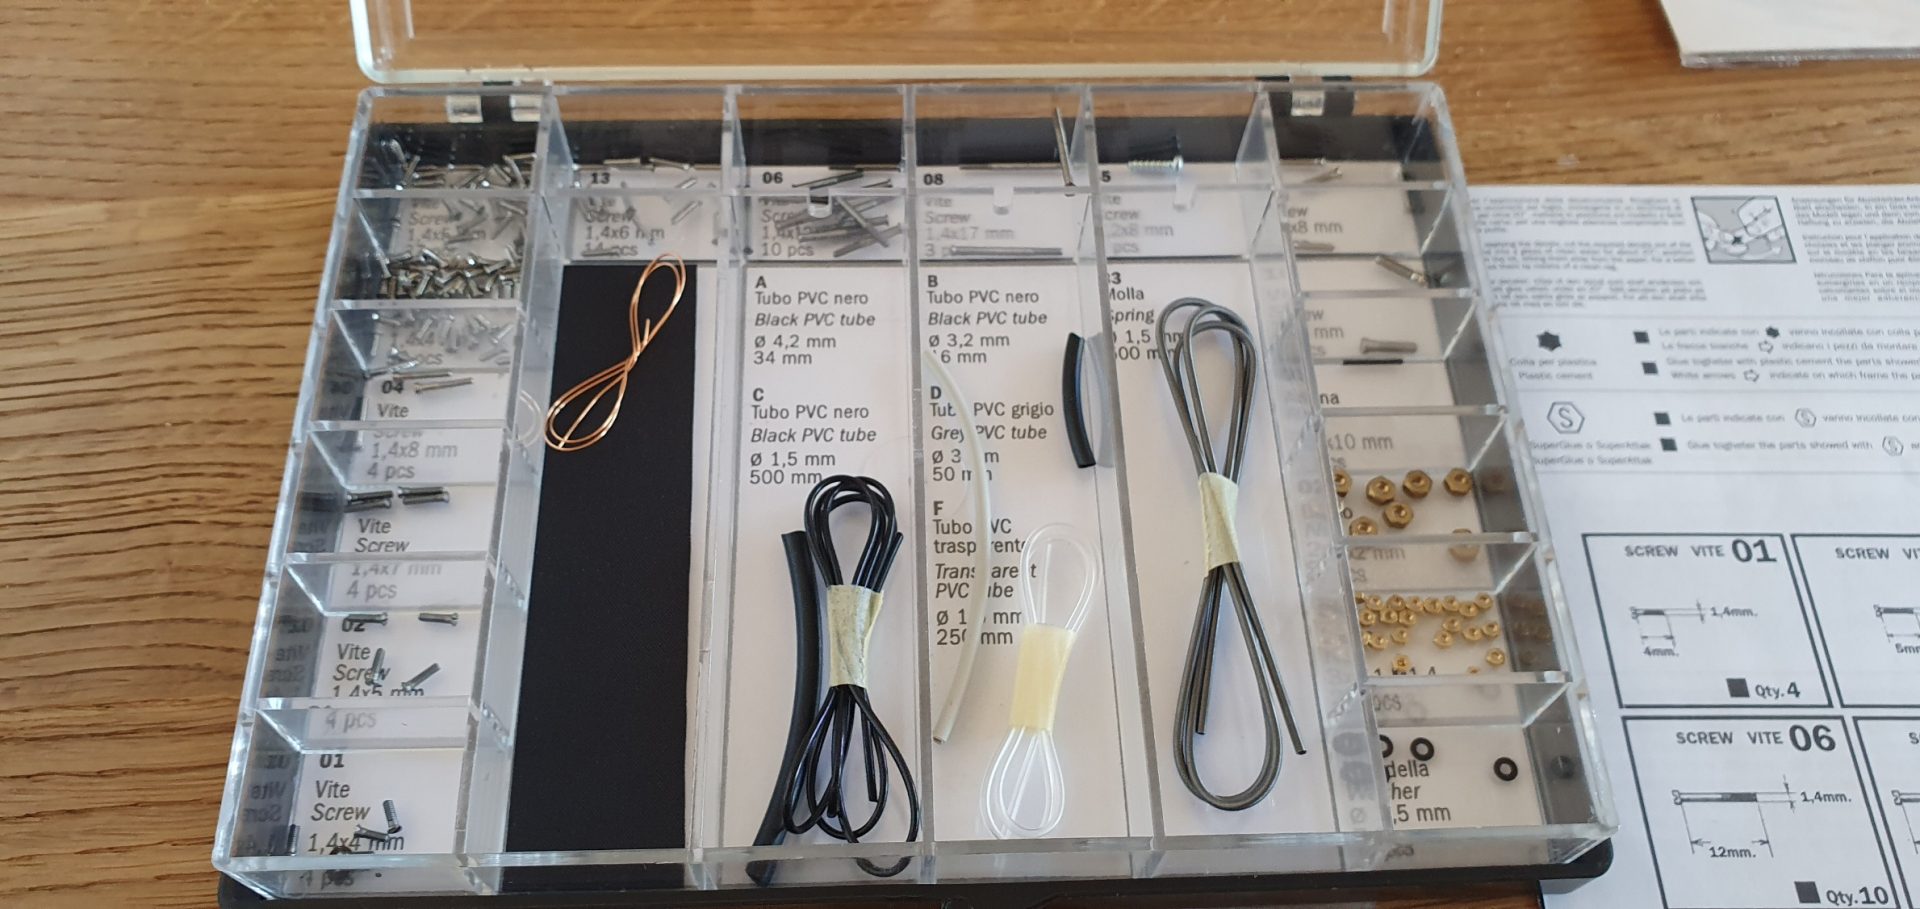
It’s put together with a mix of screws, nuts, glue and 20/20 vision…you would not believe how small some of the screws are!
like the size of the end of a cocktail stick…also some rubber tubing and minute springs, leather to wrap the steering wheel…
Saturday 5th April 2020 –
I am on stage 3 at present, the instructions are vague to say the least so I’m trying to figure what needs painting and glueing (or just screwing) as I go…
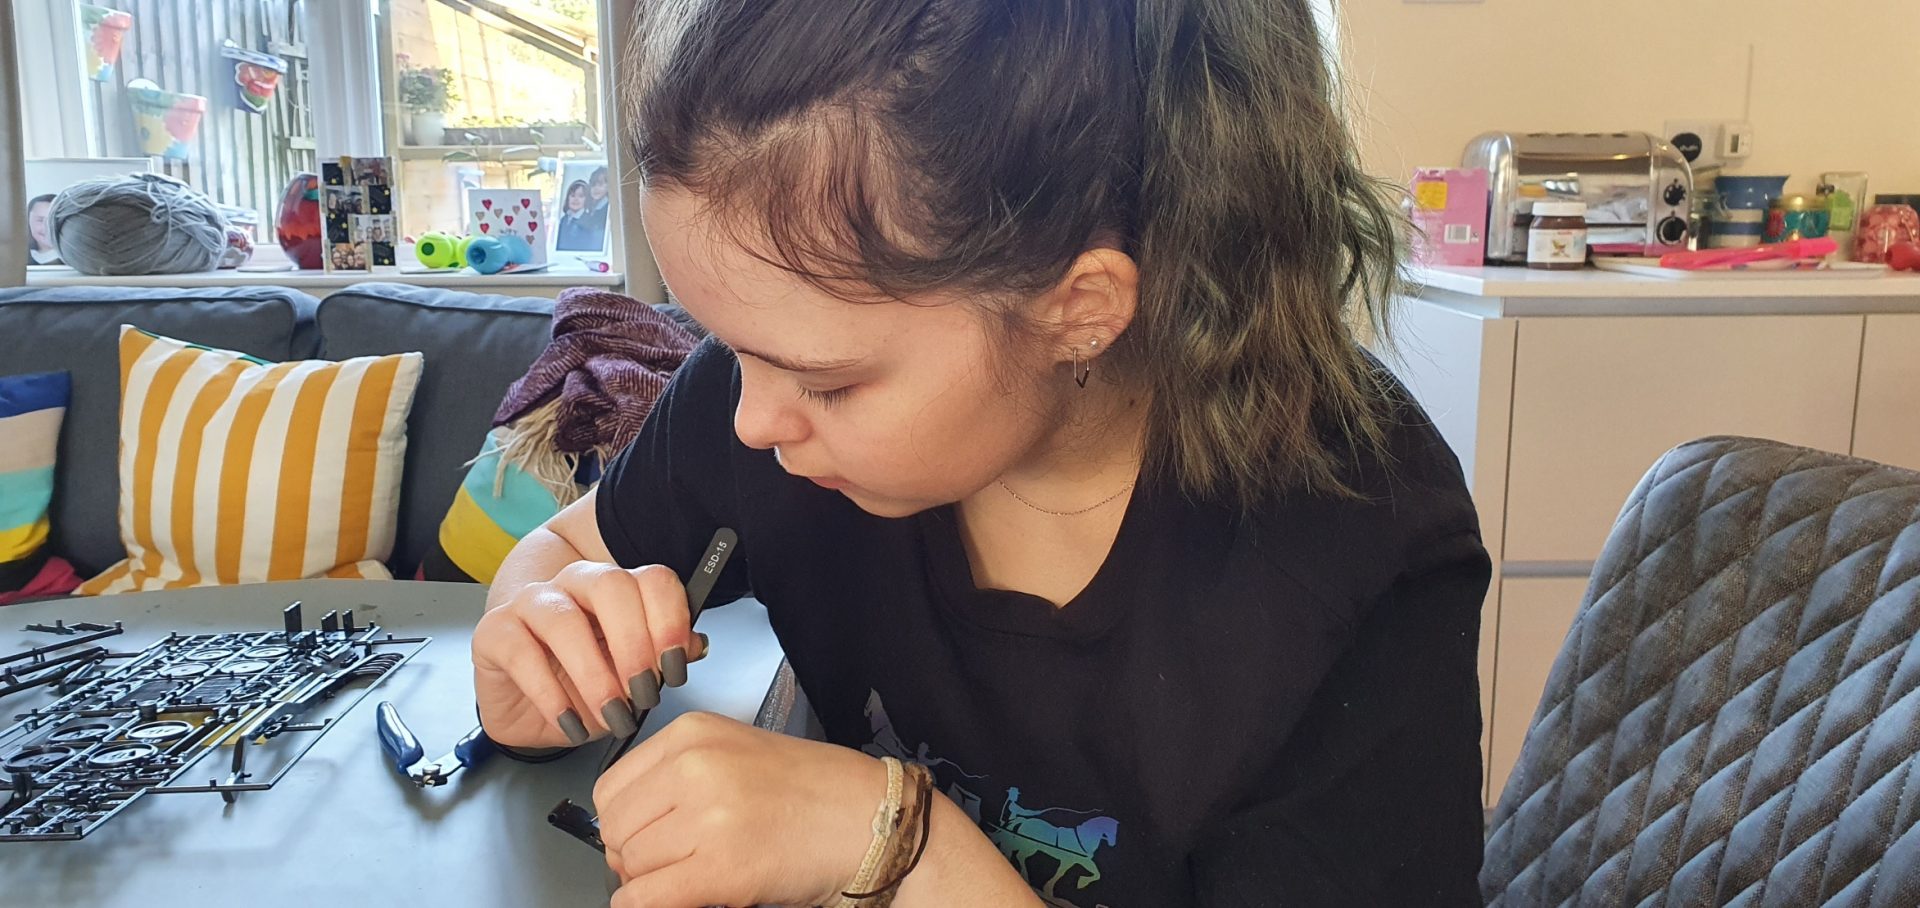
youngest enlisted to actually see what head the screws have!
eldest showed me how to spray with a hobby spray gun
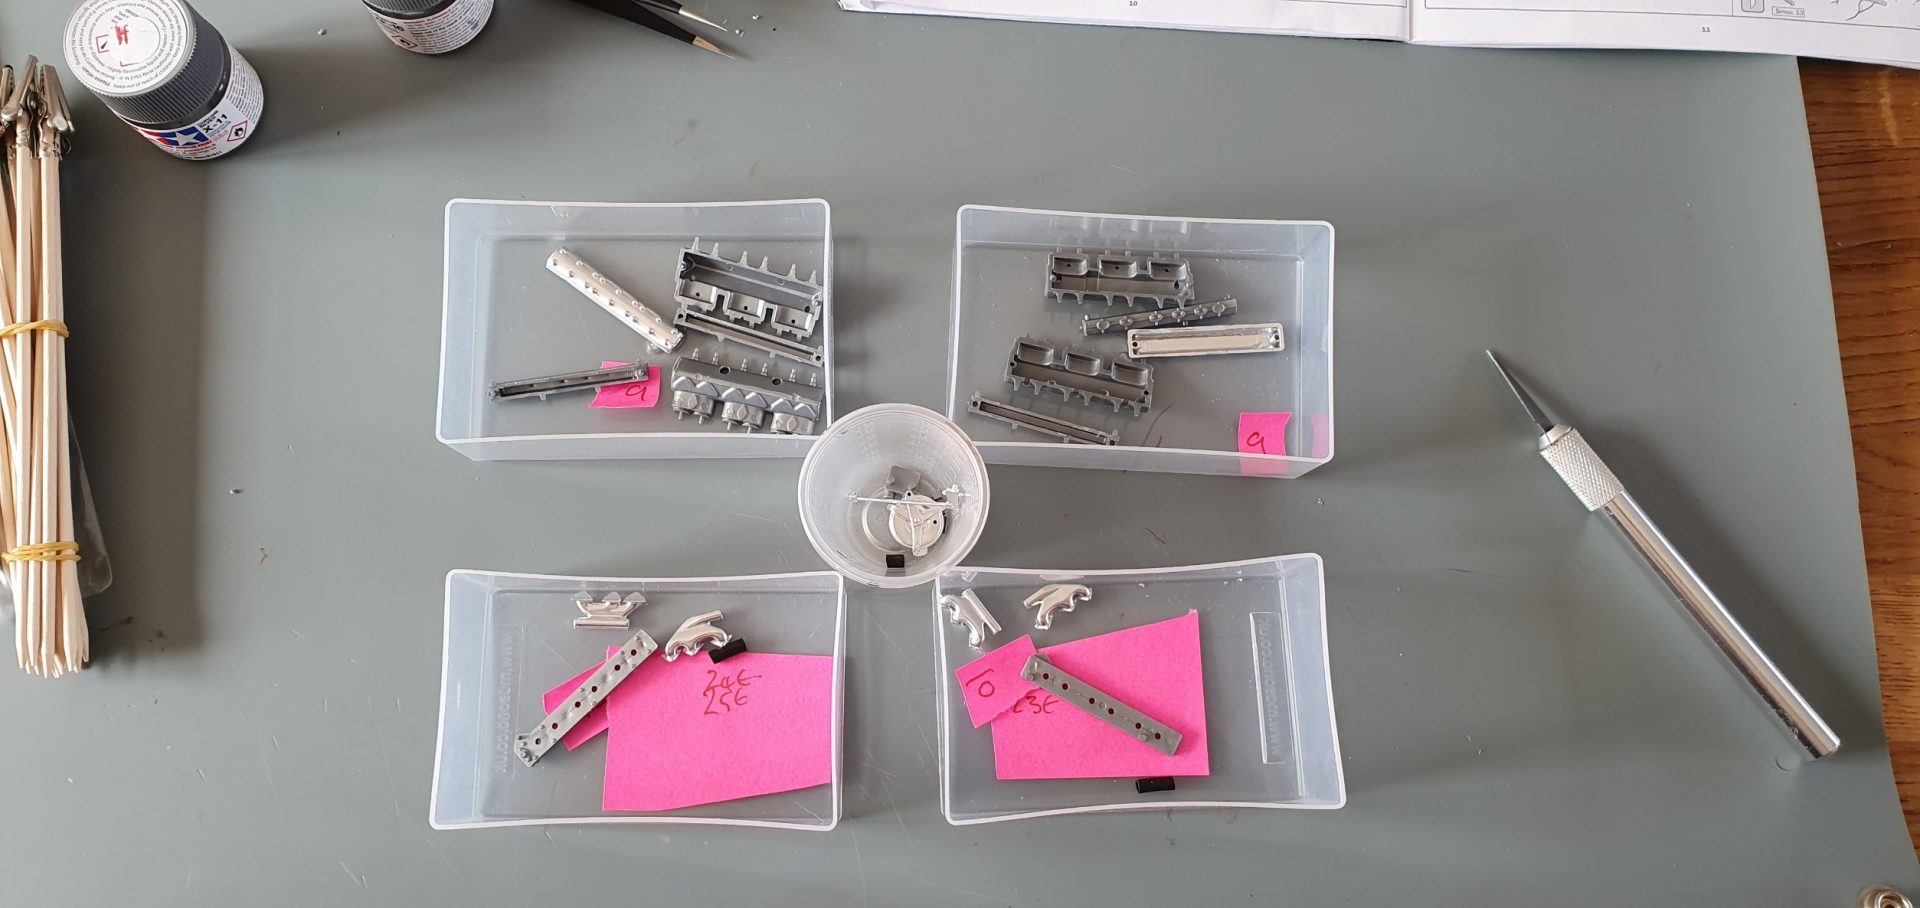
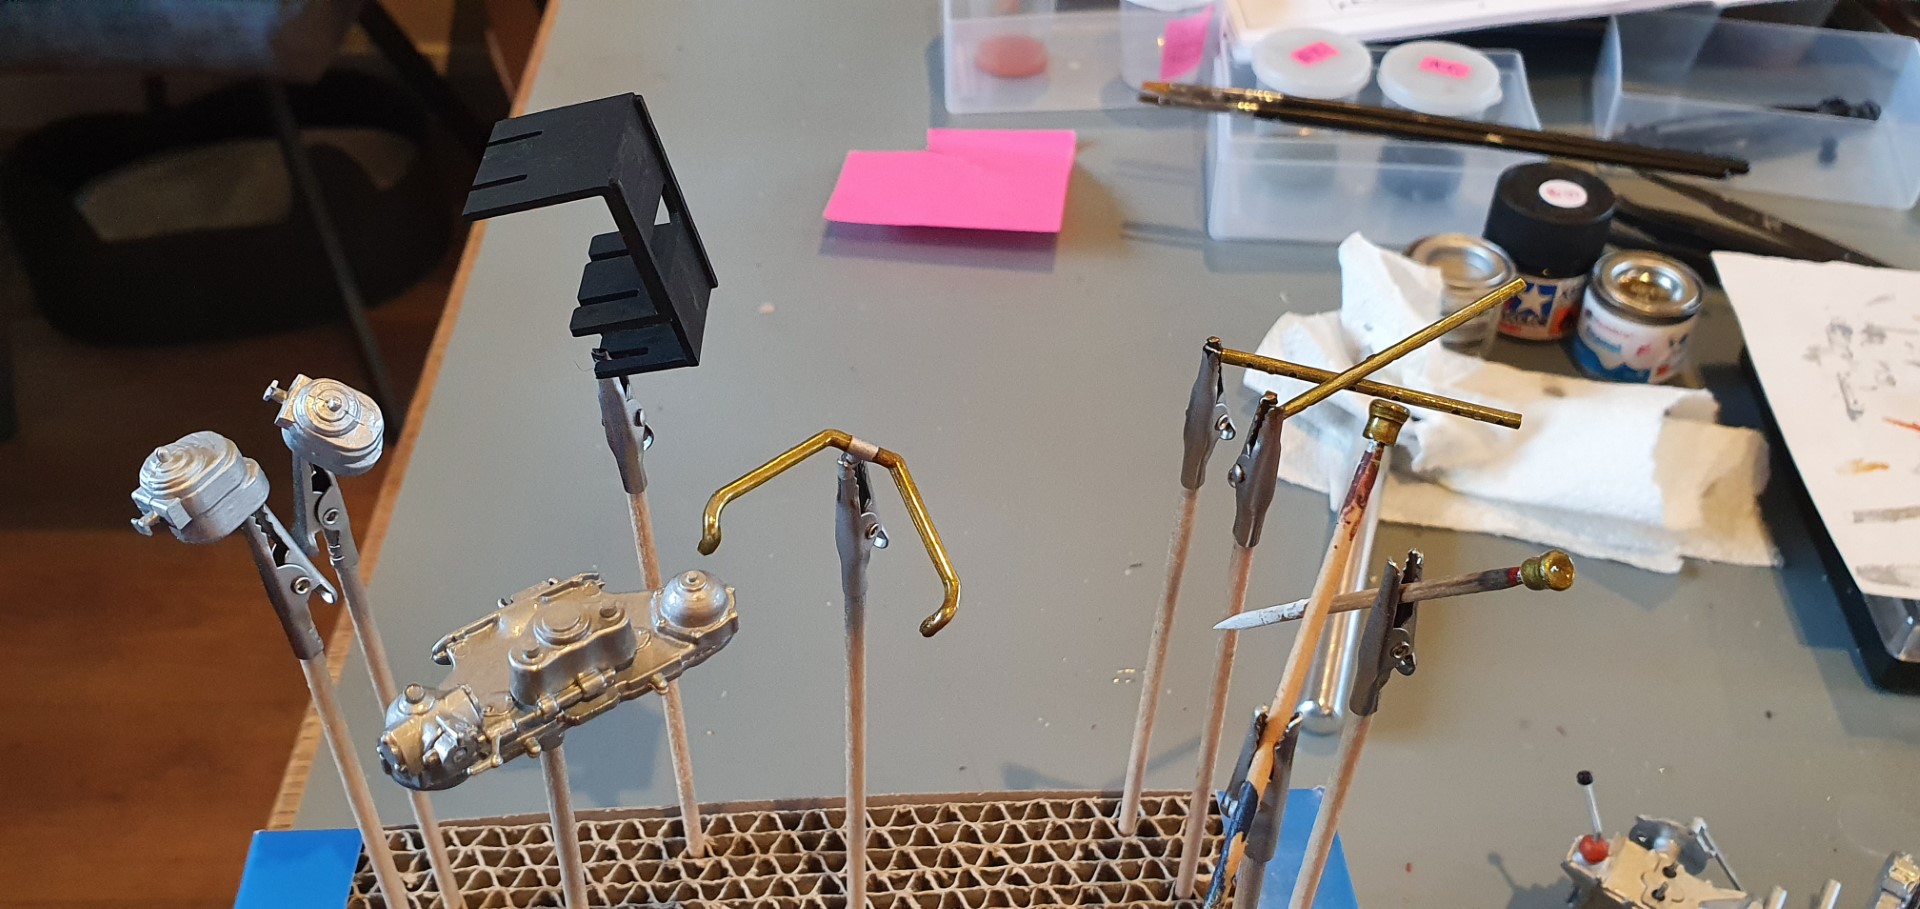
some of the parts before they were sprayed or assembled
how small the screws are (thats a cocktail stick)
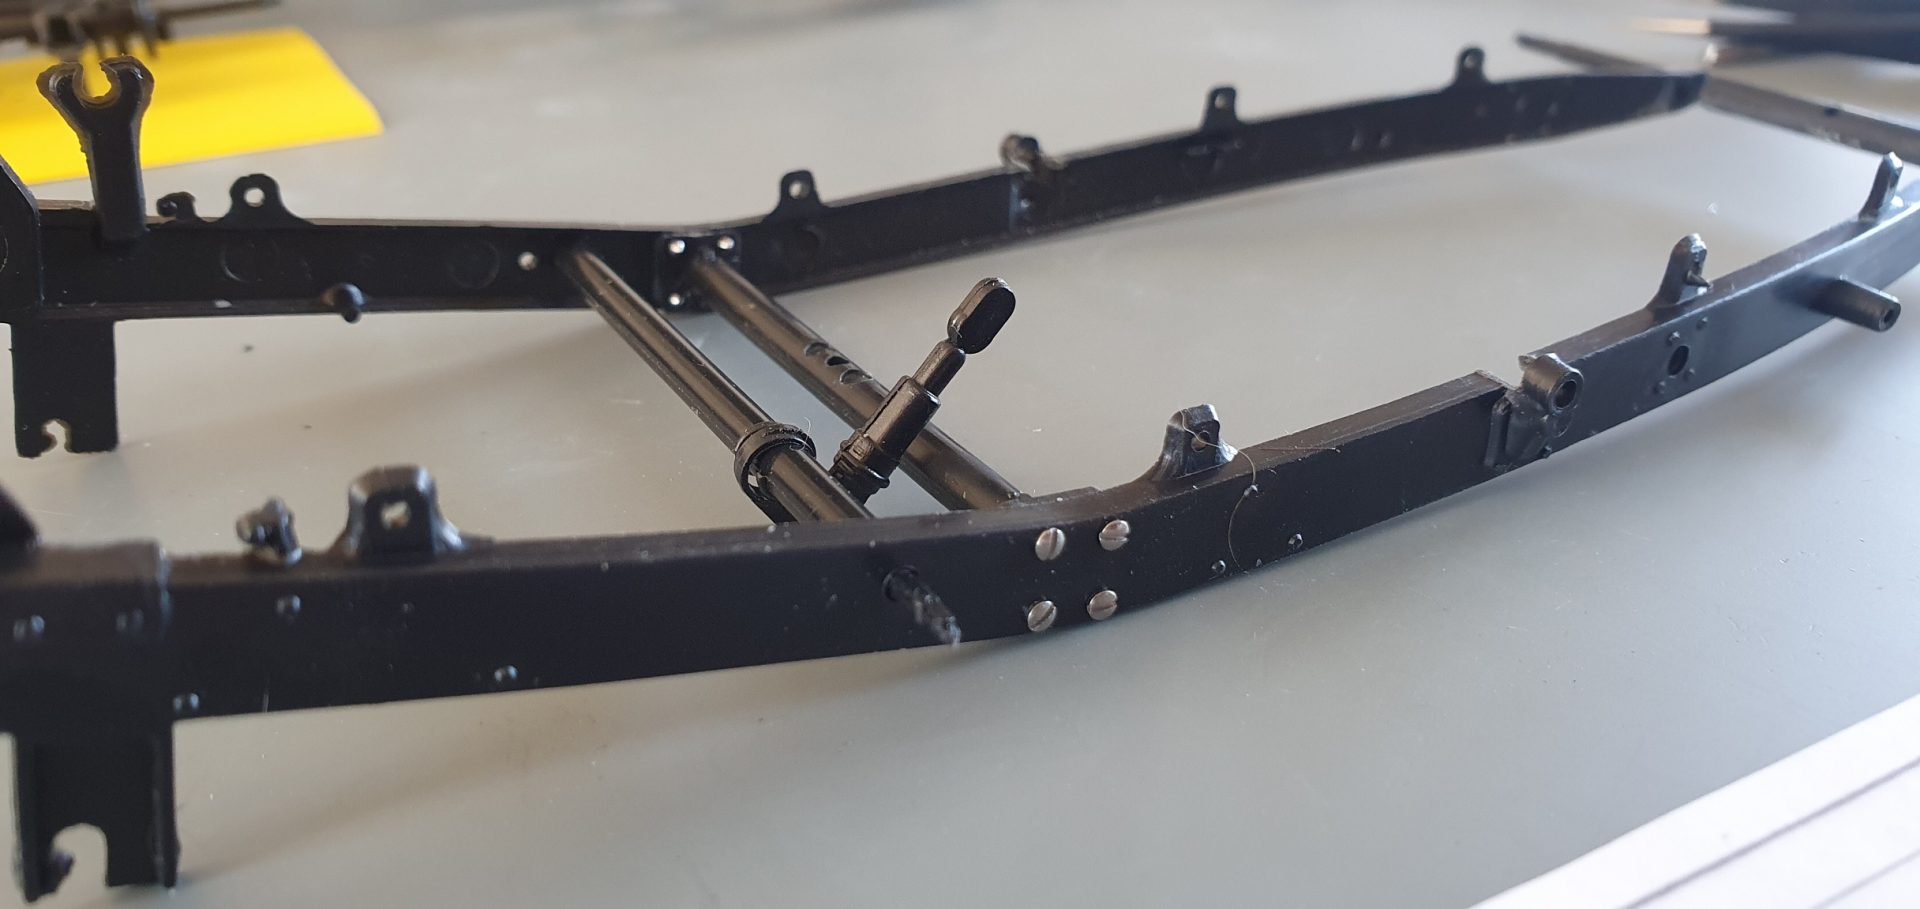
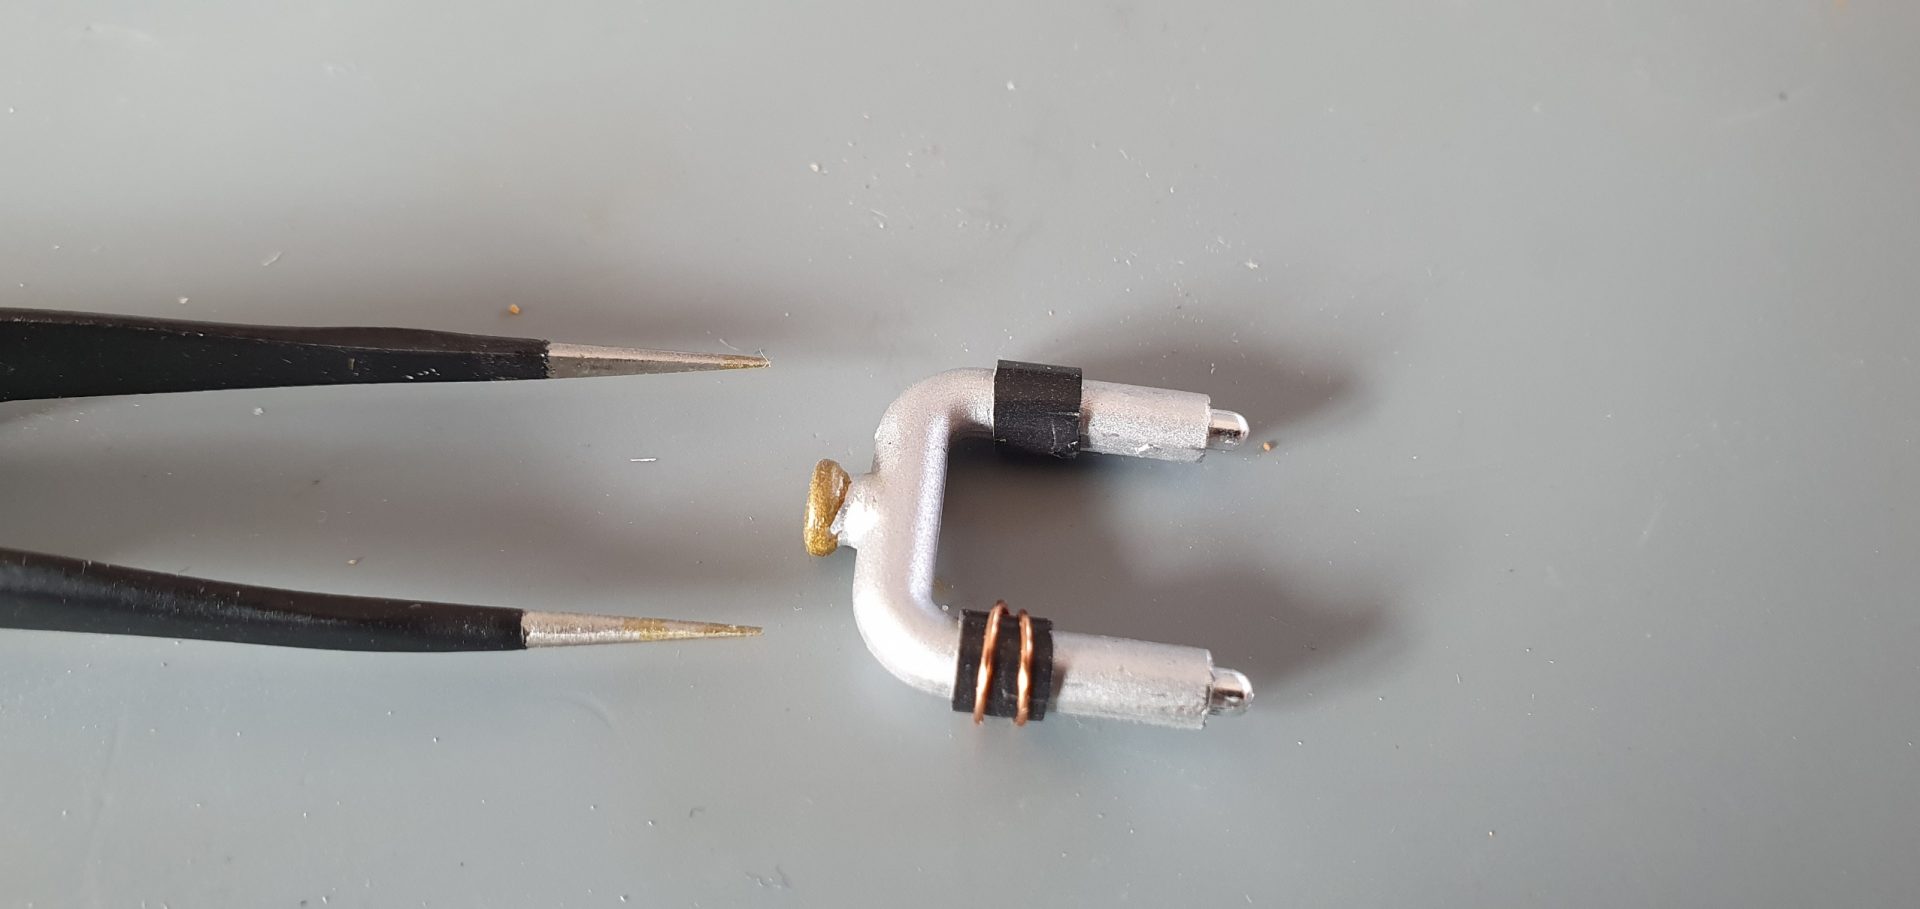
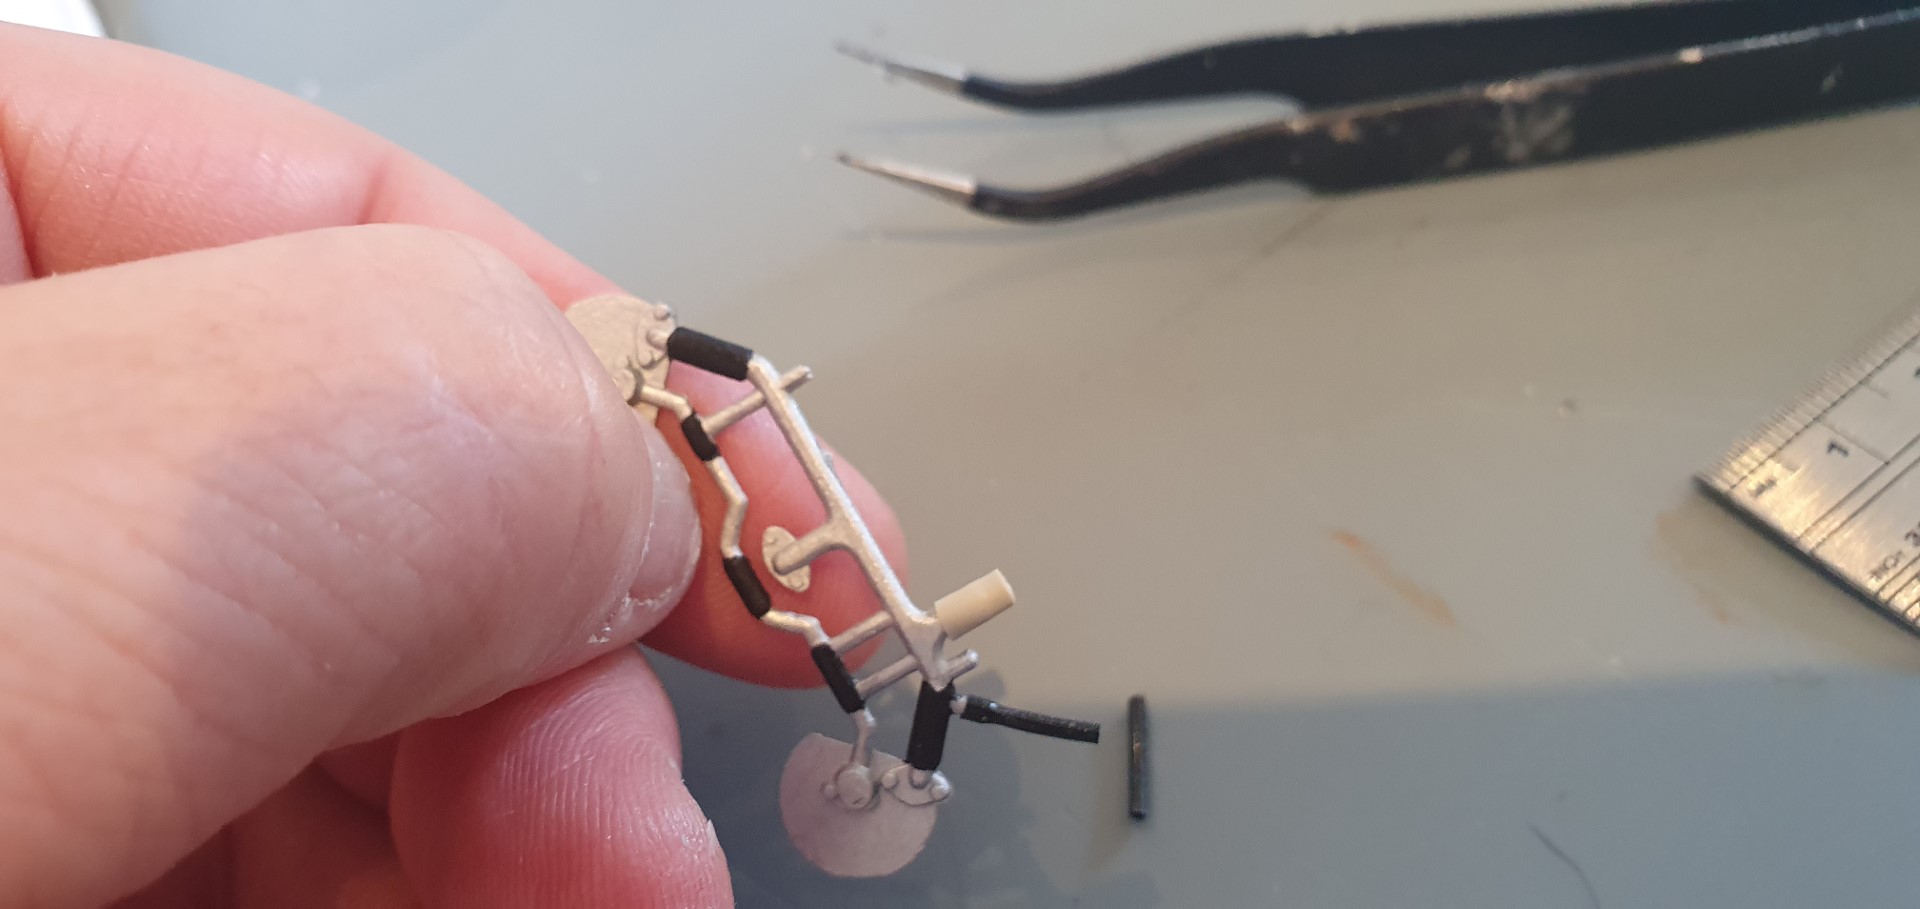
this last images show this stage complete, including winding thin gauge wire around rubber sheathing to simulate clamps of some sort…
only another 20 odd stages to go…..it’s been a very long time since I did anything like this (and it was only a standard Airfix kit at that)
Bank Holiday Saturday 11th April 2020 –
so today I got yesterdays stage finished
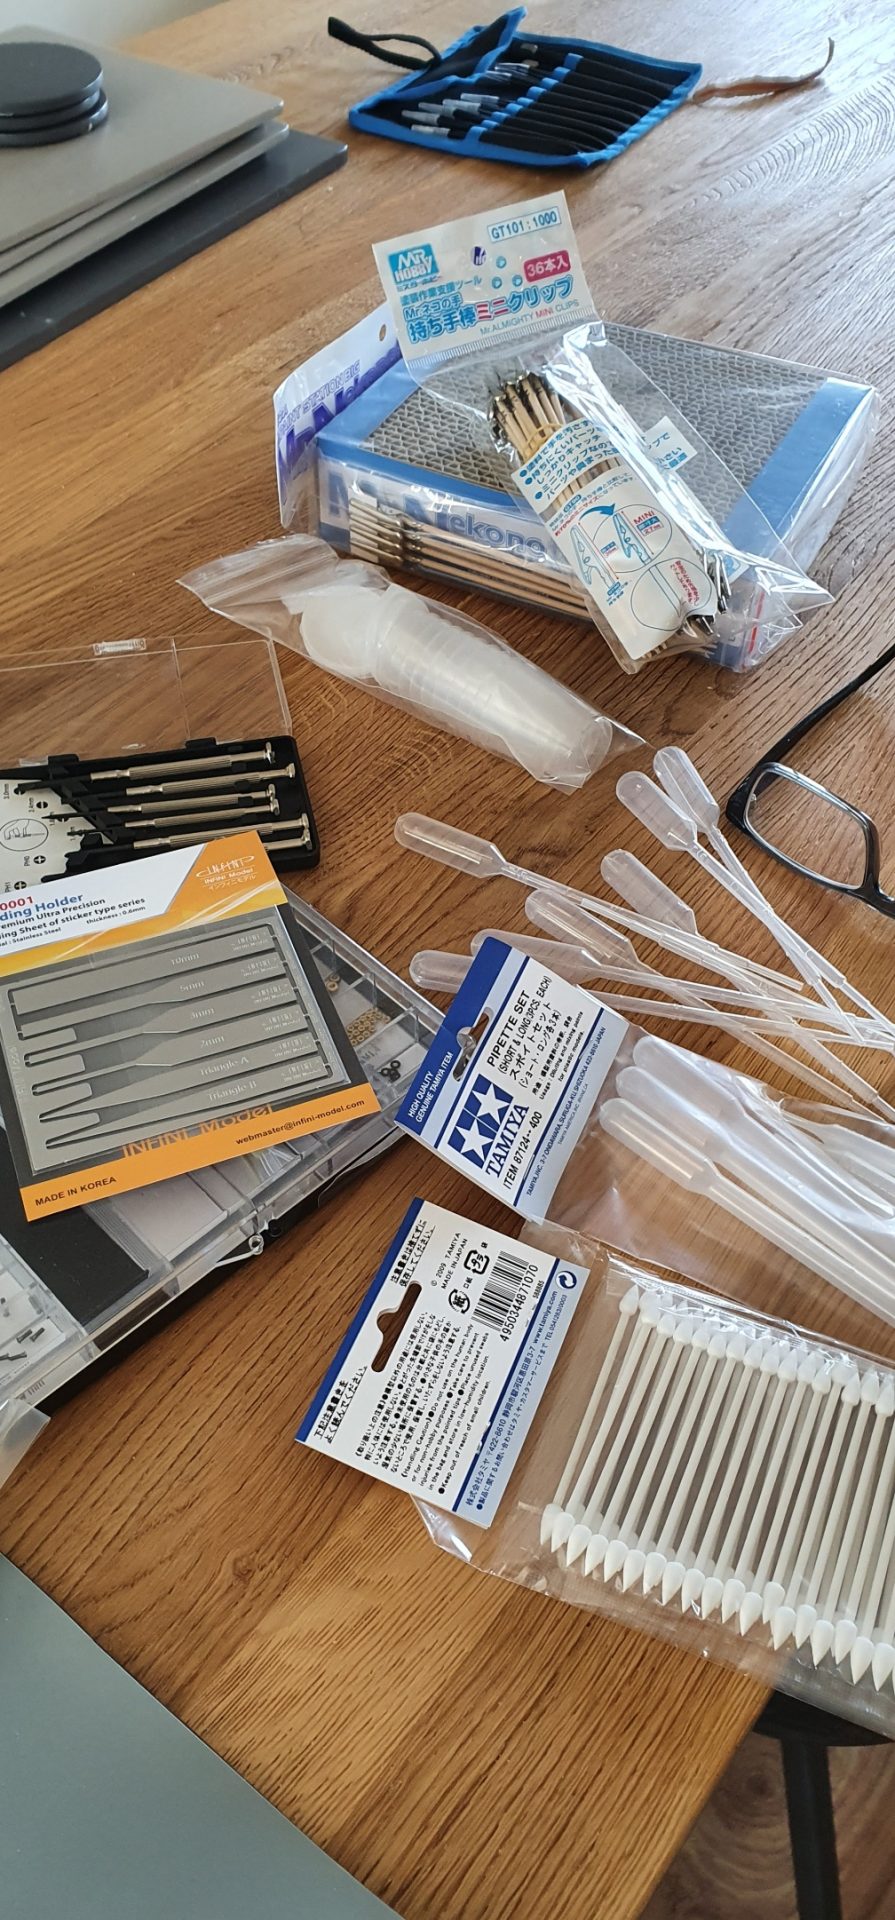
more supplies arrived 🙂
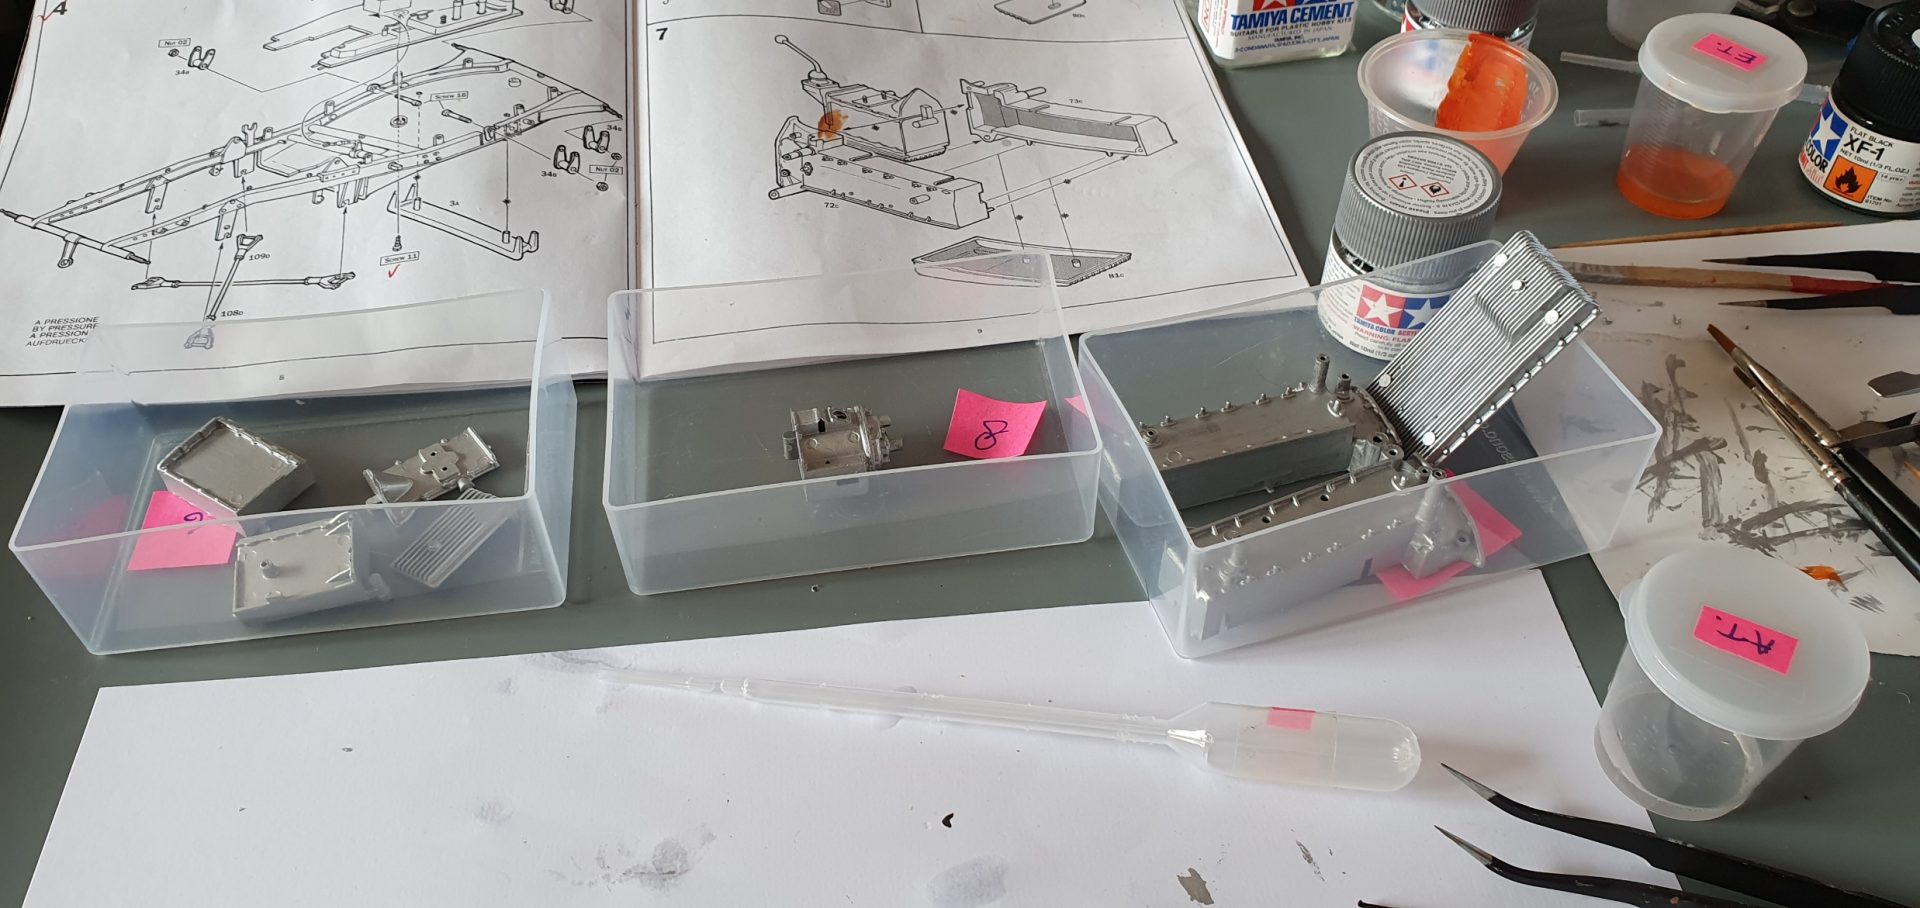
organised a few stages so I could paint before assembling
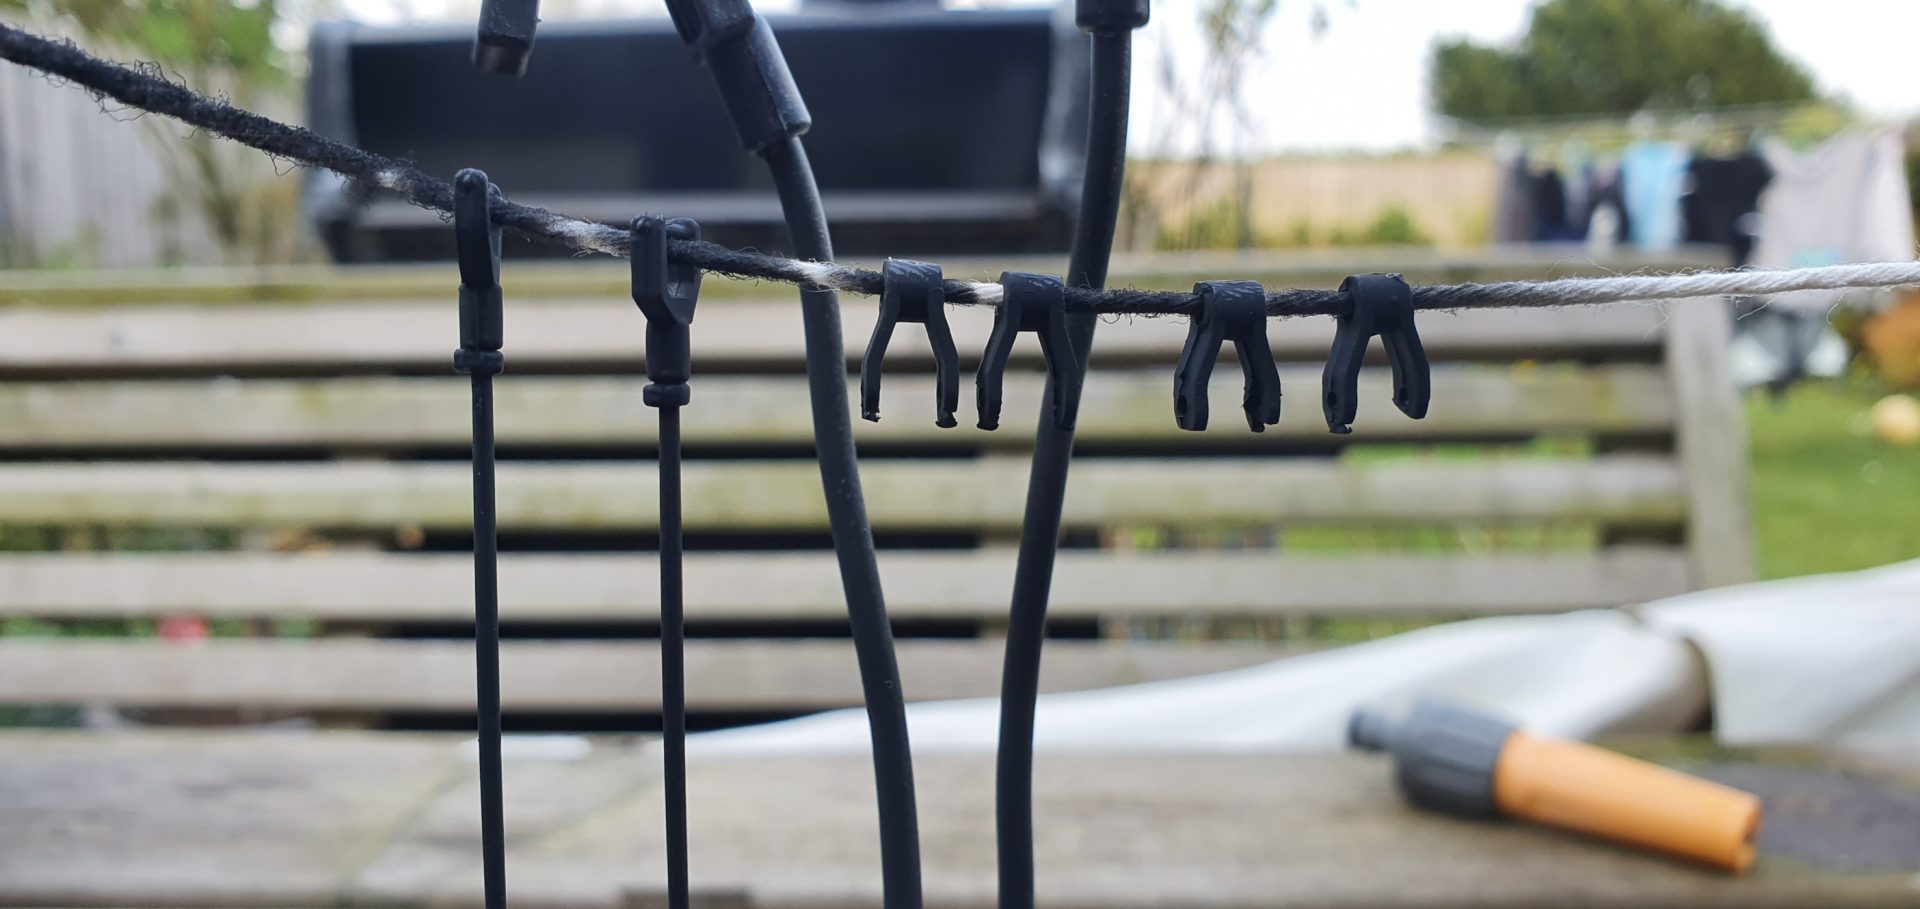
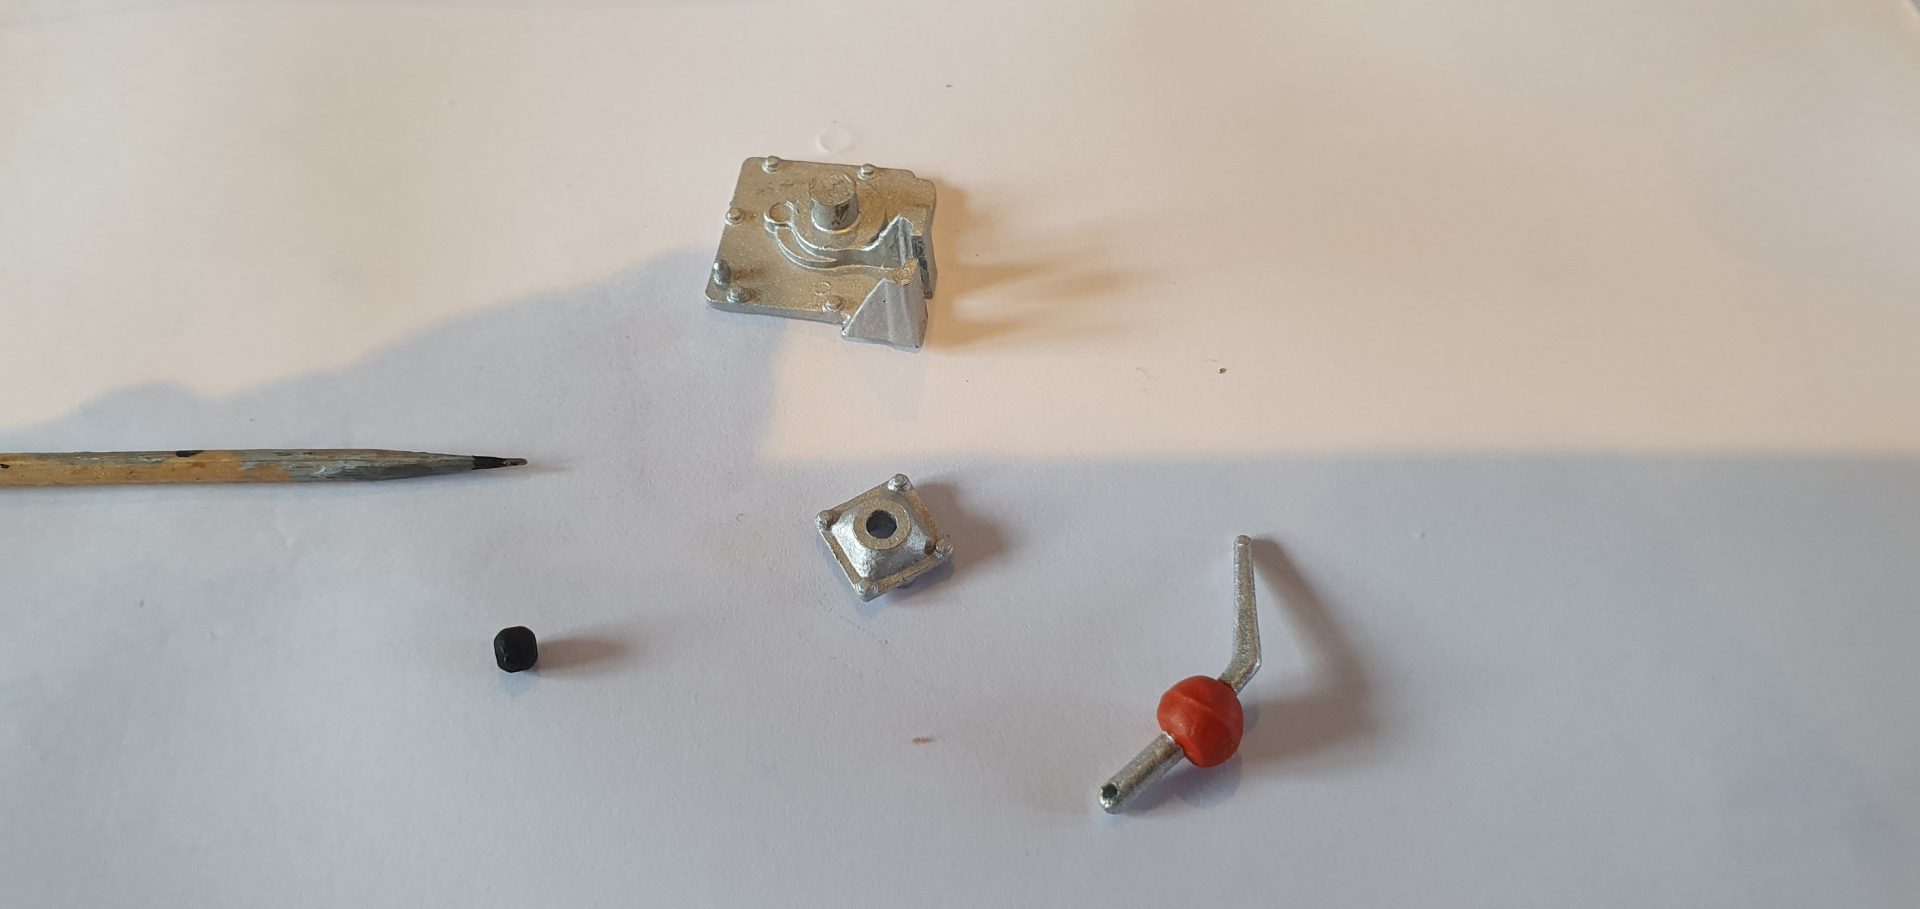
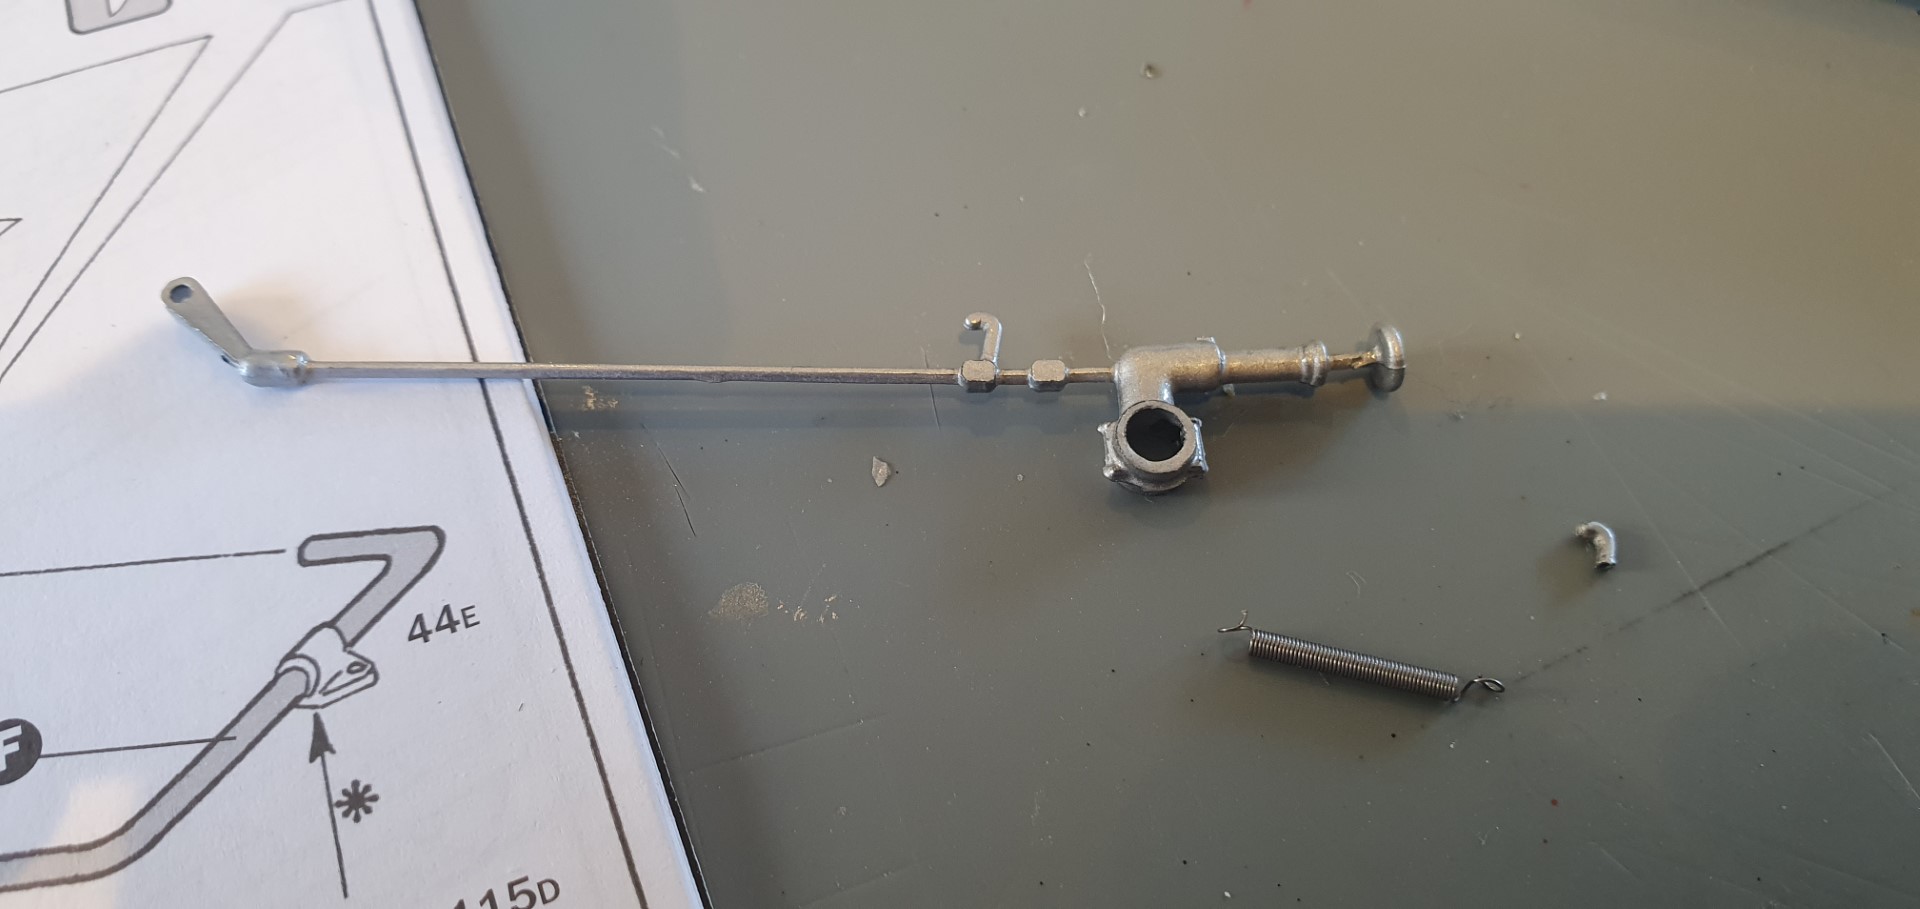
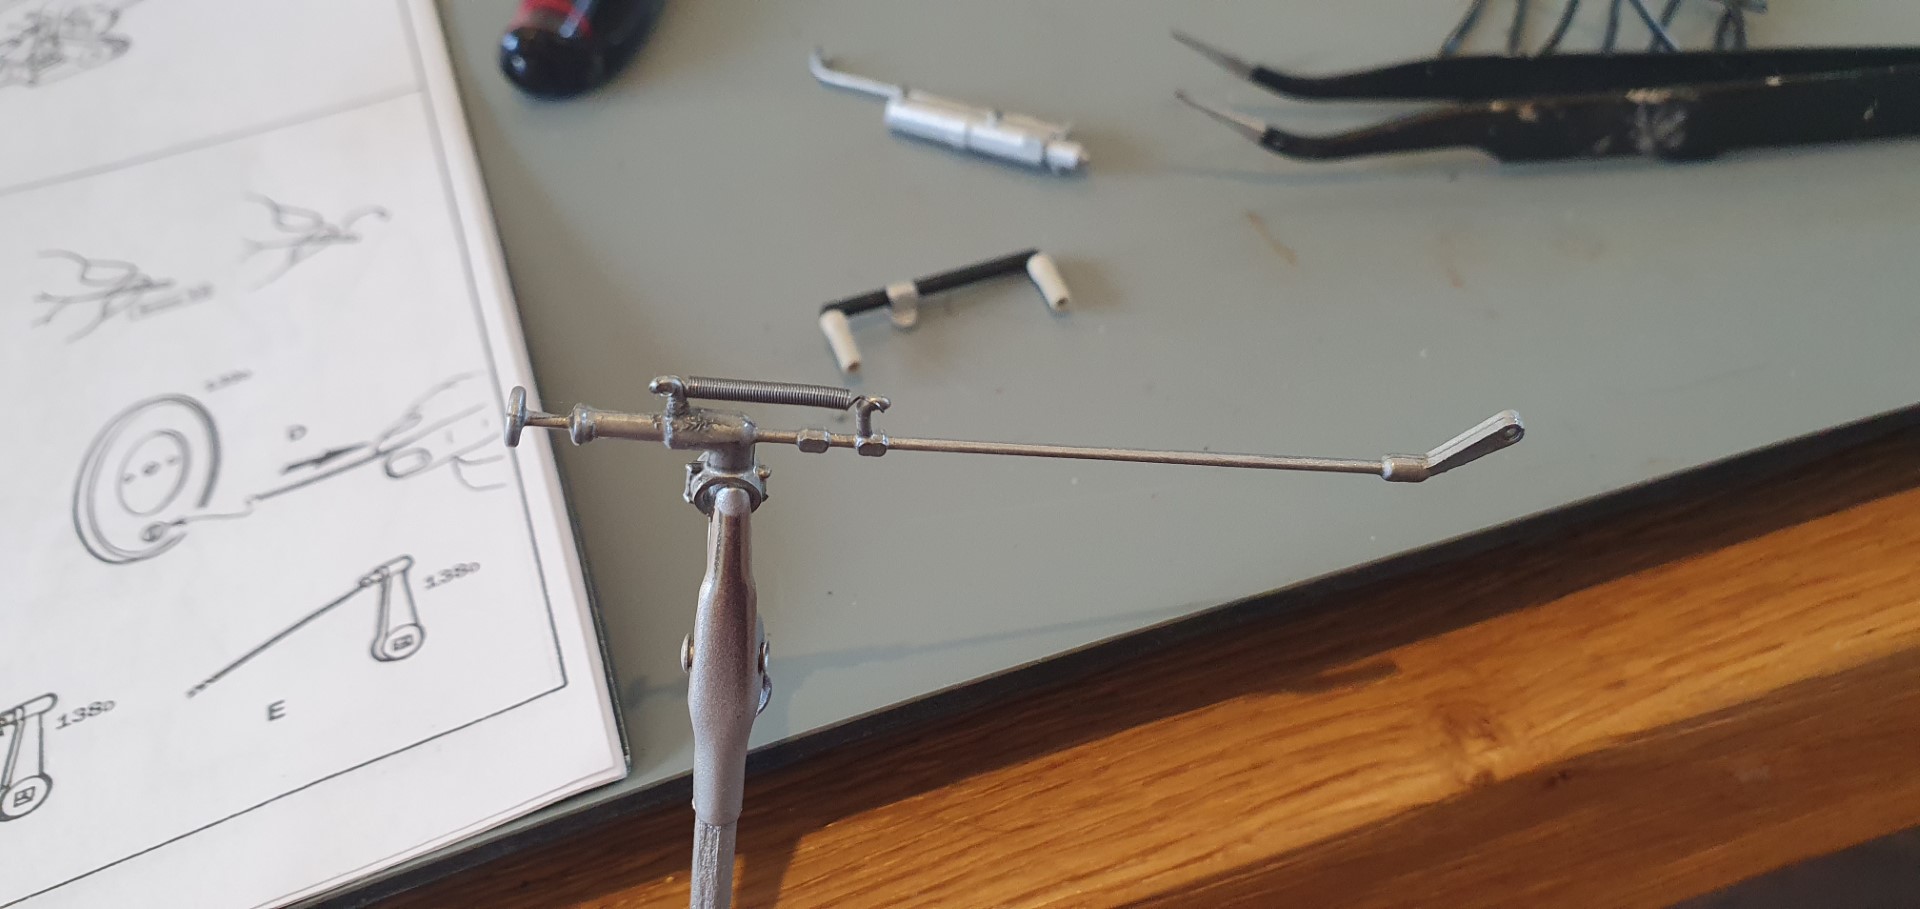
some of the parts before painting…I had to make that spring from 10mm of preformed spring wire. Whilst it was already a spring I still had to turn over the ends so they could loop onto two parts in due course…tweezers not really suitable and needle nose pliers too big!
after painting
another stage prepped
assembled and spring mounted (and plastic melted so it stays in place on the bottom connector)
bits from different stages starting to attach to eachother
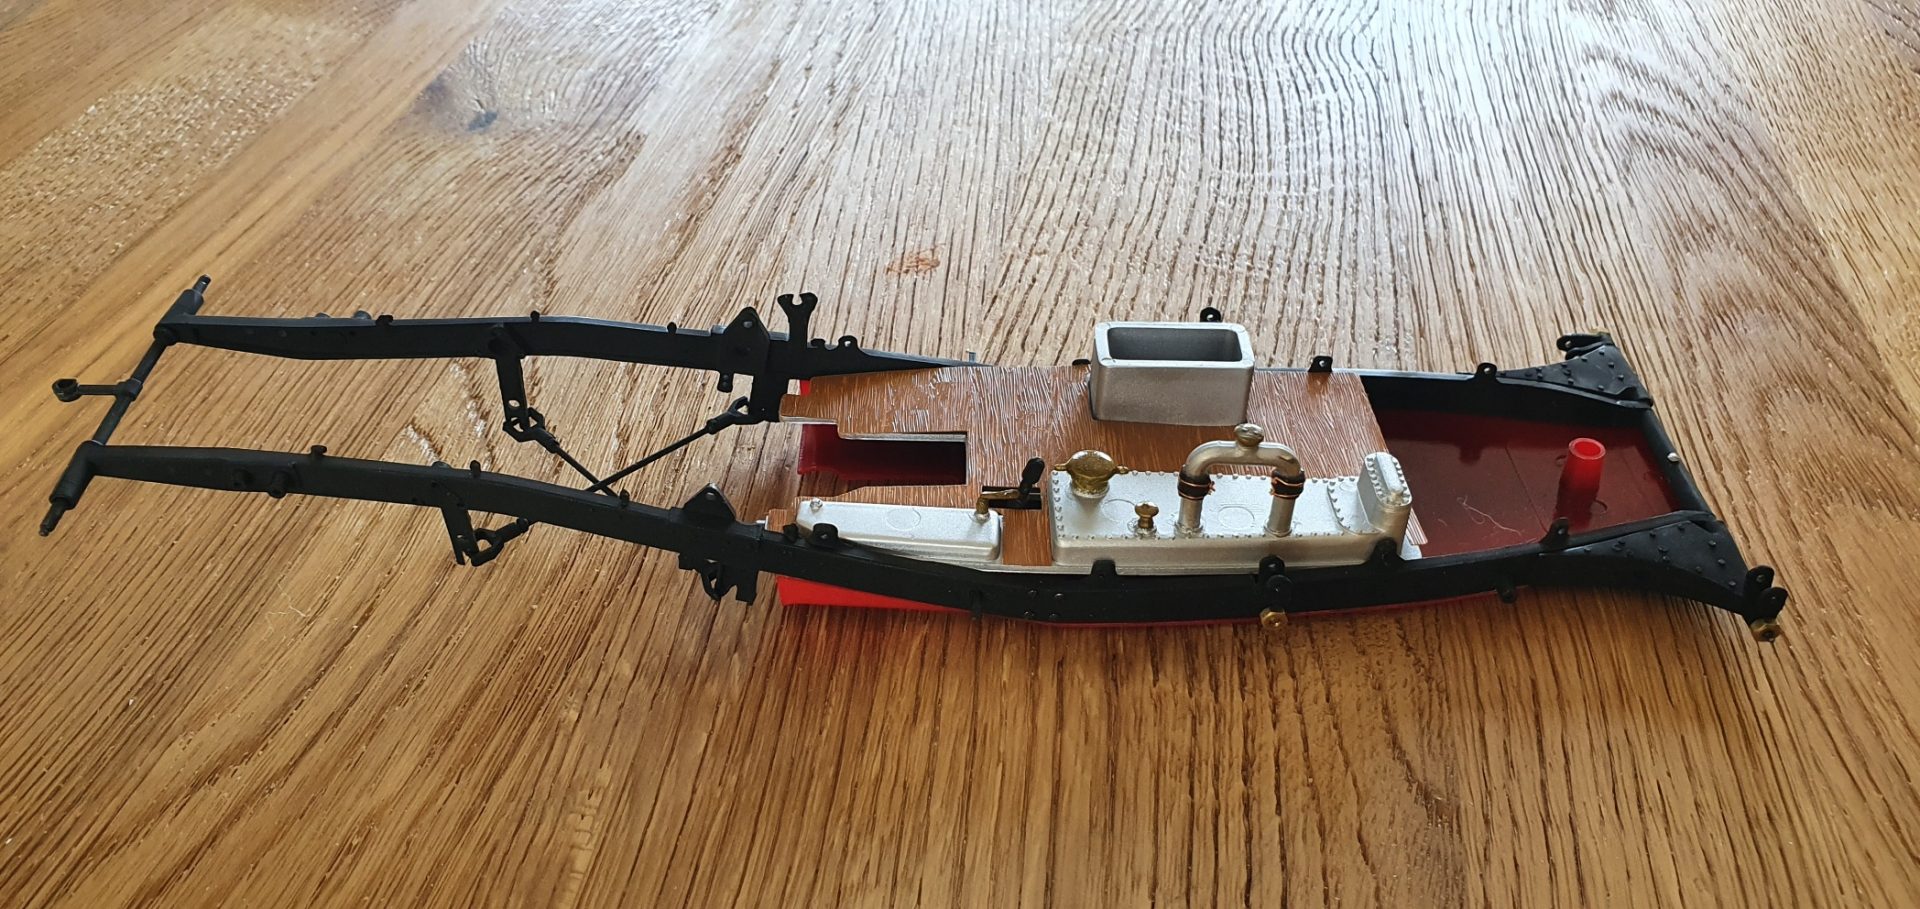
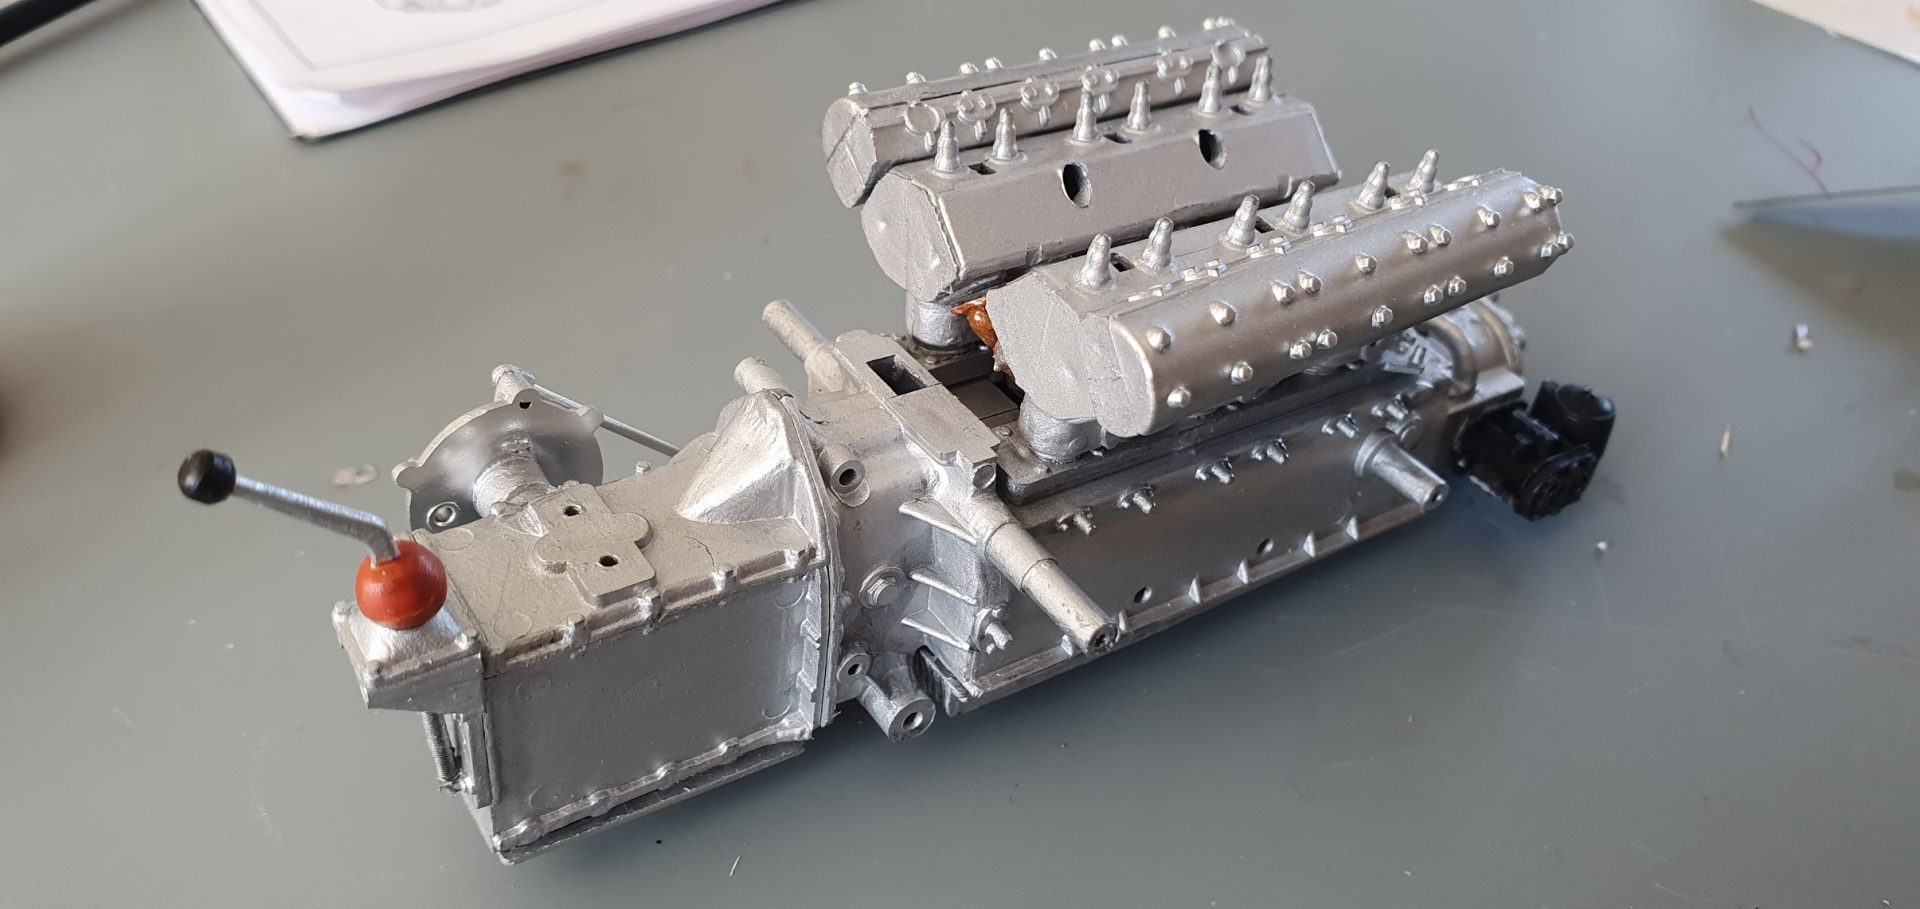
what I ended up with by the end of the day
Bank Holiday Sunday 12th April 2020 –
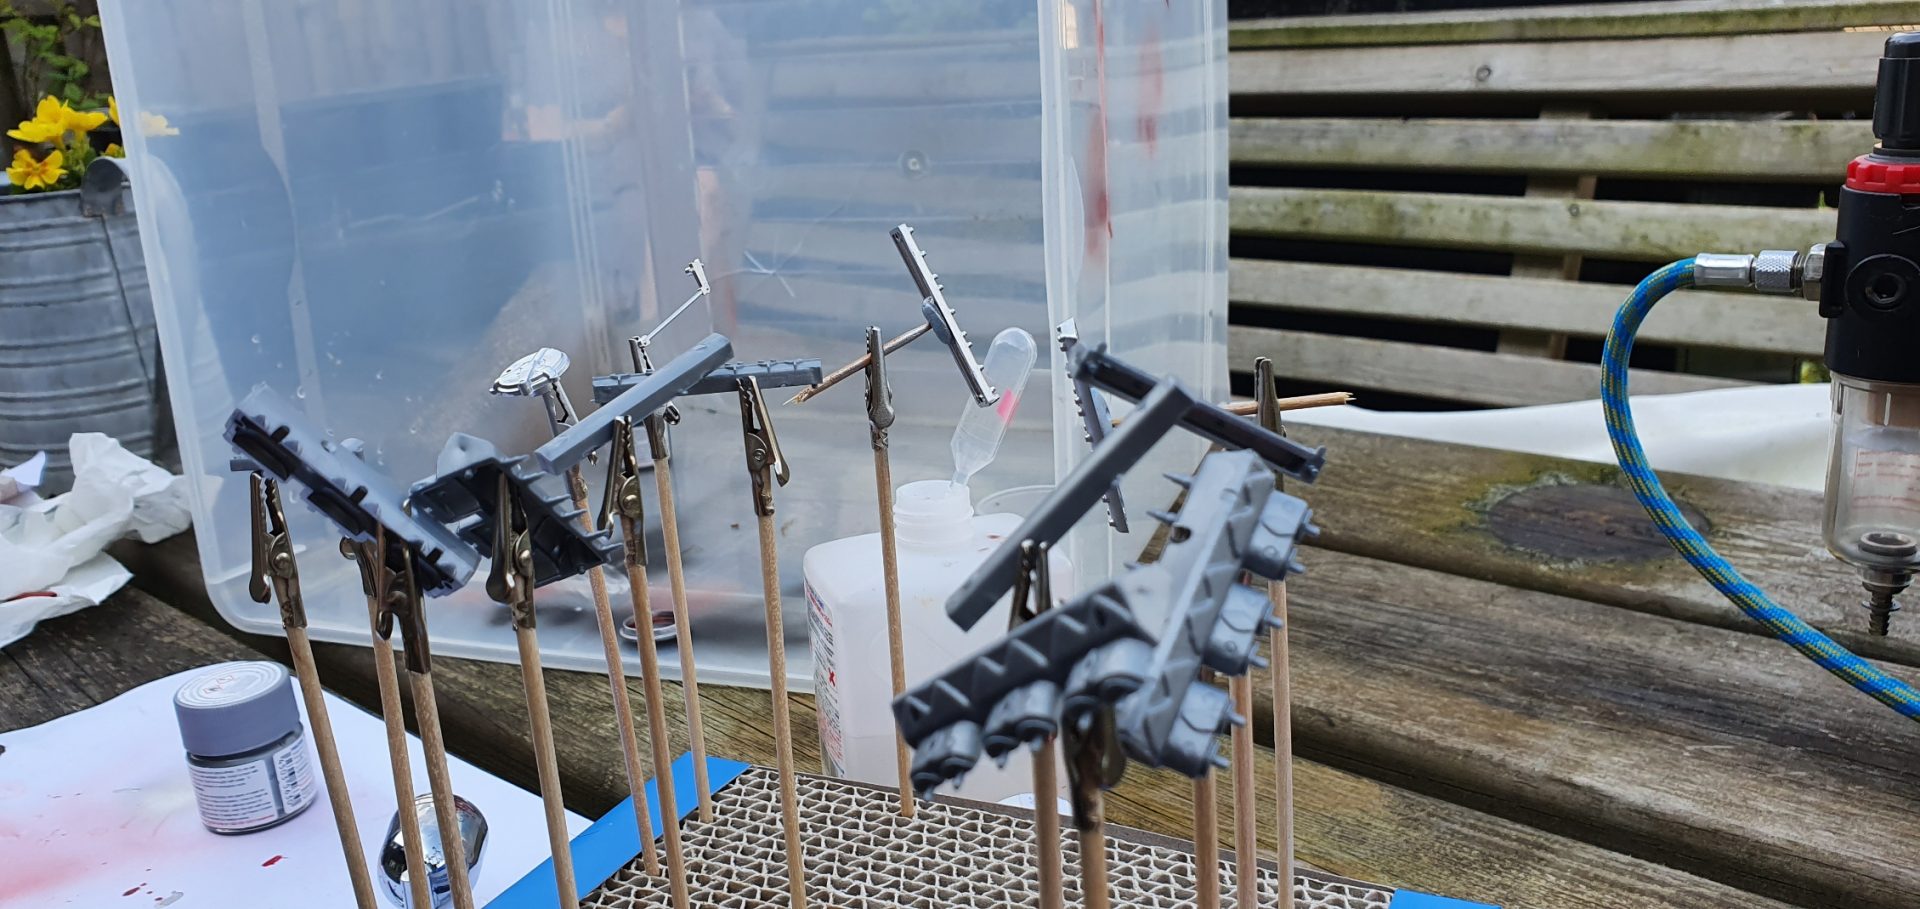
Today I prepped the next two stages, ready for sticking together tomorrow…organise, organise
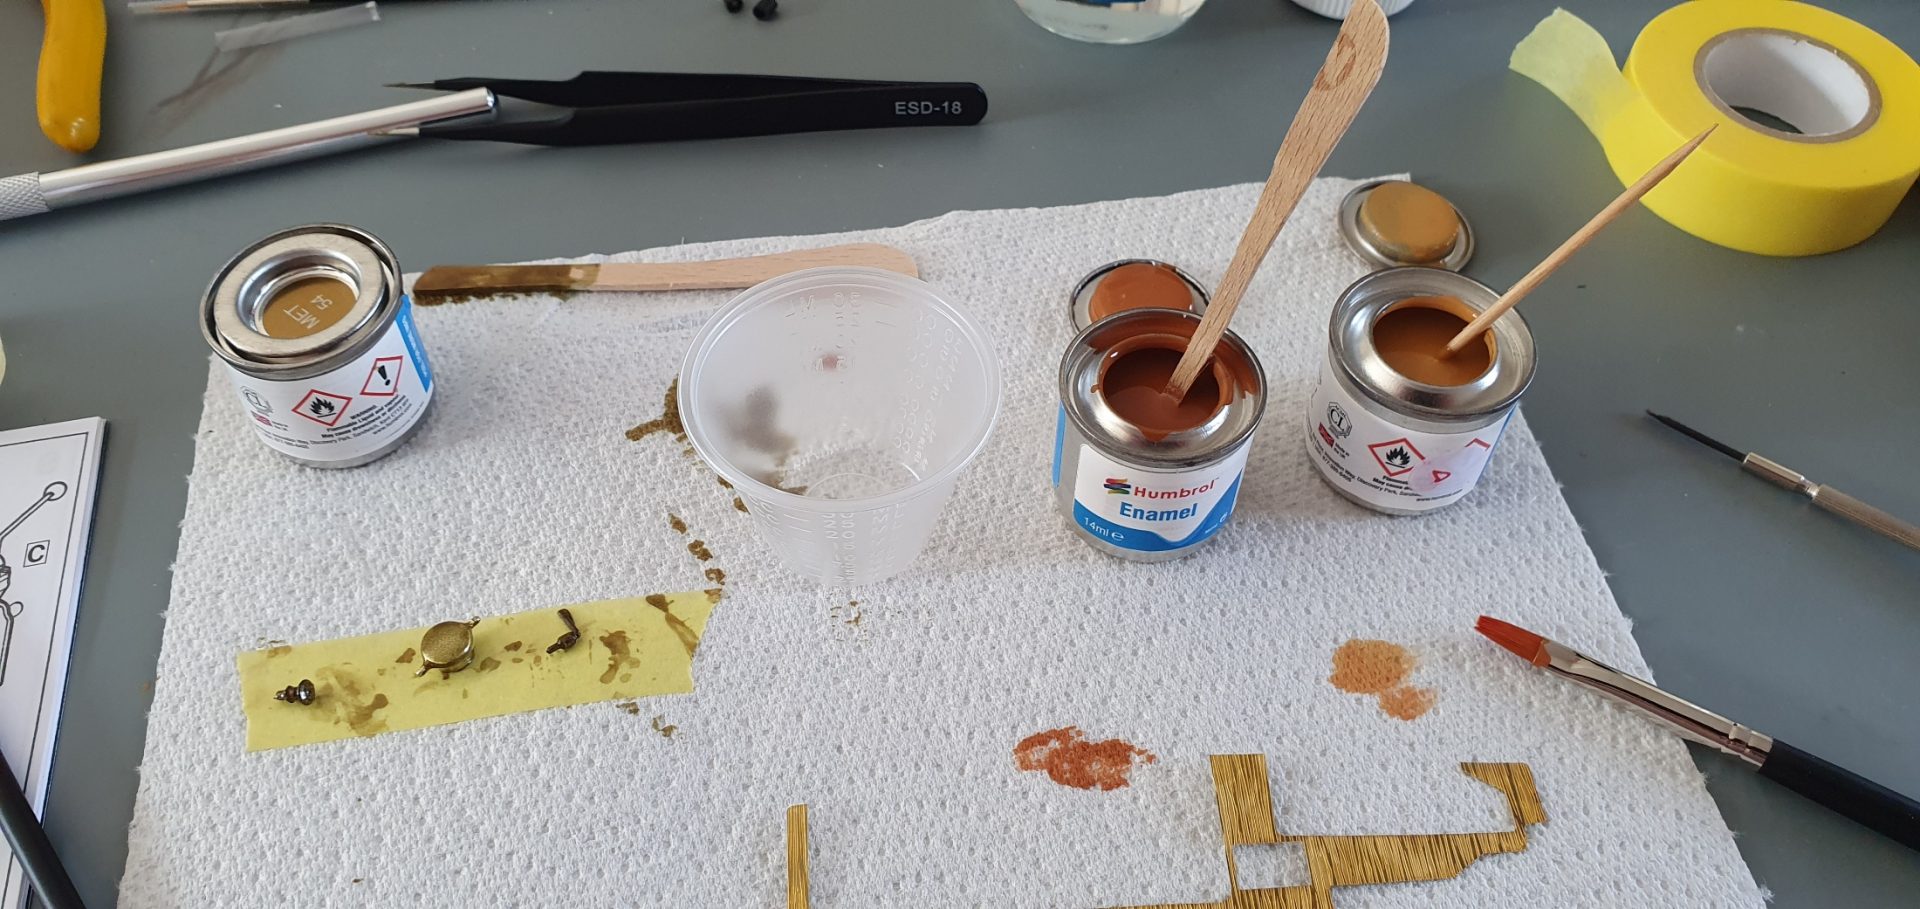
then paint shiny aluminium, matt aluminium
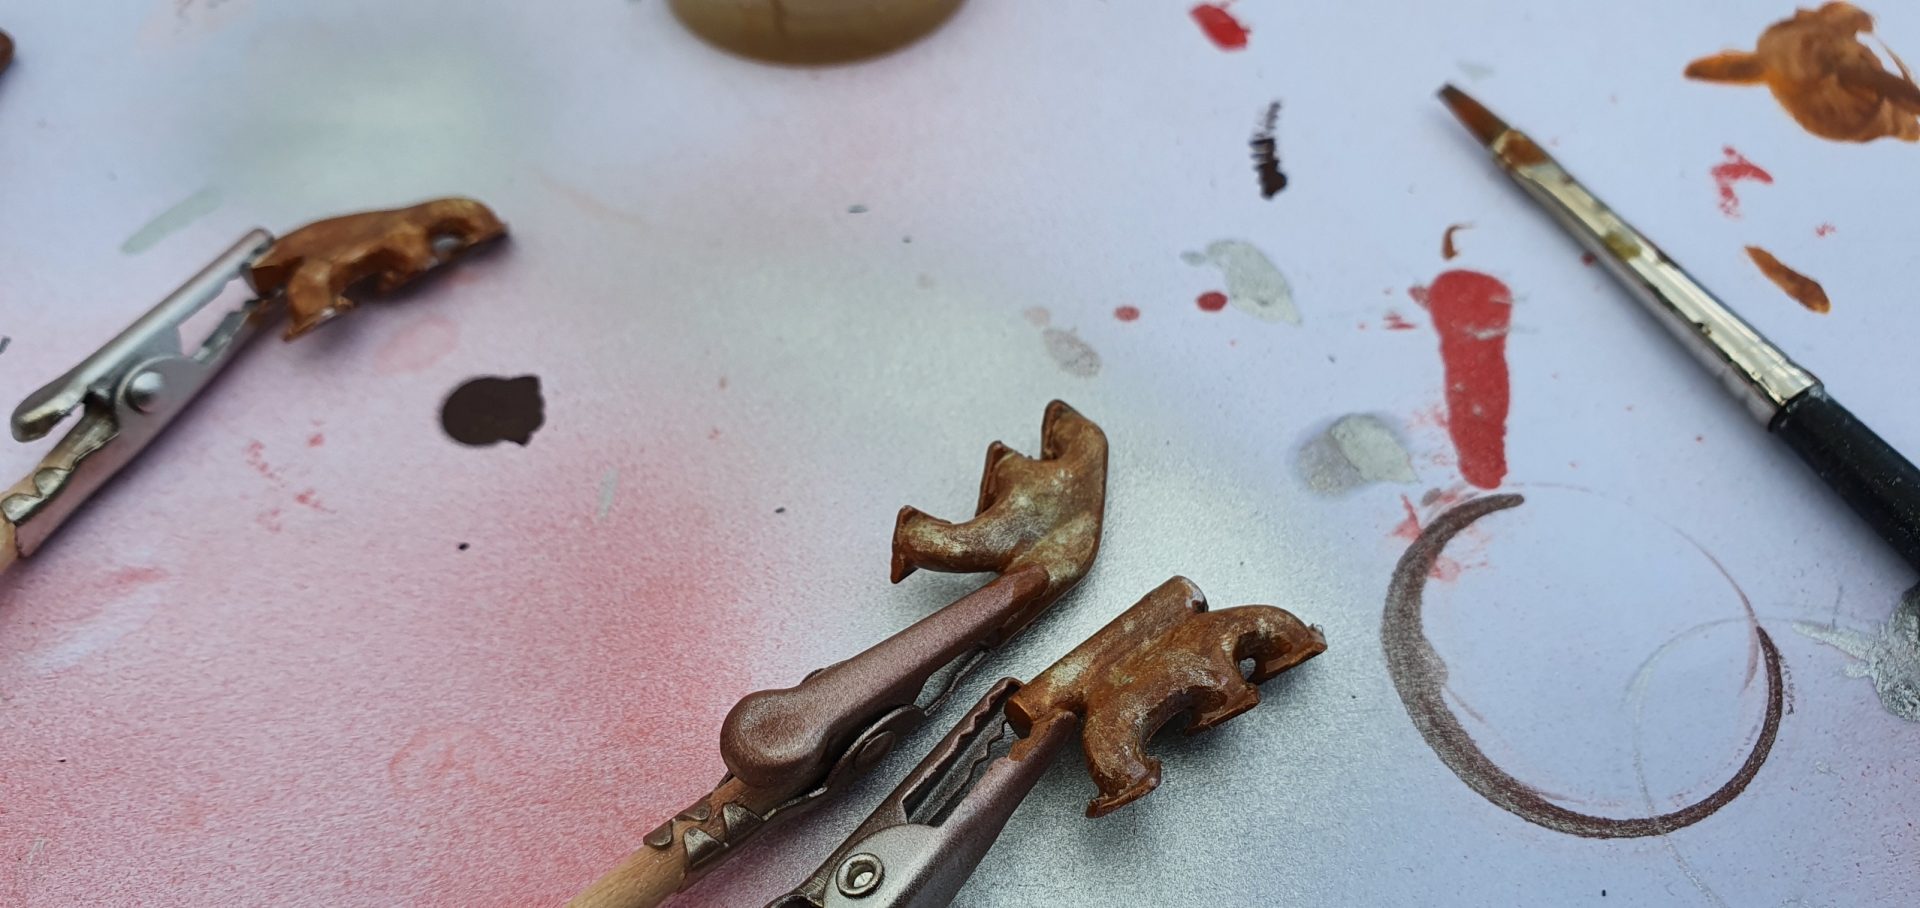
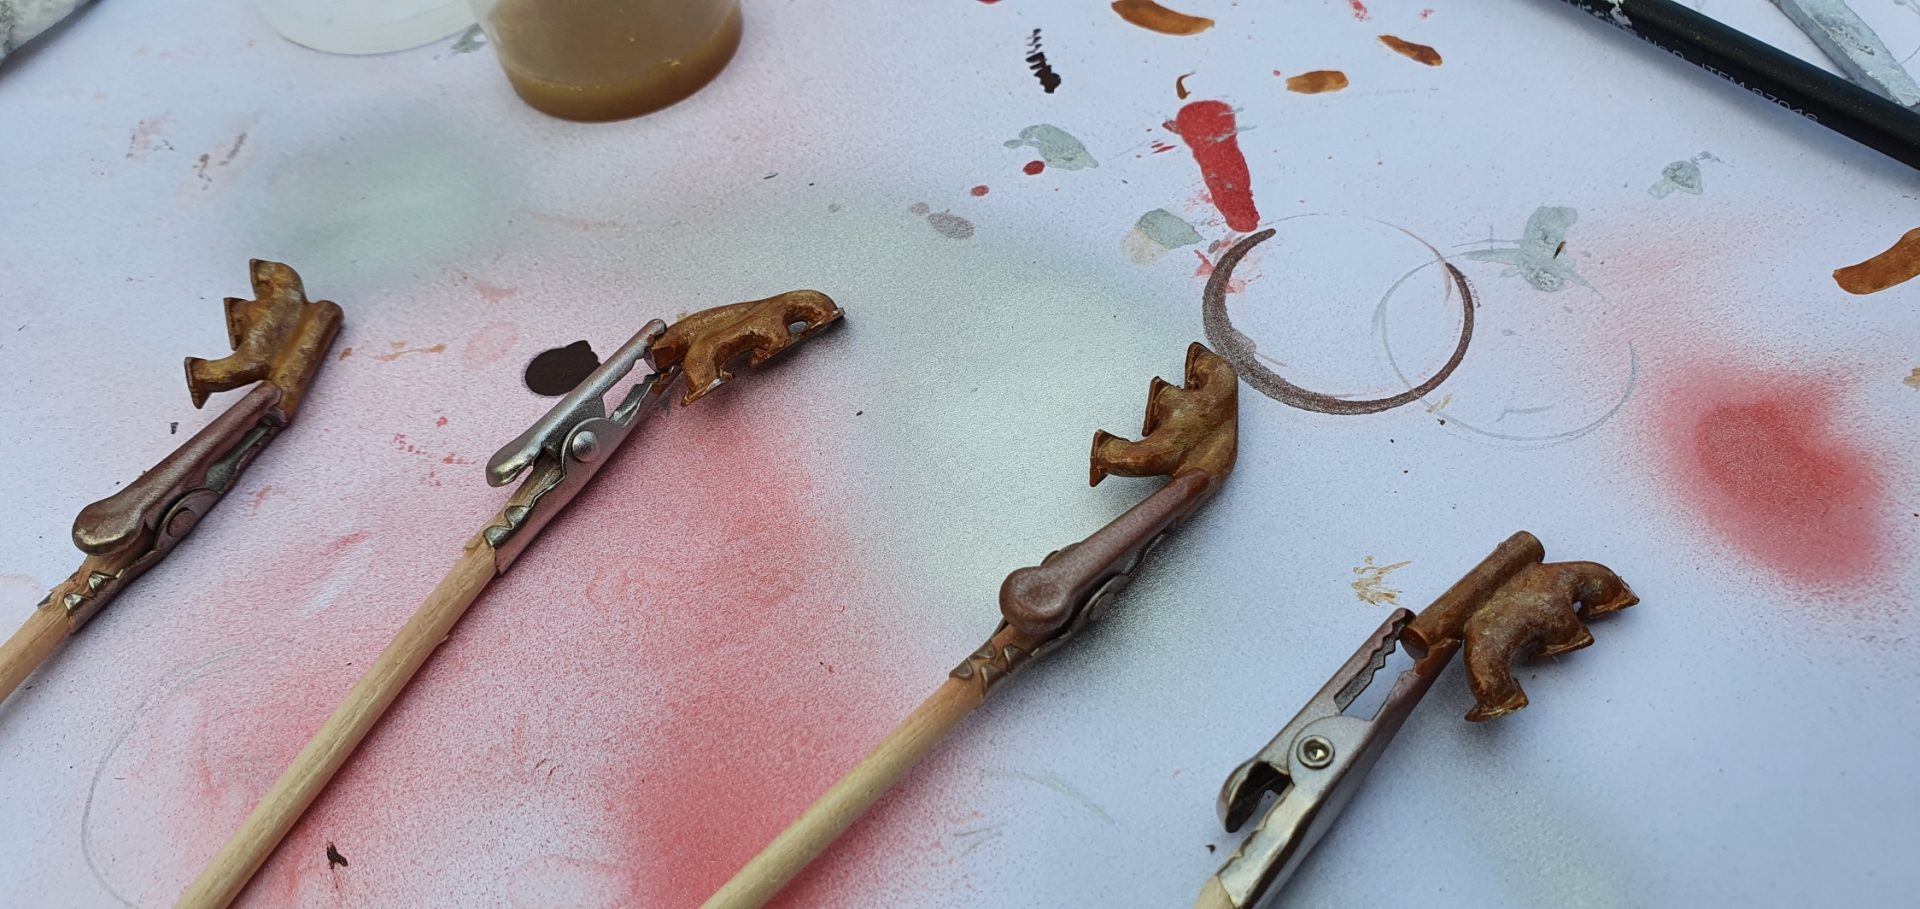
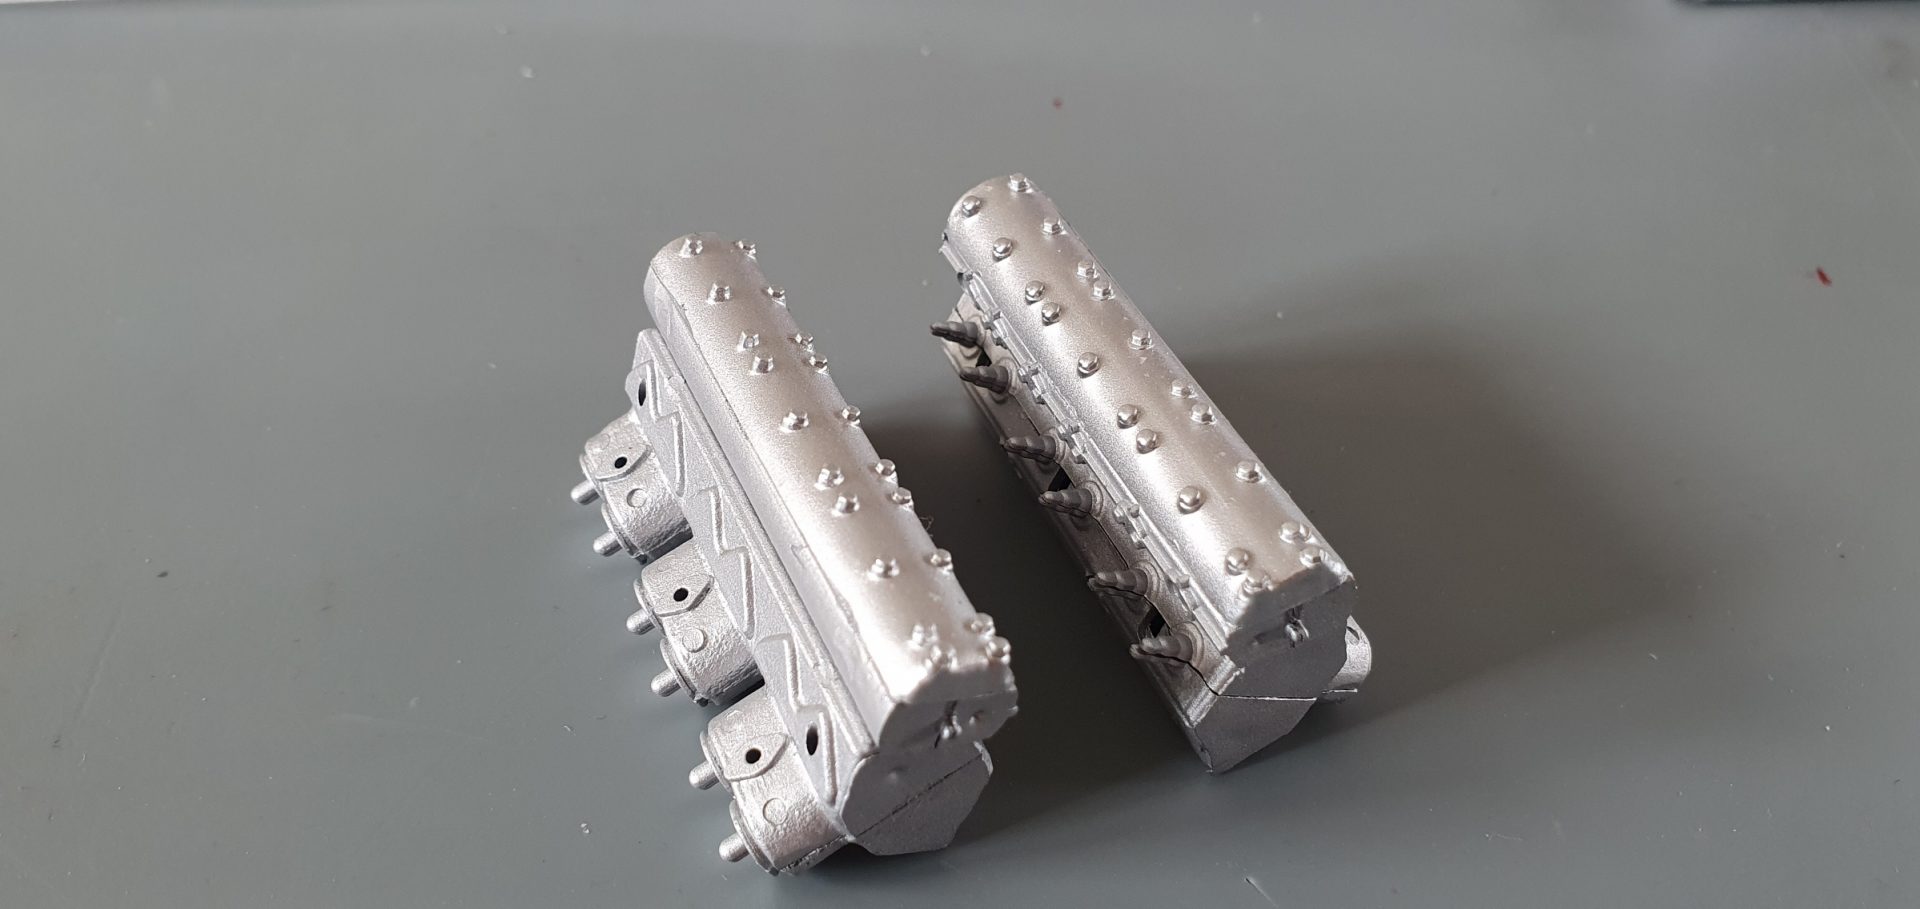
and an attempt at rusty exhaust manifolds (I may tweek some more later on)
…a bit of a learning curve, they look better than in the pictures but not sure if too ‘rusty’
I made the ‘rust with bright orange, dark brown and thinned with thinners…stippled over shiny aluminium
Bank Holiday Monday 13th April 2020 –
Today I put the parts from yesterday together…what a faff!
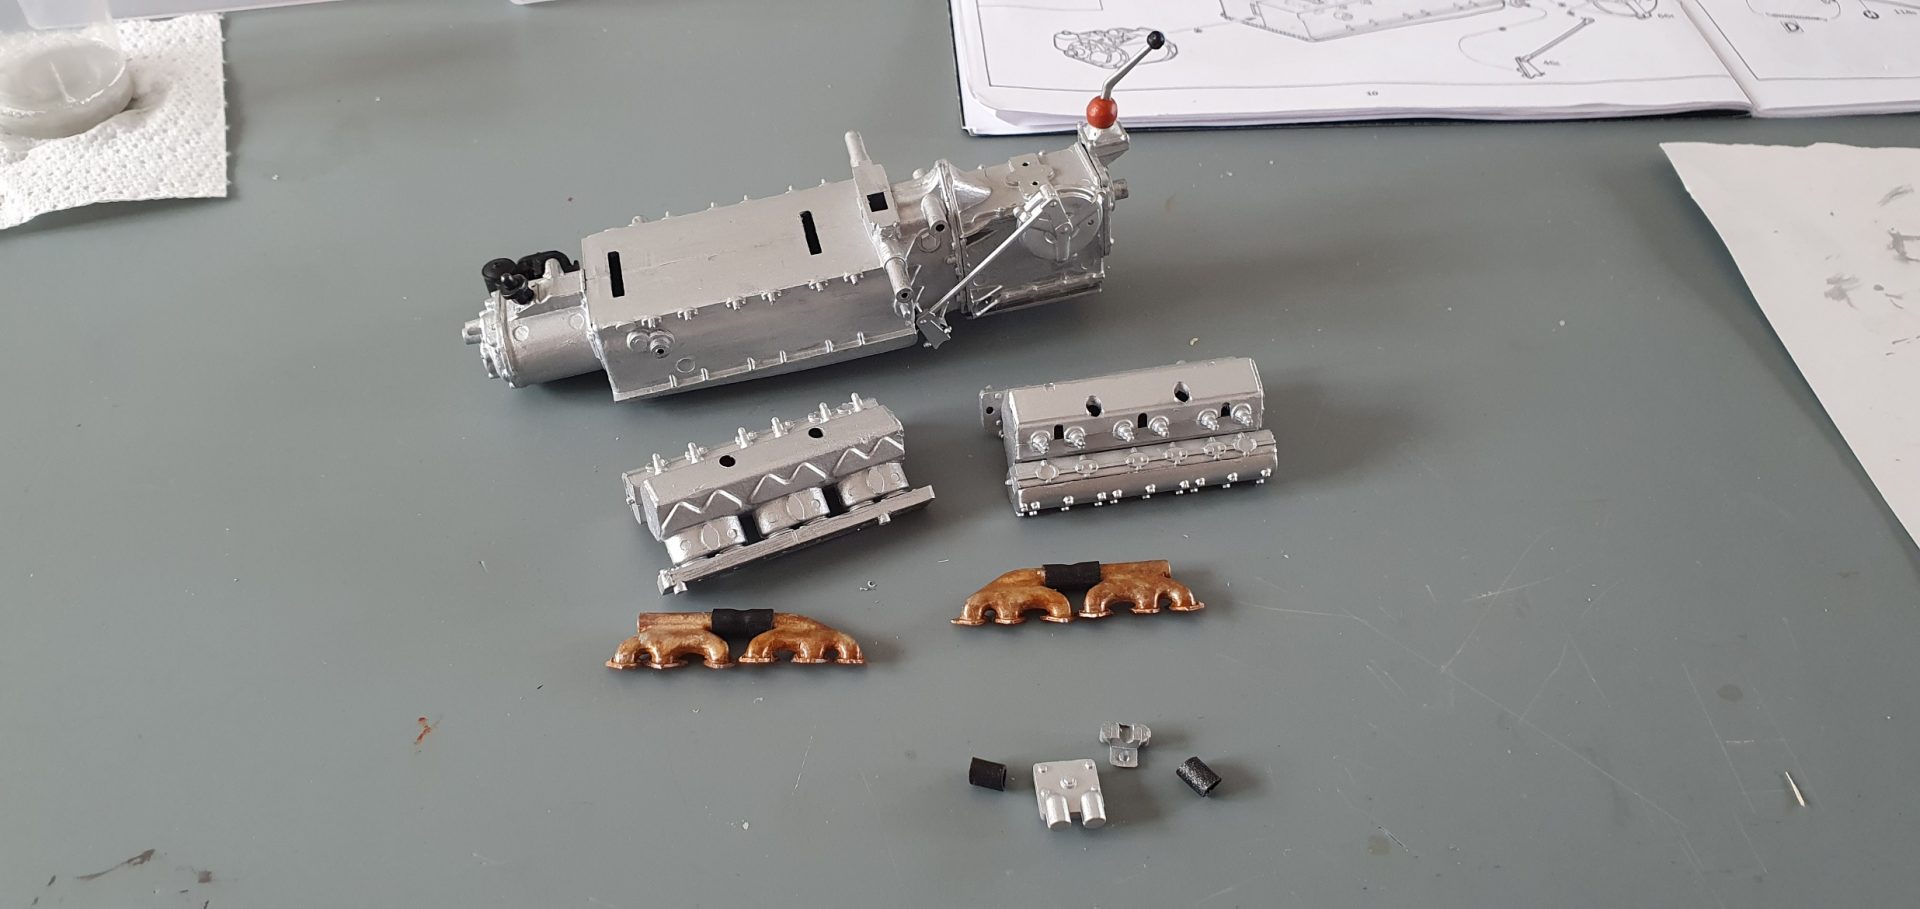
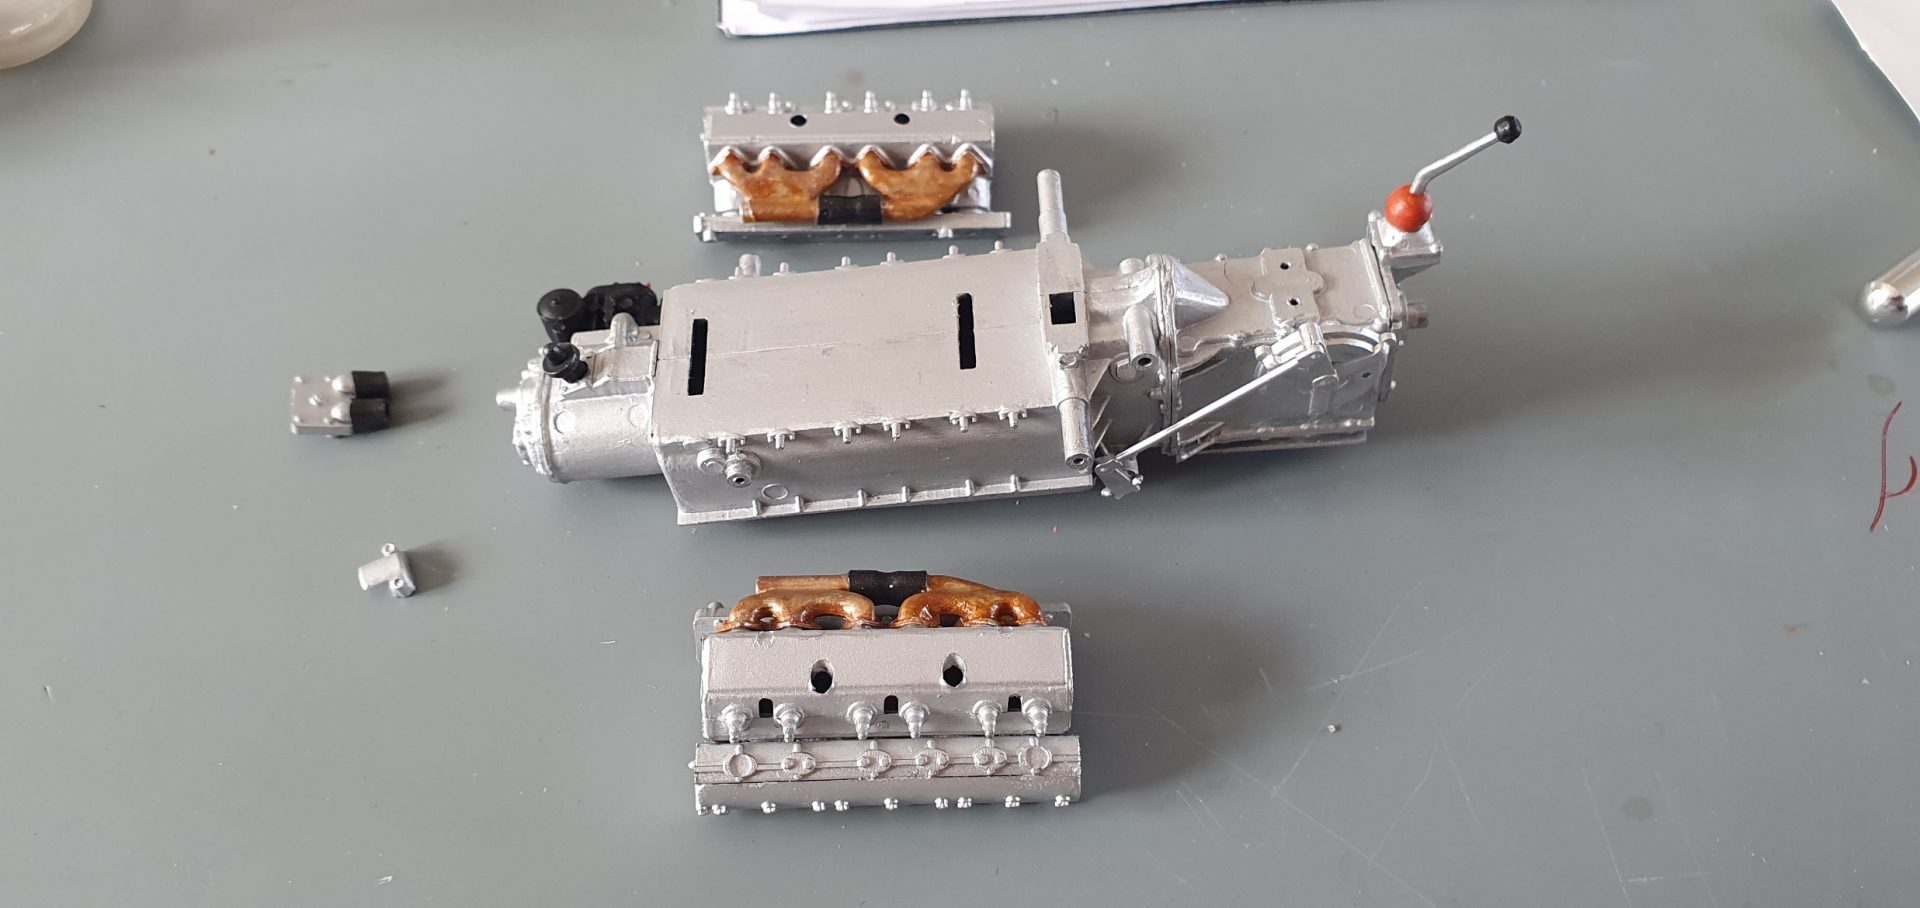
dry fitting together the manifolds and their rubber bits too
and after all that you can only see about 5% of them too!
17th April 2020 –
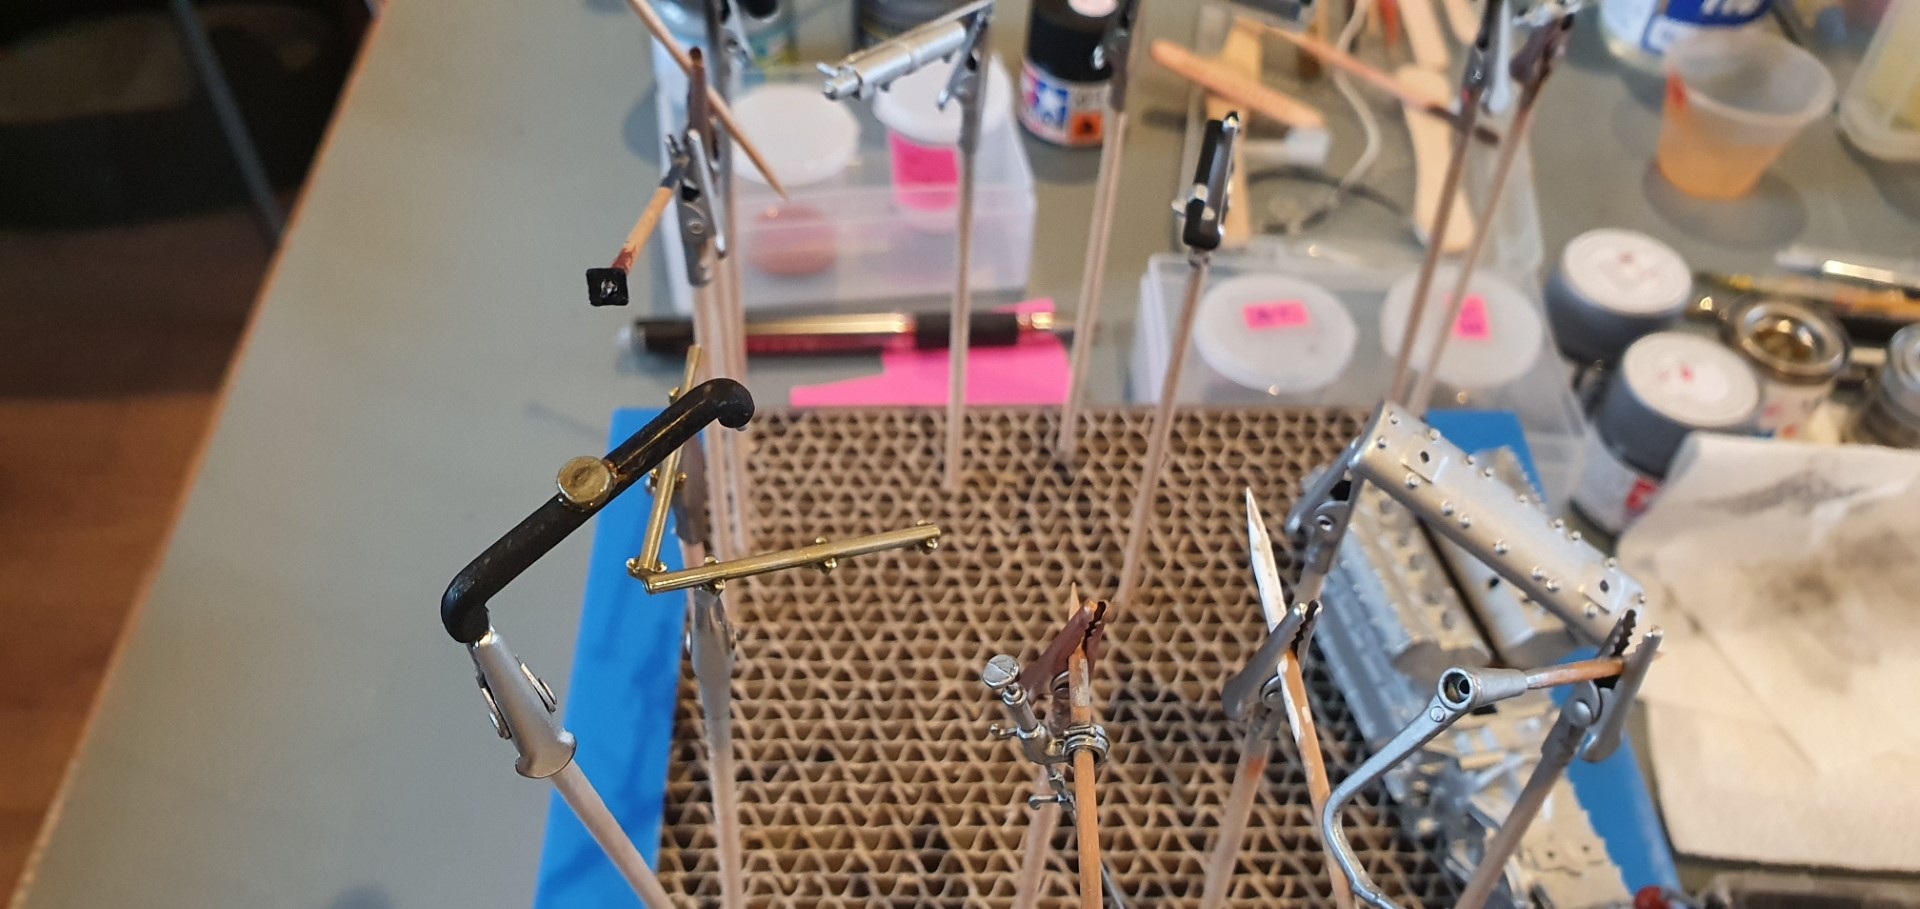
painting some more parts
breaking some bits!
mending some bits (you can see the spring I had to cut and fit)
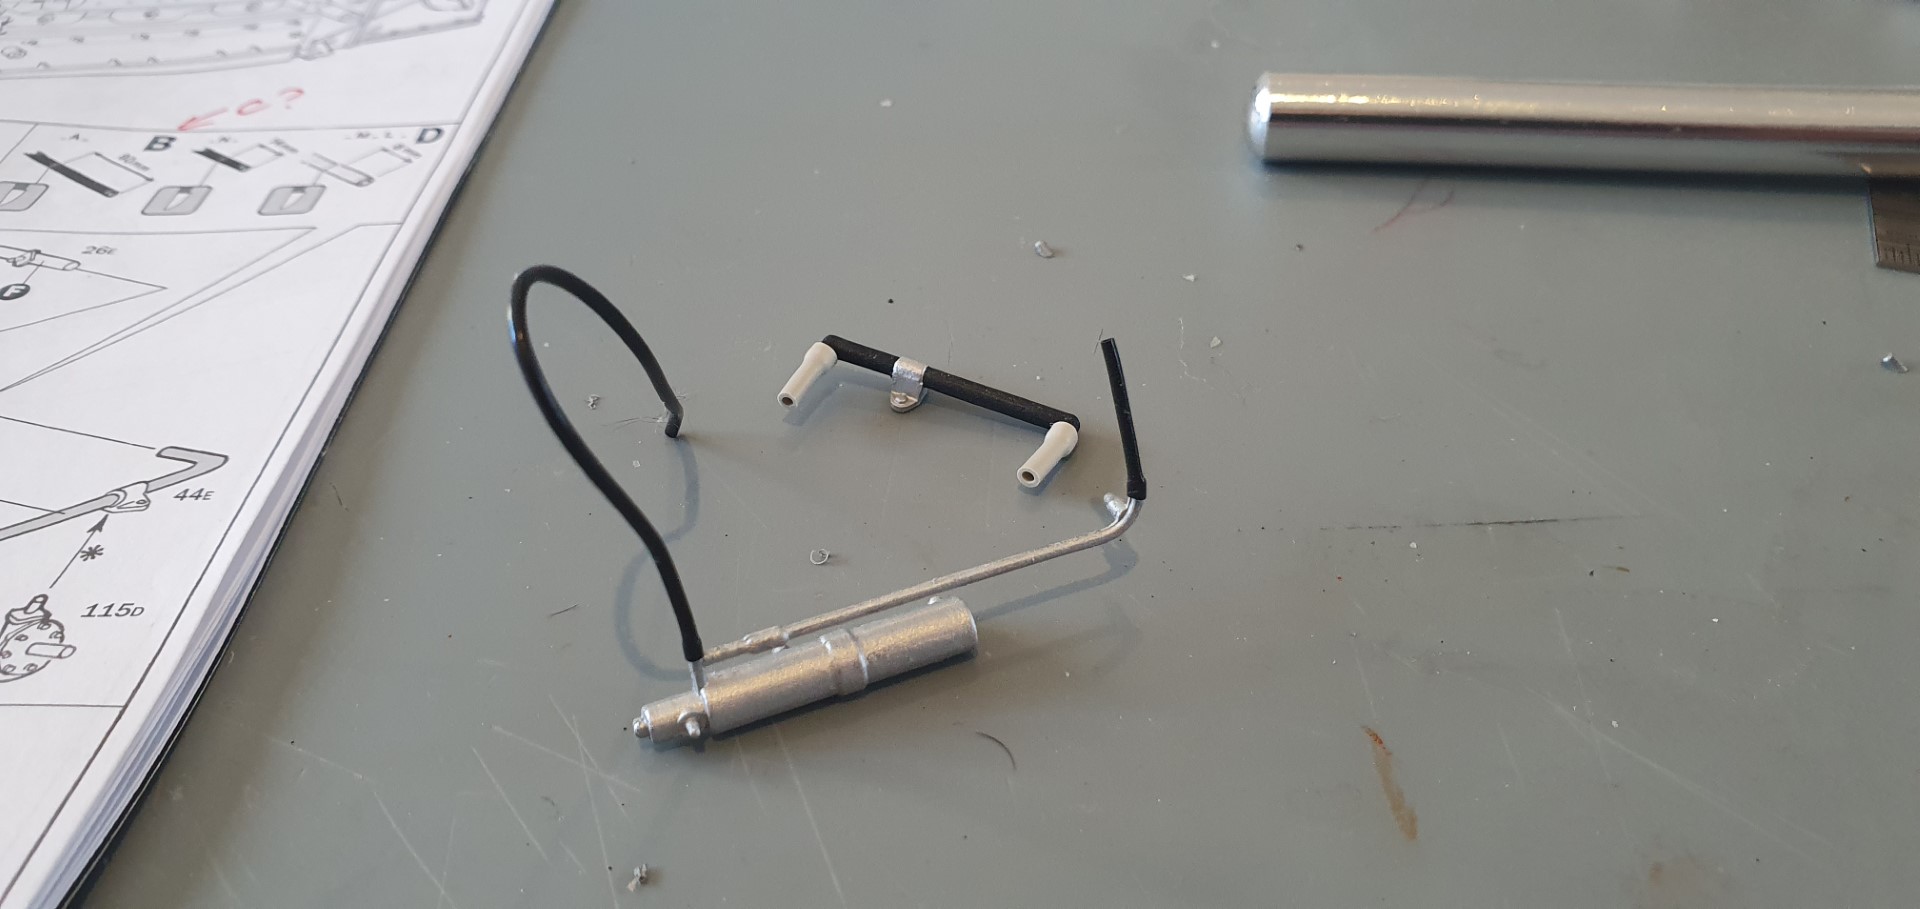
adding pipes to parts (4 mm long some of them)
19th April 2020 –
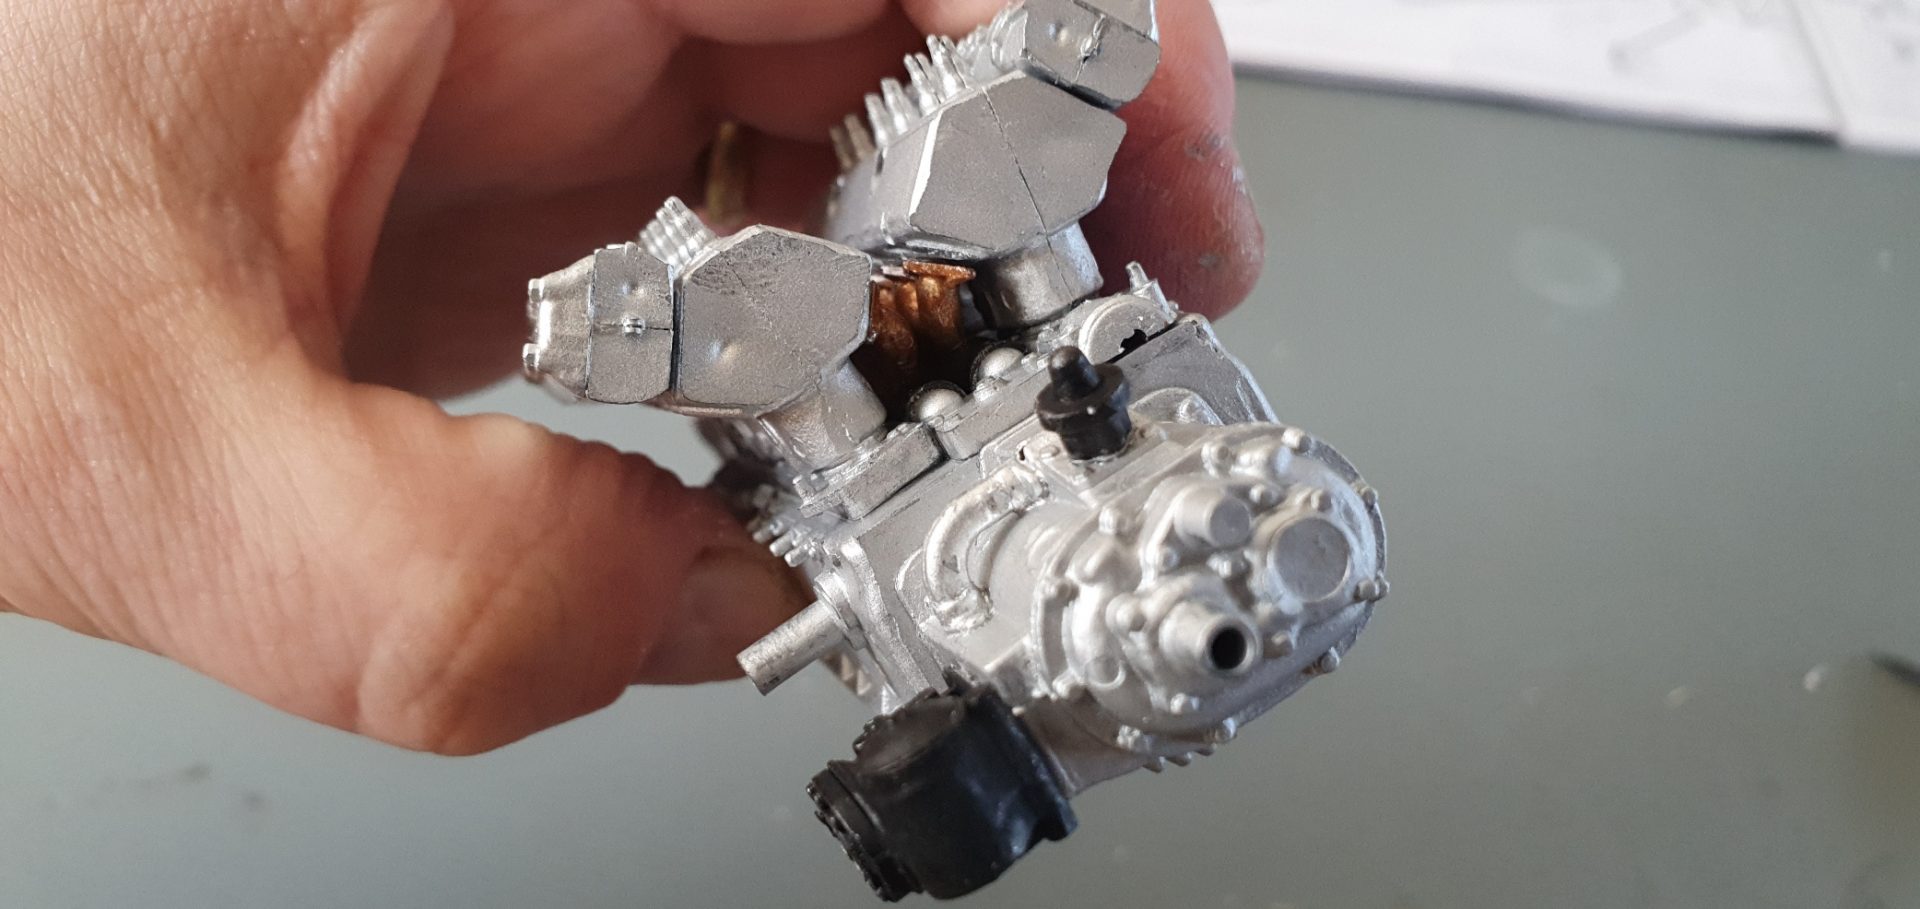
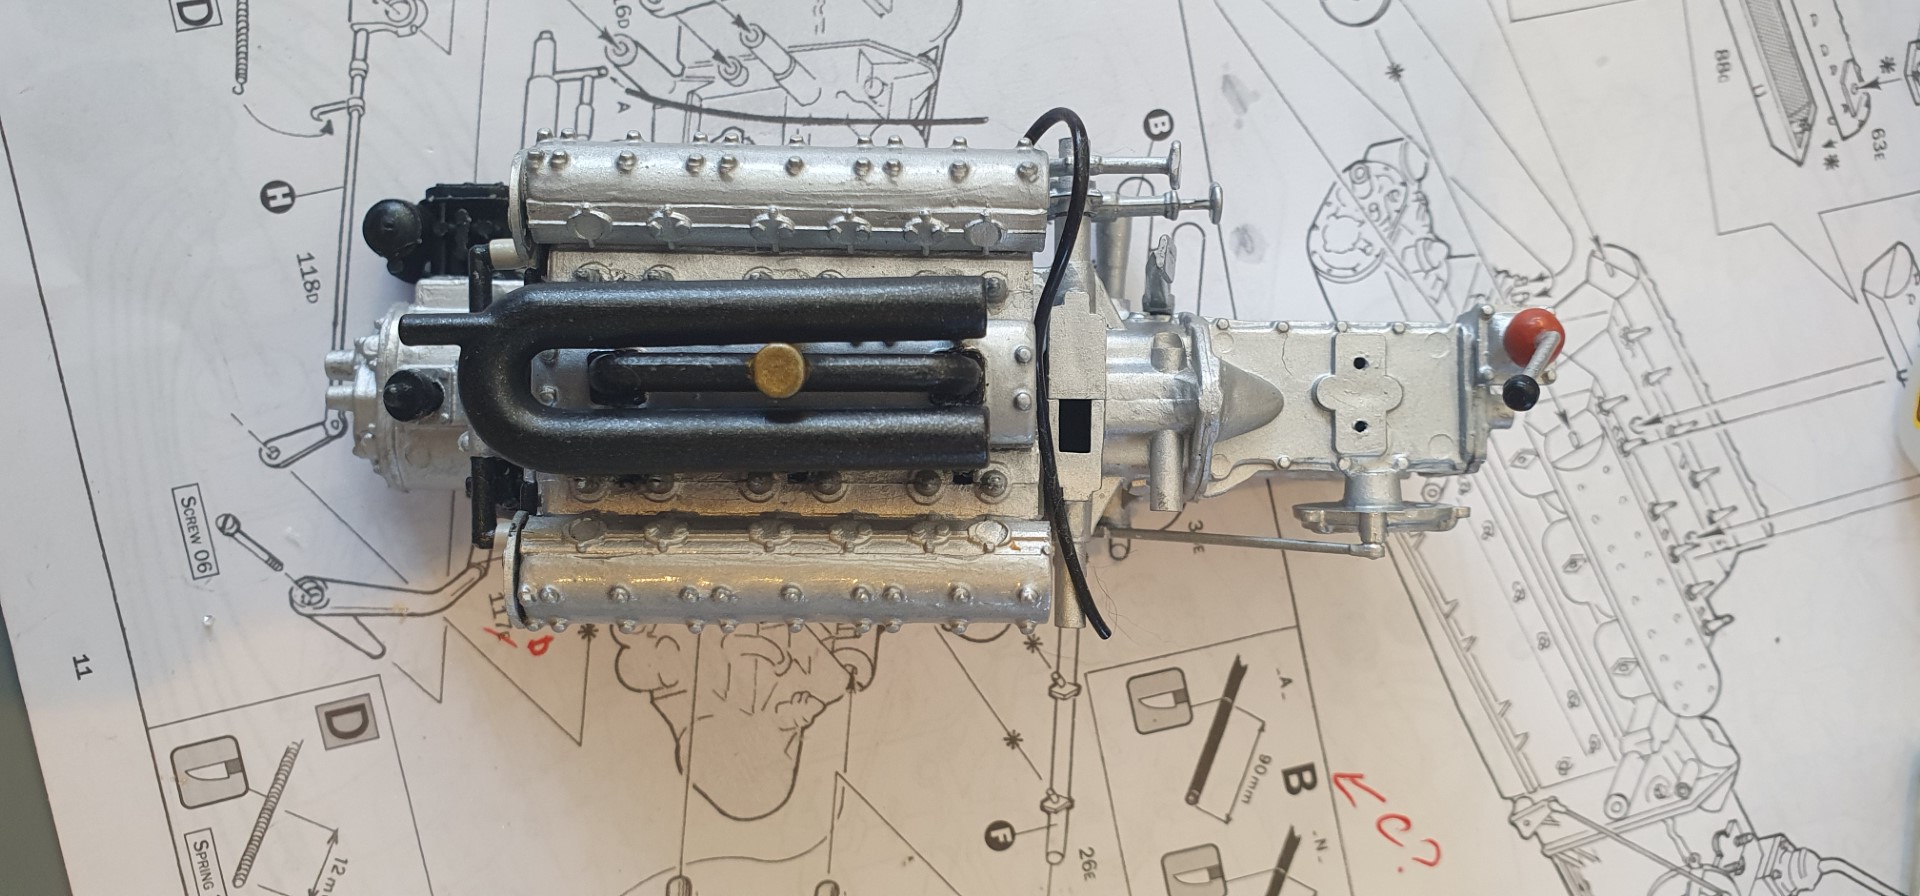
The rusty bits from the last few stages are now fully invisible (what a waste of time!).
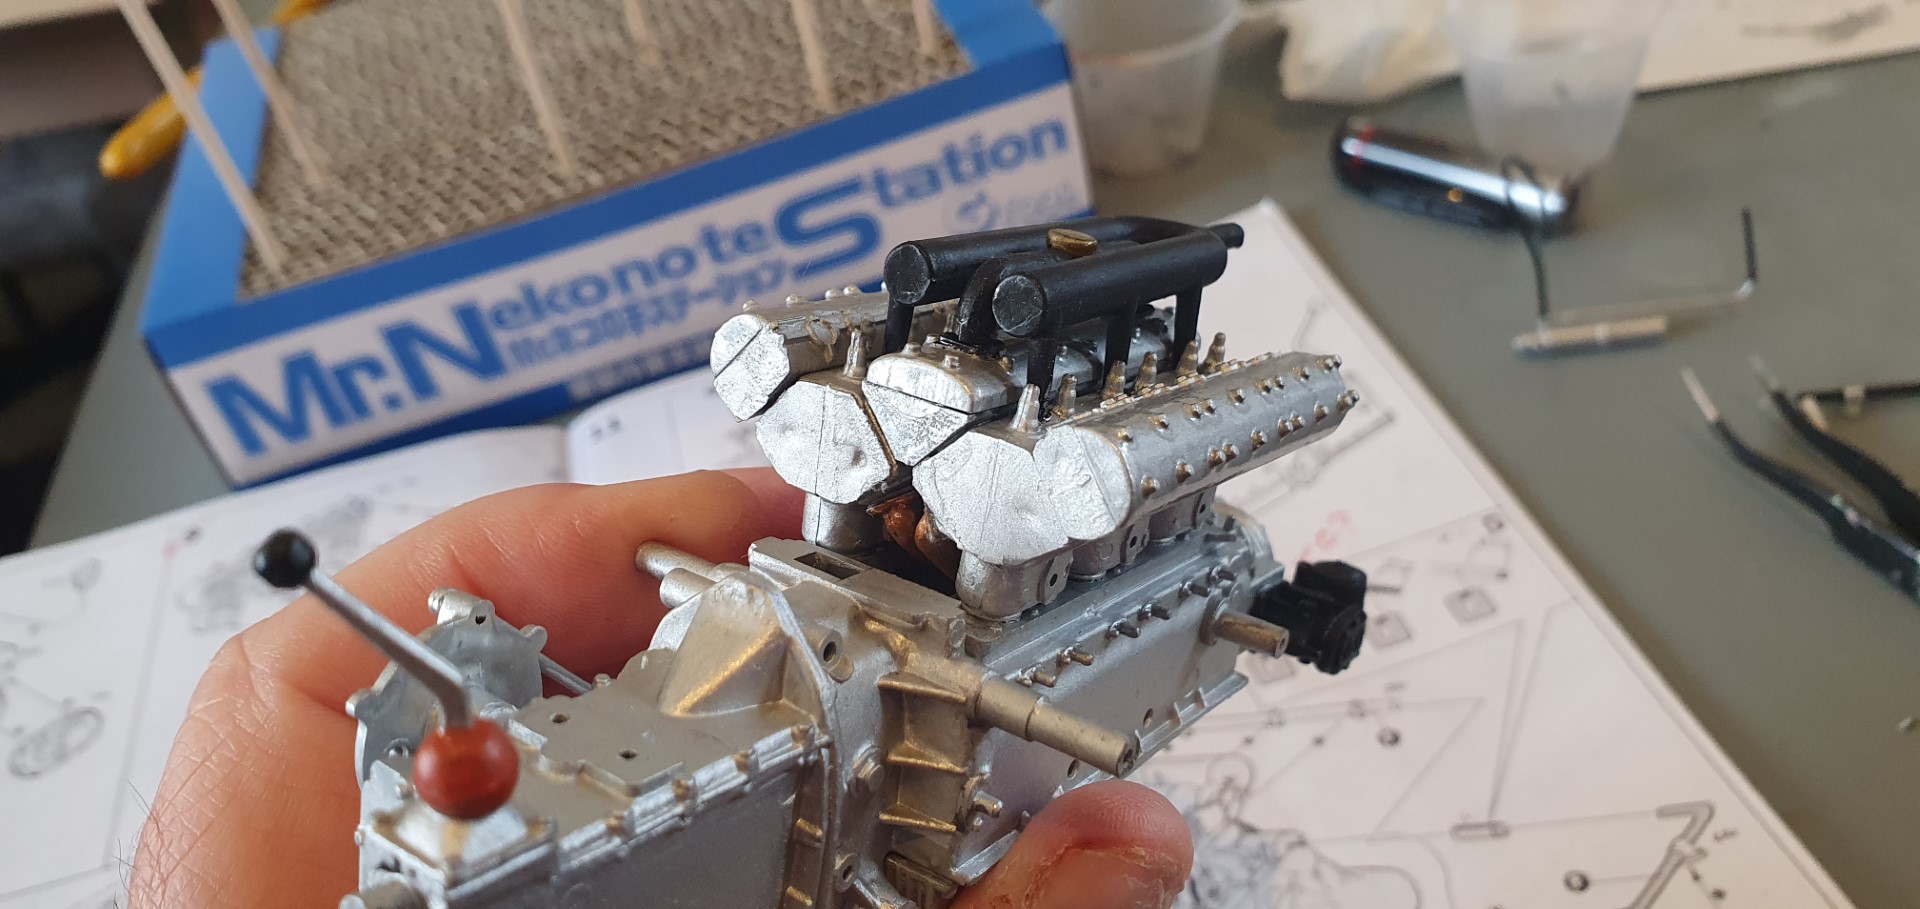
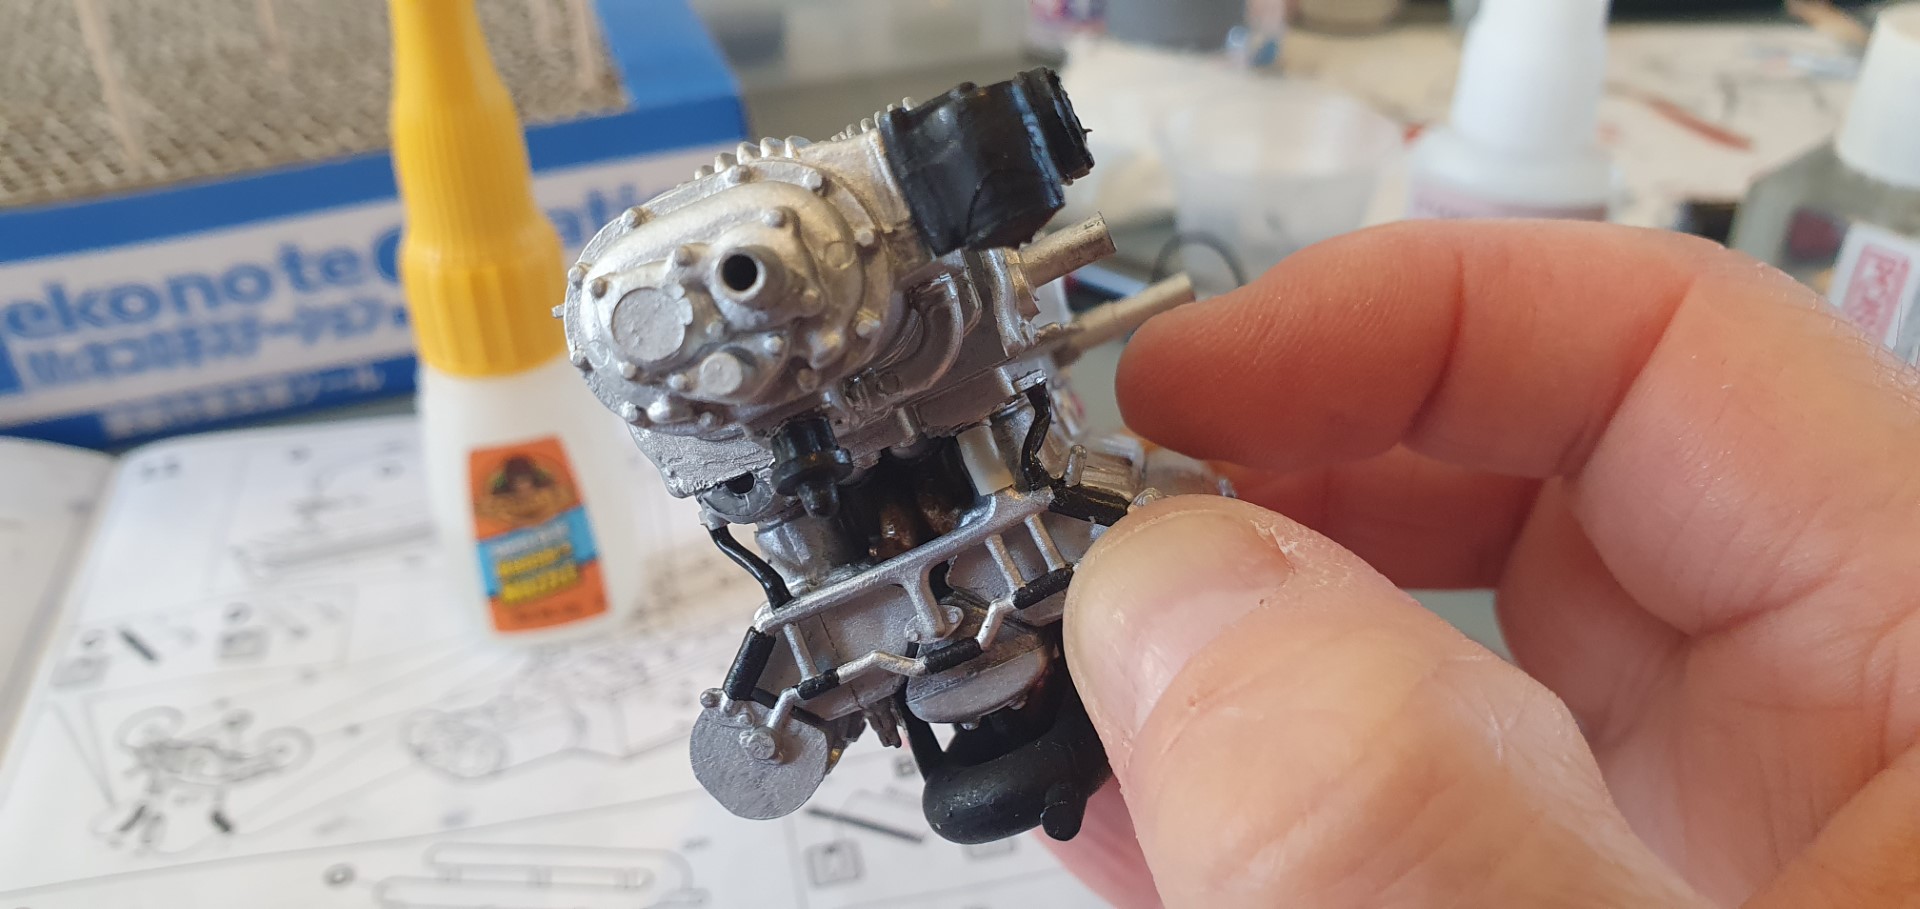
Not only that but I had to force the two sides of the engine together so the middle part fit properly
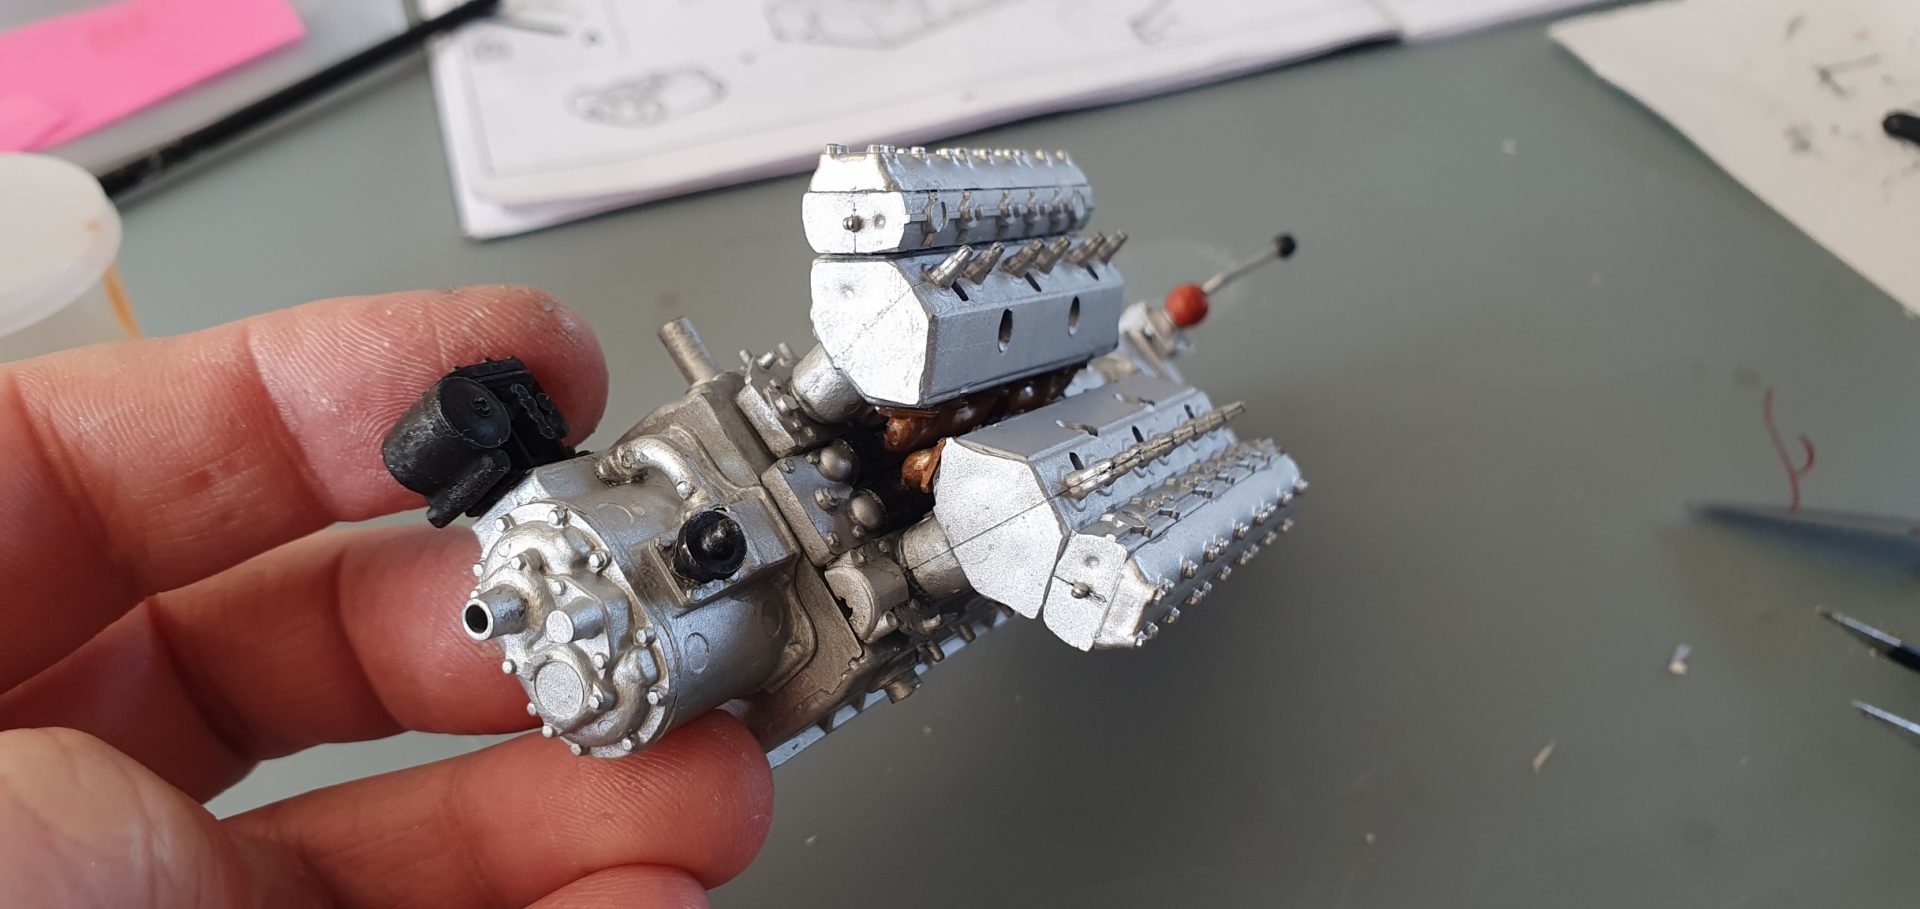
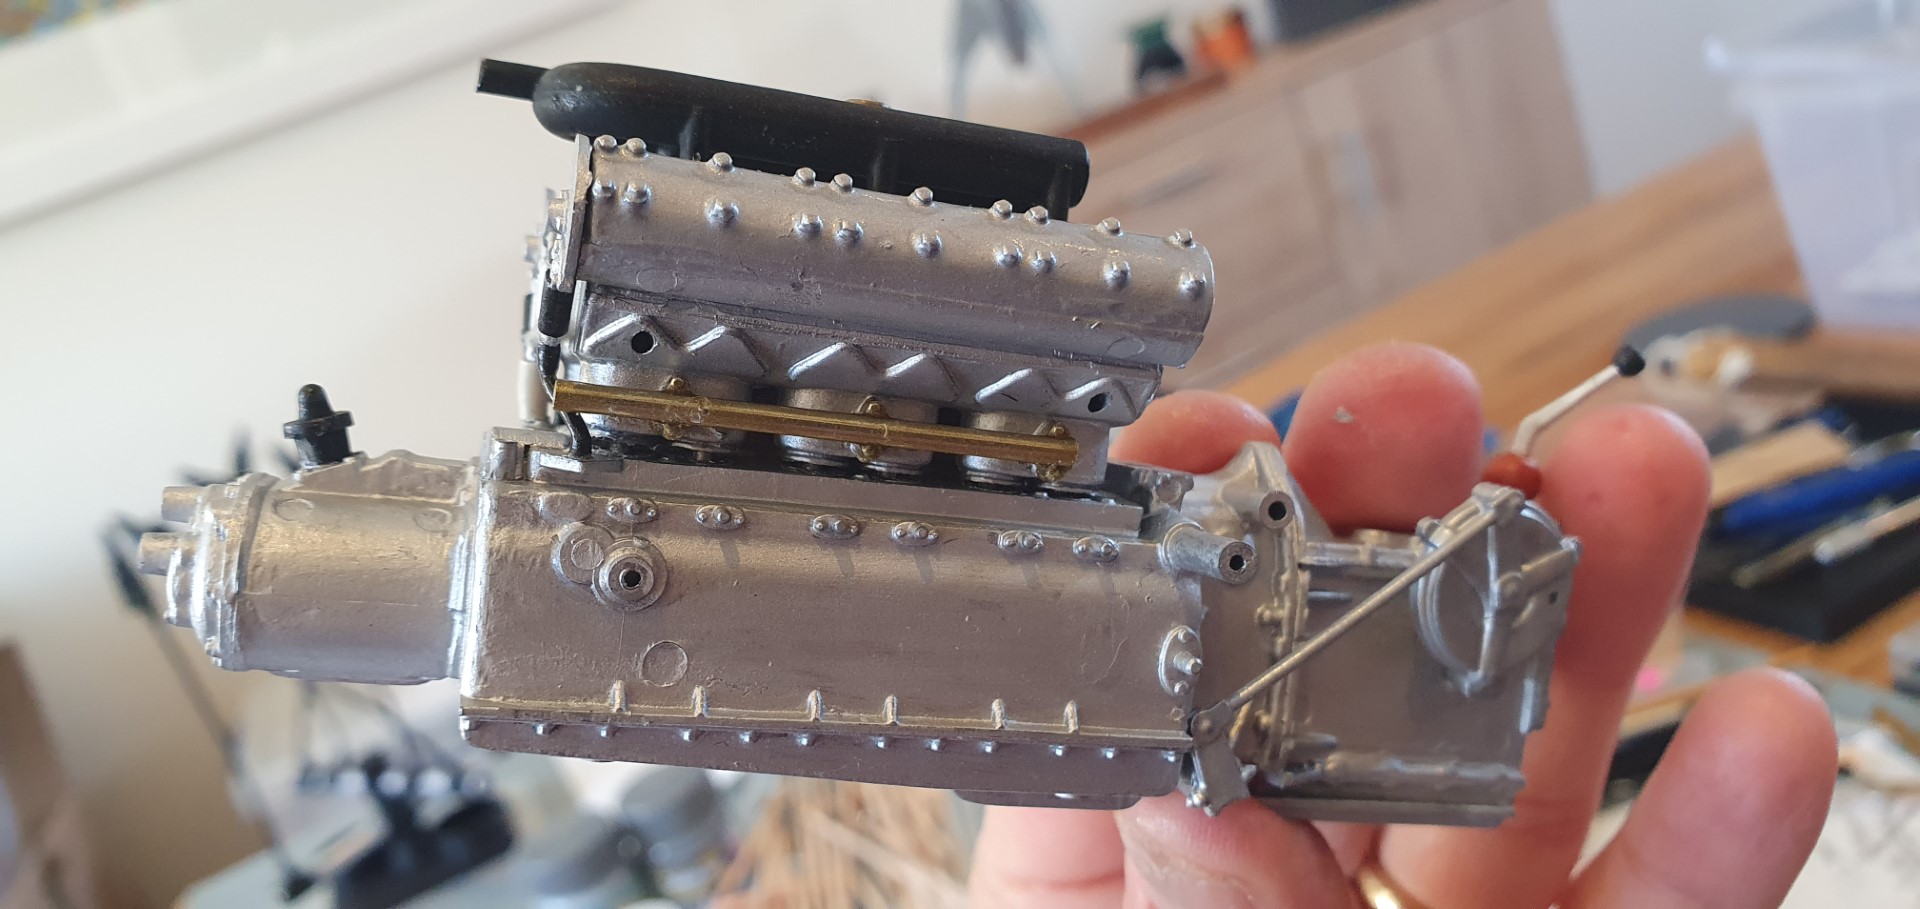
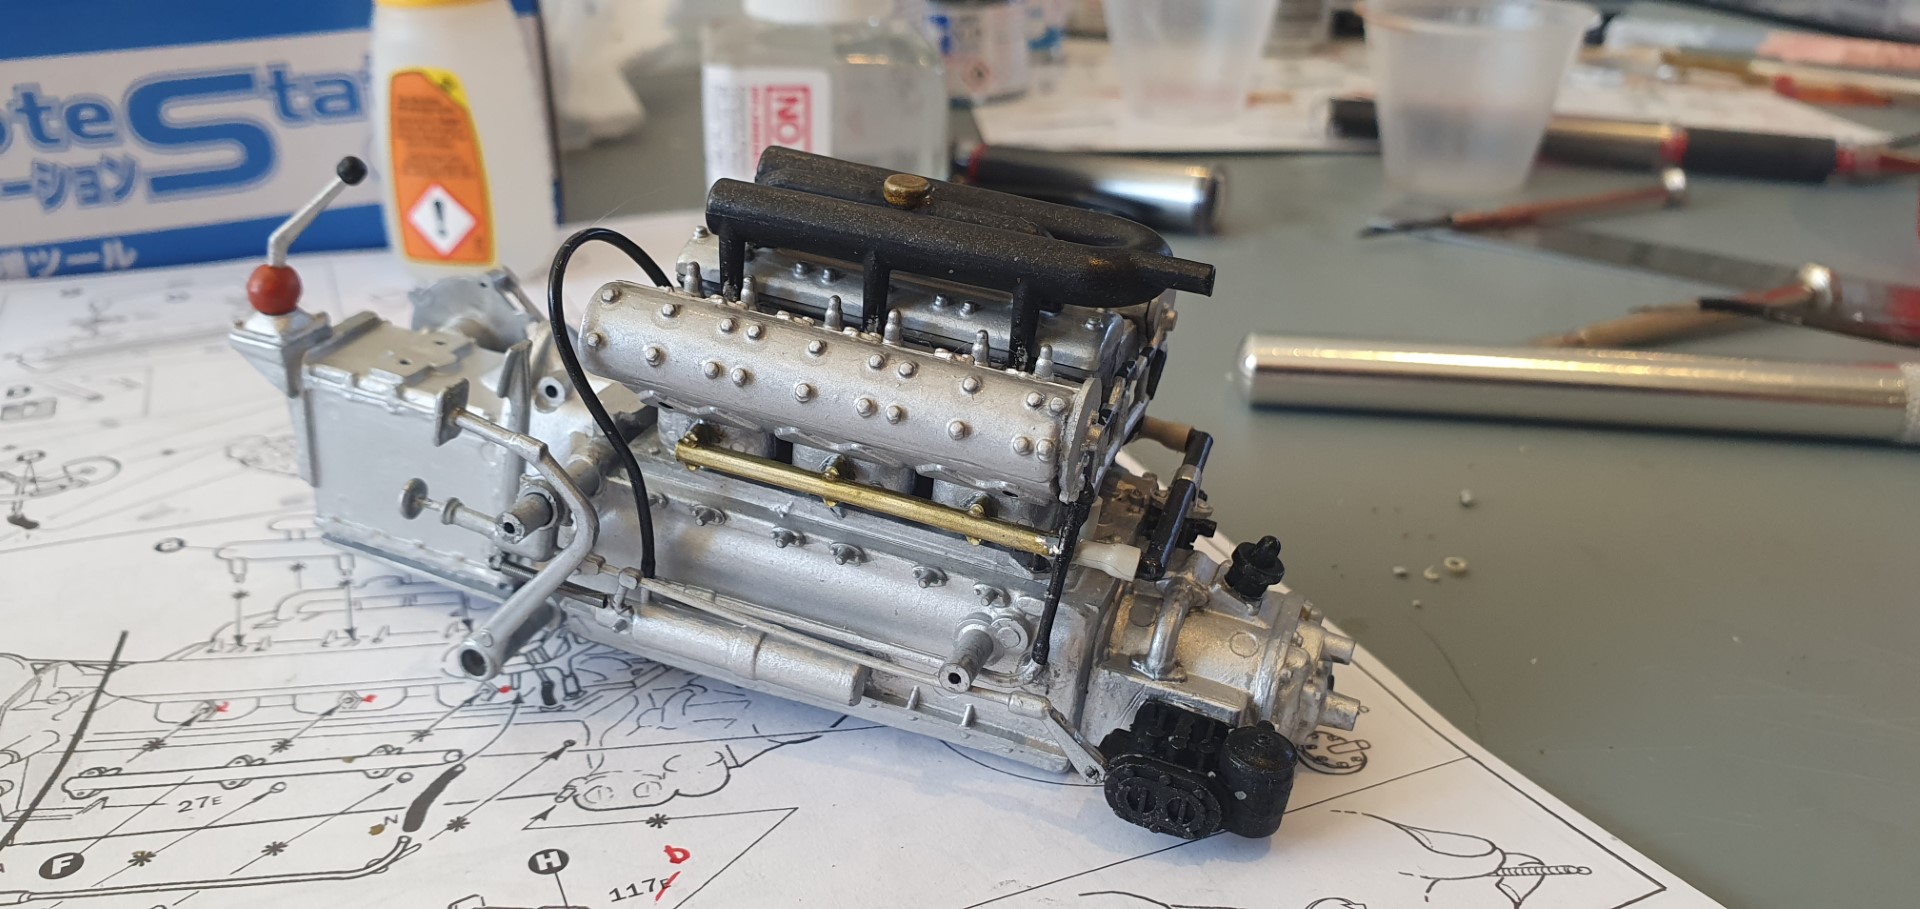
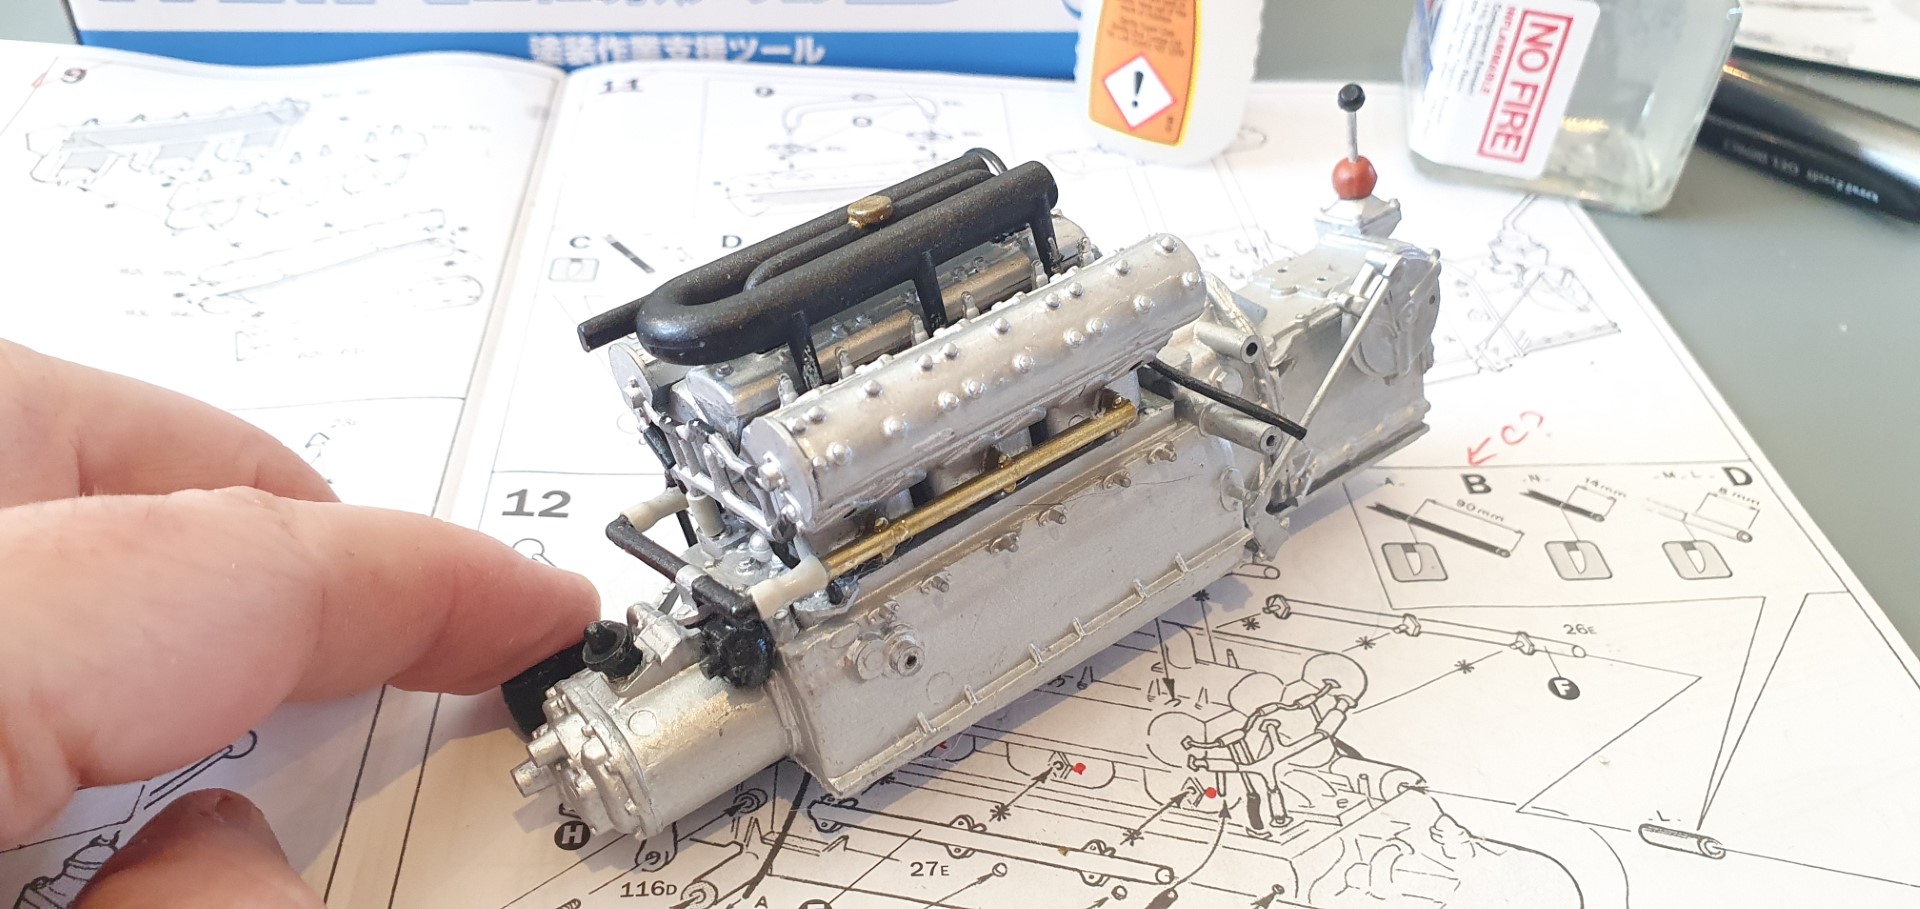
The next few pictures showquite a few parts fitted in the middle of the engine (dont ask me to name the parts or functions 😉 )
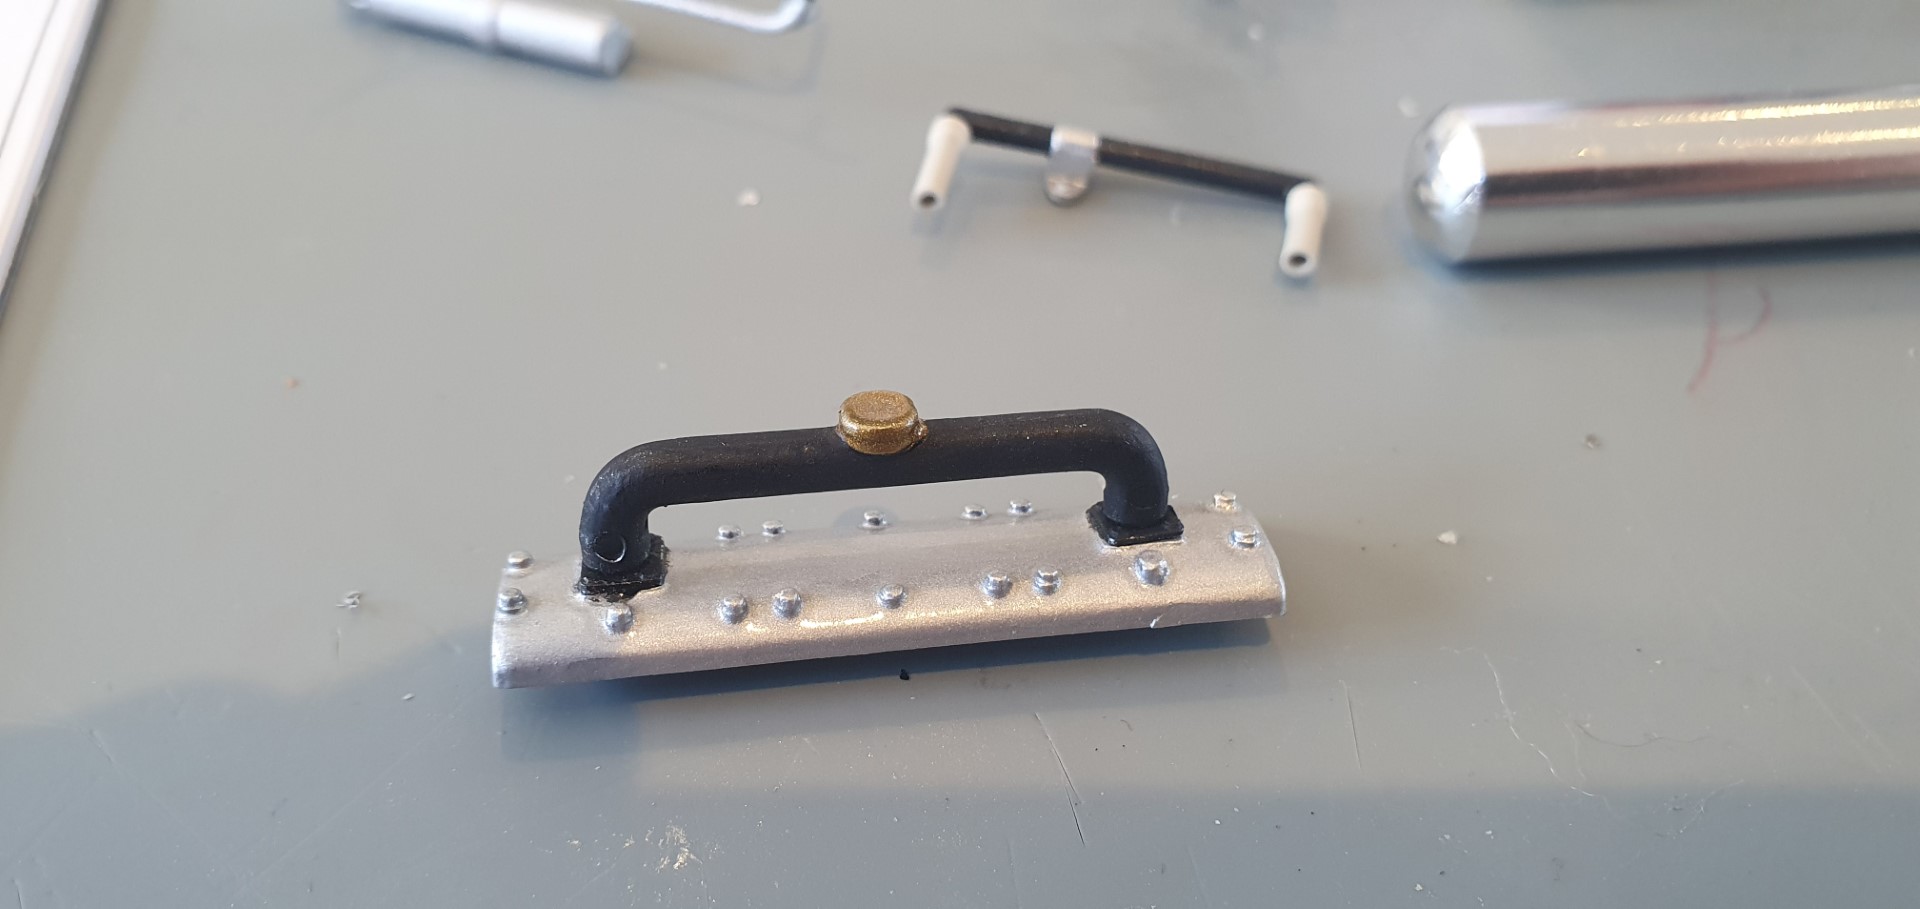
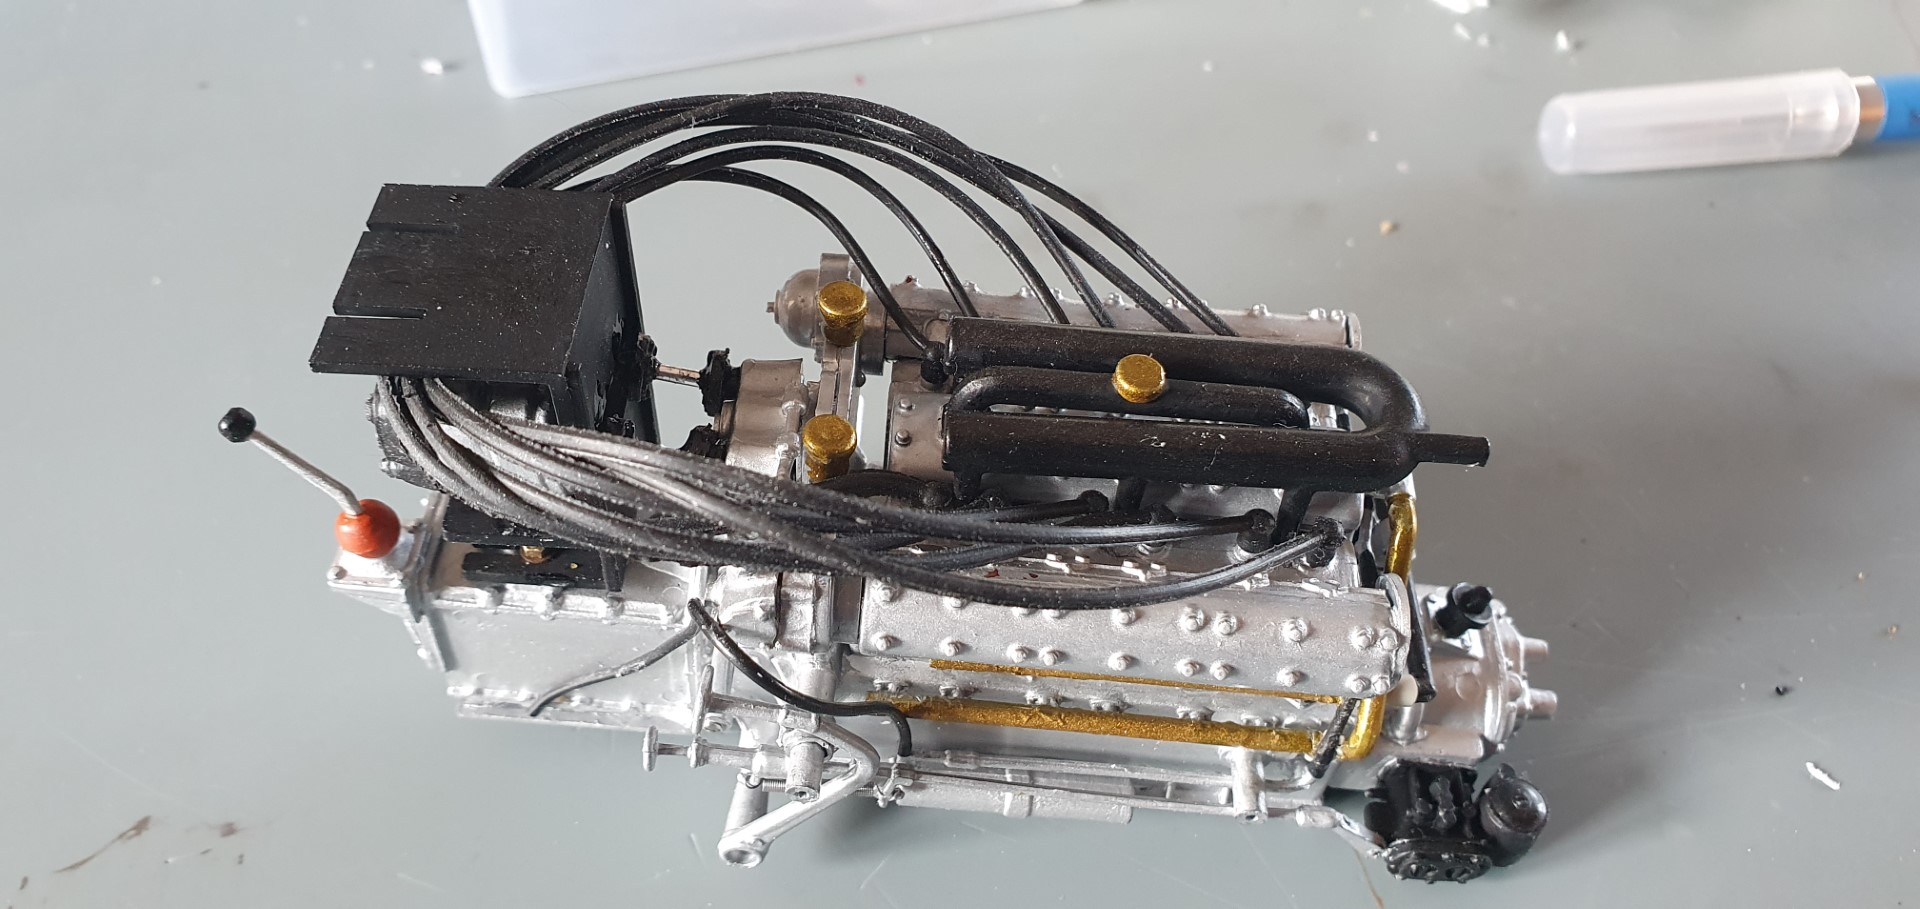
side pipes fitted after painting in brass
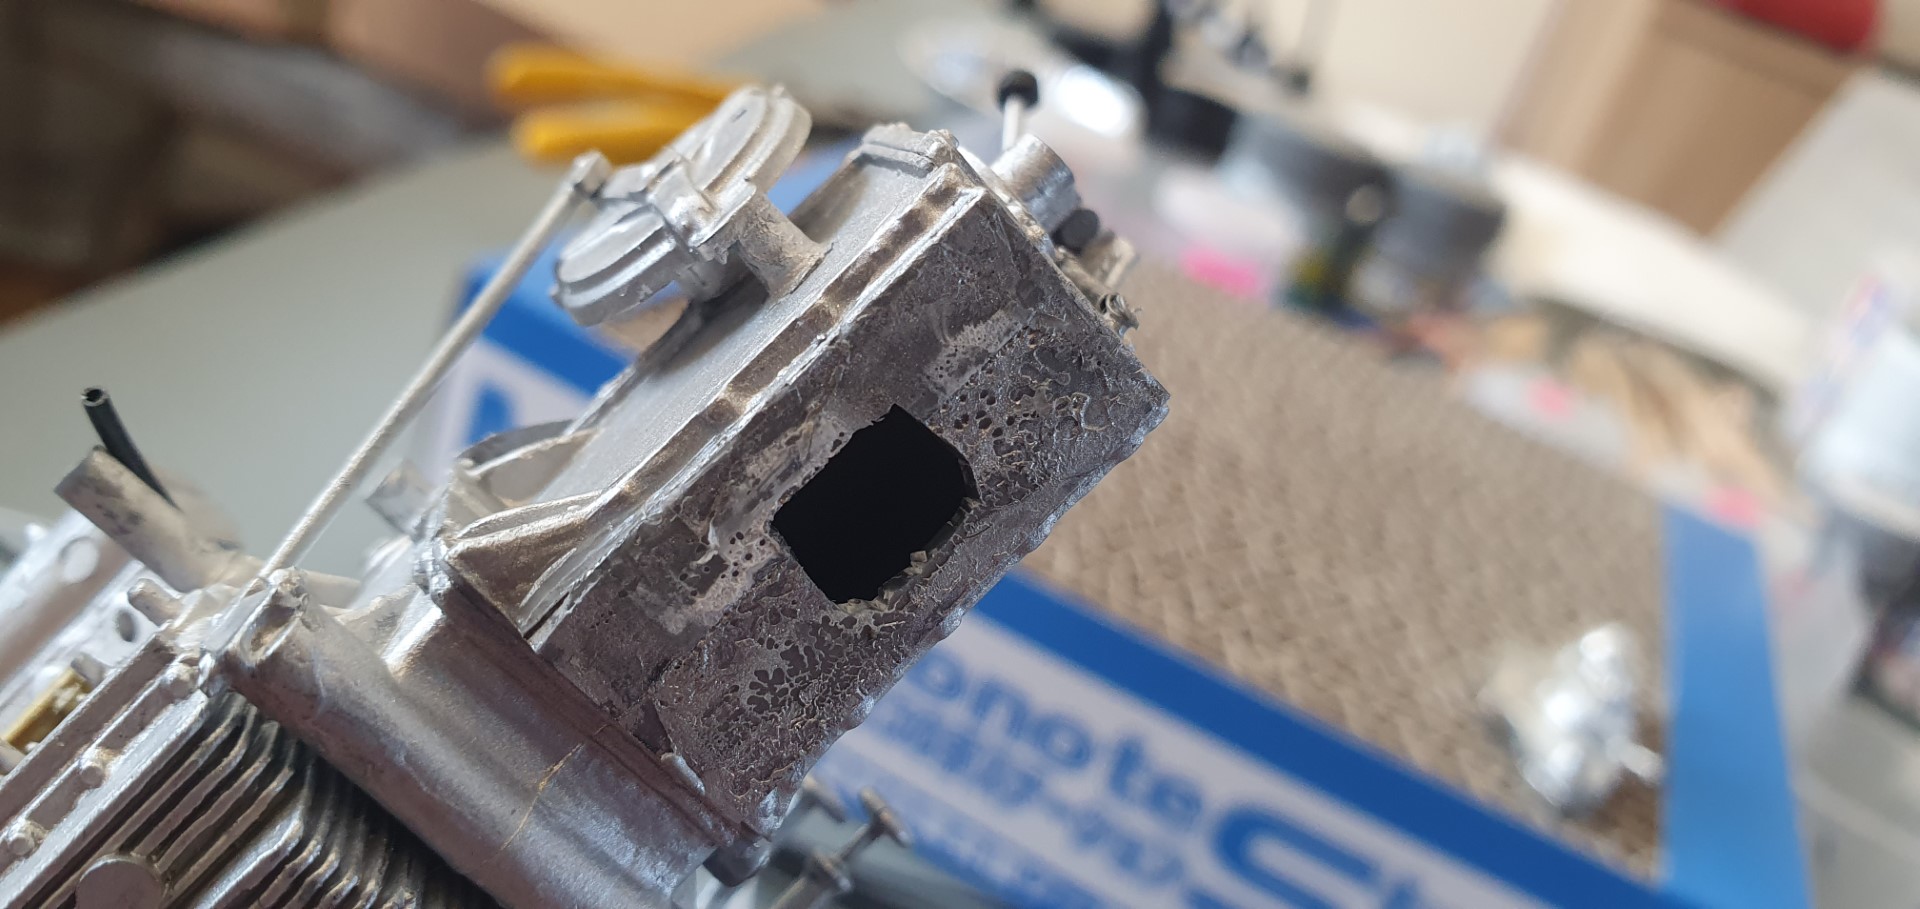
its at this point I figured I hadnt placed two minute screws into position, they should be pointing upwards from a part of the model on the opposite side to the next picture so I prised off the bottom part hoping to find a cavity
then I made the hole that was underneath larger to try to access the cavity (then I figured I would be able to use tweezers to push the screws into the cavity and through the holes, into the correct position…
it was only after opeing the cavity that I then realised the top plate was the first of two on the upper side of the engine so there would be no way of doing what I had planned
….instead I made the hole on the top face larger with a craft knife and superglued the screw heads into place (so the screws pointed up the way they should have)
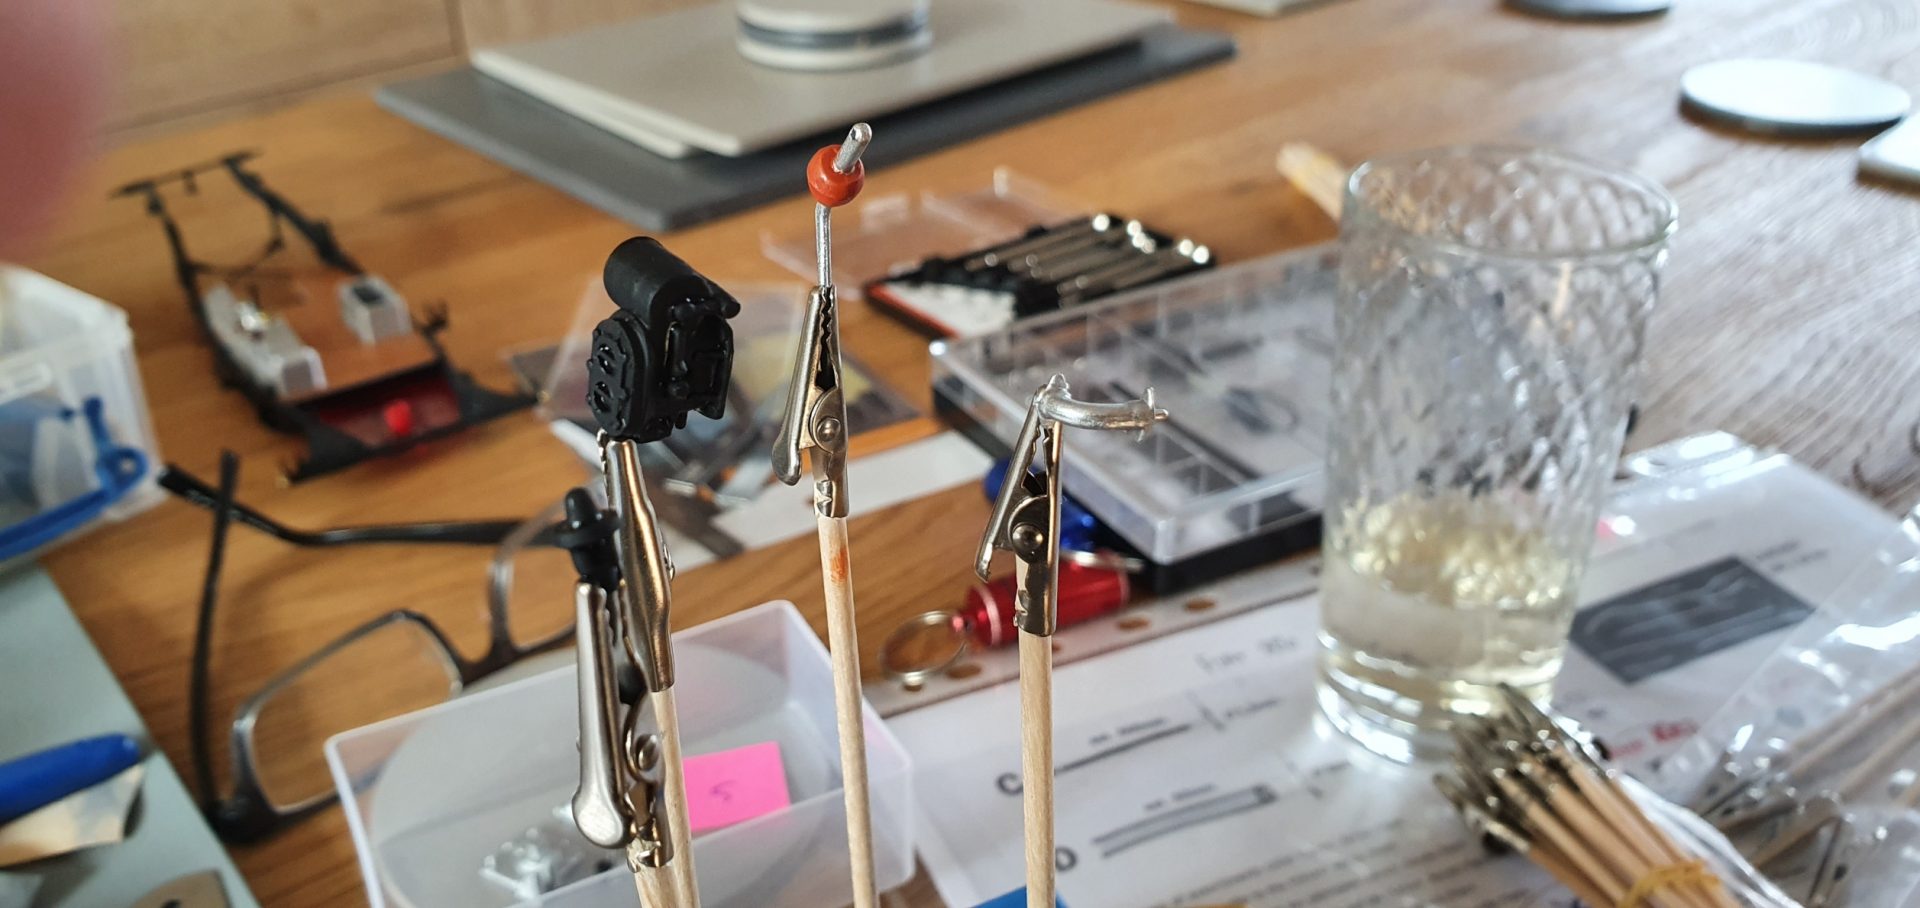
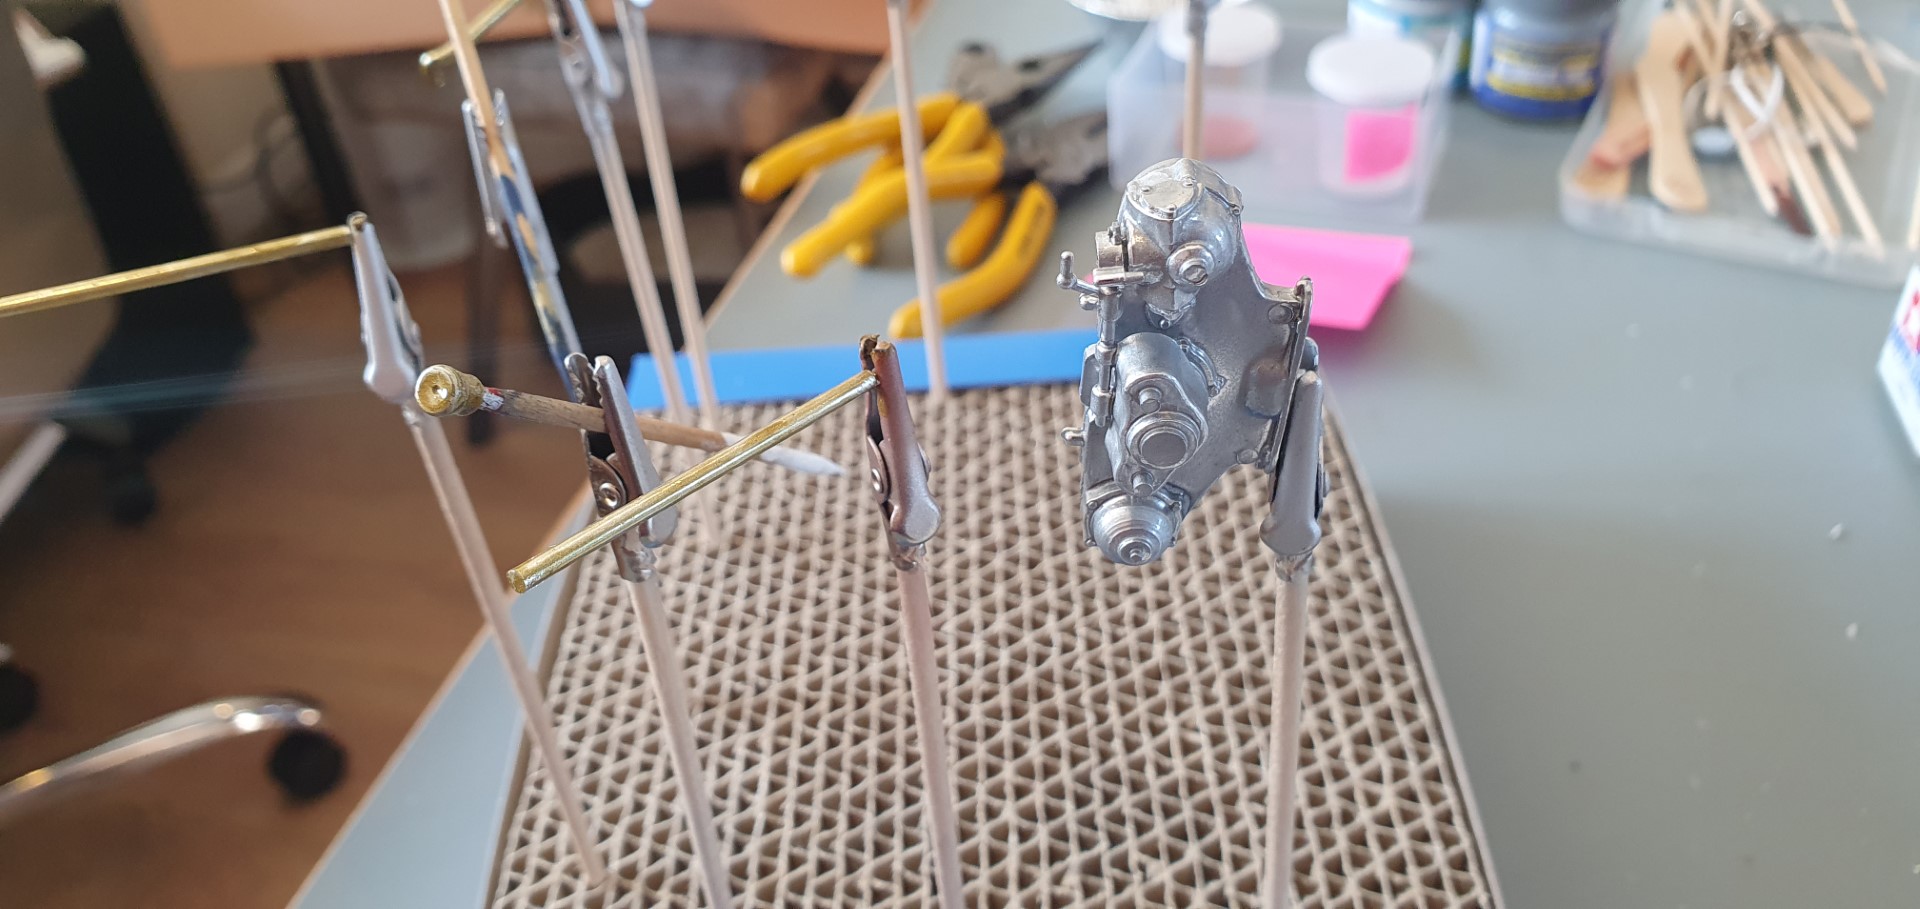
a few days later I painted some more bits!
and tried to clean up some rubber parts
before fitting
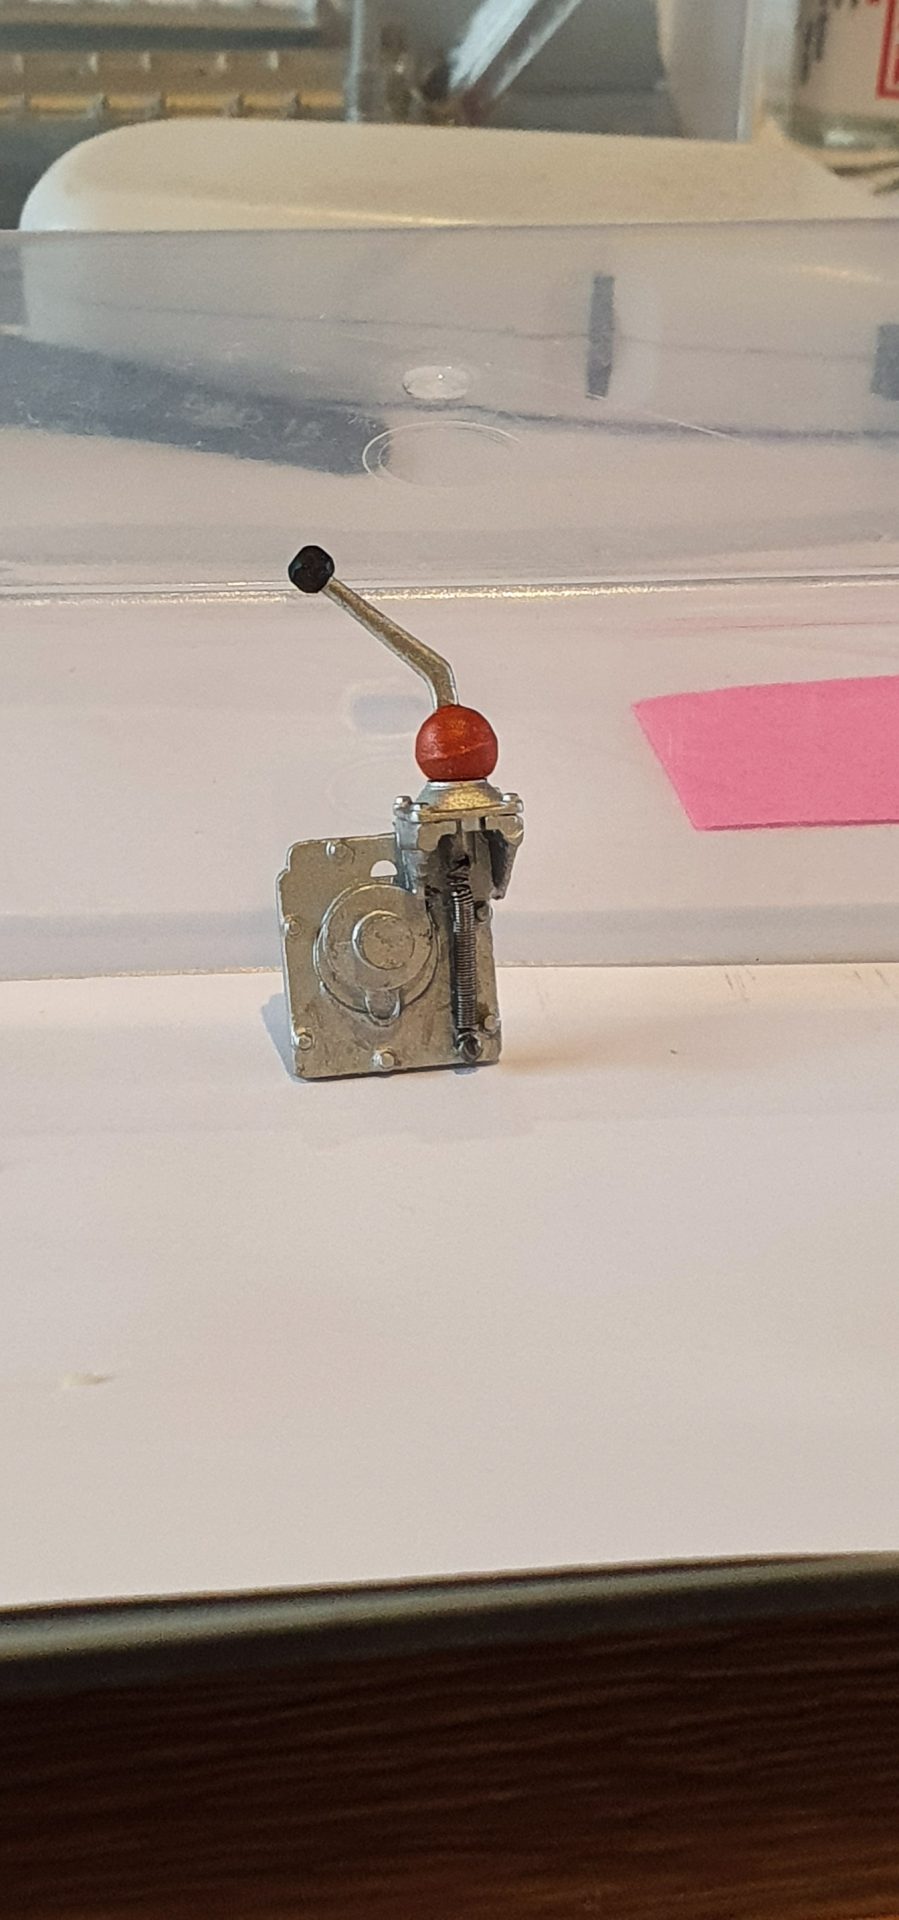
here you can see the foot pedals
more painting
before
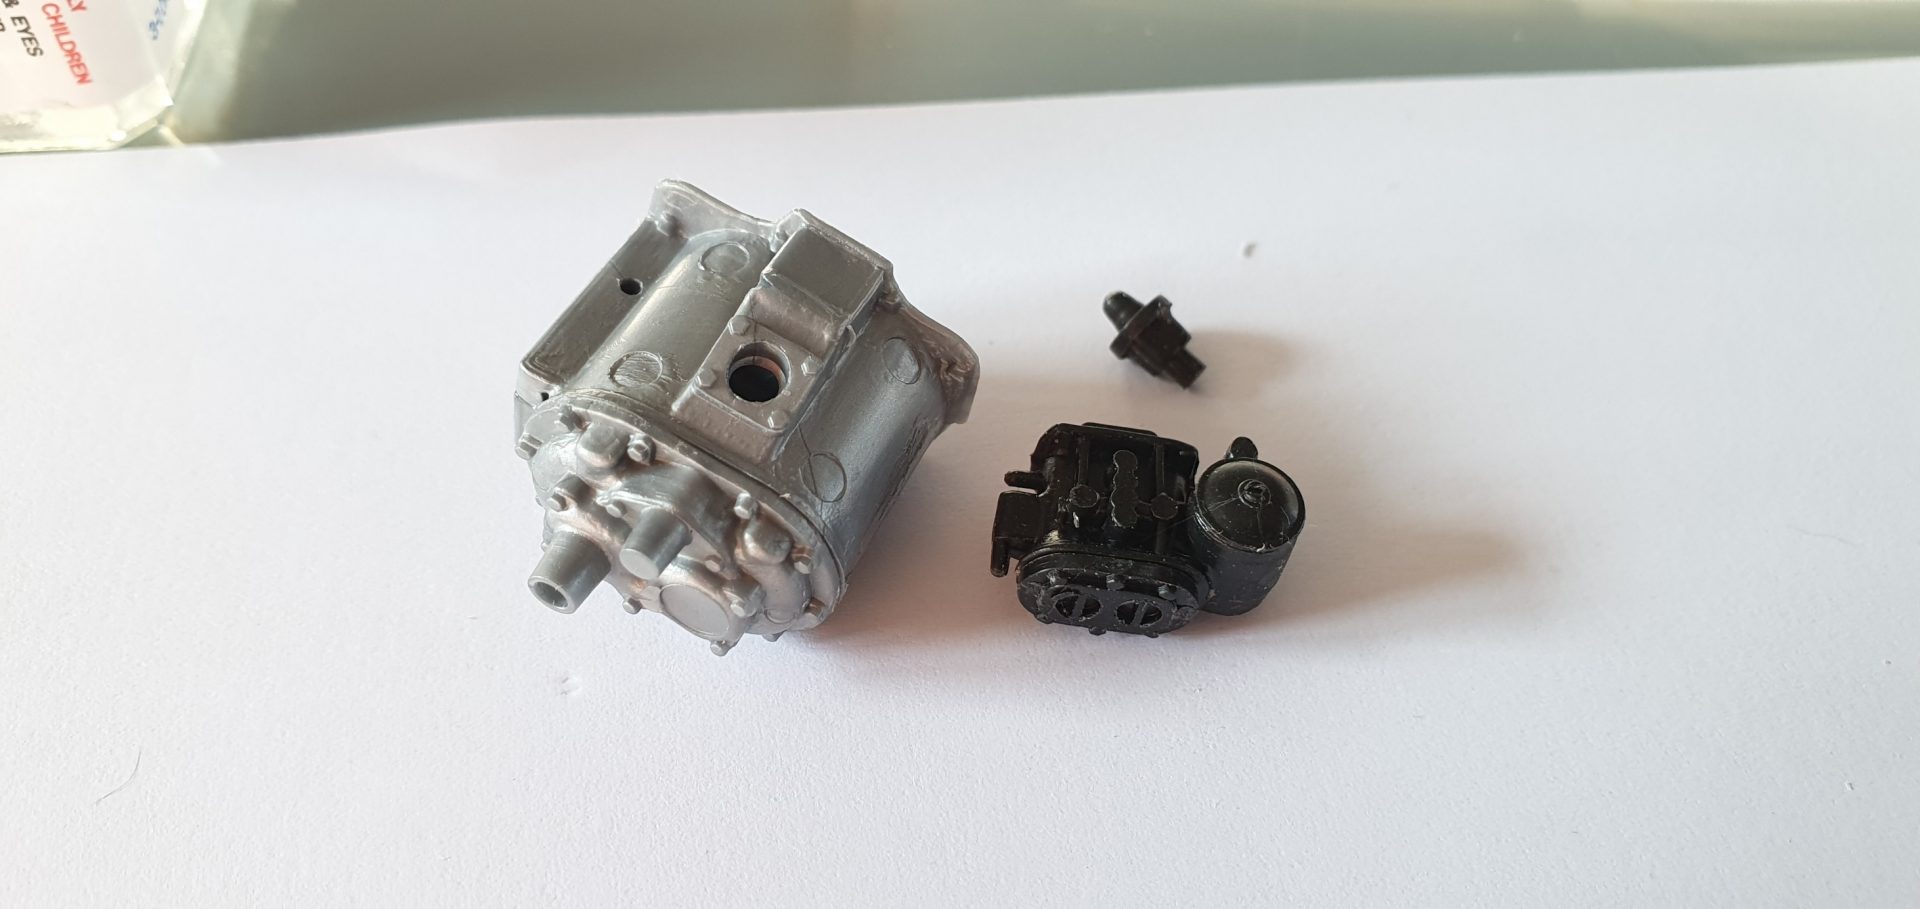
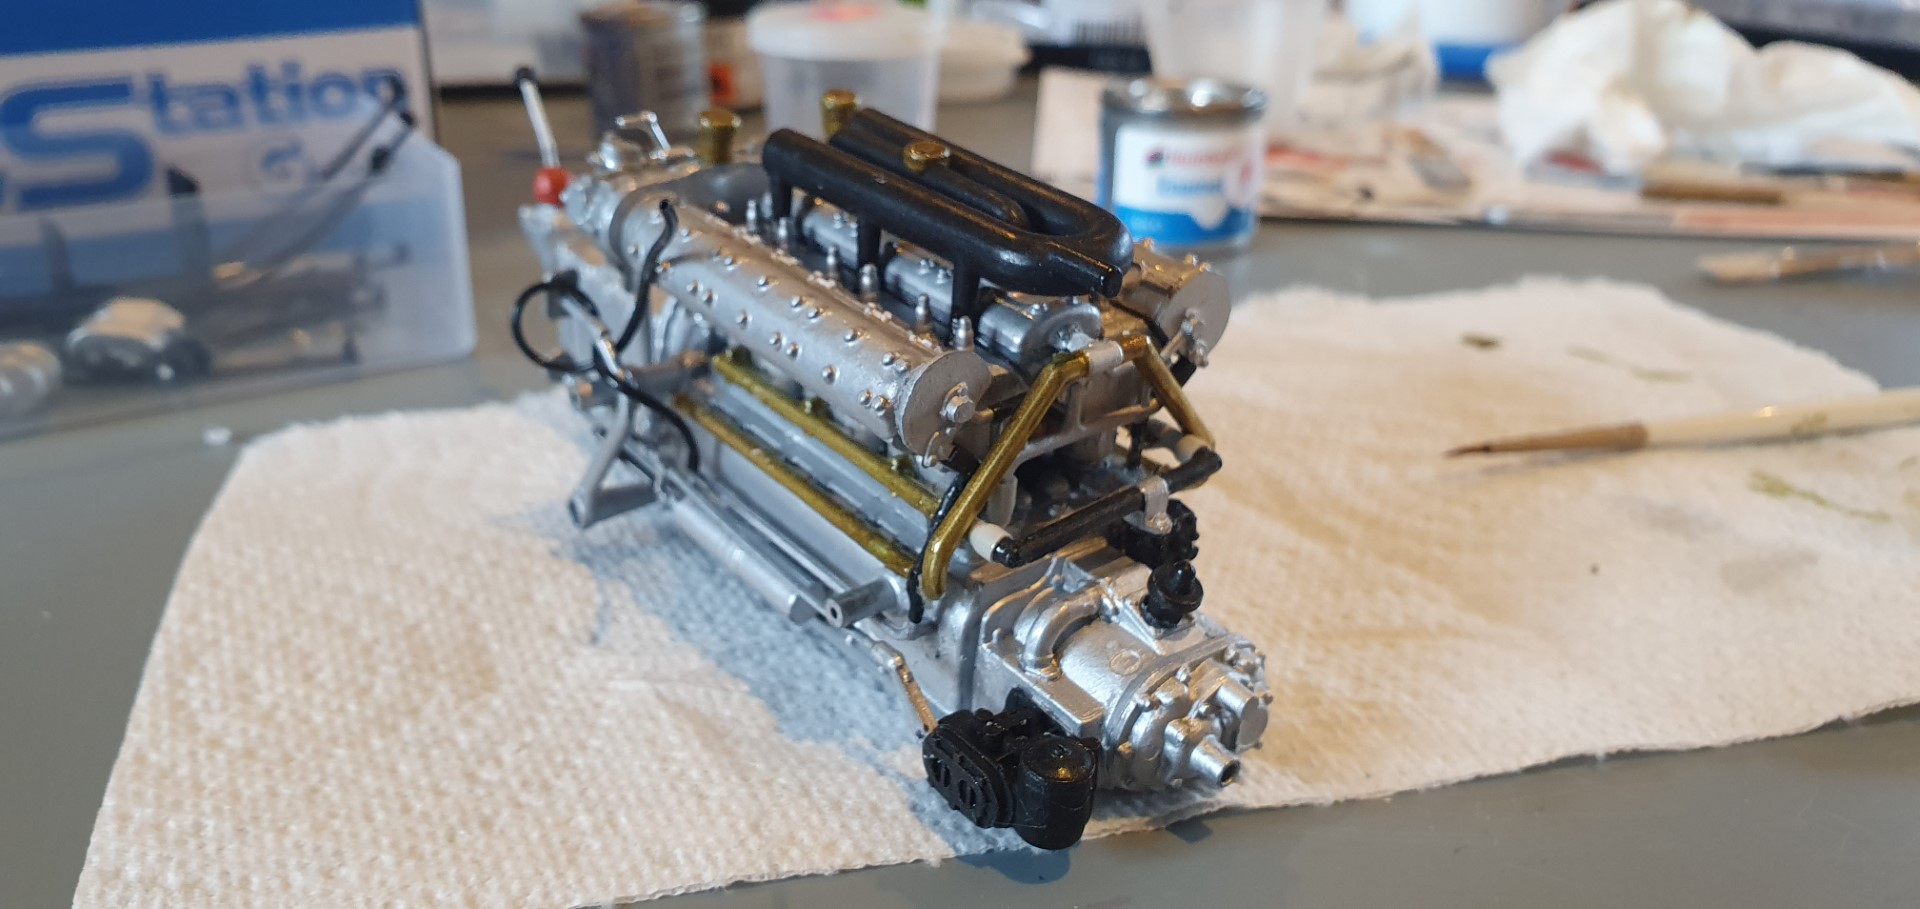
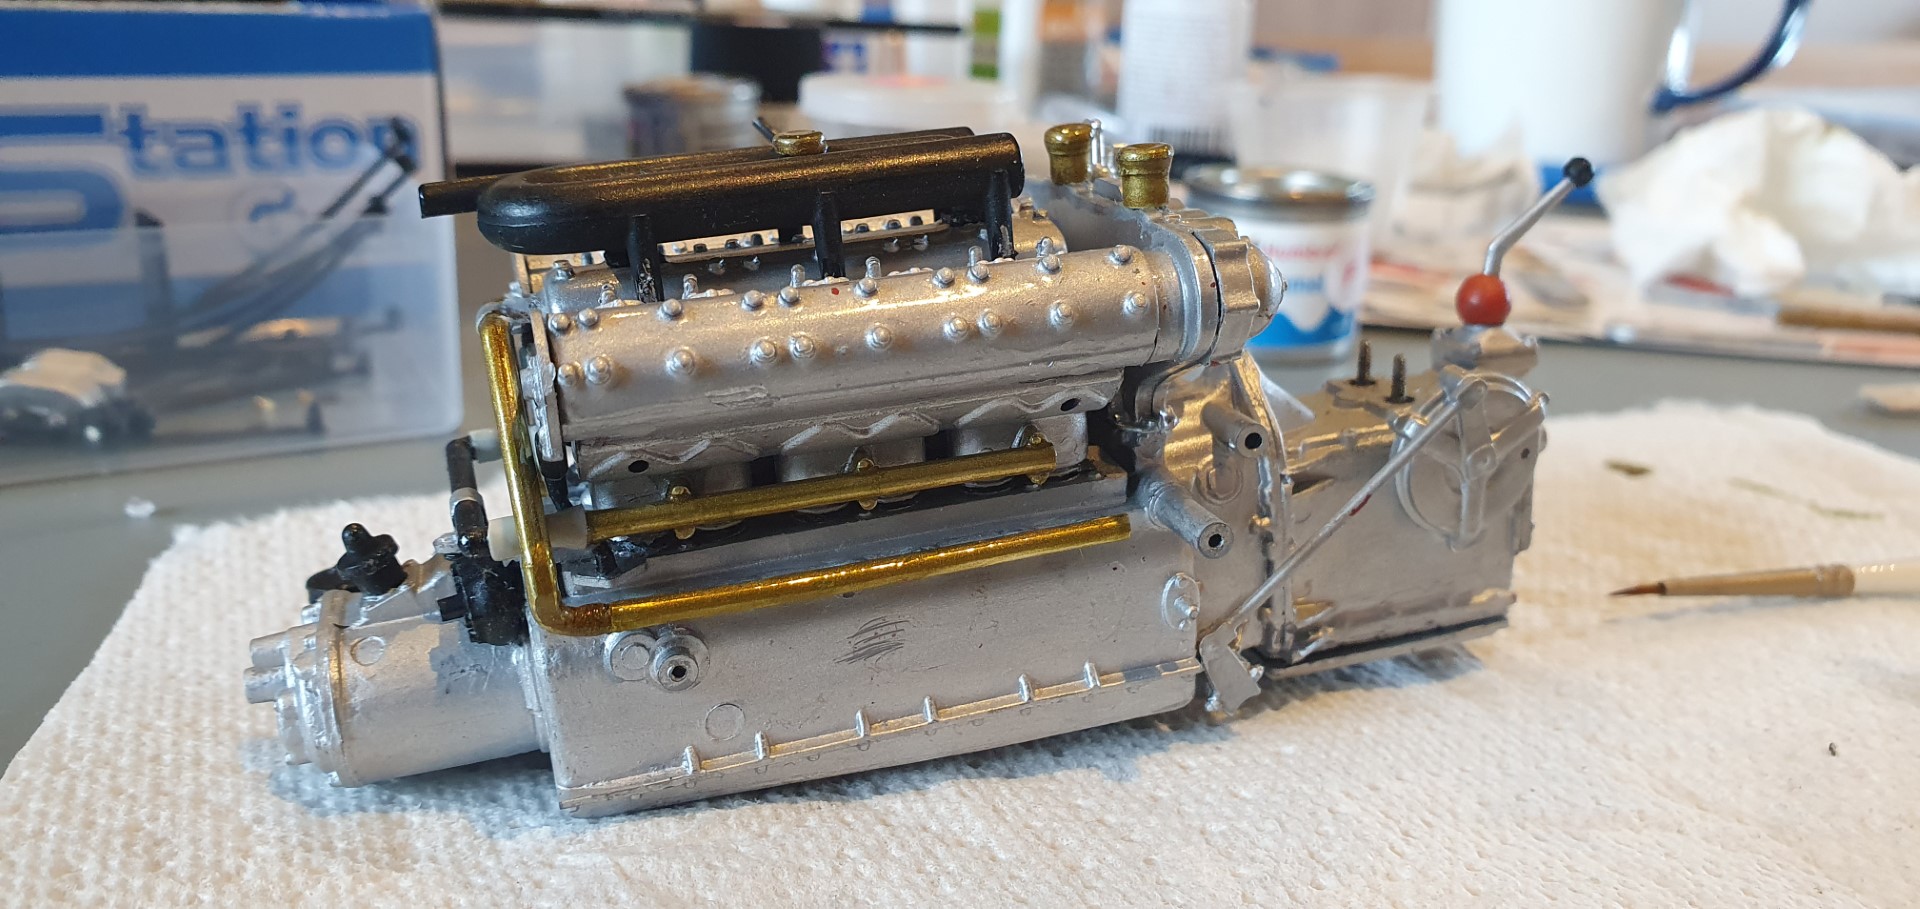
after…..with pipes fitted to the engine too (bloody fiddly!)
the next day I fitted more brass pipes to the engine, again hard to line up…
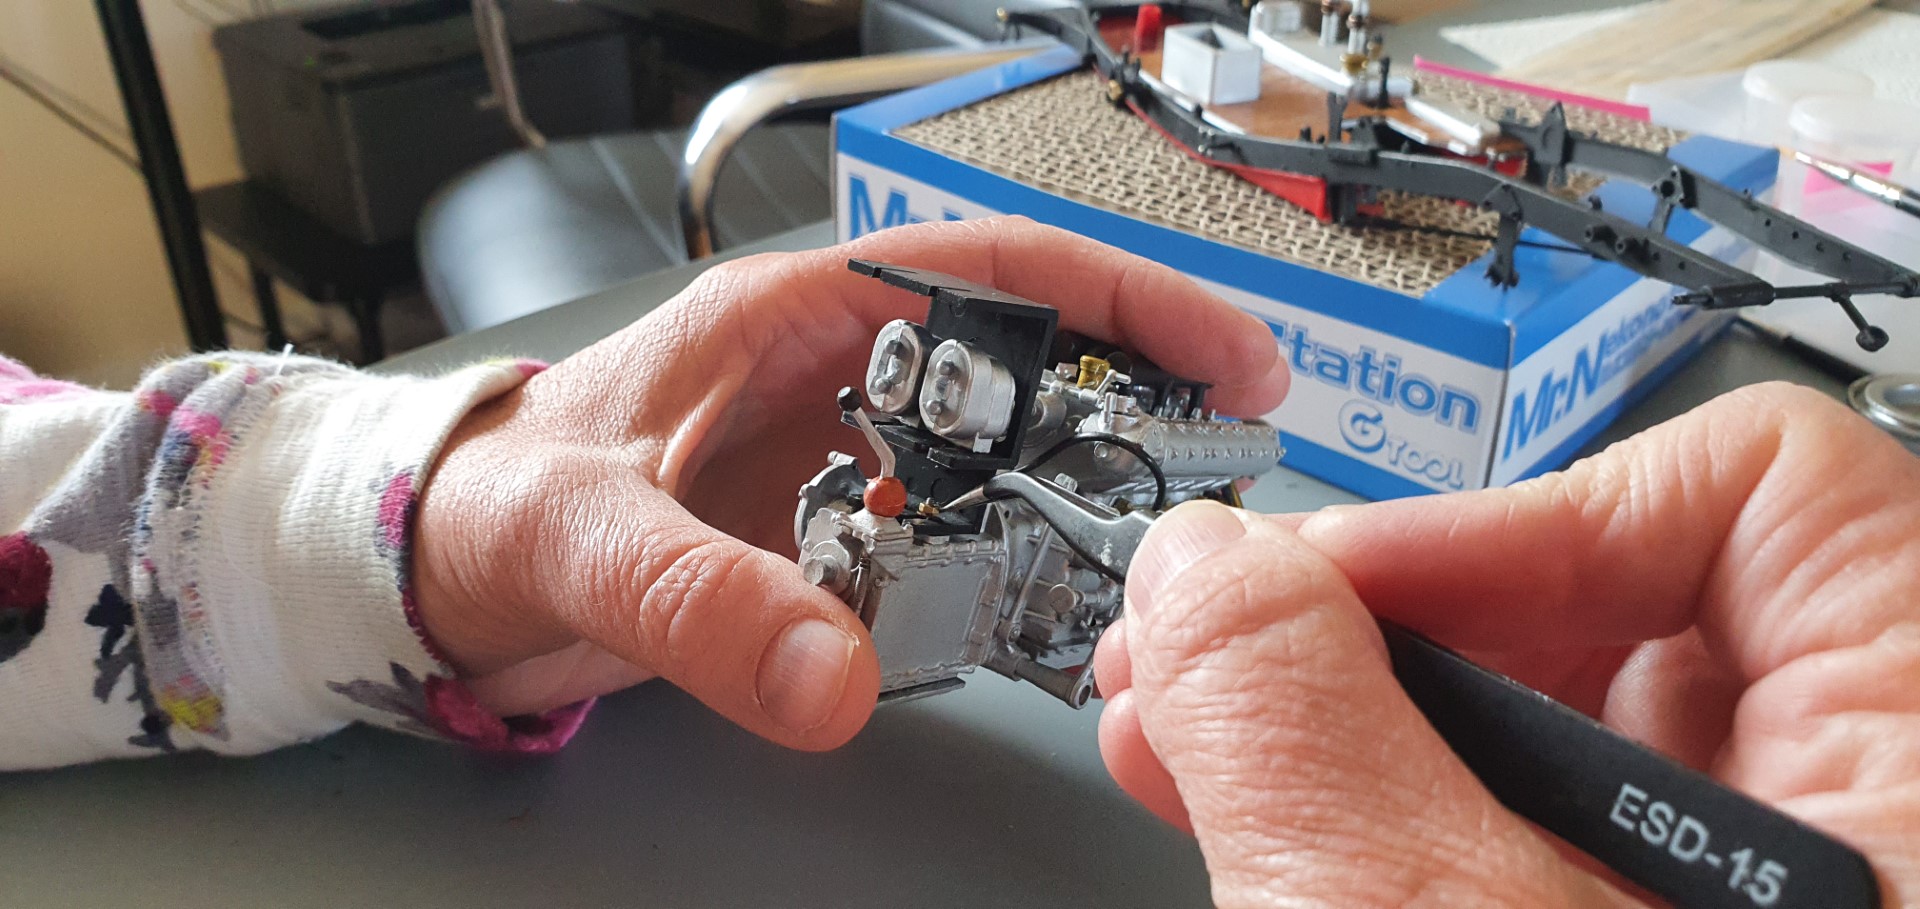
wife enlisted to help with super fiddly bits
this shows her fitting a part that utilises the screws I had superglued a few stages previously (the ones missed to start with)
you can proabbly just see how small the nuts are at the end of the tweezers
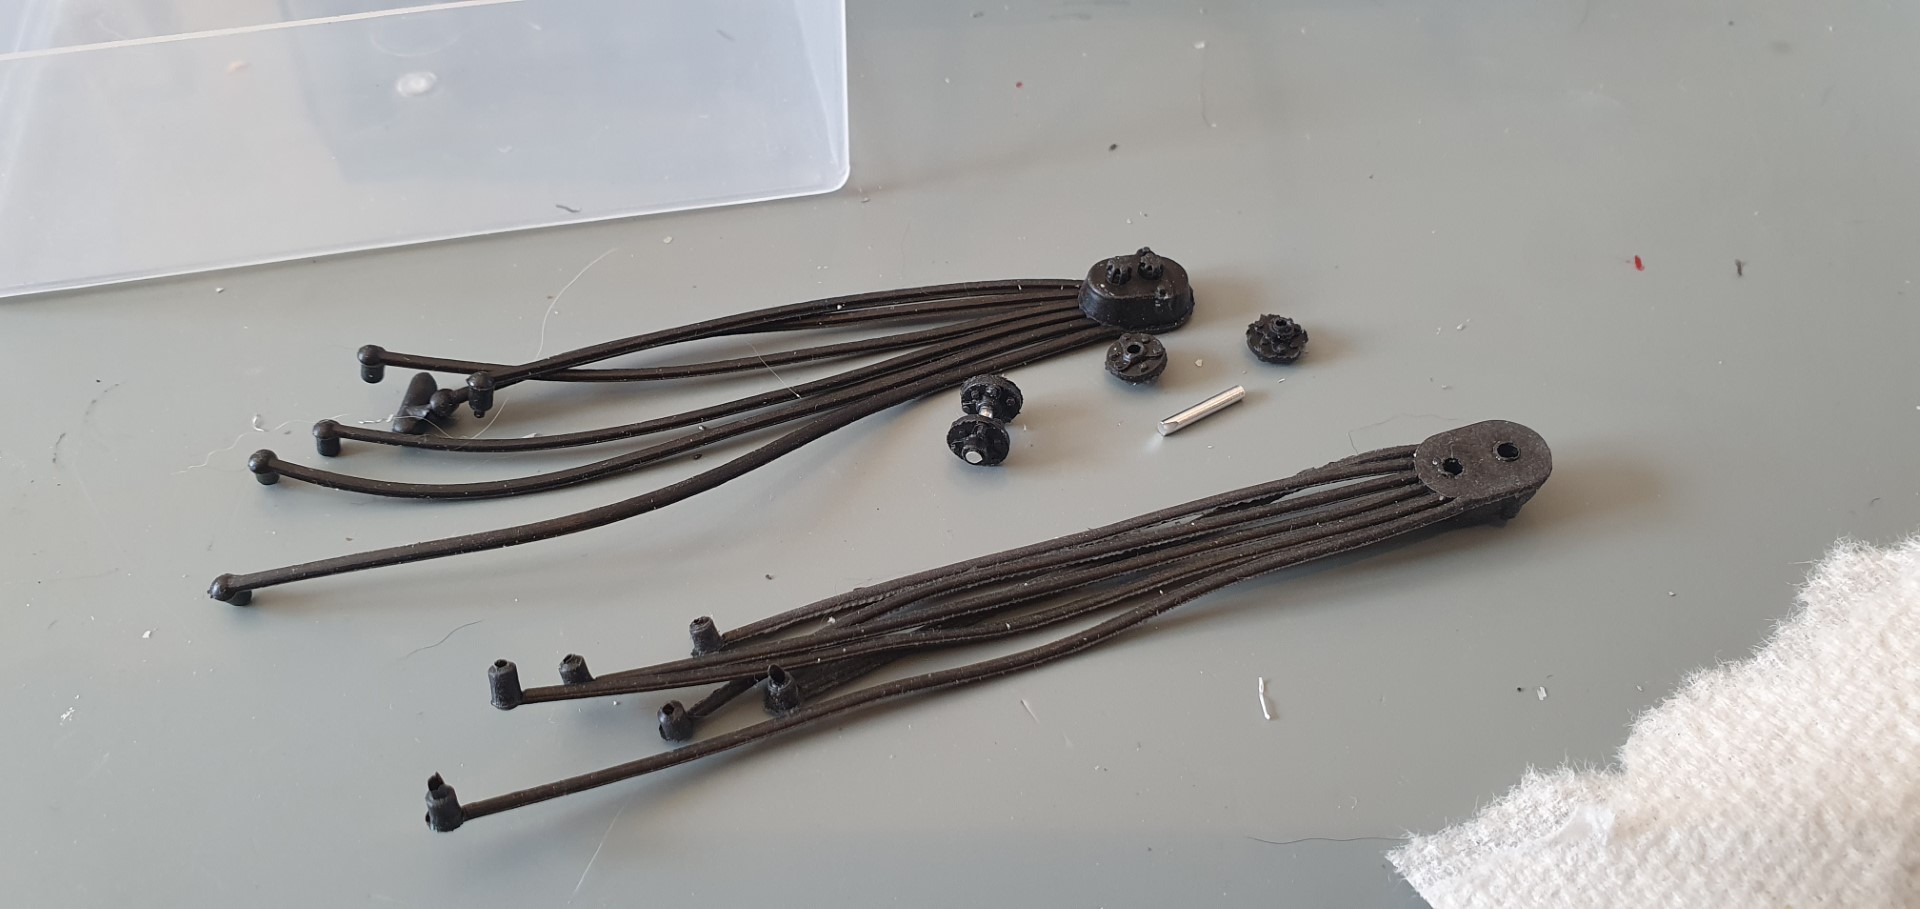
leads fitted
22nd April 2020 –
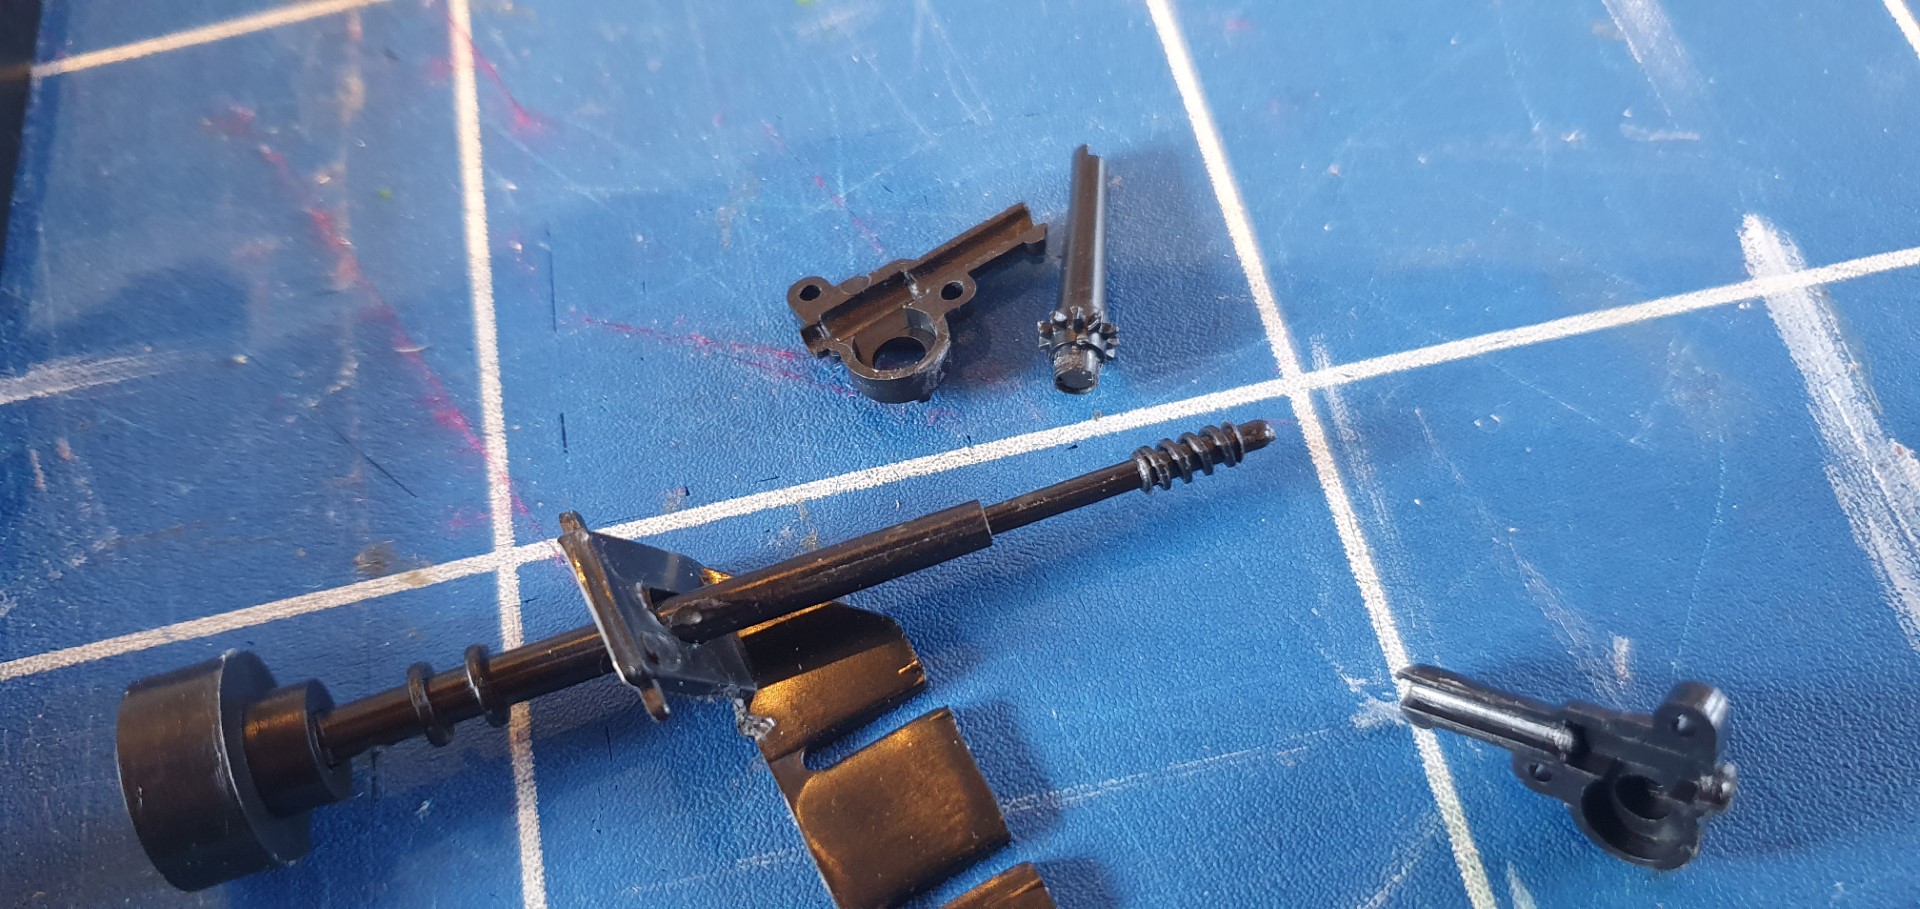
Next up some steering components, you have to file the gear with the idea that two gears work against eachother allowing the steering wheel to control the front wheels in due course. this wouldnt be so hard if they werent so closely attached to the sprue. Maybe metal parts would have been better?
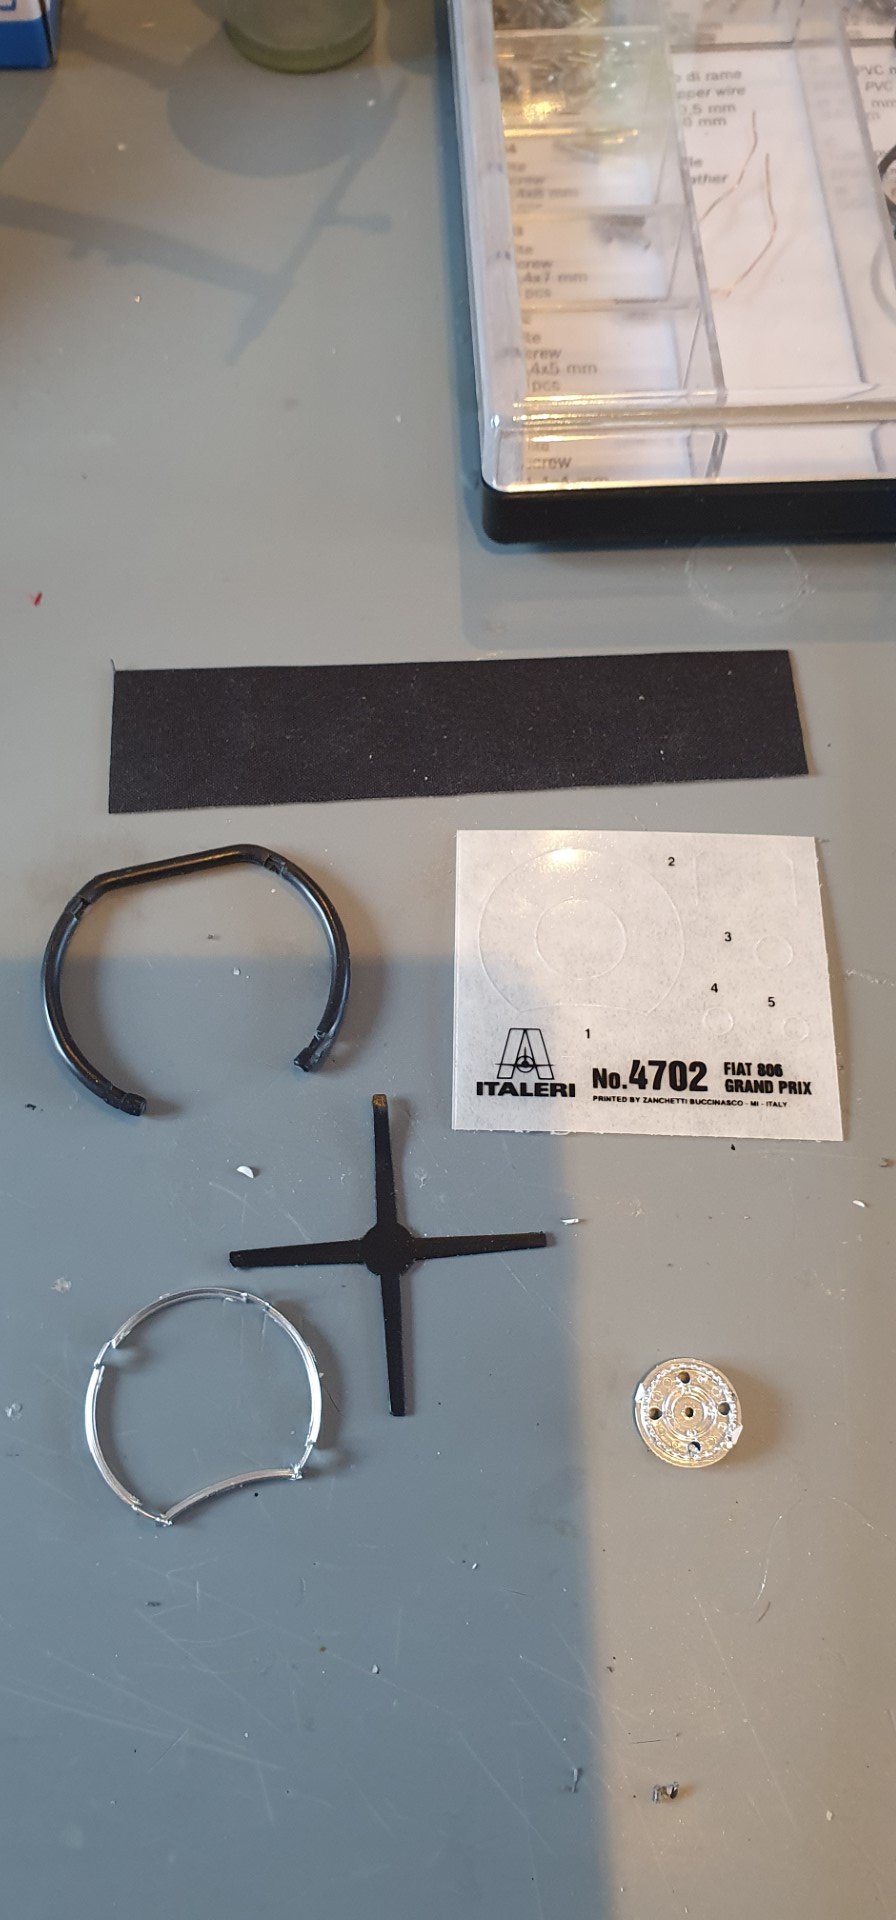
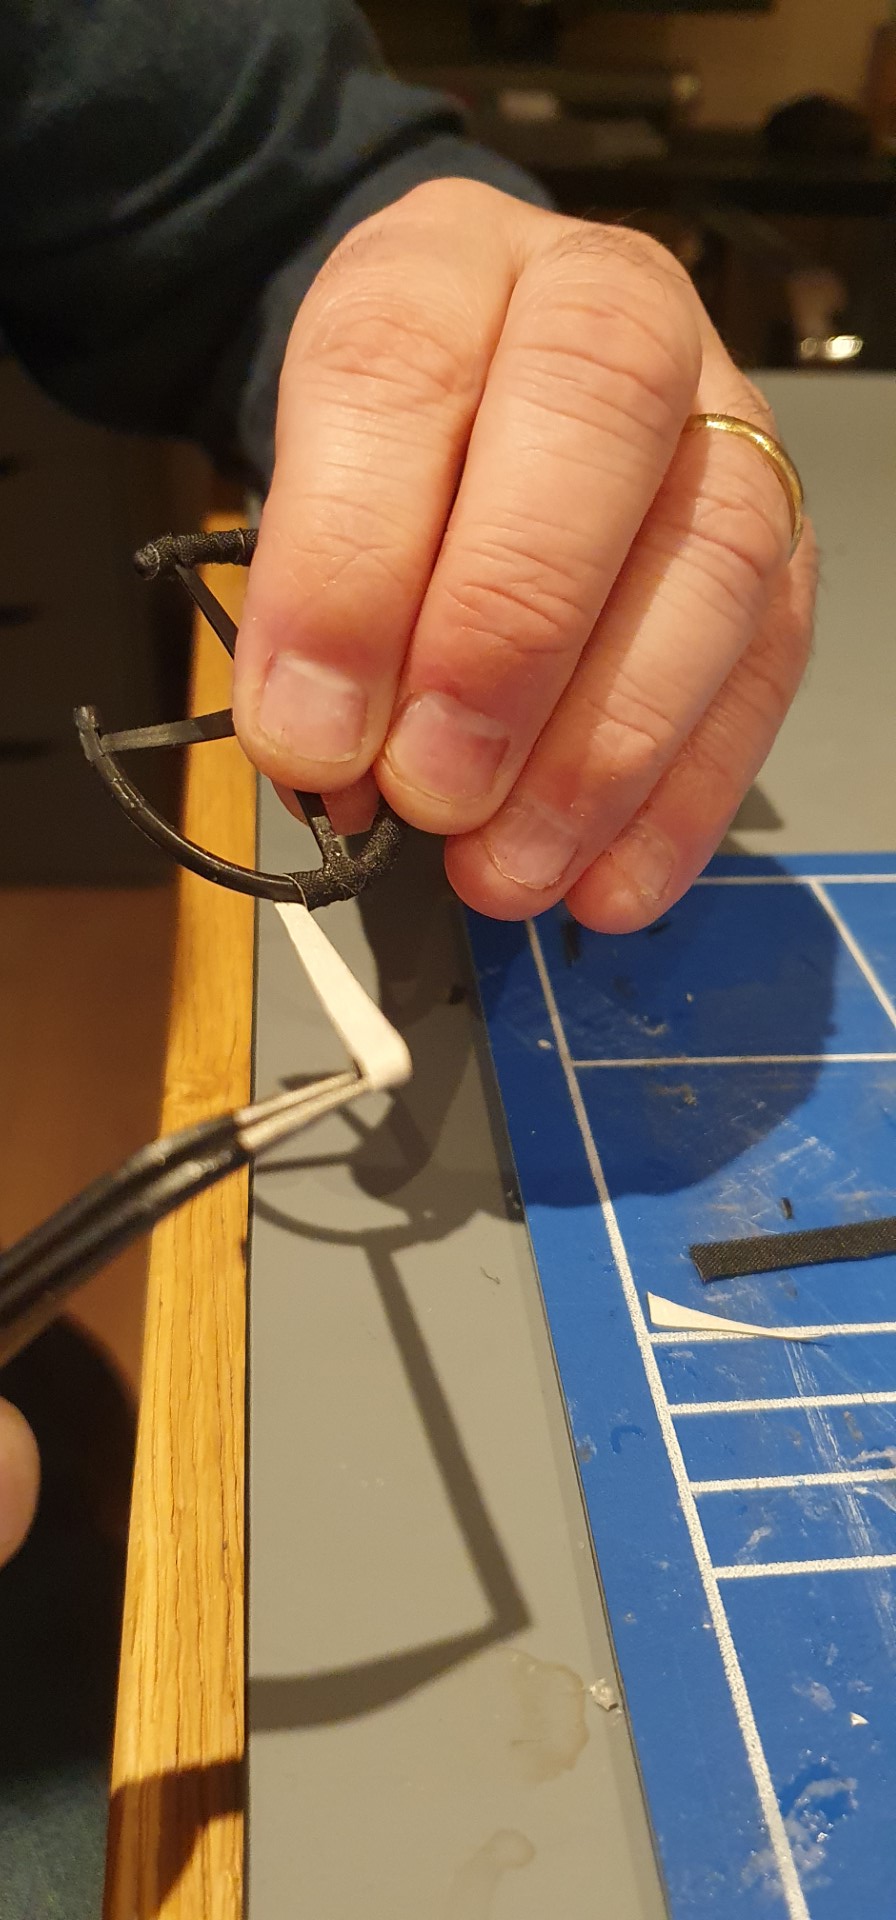
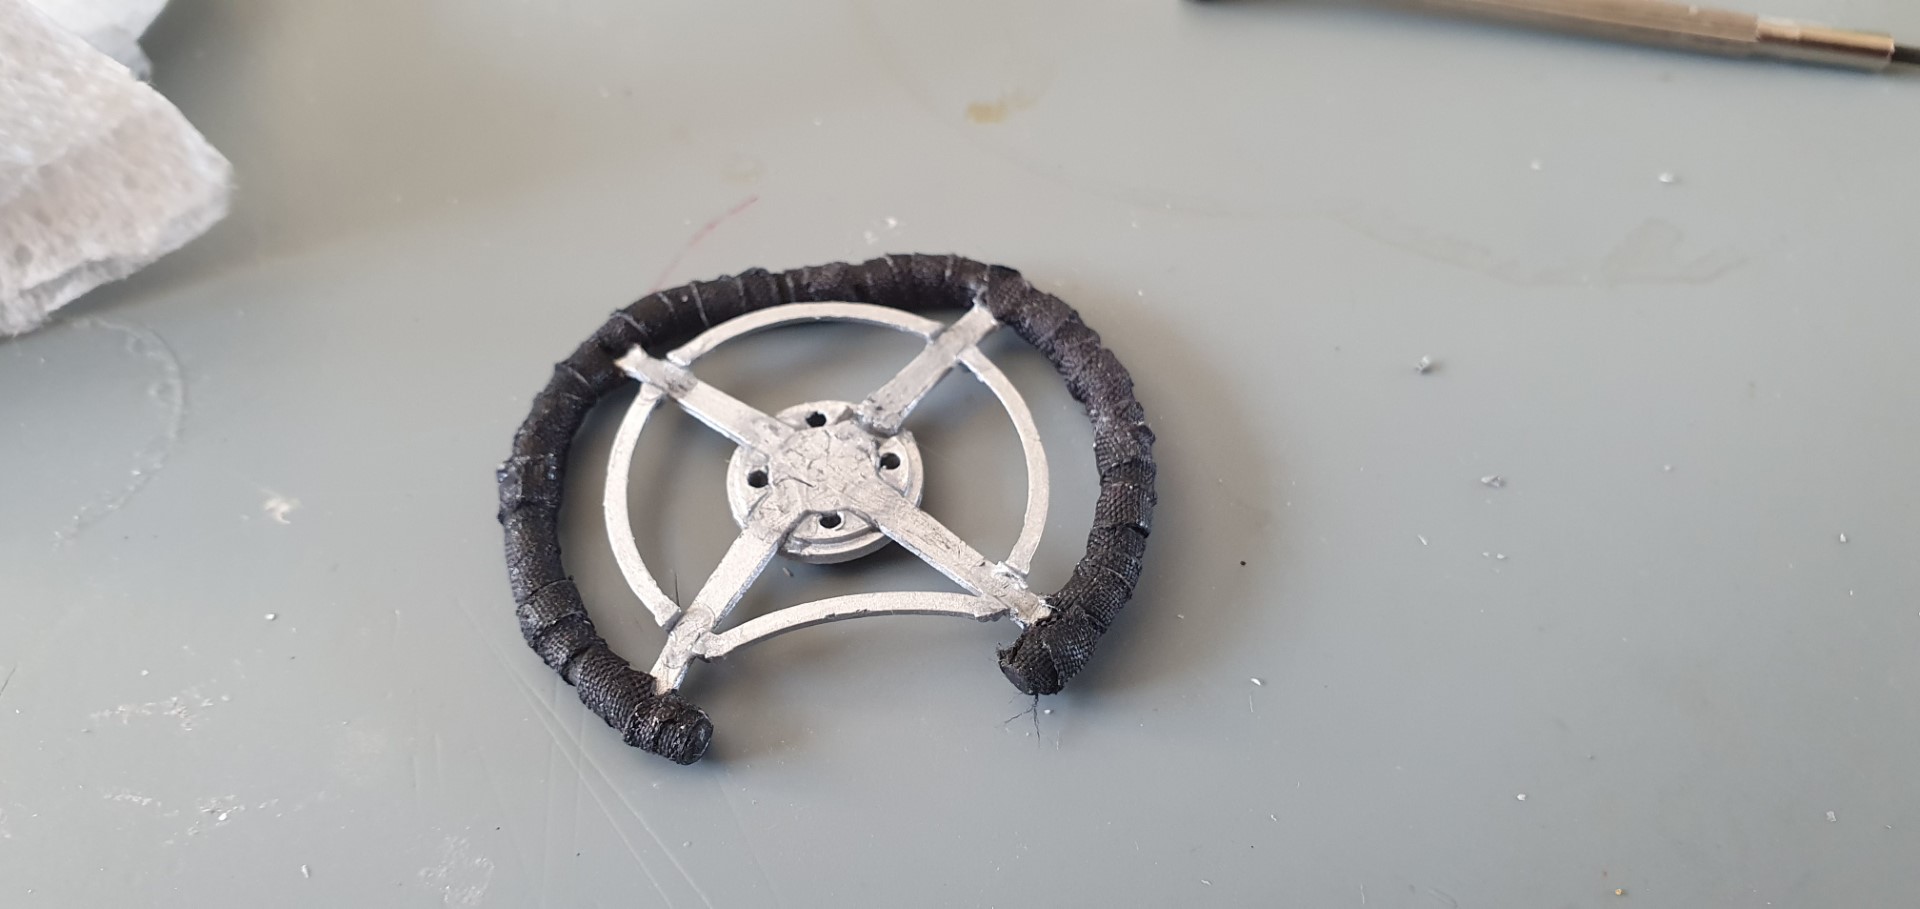
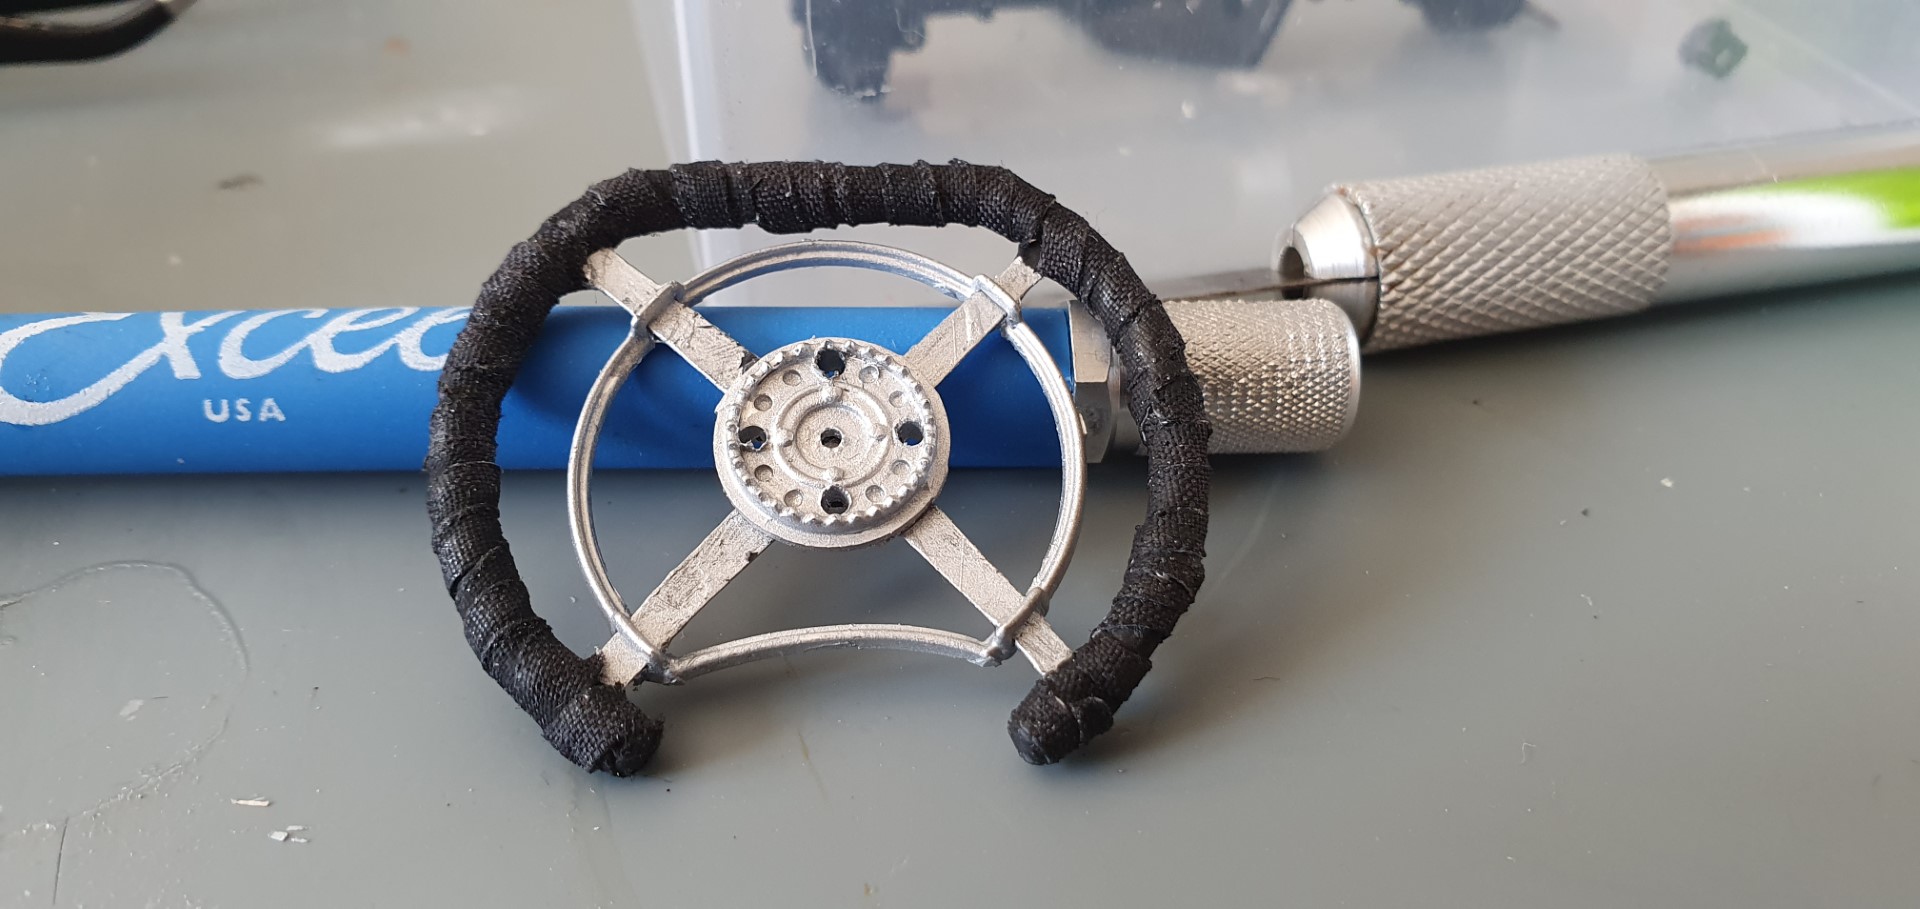
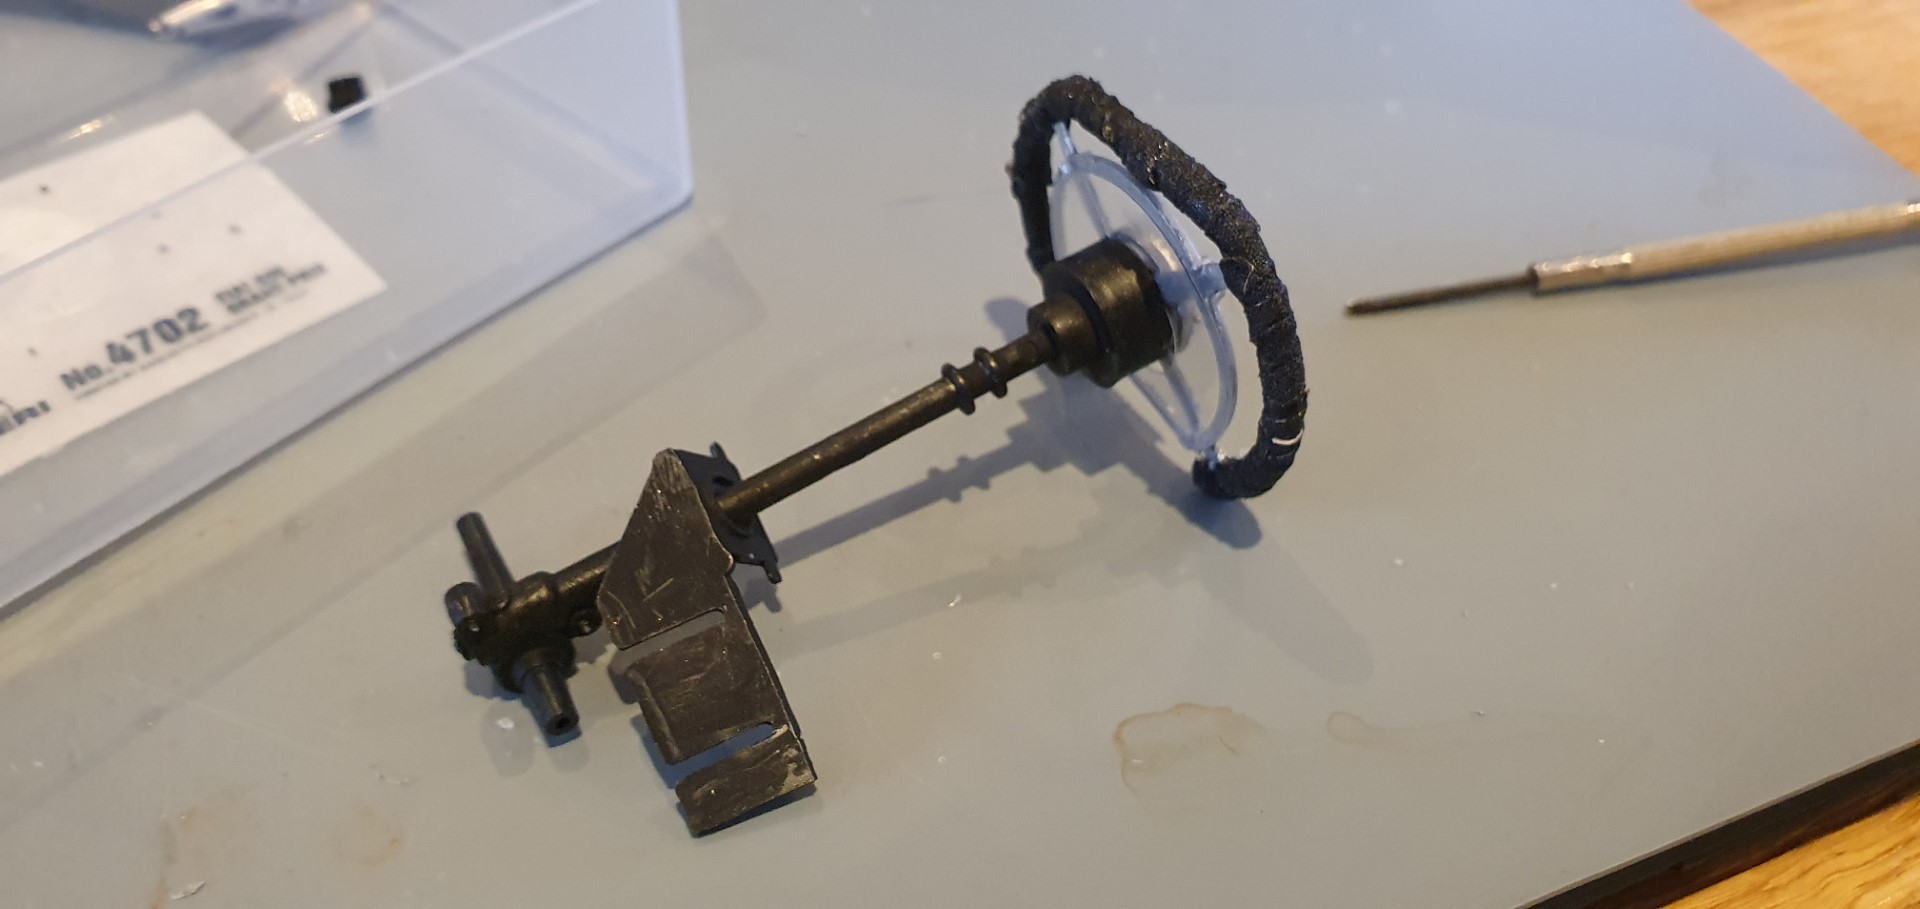
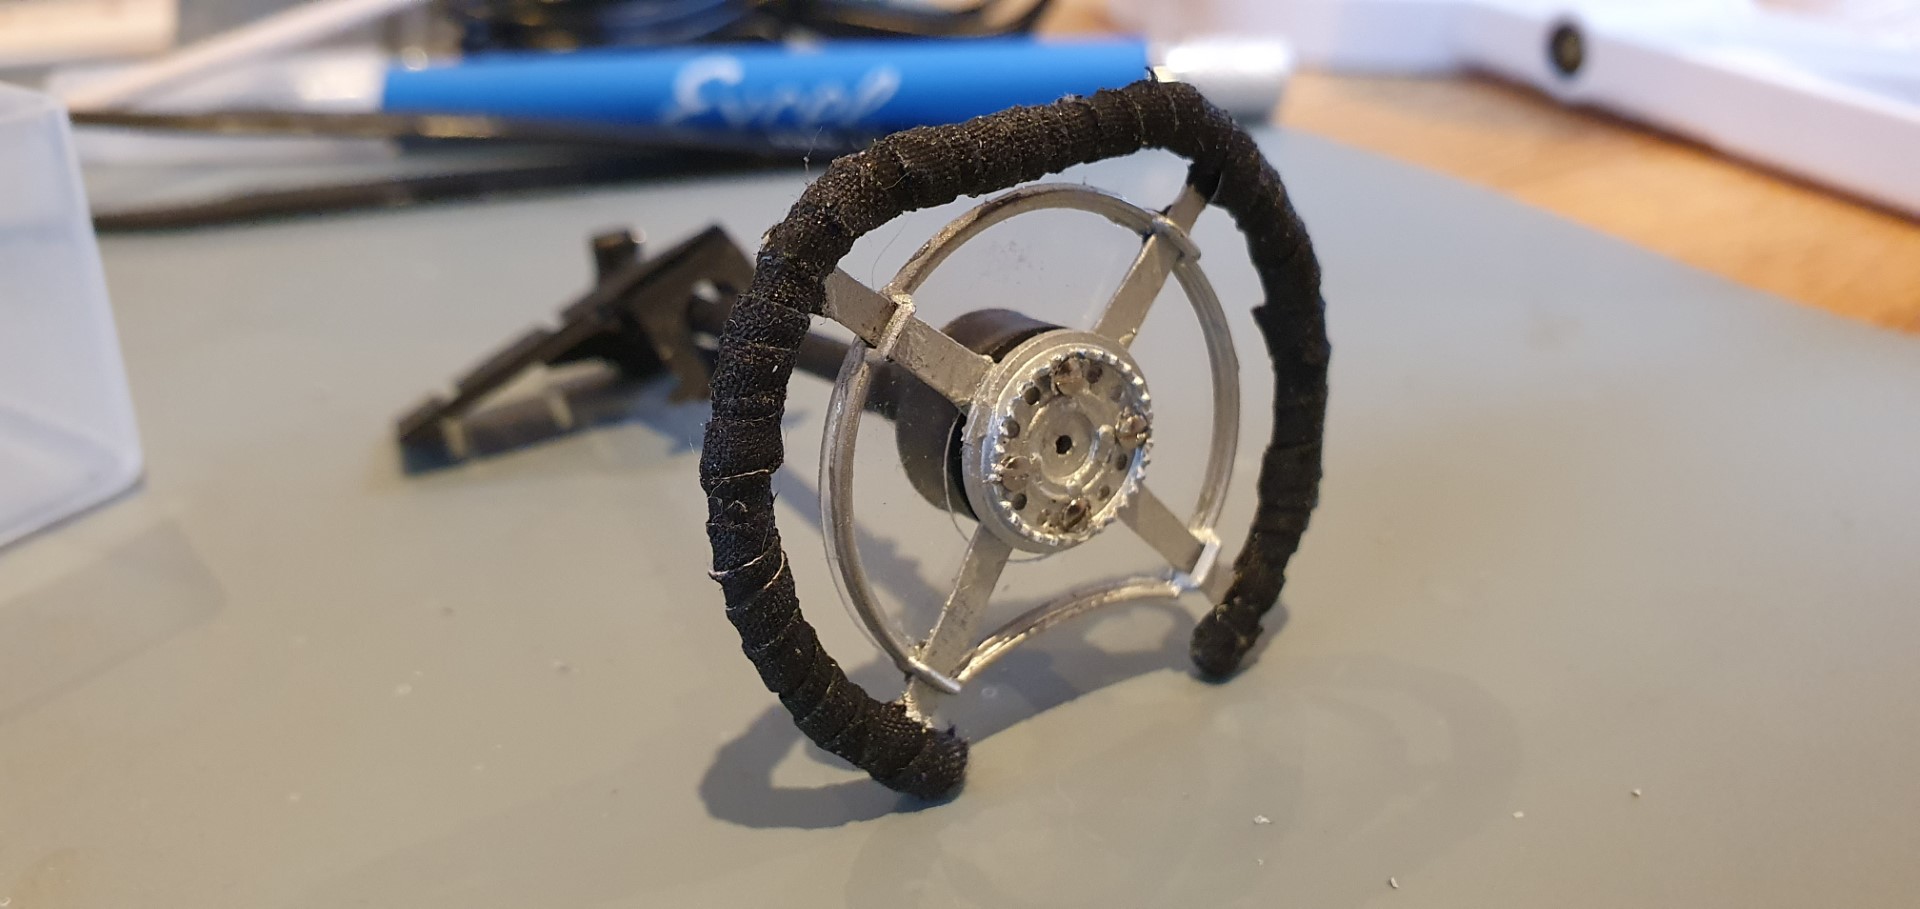
steering wheel needs making up and wrapping in ‘leather’
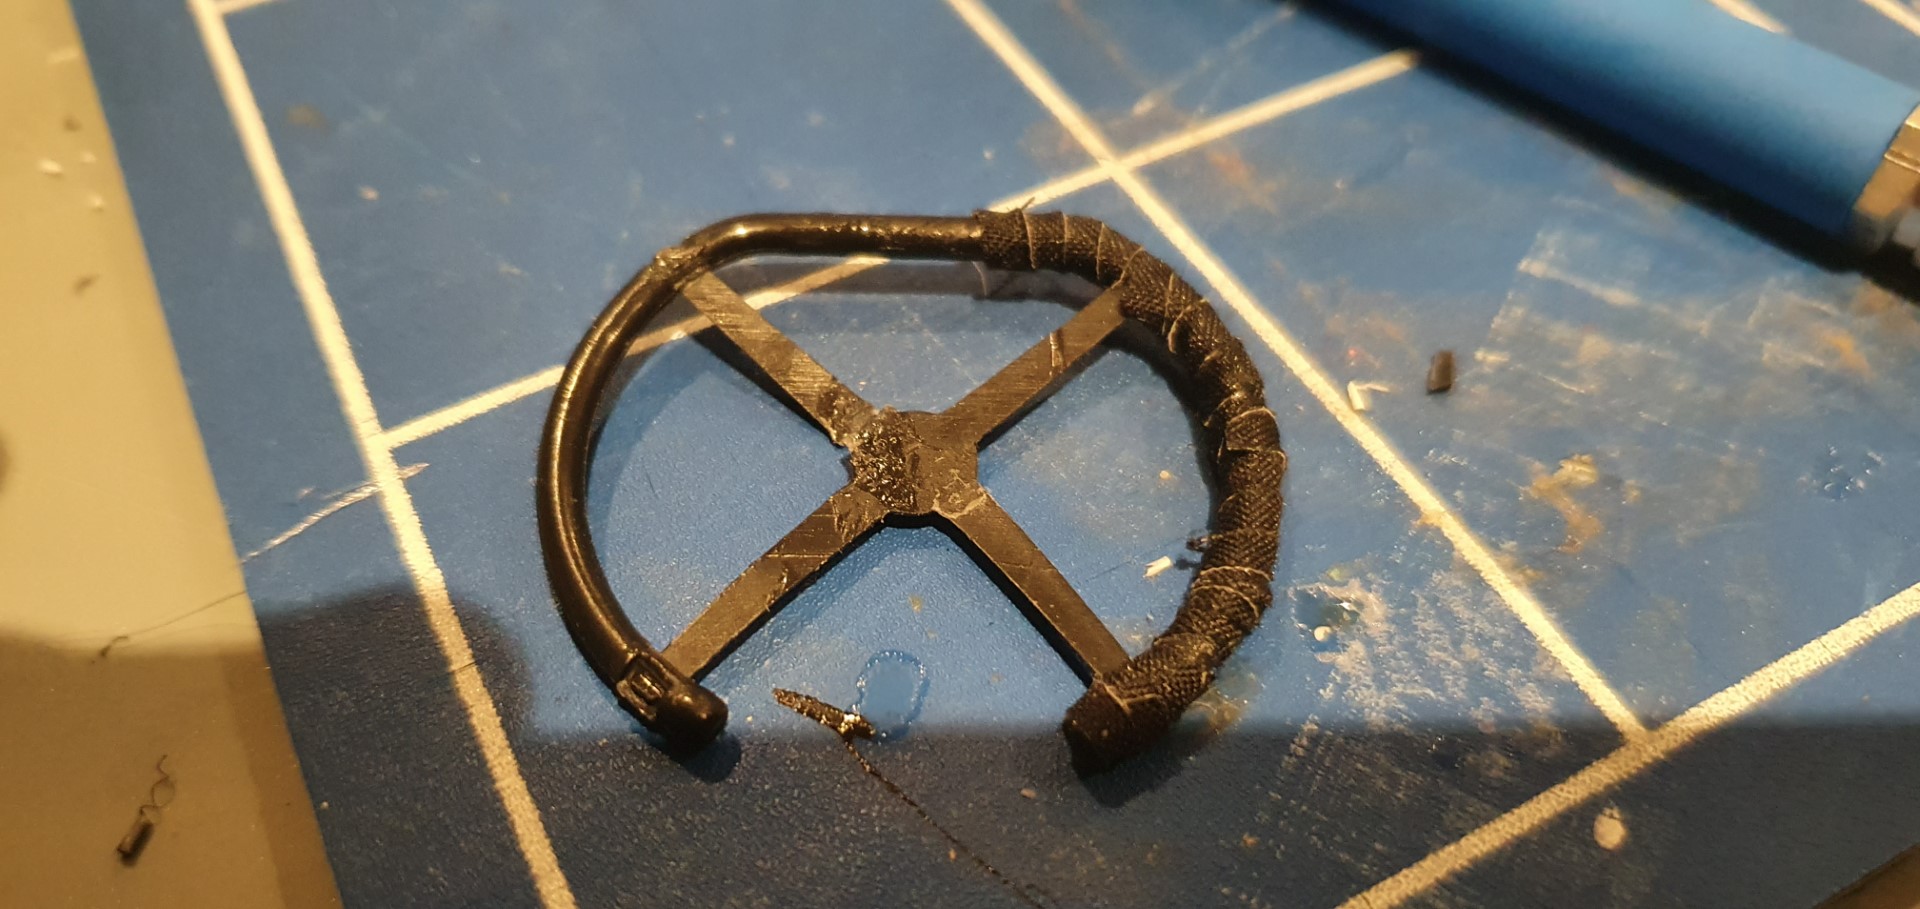
wrapped and looks rougher than it actually is)
next instalment….Sunday 24th
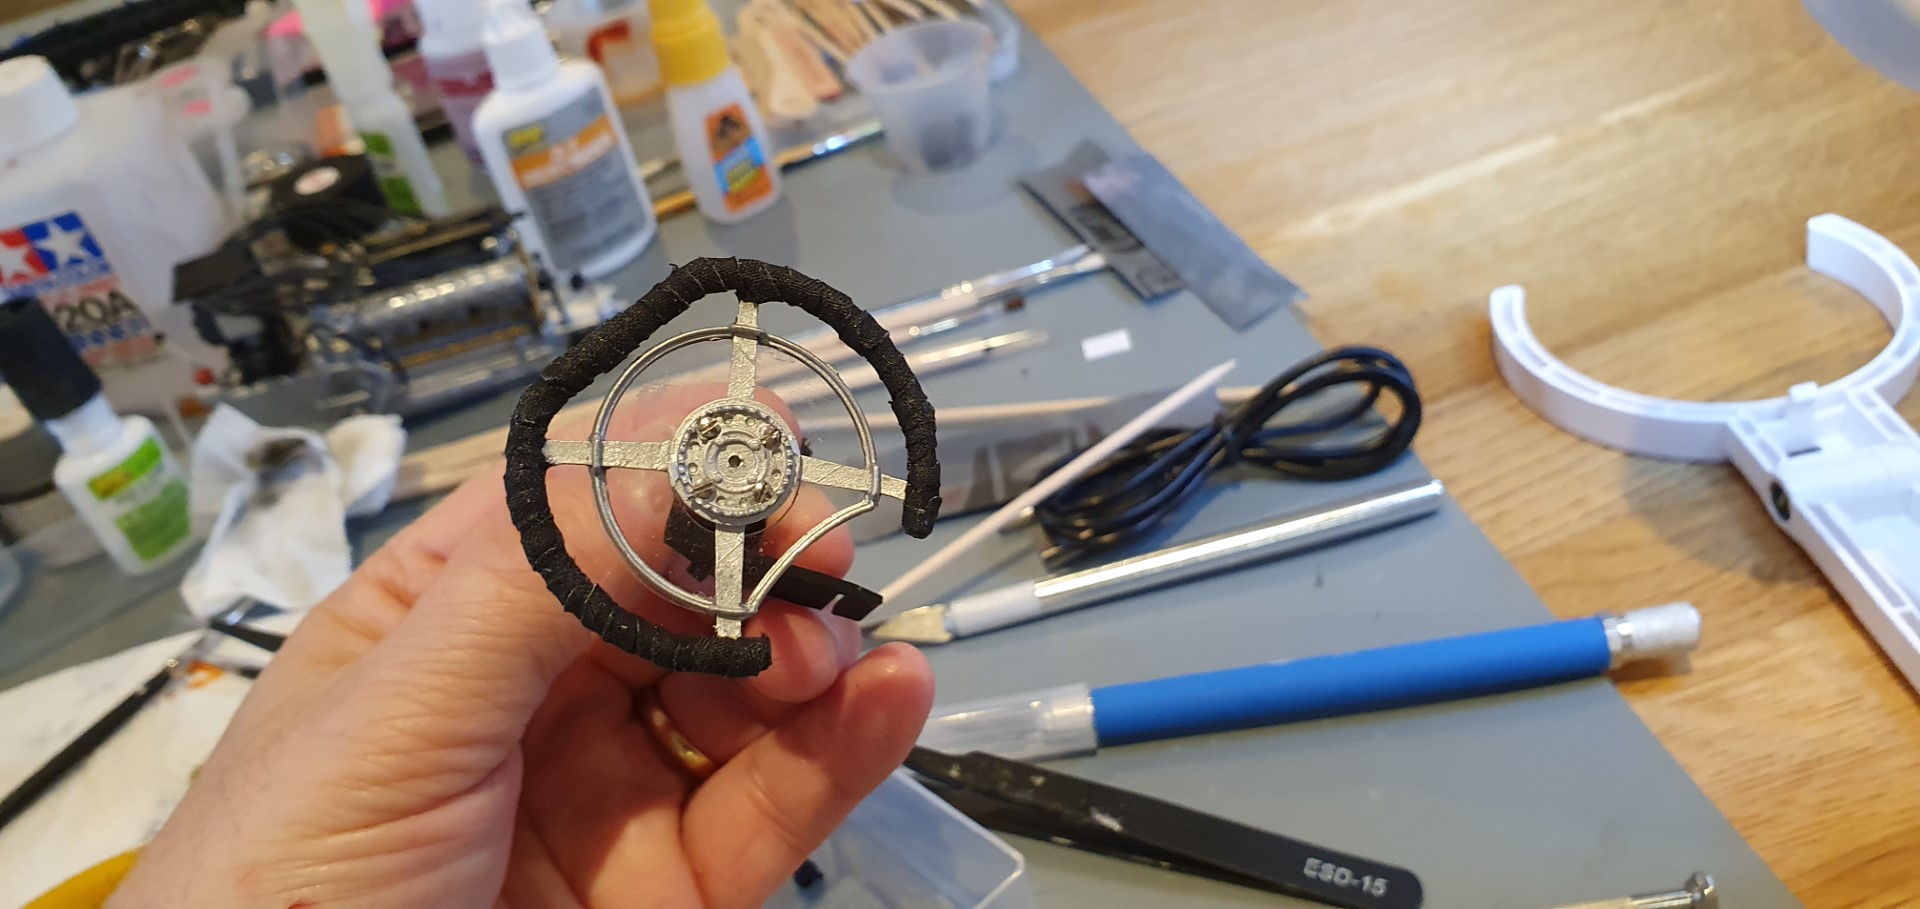
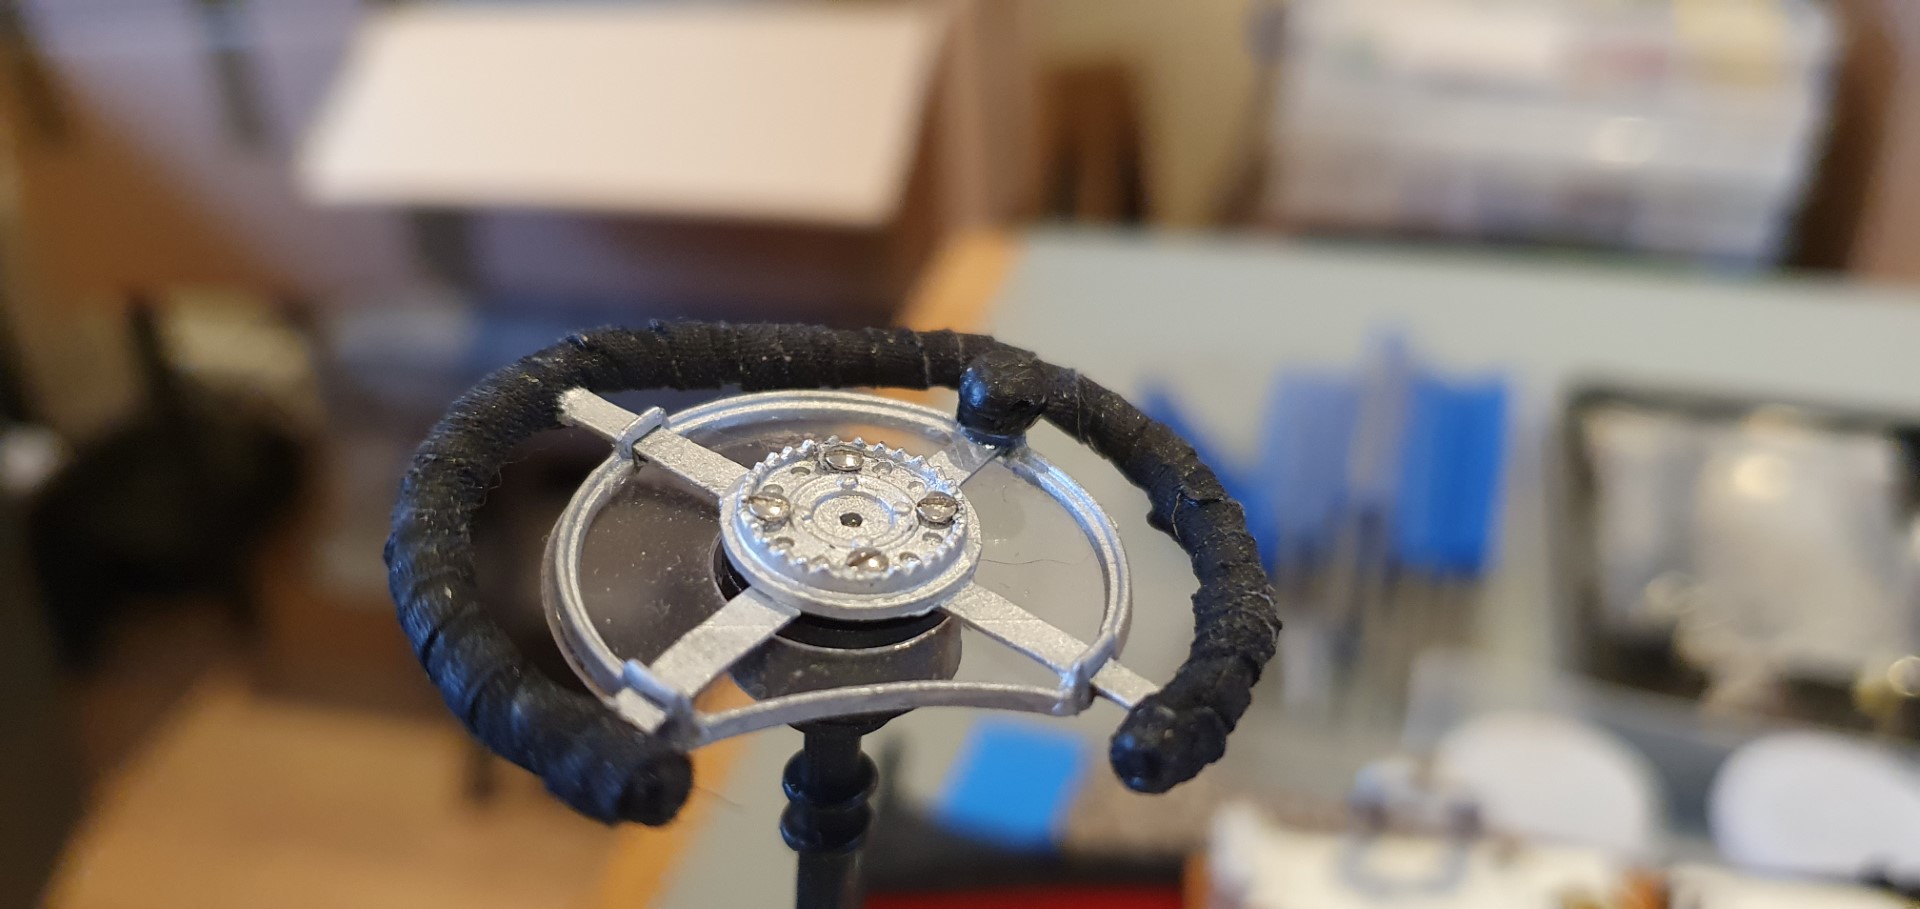
painted and continued to build steering wheel (spoke broke when fitted)
fitted to steering column
you can see the size of the screws holding the wheel to the boss here
Monday 25th April 2020 –
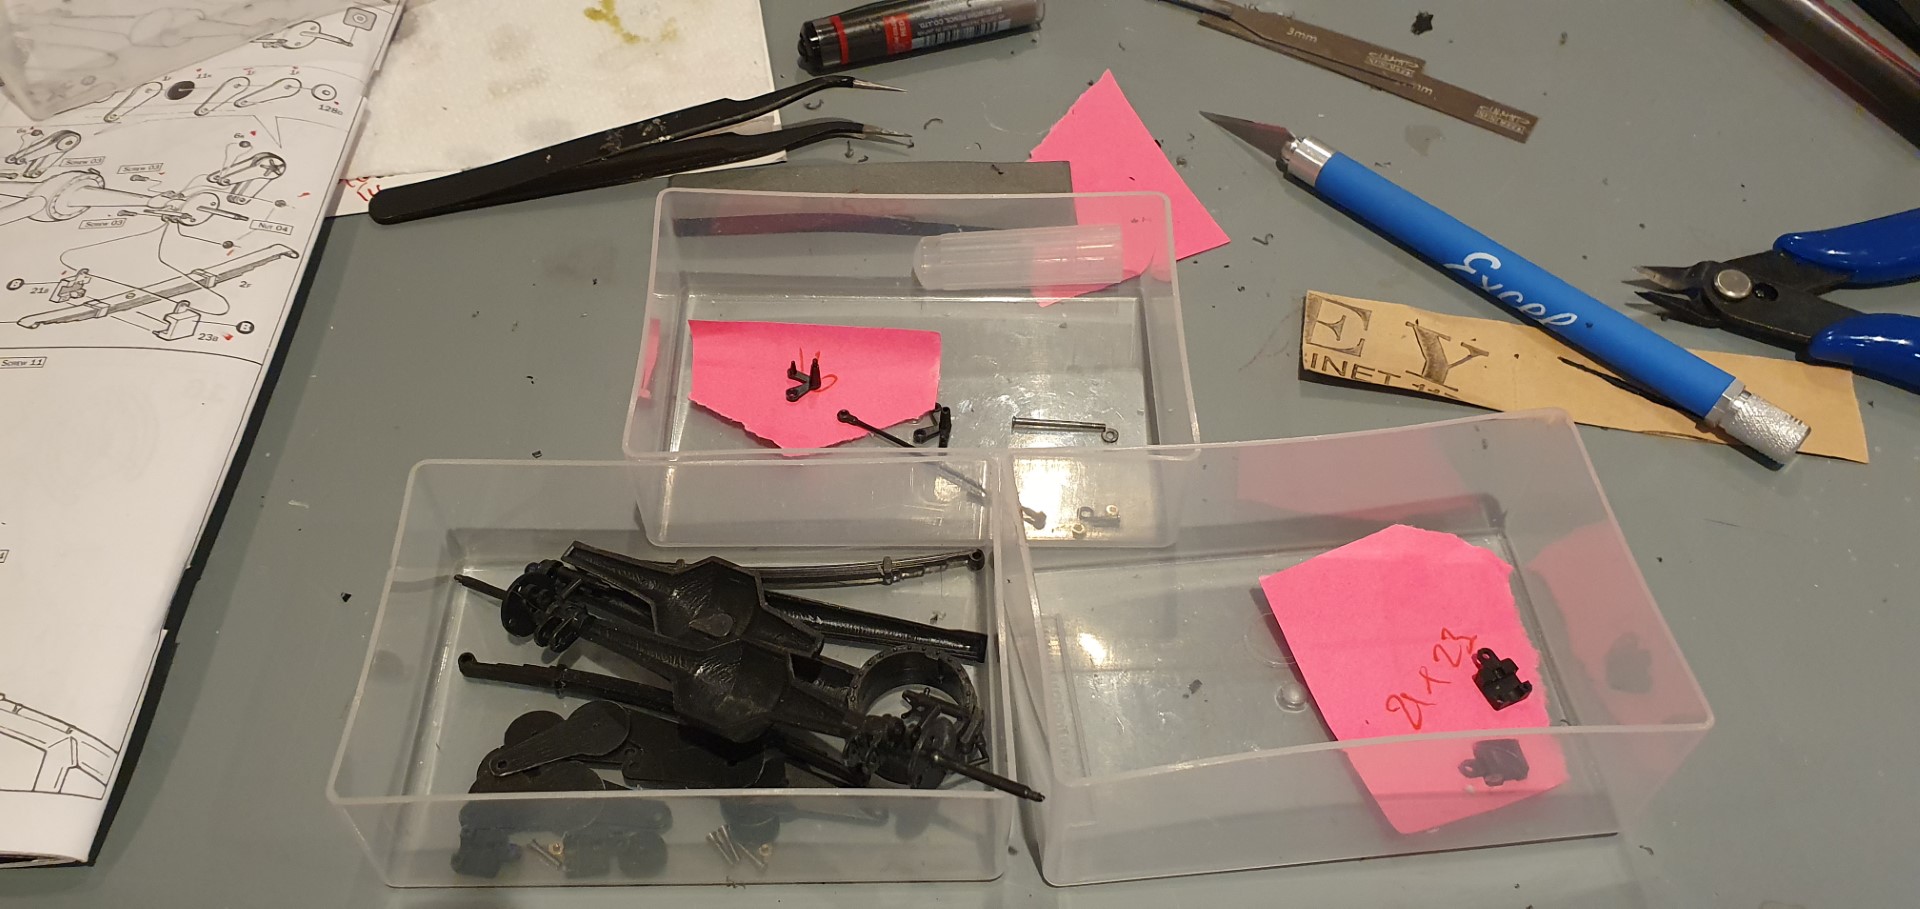
an axle to build up, here are the parts
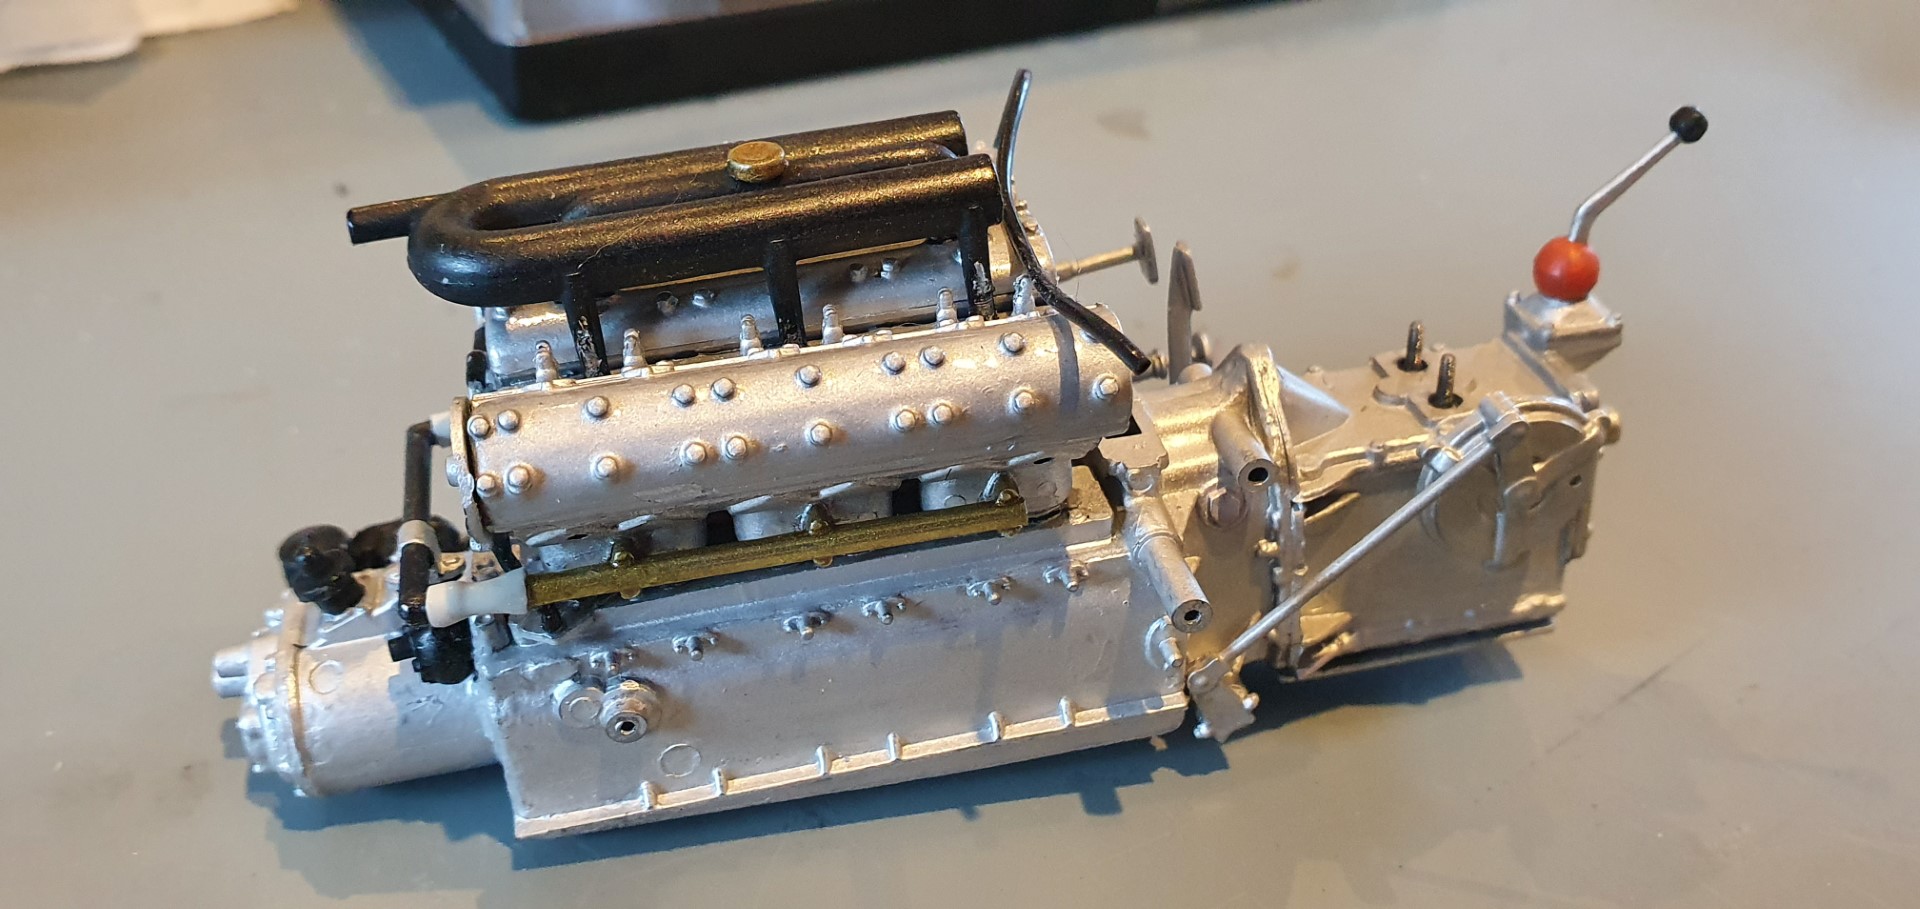
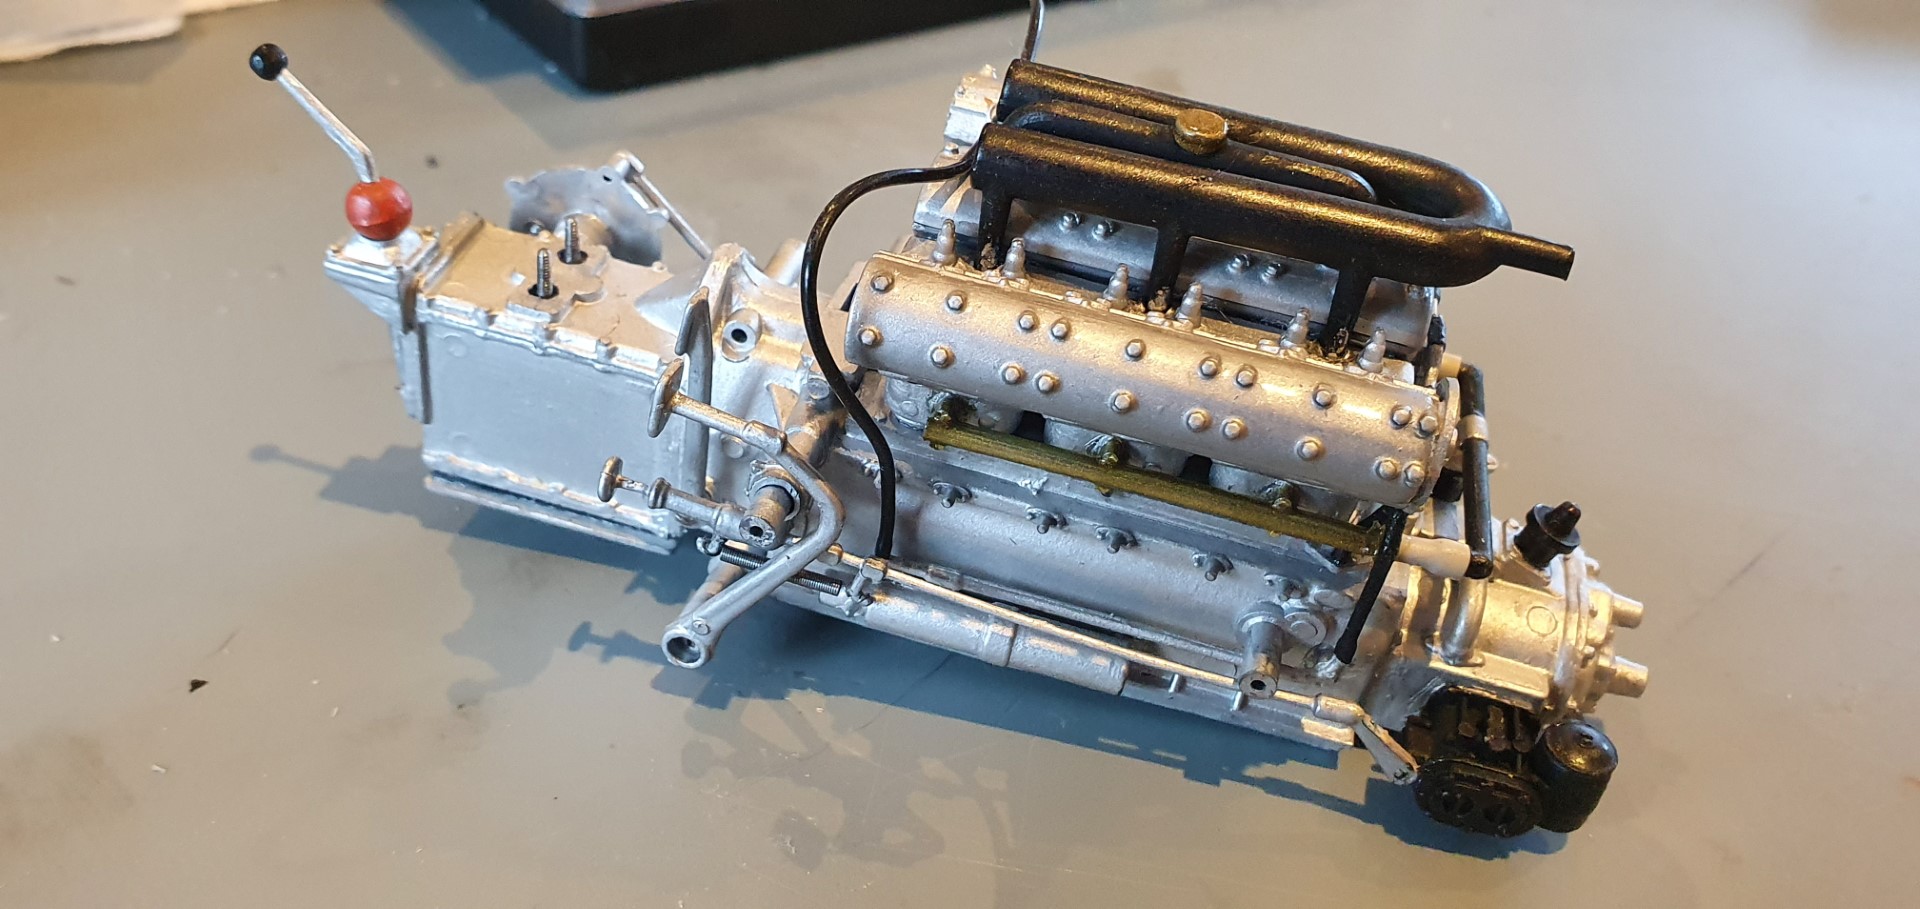
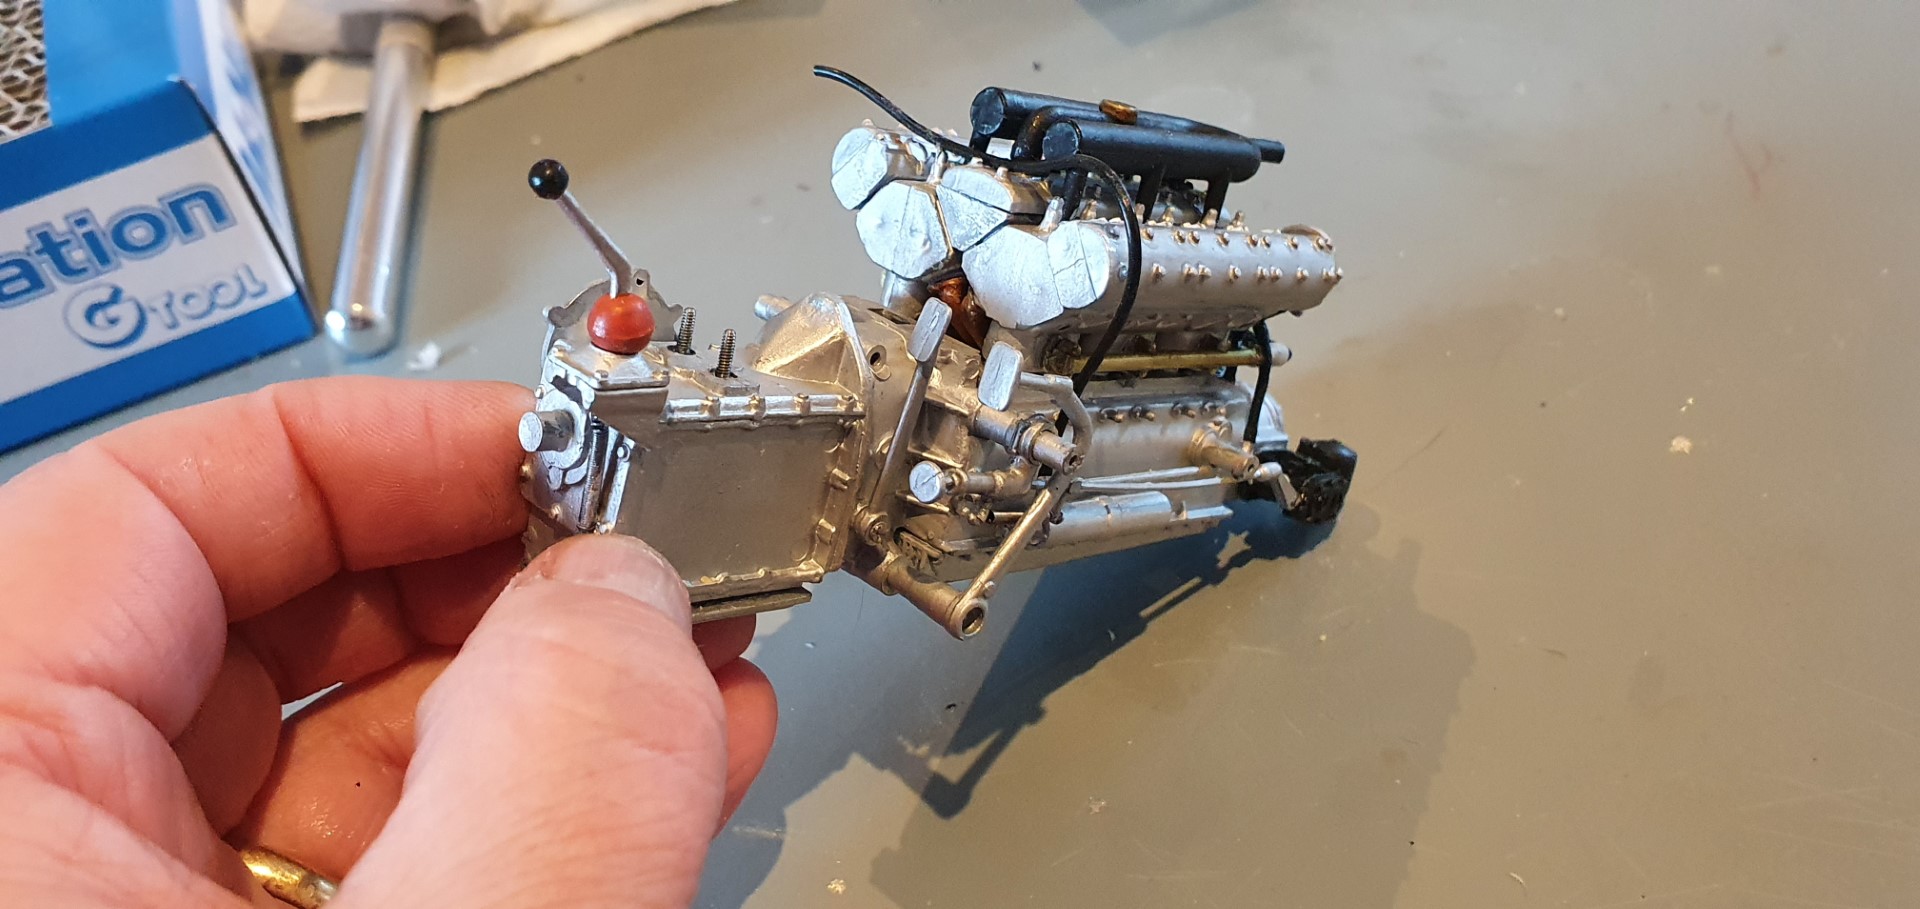
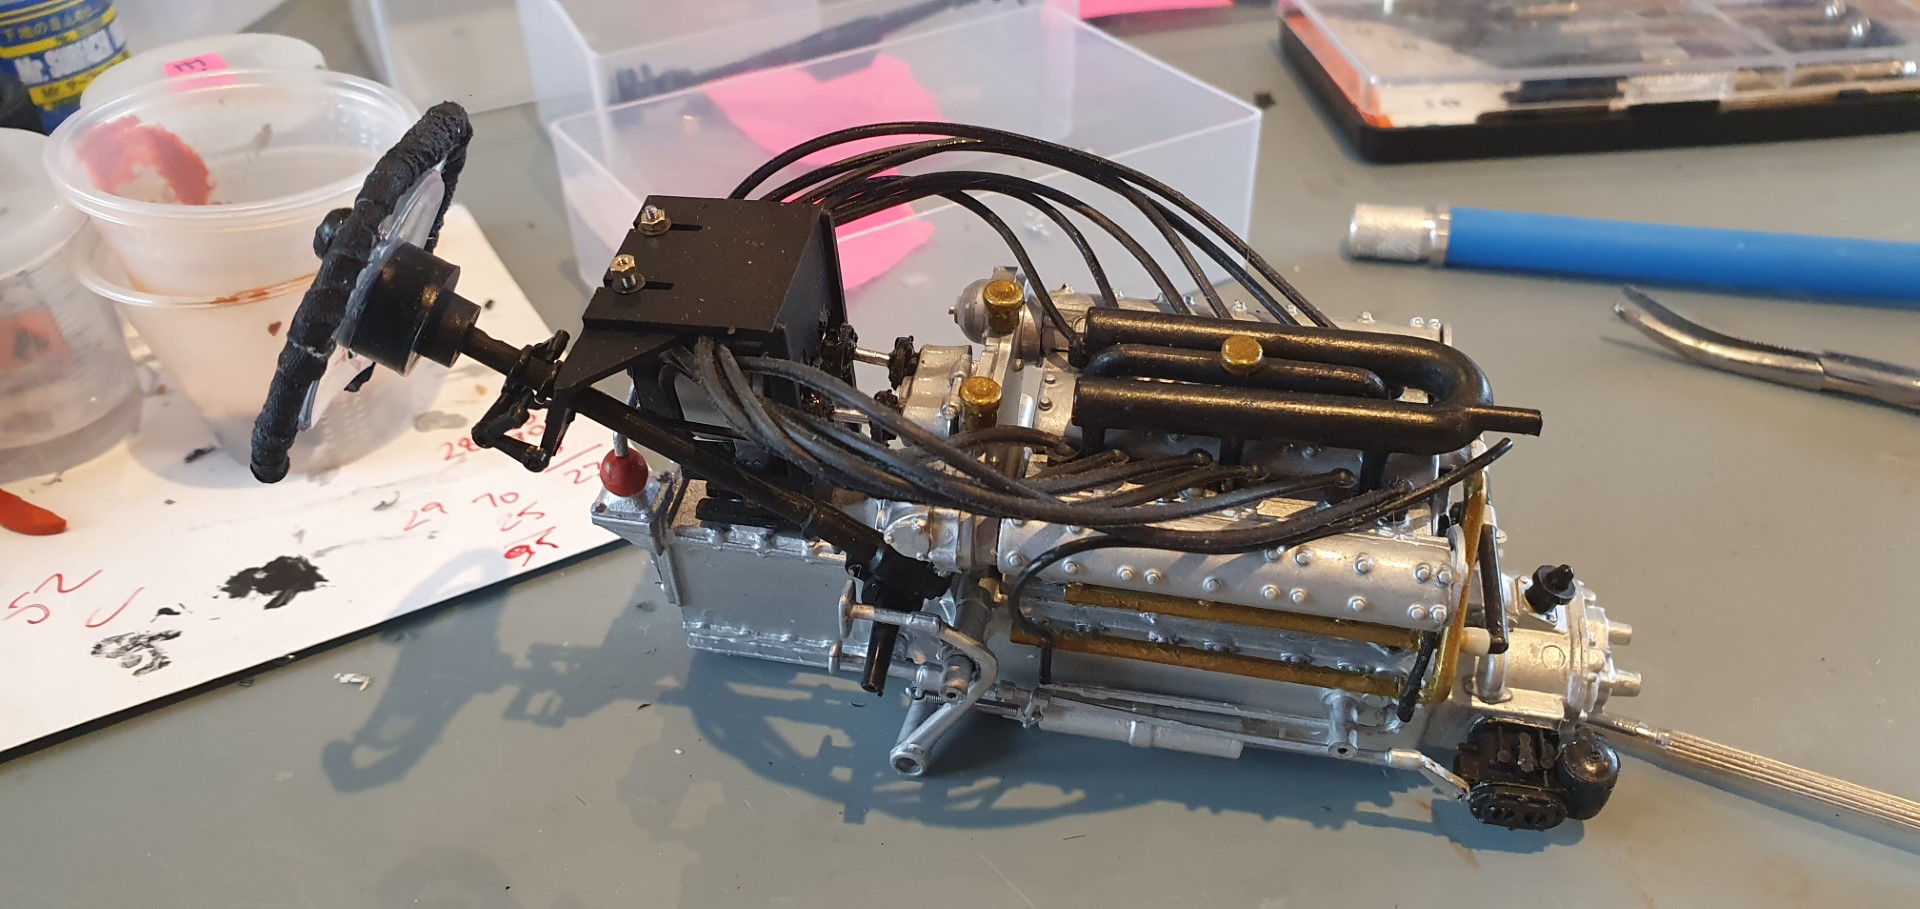
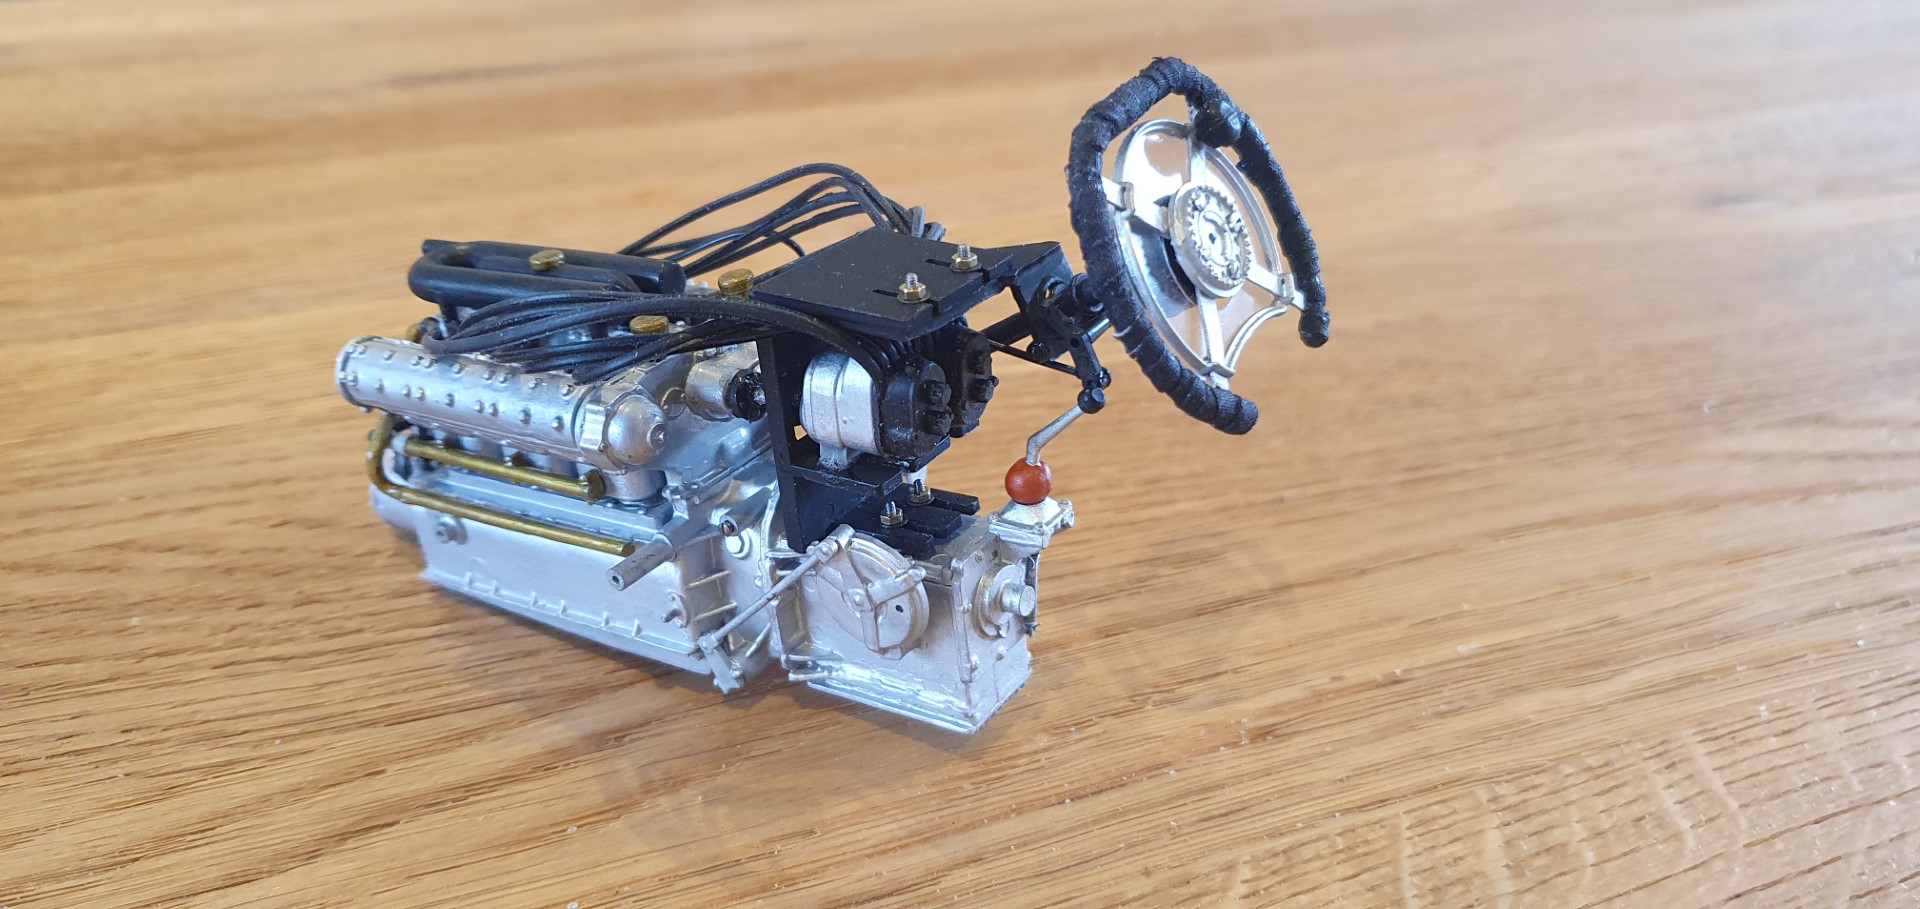
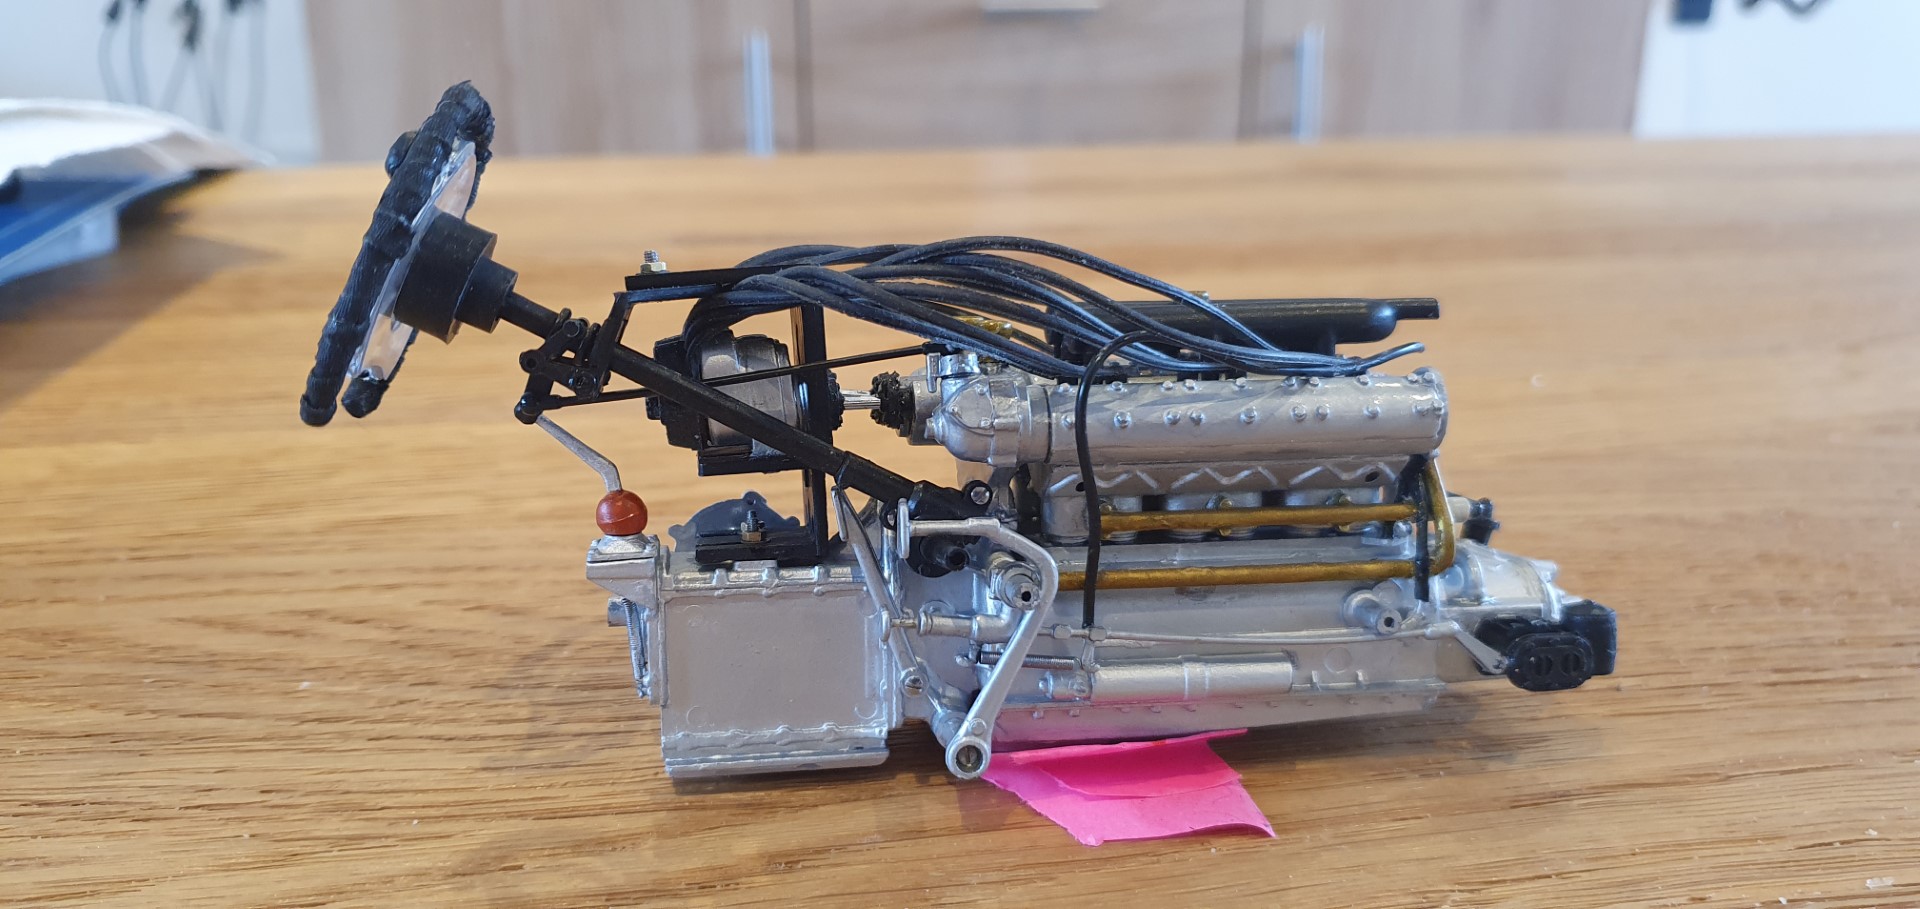
I had to fit the steering wheel assembly to the engine (using tweezers to do up the nuts)
